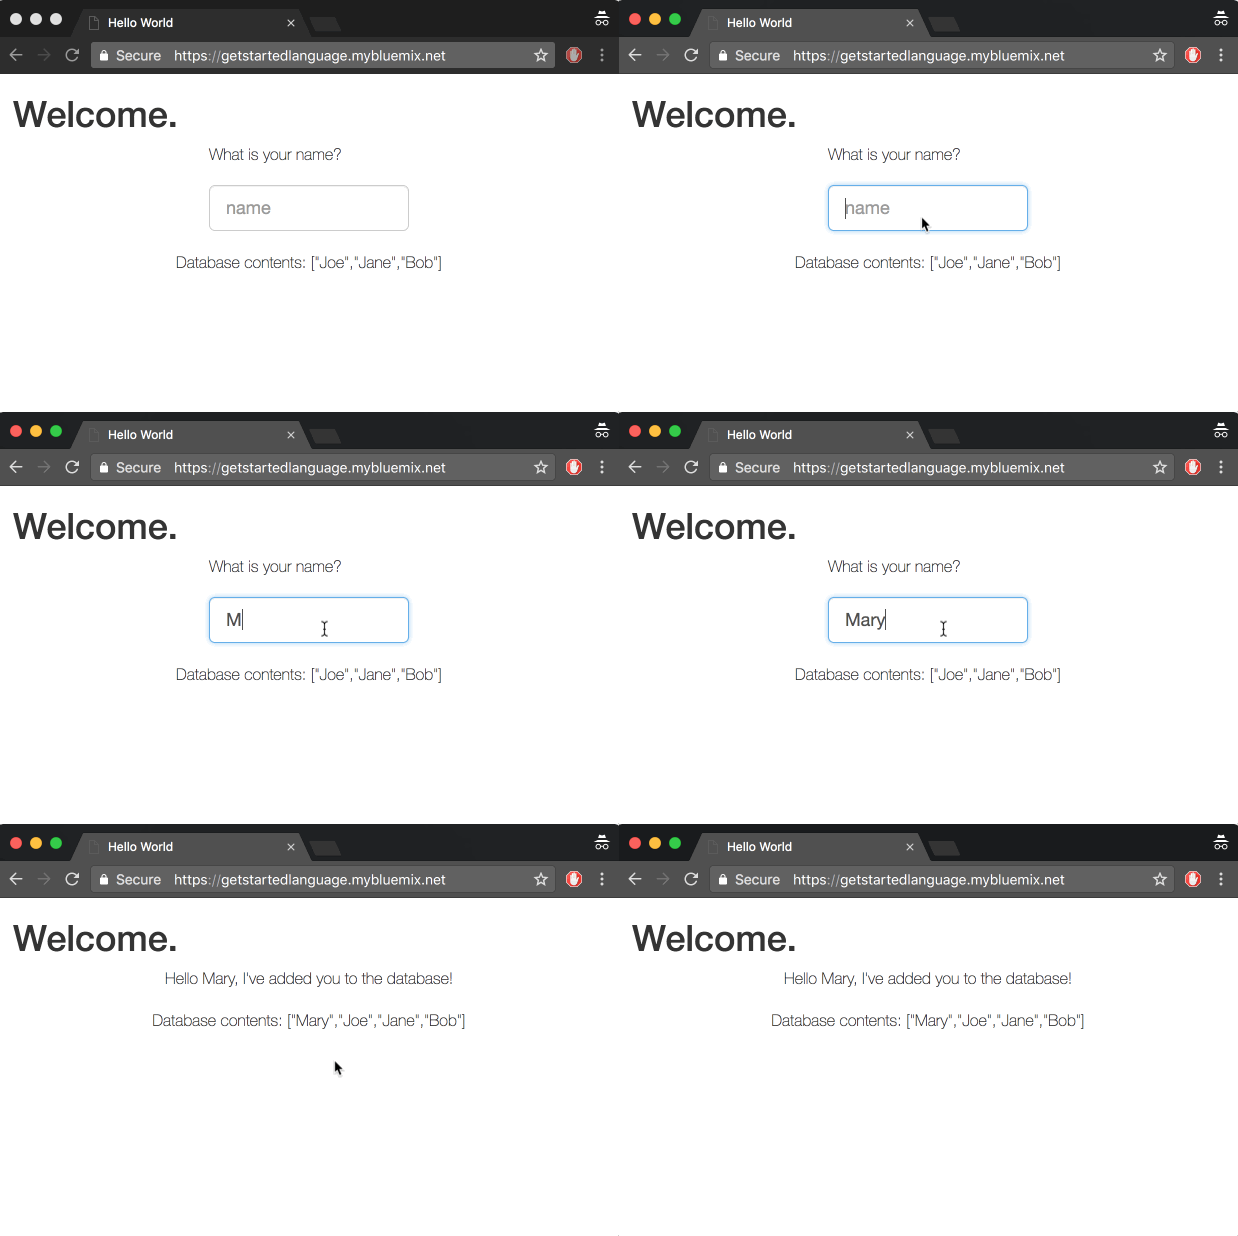
By following this guide, you'll set up a development environment, deploy an app locally and on Bluemix, and integrate a Bluemix database service in your app.
You'll need a Bluemix account, Git Cloud Foundry CLI and Node
Now you're ready to start working with the simple Node.js hello world app. Clone the repository and change to the directory to where the sample app is located.
git clone https://github.com/IBM-Bluemix/get-started-node
cd get-started-node
Peruse the files in the get-started-node directory to familiarize yourself with the contents.
Install the dependencies listed in the package.json file to run the app locally.
npm install
Run the app.
npm start
View your app at: http://localhost:3000
To deploy to Bluemix, it can be helpful to set up a manifest.yml file. One is provided for you with the sample. Take a moment to look at it.
The manifest.yml includes basic information about your app, such as the name, how much memory to allocate for each instance and the route. In this manifest.yml random-route: true generates a random route for your app to prevent your route from colliding with others. You can replace random-route: true with host: myChosenHostName, supplying a host name of your choice. Learn more...
applications:
- name: nodejs-helloworld
  random-route: true
  memory: 128M
You can use the Cloud Foundry CLI to deploy apps.
Choose your API endpoint
cf api <API-endpoint>
Replace the API-endpoint in the command with an API endpoint from the following list.
https://api.ng.bluemix.net # US South
https://api.eu-gb.bluemix.net # United Kingdom
https://api.au-syd.bluemix.net # Sydney
Login to your Bluemix account
cf login
From within the nodejs-helloworld directory push your app to Bluemix
cf push
This can take a minute. If there is an error in the deployment process you can use the command cf logs <Your-App-Name> --recent to troubleshoot.
View your app at the URL listed in the output of the push command, for example, myUrl.mybluemix.net. You can issue the
cf apps
command to view your apps status and see the URL.
Next, we'll add a NoSQL database to this application and set up the application so that it can run locally and on Bluemix.
- Log in to Bluemix in your Browser. Select your application and click on
Connect newunderConnections. - Select
Cloudant NoSQL DBand Create the service. - Select
Restagewhen prompted. Bluemix will restart your application and provide the database credentials to your application using theVCAP_SERVICESenvironment variable. This environment variable is only available to the application when it is running on Bluemix.
We're now going to update your local code to point to this database. We'll create a json file that will store the credentials for the services the application will use. This file will get used ONLY when the application is running locally. When running in Bluemix, the credentials will be read from the VCAP_SERVICES environment variable.
- Create a file called
vcap-local.jsonin thenodejs-helloworlddirectory with the following content:
{
  "services": {
    "cloudantNoSQLDB": [
      {
        "credentials": {
          "url":"CLOUDANT_DATABASE_URL"
        },
        "label": "cloudantNoSQLDB"
      }
    ]
  }
}
-
Back in the Bluemix UI, select your App -> Connections -> Cloudant -> View Credentials
-
Copy and paste just the
urlfrom the credentials to theurlfield of thevcap-local.jsonfile. -
Run your application locally.
npm start
View your app at: http://localhost:3000. Any names you enter into the app will now get added to the database.
Tip: Use nodemon to automatically restart the application when you update code.
- Make any changes you want and re-deploy to Bluemix!
cf push
"# DevOpsServicesTest" "# DevOpsServicesTest"
