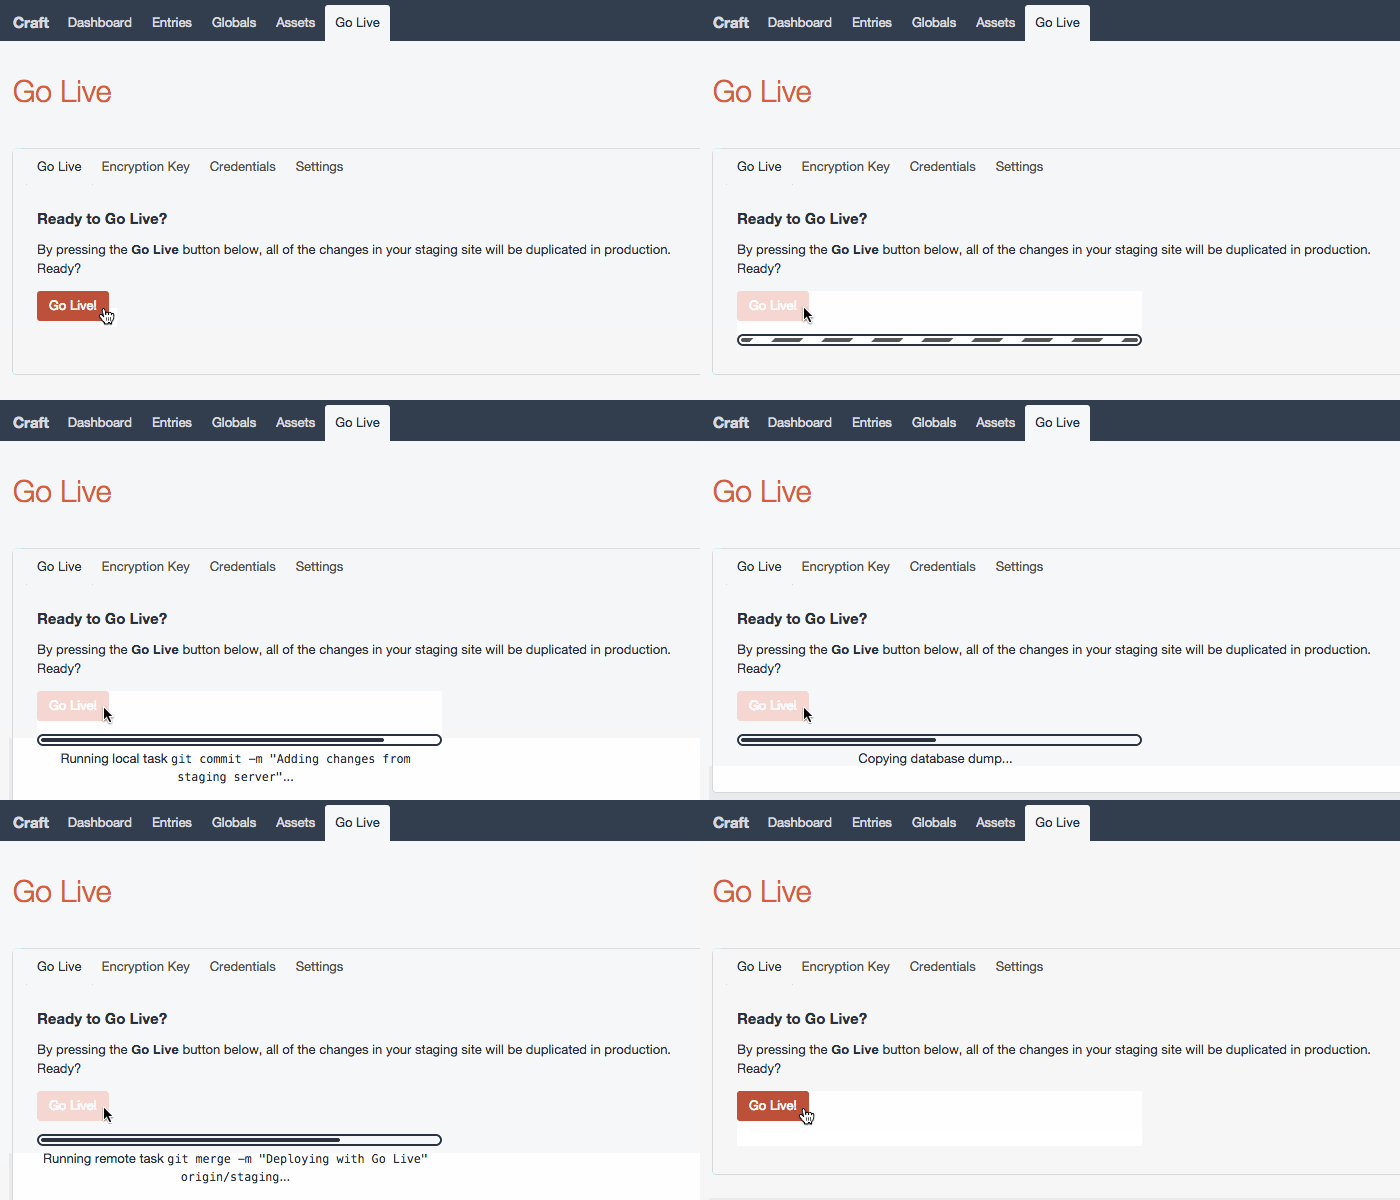
Go Live makes moving changes from staging to production as easy as pressing a button!
To install Go Live, copy the golive/ folder into craft/plugins/, and then go to Settings › Plugins and click the Install button next to "Go Live".
When you first install Go Live, you'll be shown a brief introduction that explains how Go Live does its thing. After closing the introductory wizard, you'll be looking at the Encryption Key page.
'goLive_encryptionKey' => ''
Sets the encryption key used to encrypt and decrypt passwords. You'll get lots of warnings if this is not set.
'goLive_enabled' => true
If set to false, hides all of the plugin's UI in the Craft CP. This can be useful in environments that share the same database as staging, but from which you do not want to perform deployments. Also useful to avoid deploying production to production, which would presumably break the universe.
Because Go Live stores the SSH and MySQL passwords to your production server, it is critical that you set a unique, secret encryption key to protect those passwords. The Encryption Key tab will generate a random encryption key every time you refresh the page. Copy one of the encryption keys shown and add it to general.php as an environment variable named goLive_encryptionKey, similar to the example below:
'environmentVariables' => array(
    'goLive_encryptionKey' => '(your encryption key here)'
)
This encryption key must be exactly 32 bytes, Base64-encoded. Because of this requirement, it's probably best to use the built-in key generator.
Go Live uses SSH to access your local and remote servers and run the various commands needed to deploy a Craft site from staging to production. You'll need to provide SSH credentials for the local and remote servers, and SSH credentials for the remote server.
All actions will be performed using these credentials, so keep permissions in mind if you want Go Live to be able modify files on the remote server.
The Go Live process always follows this basic pattern:
- Run some optional console commands on the local server.
- Dump the staging database.
- Copy the database dump file to your production server via SFTP.
- Import the database dump file to your production MySQL database.
- Run some optional console commands on the remote server.
- Working Directory: The directory from which to execute each command.
- Commands to Run Before Backup: In each row of the table, write a console command that will run on the current system prior to backing up the databse. This would typically consist of commands like
git addorgit pushto publish files that have changed in staging.
- Exclude Tables From Backup: In each row of the table, write the non-prefixed name of a table that you do not want backed up and sent to production. This would typically include tables that gather user-generated data that would be otherwise overwritten during the deployment.
- Keep Backup File?: If the switch is on, the SQL backup file will be kept after performing the backup. Otherwise, it will be deleted as soon as the deployment finishes.
- **Backup File Destination: ** A writable folder to which the database dump will be copied via SFTP.
- Keep Backup File?: If the switch is on, the SQL backup file will be kept after importing the backup. Otherwise, it will be deleted as soon as the import finishes.
- Working Directory: The directory from which to execute each command.
- Commands to Run After Import: In each row of the table, write a console command that will run on the remote system after importing the databse. This would typically consist of commands like
git pullorgrunt buildto pull in files that were changed in staging or need to be compiled/minified for production use.
