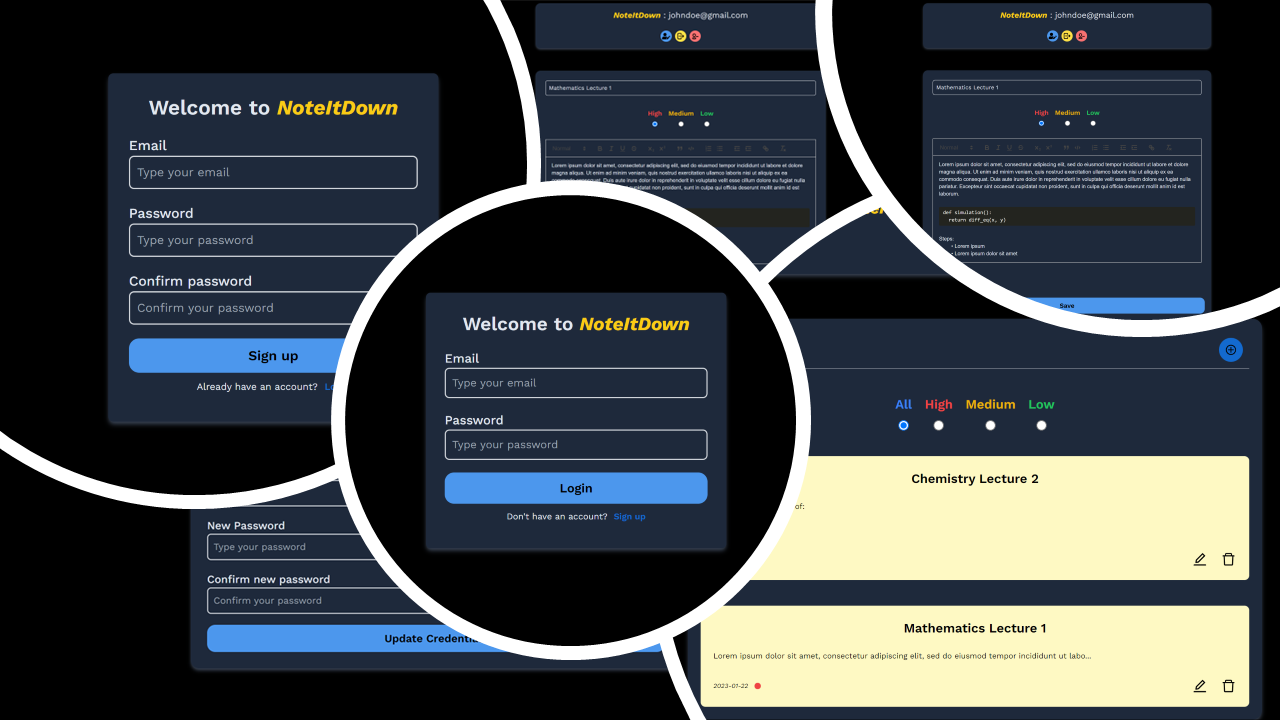
It is a full-stack note-taking web application built with React on the frontend and Django/Django-Rest-Framework on the backend.
Features:
-
Light/dark mode (depending on your device settings)
-
Responsive layout
-
JWT authentication
-
Users:
- Users can:
- Signup/Login/Logout
- Update their email & password
- Delete their account
- Currently loggedin user info is displayed on the home page
- Users can:
-
Notes:
- Users can:
- Create a note
- Set priority of a note
- View all notes at once or filter notes by priority (high/medium/low)
- View a specific note
- Download/export a note as a pdf
- Update/edit a note
- Delete a note
- A rich text editor is provided for taking down the notes
- Users can:
Check the video demo at https://youtu.be/ME37aFqTa20
All the endpoints are listed below. However, to view the details of the endpoints, visit Note It Down Api Docs.
-
Users:
api/users/all/- GETapi/users/user/- GET, PUT, DELETEapi/users/user/signup/- POSTapi/users/user/login/token/- POSTapi/users/user/login/token/refresh/- POSTapi/users/bulkdelete/- DELETE
-
Notes:
api/notes/all/- GETapi/notes/note/{noteId}/- GET, PUT, DELETEapi/notes/note/- POSTapi/notes/bulkdelete/- DELETE
- Requirements:
node >= 16.14.0npm >= 8.3.1python >= 3.8pip >= 21.3.1
git clone https://github.com/AI-14/note-it-down.git- clones the repositorycd note-it-down
- Setup the project as per General sub-section
cd backendpy -m venv yourVenvName- creates a virtual environmentyourVenvName\Scripts\activate.bat- activates the virtual environmentpip install -r requirements.txt- installs all modulespython manage.py makemigrations&python manage.py migrate- migrates all the tables to dbpython manage.py createsuperuser- creates a superuserpython manage.py runserver- runs the server
- Setup the project as per General sub-section
cd frontendnpm installornpm i- installs all packagesnpm install --save-dev- installs devDependenciesnpm start- starts the app
NOTE: First run backend server (it will run on
http://127.0.0.1:8000), then run frontend app (it will run onhttp://127.0.0.1:3000)
You need to have make installed in your machine
- Setup the project as per General sub-section
make build-backend- builds the backendmake build-frontend- builds the frontendmake run-backend- runs the backendmake run-frontend- runs the frontend (make sure you open another cmd to run this command)
NOTE: Use
make helpto see all the commands

