This repository shares the python tools published in "Skeletonizing the Dynamics of Soft Continuum Body from Video" (https://www.liebertpub.com/doi/full/10.1089/soro.2020.0110).
@article{inoue2021skeletonizing,
  title={Skeletonizing the Dynamics of Soft Continuum Body from Video},
  author={Inoue, Katsuma and Kuniyoshi, Yasuo and Kagaya, Katsushi and Nakajima, Kohei},
  journal={Soft Robotics},
  year={2021},
  publisher={Mary Ann Liebert, Inc., publishers 140 Huguenot Street, 3rd Floor New~…}
}Please run the following script for extracting centerline(s) of soft body recorded in your video.
$ python src/script/extract_centerline.py
    [-h] [--reset_cache]
    [--warp_threshold WARP_THRESHOLD]
    [--skeleton_num SKELETON_NUM]
    [--frame_offset FRAME_OFFSET]
    [--frame_end FRAME_END]
    [--resize_rate RESIZE_RATE]
    [VIDEO_PATH]
The extracted data will be saved on [VIDEO_PATH]/raw.pkl as default right after terminating the script.
--reset_cache |
clearing the saved data (raw.pkl) |
--warp_threshold [float] |
threshold for pausing script when detecting warped pathes (default: inf). |
--skeleton_num [int] |
# of extracted path (default: 1) |
--frame_offset [int] |
setting the offset position (default: 0) |
--frame_end [int] |
setting the end position (default: None) |
--resize_rate [float] |
setting the resize rate of video (default: 1.0) |
Space |
pausing / resuming the script |
Ctrl-c or ESC |
terminating the script with saving the extracted paths. |
Enter |
launching the image editor GUI (when paused) |
m |
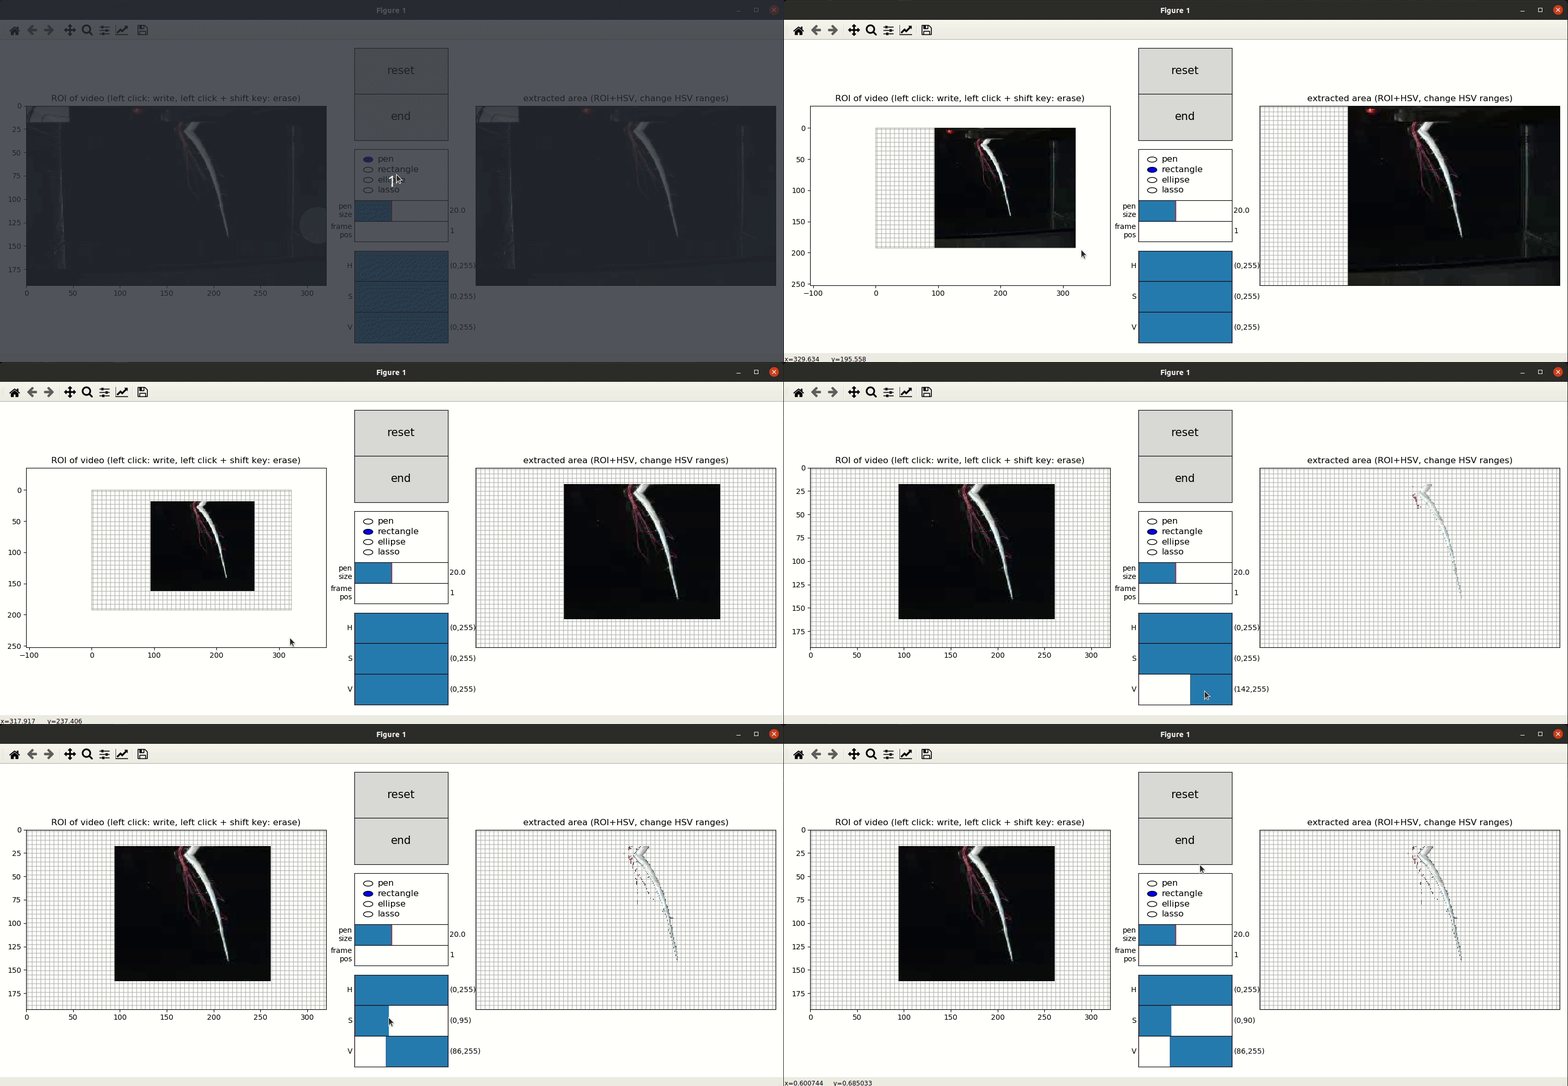
launching the ROI editor GUI (when paused) |
r |
moving to the offset frame (when paused) |
x |
moving to the next frame (when paused) |
z |
moving to the previous frame (when paused) |
ROI and HSV parameters used in the background subtraction process can be edited as follows.

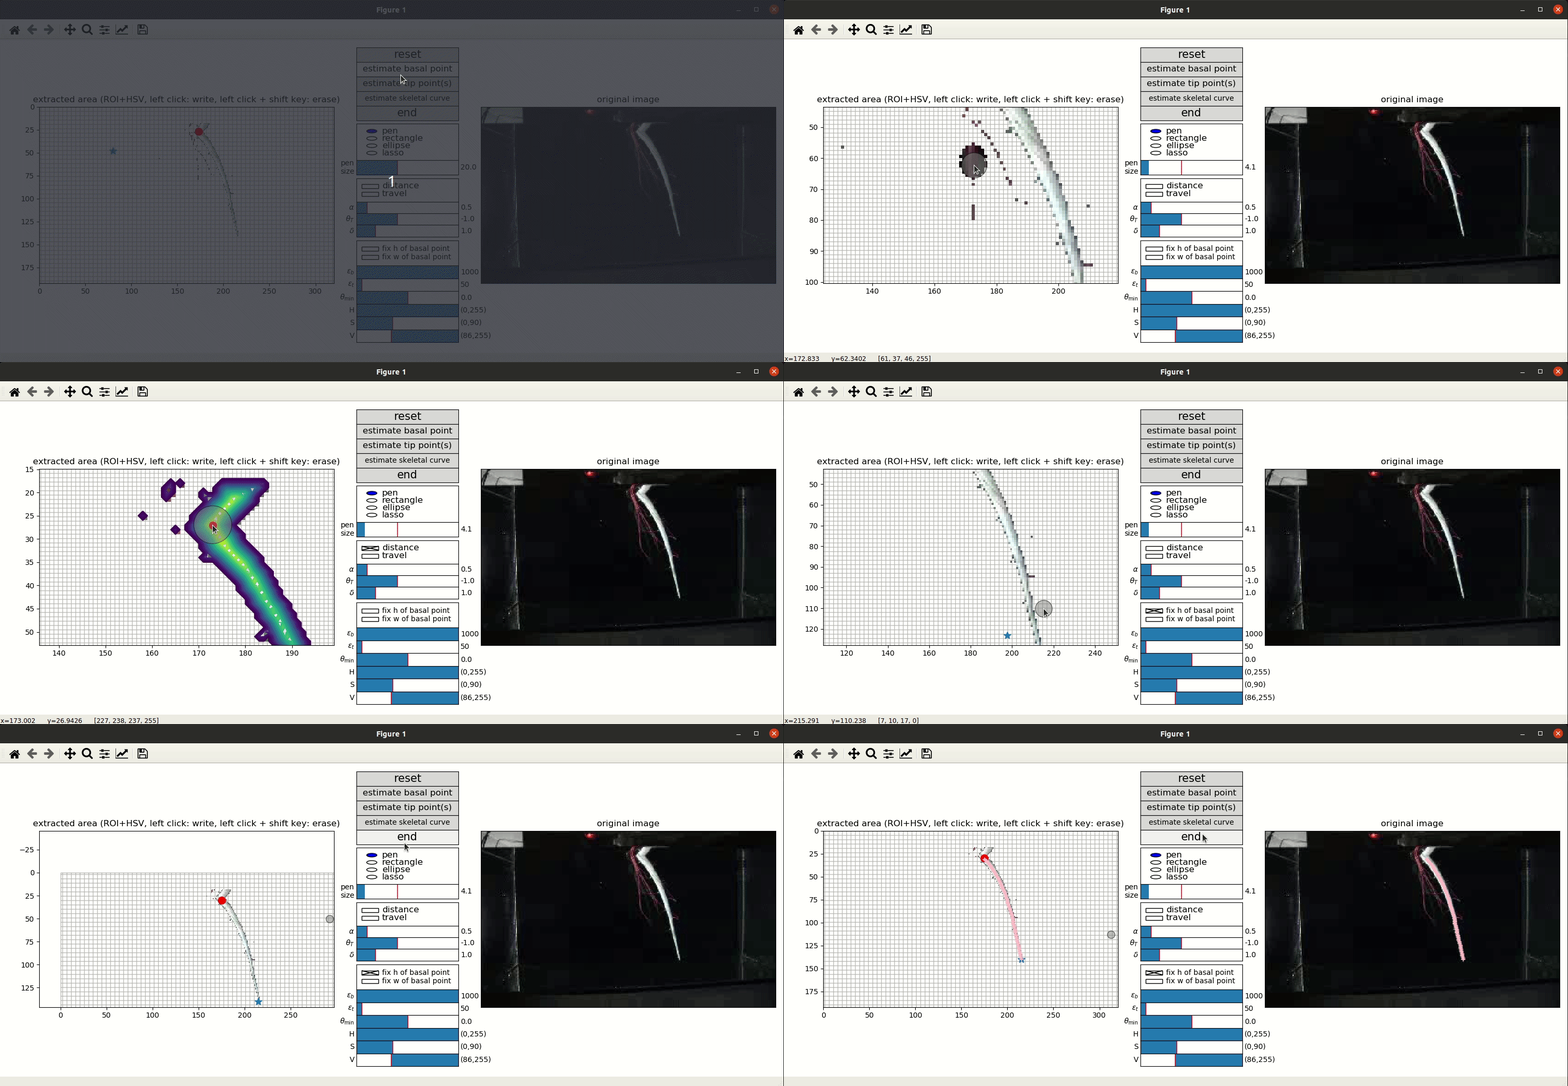
Extracted image by background subtraction can be edited as follows.

| distance | displaying the distance field |
| travel | displaying the traveling time field |
| fix h | fixing the height (horizontal position) of the basal point |
| fix w | fixing the width (vertical position) of the basal point |
| α | constant value adjusting the convexity of the speed vector field (default: 0.5) |
| θ_T | boundary threshold for calculating the traveling time field (default: -1.0) |
| δ | step width used in gradient-descent process (default: 1.0) |
| ε_b | maximum distance between the current and previous basal point (used in the basal point estimation) |
| ε_t | maximum distance between the current and previous tip point(s) (used in the tip point(s) estimation) |
| θ_min | minimum distance between estimated tip points and the edge of the extracted area (default: 0.0). |
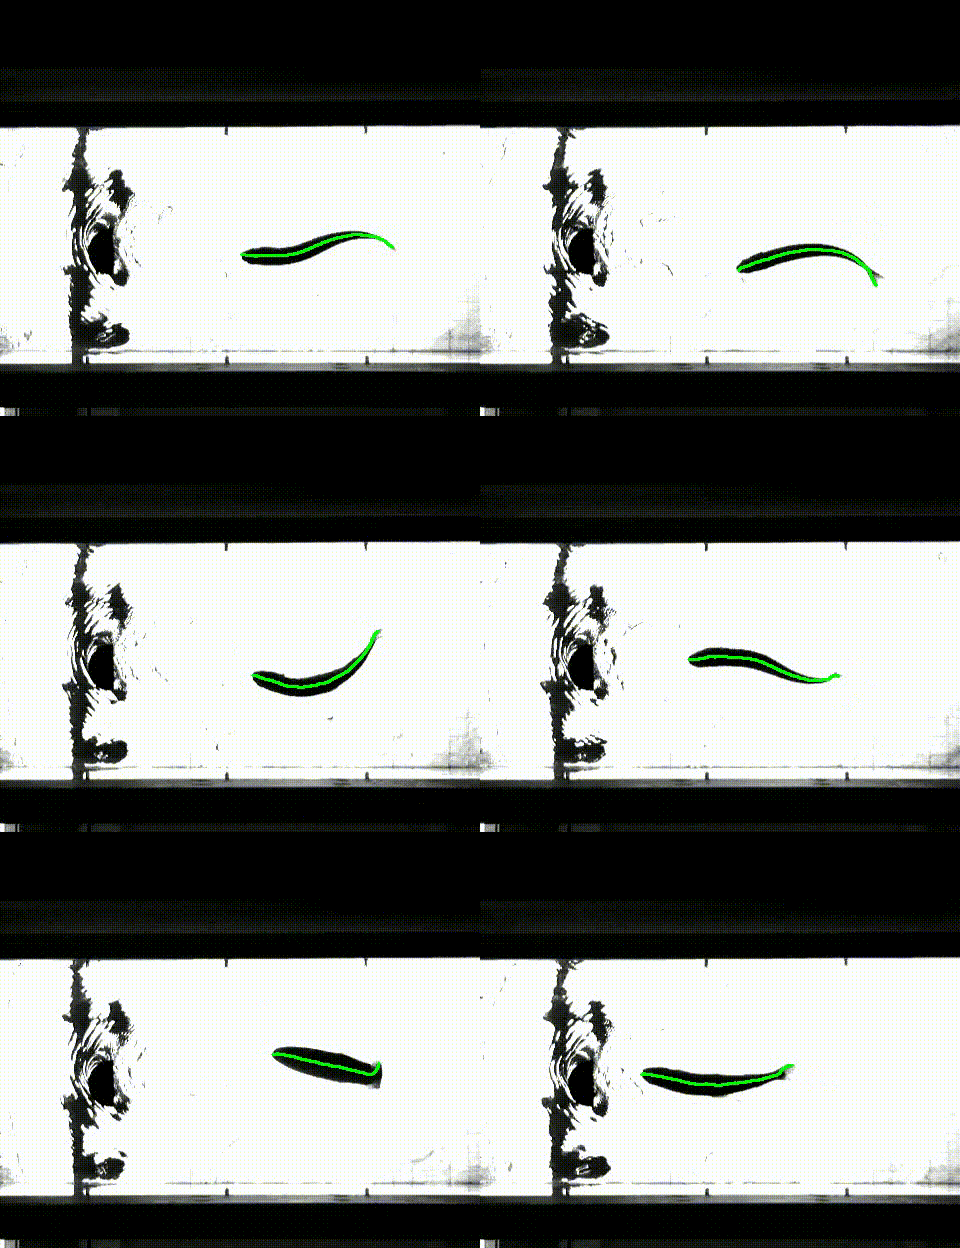
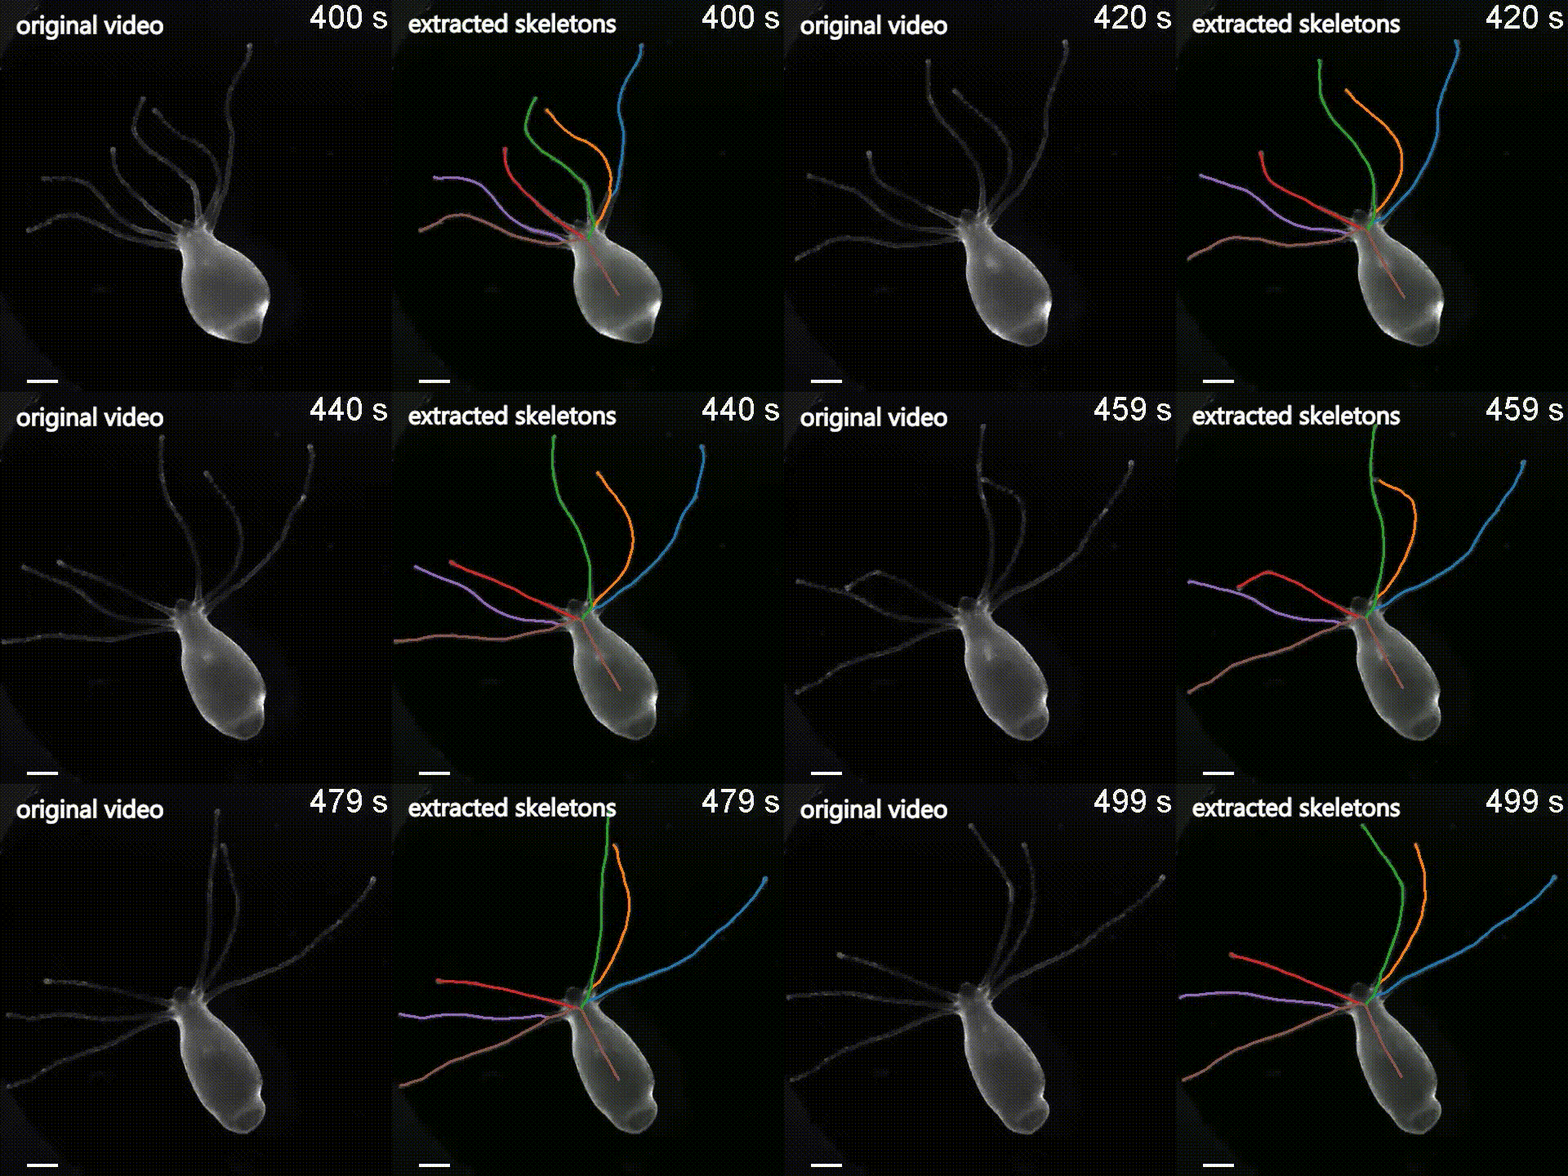
The following scripts create_smoothed_data.py and create_output_movie.py visualize the extracted paths with colormaps and overlaid video from the data stored in [VIDEO_PATH]/raw.pkl, respectively.
# Outputting colormaps on [VIDEO_PATH]/smoothed.pdf
# Also smoothed pathes will be saved on [VIDEO_PATH]/smoothed.pdf
$ python src/script/create_smoothed_data.py [VIDEO_PATH]

# rendering overlaid video on ```[VIDEO_PATH]/movie.mp4
# ffmpeg is required to create the video
$ python src/script/create_output_movie.py [VIDEO_PATH]Also, you can use the following codes to read the extracted data.
import joblib

path = "[VIDEO_PATH]/raw.pkl"
# path = "[VIDEO_PATH]/smoothed.pkl"

with open(path, mode="rb") as f:
result_data = joblib.load(f)Requirements (recommended)
Please install the following dependencies for pyenv setup
$ sudo apt install -y make build-essential libssl-dev zlib1g-dev libbz2-dev libreadline-dev libsqlite3-dev wget curl llvm libncurses5-dev xz-utils tk-dev libxml2-dev libxmlsec1-dev libffi-dev liblzma-devNext, download pyenv
$ git clone https://github.com/pyenv/pyenv.git ~/.pyenv
$ git clone git://github.com/yyuu/pyenv-update.git ~/.pyenv/plugins/pyenv-update
Then, please add the following scripts in .bashrc or .zshrc
export PYENV_ROOT="$HOME/.pyenv"
export PATH="$PYENV_ROOT/bin:$PATH"
eval "$(pyenv init -)"
Now, it's time to download the python kernel
$ pyenv update
$ pyenv install anaconda3-2020.02
$ pyenv local anaconda3-2020.02
$ pip3 install --user pipenv
Especially, please install anaconda3-2020.02 to run this program.
$ pyenv install anaconda3-2020.02
$ conda install -c conda-forge pipenv
$ pipenv --python=$(conda run which python) --site-packages
$ pipenv install
$ pipenv shellWe recommend to use anaconda3 environment and install the following packages
dill==0.3.1.1
multiprocess==0.70.9
numpy==1.18.1
opencv-contrib-python==4.2.0.32
opencv-python==4.2.0.32
parse==1.14.0
pathos==0.2.5
pox==0.2.7
ppft==1.6.6.1
scikit-fmm==2019.1.30
six==1.14.0

