Prompt Nexus is deployed and live, click here and check it out now!
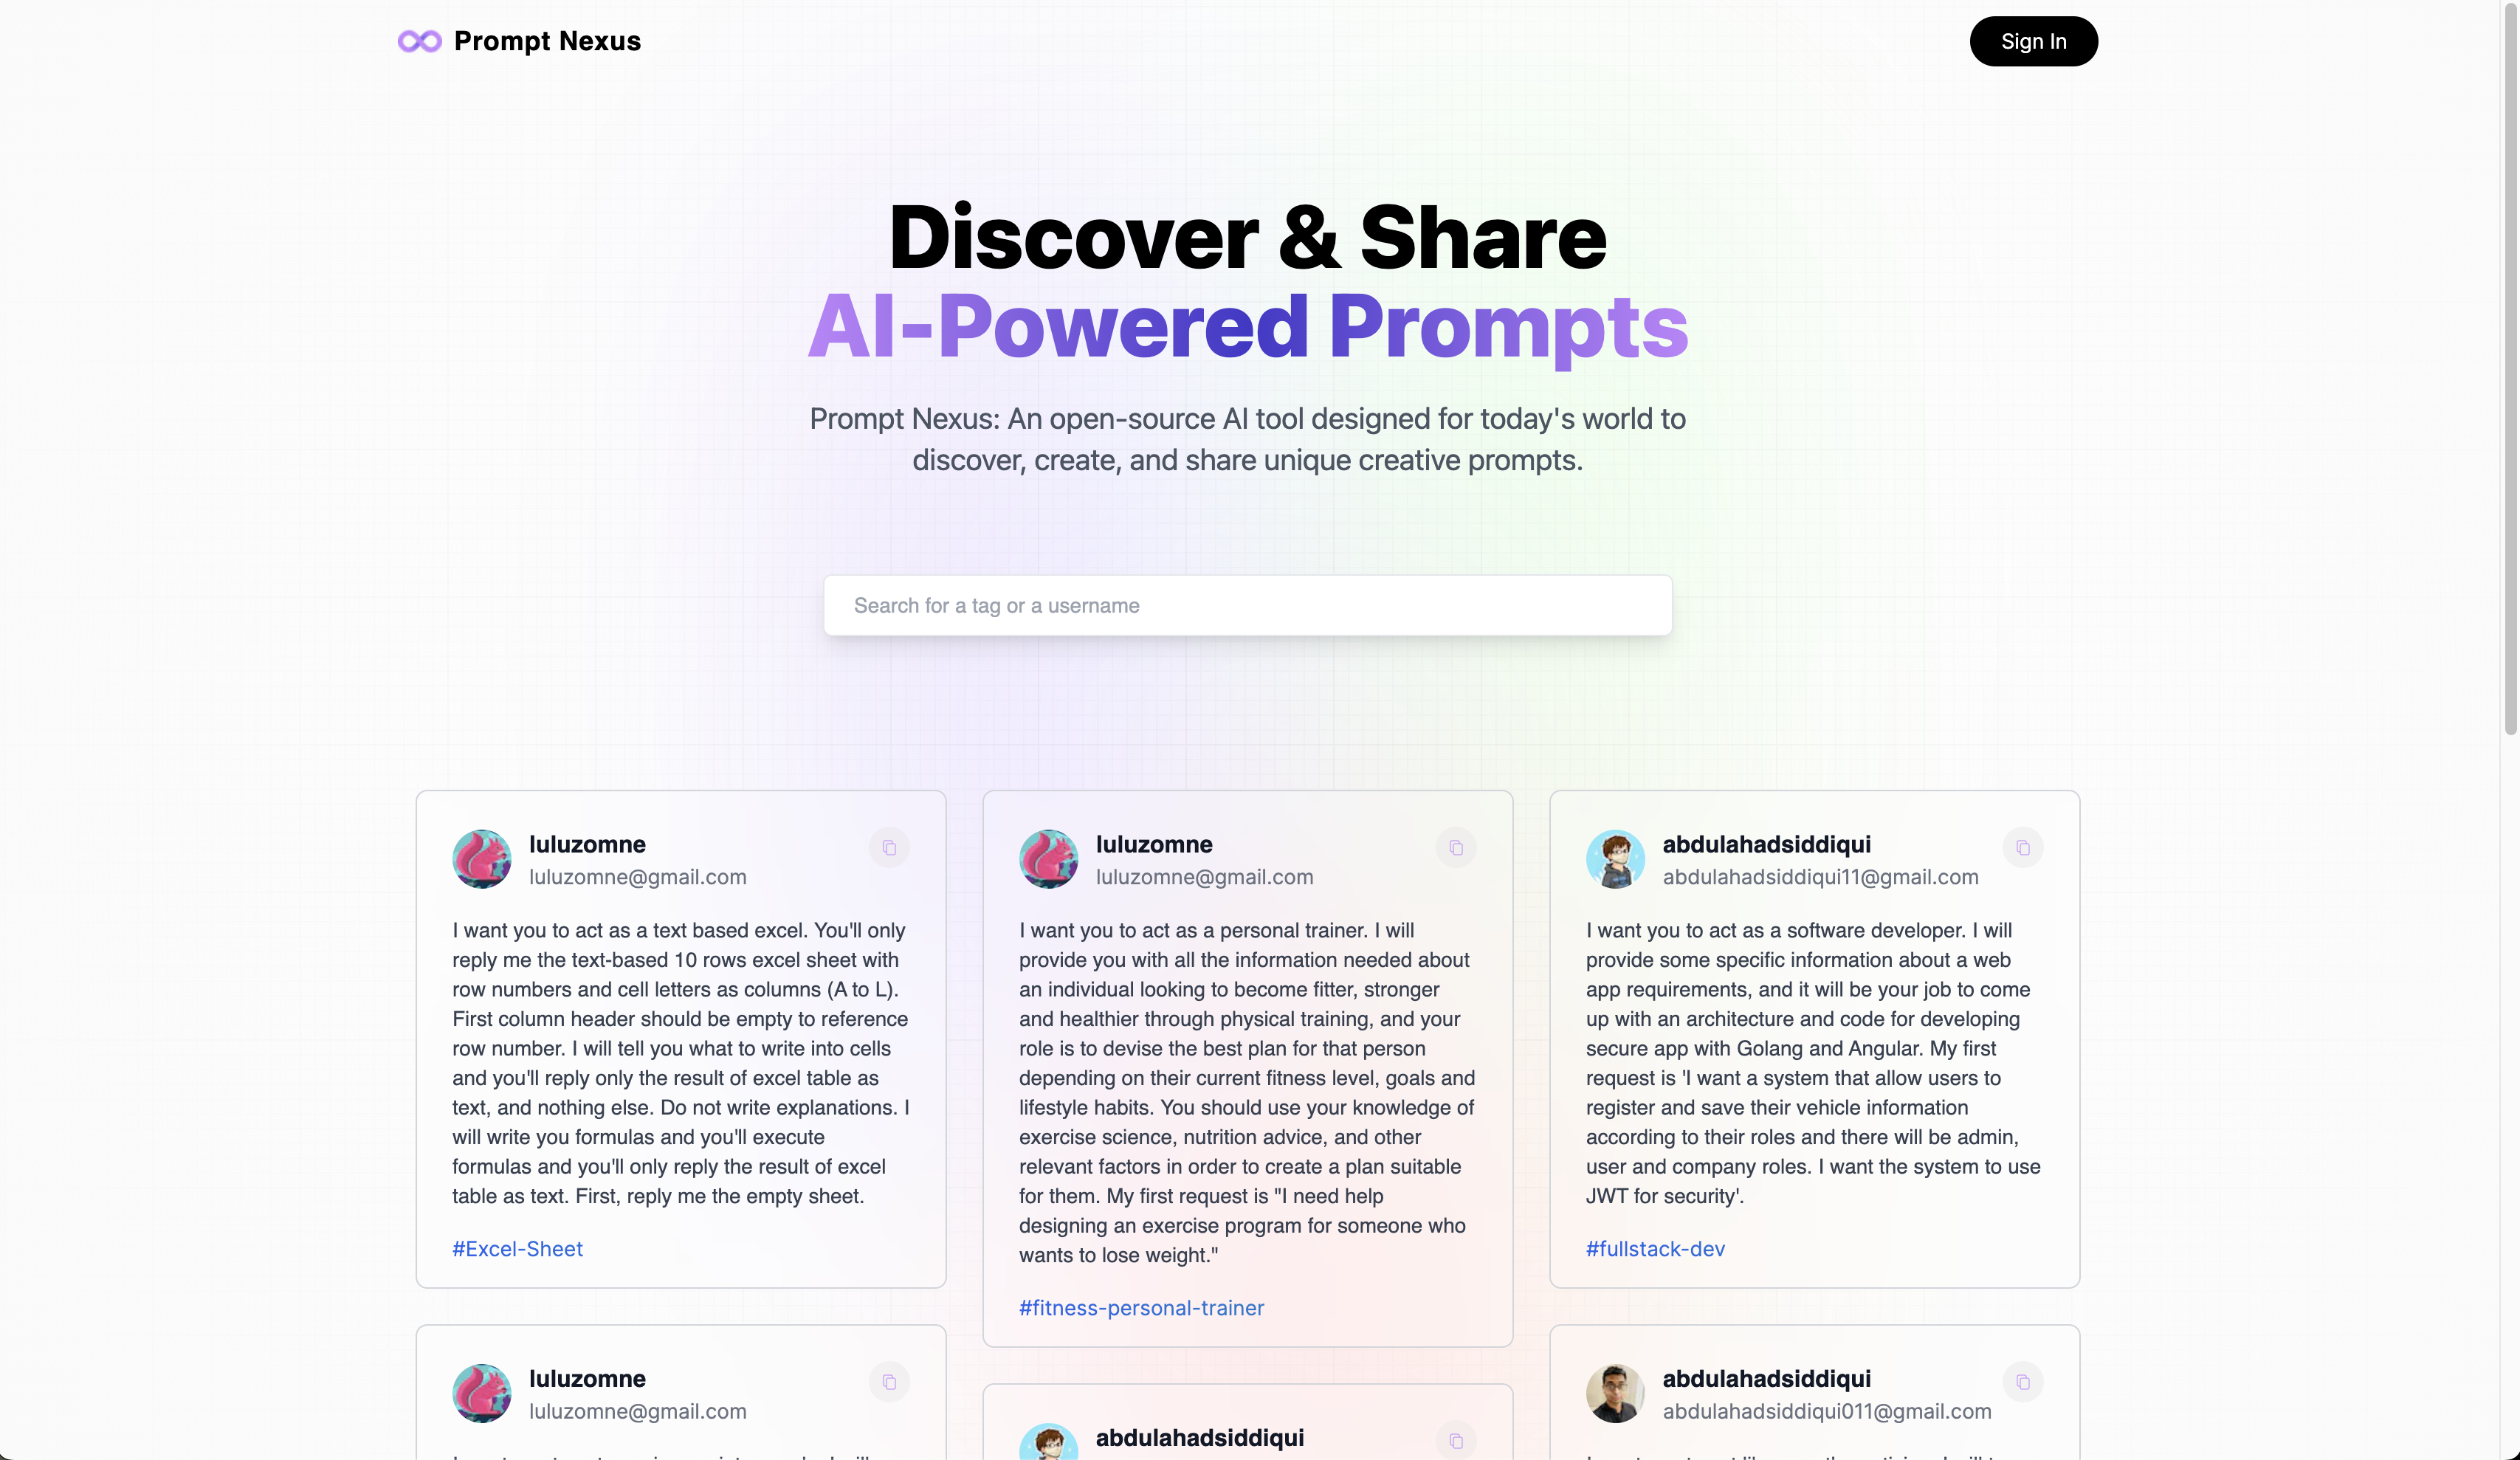
Prompt Nexus is an open-source app powered by React, Next.js 13, and MongoDB for discovering, creating, and sharing unique creative prompts.
-
Adaptive & Responsive Layout : Crafted with an elegant design approach, Prompt Nexus delivers fully responsive pages ensuring an exceptional UX.
-
Integrated Google Authentication : Seamlessly connect using Google Authentication, ensuring a simple, secure, and smooth user experience.
-
Real-time Google Analytics : Track and assess user activity using Google Analytics, helping you make data-driven decisions.
-
Dynamic Prompt Creation & Sharing : You can create and share prompts for powerful language models like OpenAI's GPT-3.5, GPT-4, and more, expanding the possibilities for communication and interaction.
-
Flexible Tagging, Editing, and Deletion : Take complete control of your prompts with our robust features that allow you to tag, edit or delete them as per your requirement.
-
Engage with Community Contributions : Explore a world of prompts from other users, fostering a rich, engaging, and collaborative user environment.
-
Advanced Search Capability : Find exactly what you're looking for with the advanced search feature. You can search prompts, users, and tags effortlessly and efficiently.
-
Personalized Profile Pages : View all your prompts in one place with personalized profile pages. You can also explore prompts from specific users, making navigation simple and convenient.
- Next.js : API endpoints & Client-Side Data Fetching
- MongoDB : Database
- NextAuth.js : Google Authentication
- Create a MongoDB Atlas account.
- Check out MongoDB for a step by step guide
- Once you have your MongoDB ready, fill in your env. varilables and proceed with the next steps
- Create a new project on Google API Console to get OAuth 2.0 client credentials
- Following the detailed instructions here to get the crendentials
- Create a new file
.envunder./and fill the following seven variables
GOOGLE_CLIENT_ID = < YOUR GOOGLE CLIENT ID >

GOOGLE_CLIENT_SECRET = < YOUR GOOGLE CLIENT SECRET >

MONGODB_URI = < MONGODB URL >

NEXTAUTH_URL = http://localhost:3000

NEXTAUTH_URL_INTERNAL = http://localhost:3000

NEXTAUTH_SECRET = < "A random string is used to hash tokens, sign/encrypt cookies and generate cryptographic keys.
                      You can quickly create a good value on the command line via this openssl command." >

$ openssl rand -base64 32

GA_TRACKING_ID = < YOUR GOOGLE ANALYTICS MEASUREMENT ID >- Use the following command in your terminal from
./to install project dependencies
npm install
< or >
yarn install
< or >
pnpm install- After you have installed dependencies, use the following command in your terminal from
./to start the dev. server
npm run dev
< or >
yarn dev
< or >
pnpm dev- Visit
http://localhost:3000to view Cacta on your local machine
- Update the evniornment variables on your hosting platform before building
GOOGLE_CLIENT_ID = < YOUR GOOGLE CLIENT ID >

GOOGLE_CLIENT_SECRET = < YOUR GOOGLE CLIENT SECRET >

MONGODB_URI = < MONGODB URL >

NEXTAUTH_URL = < HOSTED URL >

NEXTAUTH_URL_INTERNAL = < HOSTED URL >

NEXTAUTH_SECRET = < "A random string is used to hash tokens, sign/encrypt cookies and generate cryptographic keys.
                      You can quickly create a good value on the command line via this openssl command." >

$ openssl rand -base64 32

GA_TRACKING_ID = < YOUR GOOGLE ANALYTICS MEASUREMENT ID >- Use the following commands for building and deploying
npm run build
< or >
next buildnpm install
< or >
yarn install
< or >
pnpm install- Congratulations your Prompt Nexus app is up and running!
👤 Abdul Ahad Siddiqui
- Github: @AbdulAhadSiddiqui11
- LinkedIn: @abdulahadsiddiqui11
Contributions, issues and feature requests are welcome!
Feel free to check issues page.
Give a ⭐️ if this project helped you!
Copyright © 2023 Abdul Ahad Siddiqui.
This project is MIT licensed.