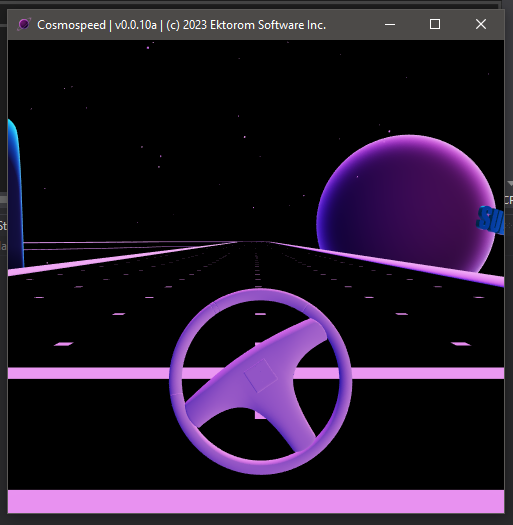
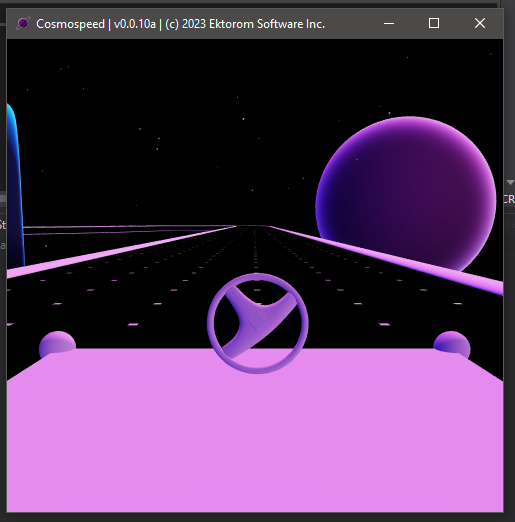
Cosmospeed is a basic driving simulation game with procedurally generated engine audio and torque output from Engine Simulator.

This game is currently only available to Patreon members. If you'd like to become a member and get access to this game and other perks, consider joining here.
The game comes as a .zip file and does not include an installer. Installing the game is as simple as unzipping the .zip file and placing the game folder wherever you like on your computer.
- Open the
bin/folder in the game directory
- Run
cosmospeed.exe


If you encounter a DLL error, you need to install some standard dependencies. These installers are included for you in the installation/ folder in the game. Run the installers located in this folder and the errors should go away.
| Action | Input |
|---|---|
| Starter | Hold s key |
| Steer left | Move mouse left OR Left arrow key |
| Steer right | Move mouse right OR Right arrow key |
| Part throttle | q, w, e |
| Full throttle | r |
| Brake | MMB OR space key |
| Clutch | shift key |
| Shift up | LMB OR up arrow key |
| Shift down | RMB OR down arrow key |
| Reset vehicle | backspace key |
| Change camera | tab key |
| Zoom (with some cameras only) | Mouse wheel |
| Fullscreen | f key |
| Exit game | escape key |
The game intentionally hides the cursor and locks the mouse to the center of the screen. To release the mouse, press the Windows key or tab into another application to take focus away from the game window. Reactivating the game window will re-hide the cursor.
Pressing either the left arrow or right arrow keys will toggle the game to keyboard steering. To toggle back to mouse steering, press any of the mouse buttons.
From the cockpit view, press tab 3 times to activate free-cam.
| Action | Input |
|---|---|
| Look left/right/up/down | Move mouse |
| Move forward/back/left/right | w/s/a/d keys |
| Fly forward/fly backward | r/f keys |
| Move slowly | Hold MMB |
- Open
assets/main.mrin the game directory - On line 7, change the text enclosed in the quotes with the path to your engine's file. The path is relative to the
assets/directory

- Open
assets/main.mrin the game directory - On line 12, change the text enclosed in the quotes with the path to the vehicle you'd like to use. The path is relative to the
assets/directory

Cosmospeed comes with 3 default vehicles located in assets/vehicles/:
default_vehicle.mrgoofy_vehicle.mritalian_vehicle.mr
This is a fairly CPU intensive demo so it's possible that the game will run worse than the normal Engine Simulator. Reducing the simulation frequency in your engine inside the .mr script has the same effect in Cosmospeed and will trade audio quality and simulation stability for better performance.
If the game crashes immediately when opened, follow these steps:
- Open the
bin/folder inside the main game directory - Scripting syntax errors/mistakes will be shown in
error_log.log. Resolve any errors that are reported here - Next check
engine_sim.logfor other Engine Simulator failures like generic engine mistakes or missing audio files - If the previous steps did not resolve the issue, there may be some other bug with the game. Join the Engine Simulator Official Discord Server and ask one of the moderators or @AngeTheGreat for help
- Copy and paste one of the default vehicles (the
.mrfile) inassets/vehicles/ - Rename the file to whatever you like and place it in the same directory
- Open the
.mrfile - The settings near the bottom of the
vehiclenode are specific to Cosmospeed. Some settings above this are also used by the game. Modify these values as you see fit to match your vehicle. Refer to the table below for information about what they do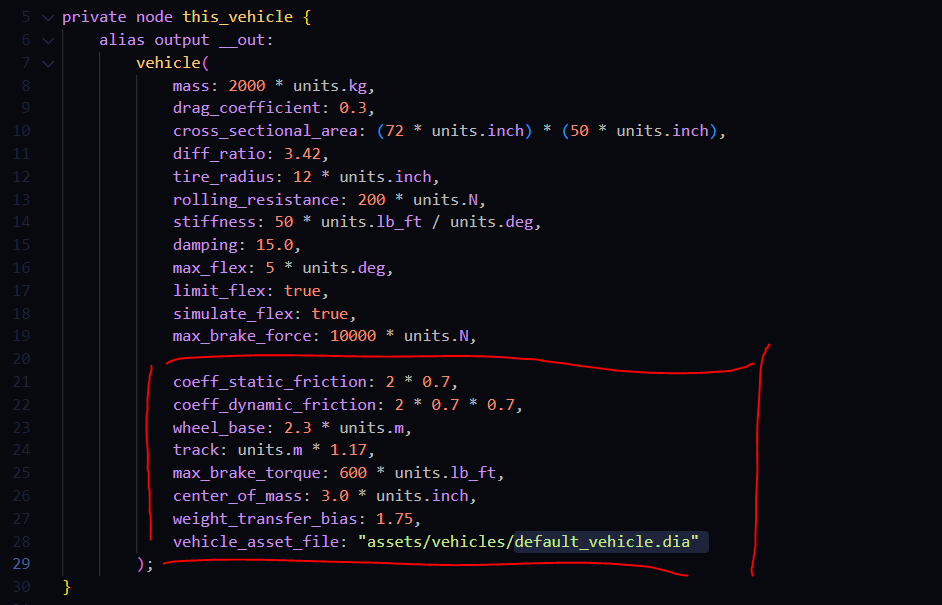
- Follow the steps above in Changing Vehicles to use your new vehicle

| Setting | Function |
|---|---|
mass |
The vehicle's mass |
drag_coefficient |
The vehicle's aerodynamic drag coefficient |
diff_ratio |
The vehicle's differential gear ratio |
tire_radius |
The radius of the vehicle's tires (ie the distance from the center of the tire to the outside of the rubber) |
rolling_resistance |
Generic resistance the car will have to moving |
stiffness |
UNUSED |
damping |
UNUSED |
max_flex |
UNUSED |
limit_flex |
UNUSED |
simulate_flex |
UNUSED |
max_brake_force |
UNUSED [Use max_brake_torque instead] |
coeff_static_friction |
Friction coefficient between the tire and the ground while not sliding |
coeff_dynamic_friction |
Friction coefficient between the tire and the ground while sliding |
wheel_base |
The distance from the front to rear wheel centers |
track |
The distance from the center of the left front/rear tire to the center of the right front/rear tire |
max_brake_torque |
The maximum torque that the brakes can apply per wheel |
center_of_mass |
The vehicle's center of mass compared to the center of the wheelbase. Example: A value of +3 centimeters indicates the center of mass is located 3 centimeters in front of the center of the wheelbase. -3 would indicate the center of mass falls towards the rear of the car, 3 centimeters from the center of the wheelbase |
weight_transfer_bias |
The simulation doesn't account for weight transfer. To roughly approximate it, this value can be used to exaggerate the effect of the center of mass on the tire downforce which in a very crude way can resemble weight transfer |
vehicle_asset_file |
The path to the visual assets for the vehicle. The path is relative to the game's main directory. See the next section about modding these asset files |
The modding/ folder contains some useful resources for game modding. To start modding:
1. Install Blender
- Find
interchange_export_addon.zipin themodding/folder - Open Blender
- Go to
Edit,Preferences...,Add-ons - In the top right corner, press
Install...and navigate to the file found in step 1. PressInstall Add-on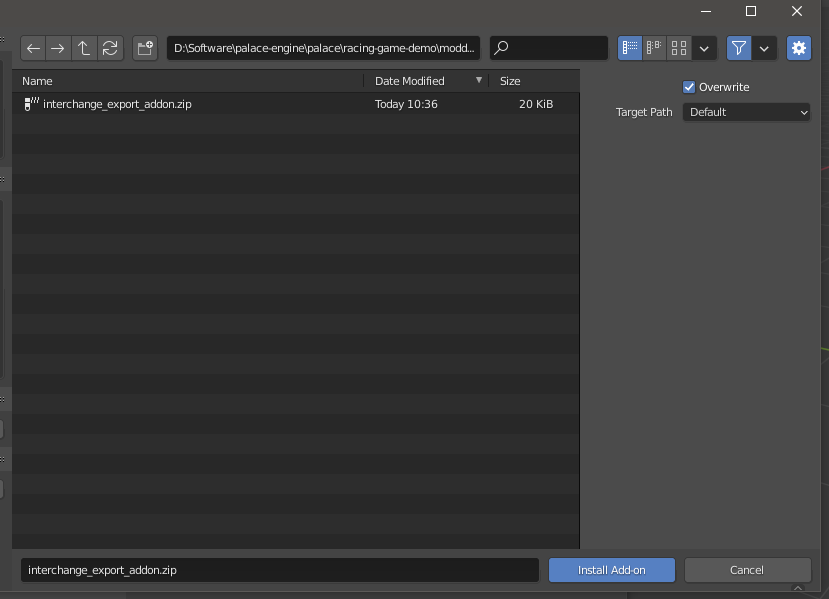
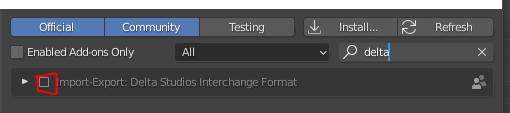
- Enable the plugin by clicking the check next to it in the list of plugins installed. If it's not on the screen, search for "delta" in the search box in the top right of the window


The scene should look something like this:

- Click
File,Save As...and save wherever you like on your computer with a descriptive name - Press
ato select all currently visible objects in the scene - Click
File,Exportand from the dropdown selectDelta Interchange Asset (.dia). If this option doesn't appear, try reinstalling the addon from step 2 - Name the file something descriptive and place it in the
assets/vehicles/folder. Keep all the default settings and pressExport Delta Asset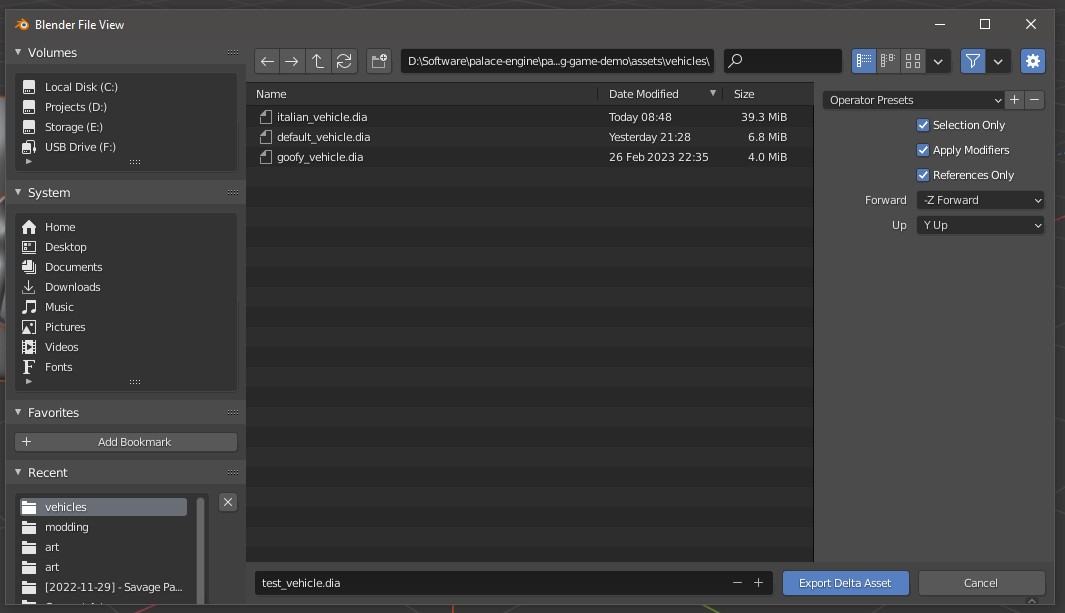
- Change the
vehicle_asset_fileparameter in your vehicle's.mrfile to point to this new asset file
- Follow the steps for changing vehicles above and make sure
main.mrpoints to your new car's.mrfile - Run Cosmospeed


- Hide the
Rigcollection and unhide theVehicleBodycollection in Blender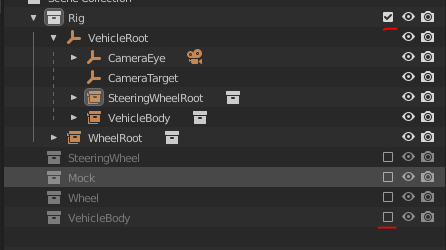
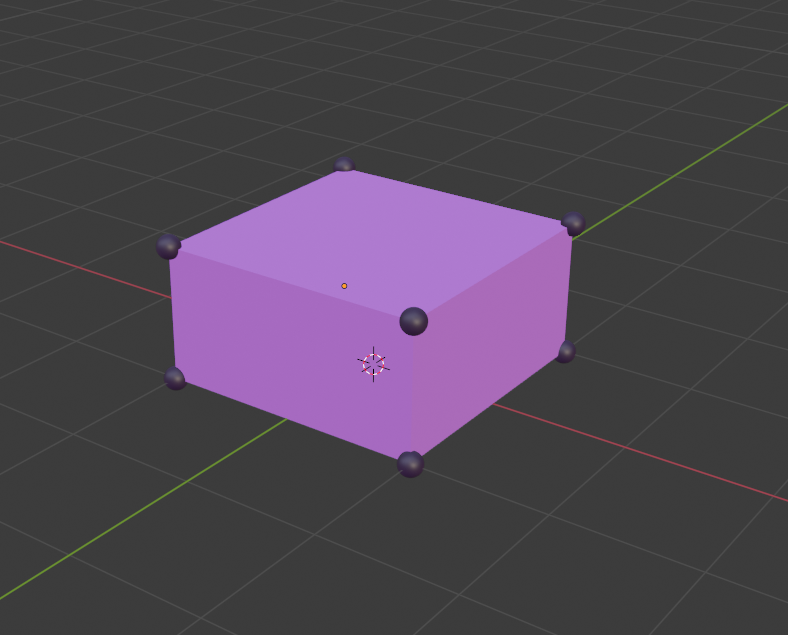
- This collection contains all the geometry that makes up the vehicle's body. By default it is a single sphere. Place and edit geometry as needed to construct a car body. See below for a simple example. IMPORTANT: try to only use regular mesh objects. Modifiers like
Subdivisionare supported but more exotic objects like metaballs or curves may not work as expected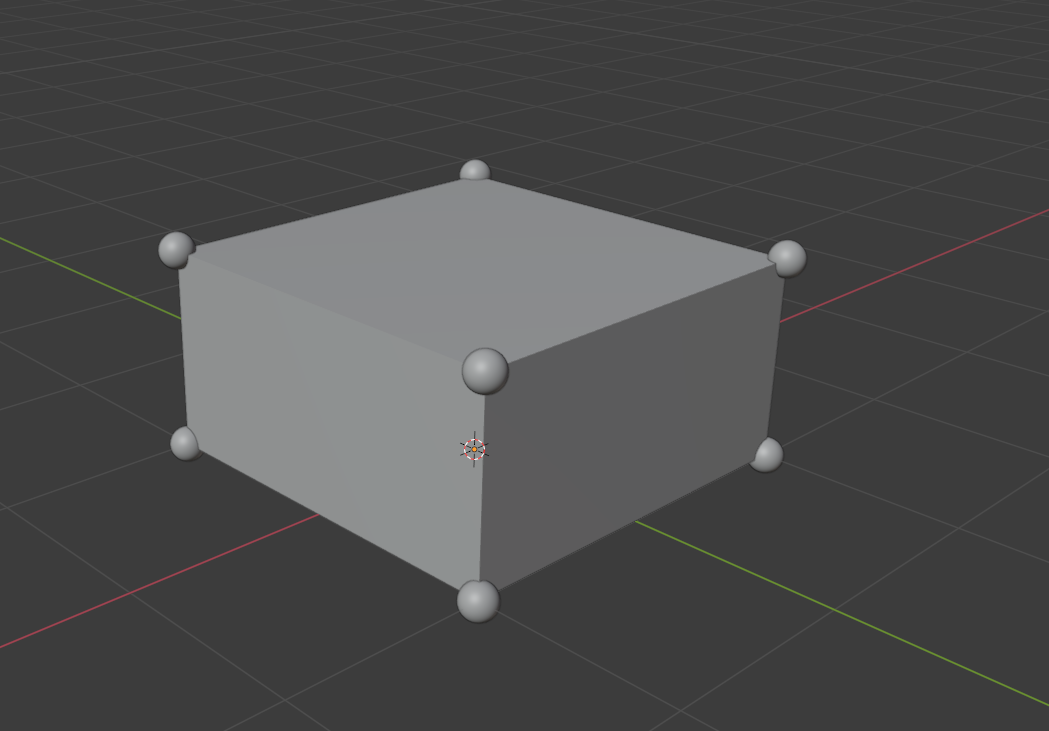 Make sure all objects fall under the
 VehicleBodycollection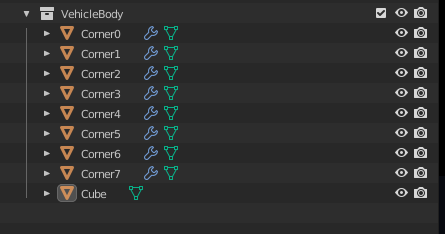
- Switch back to the
Riglayer and hide theVehicleBodylayer. You should now see the new vehicle body in the rig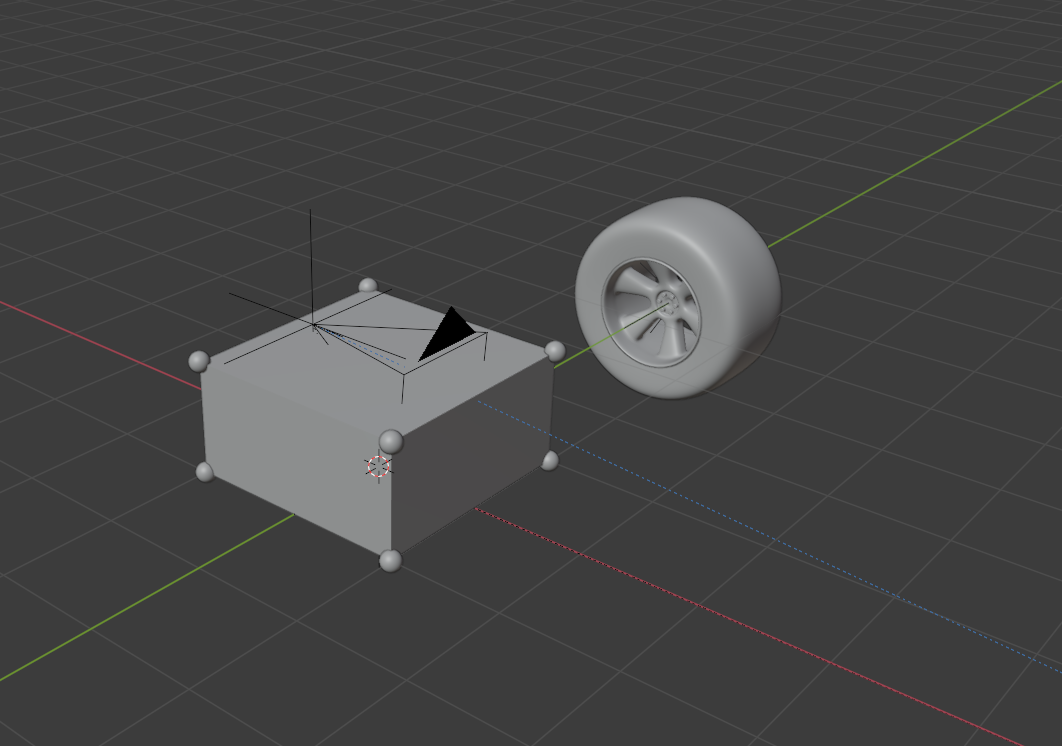
- Select all and export the scene again as was done before
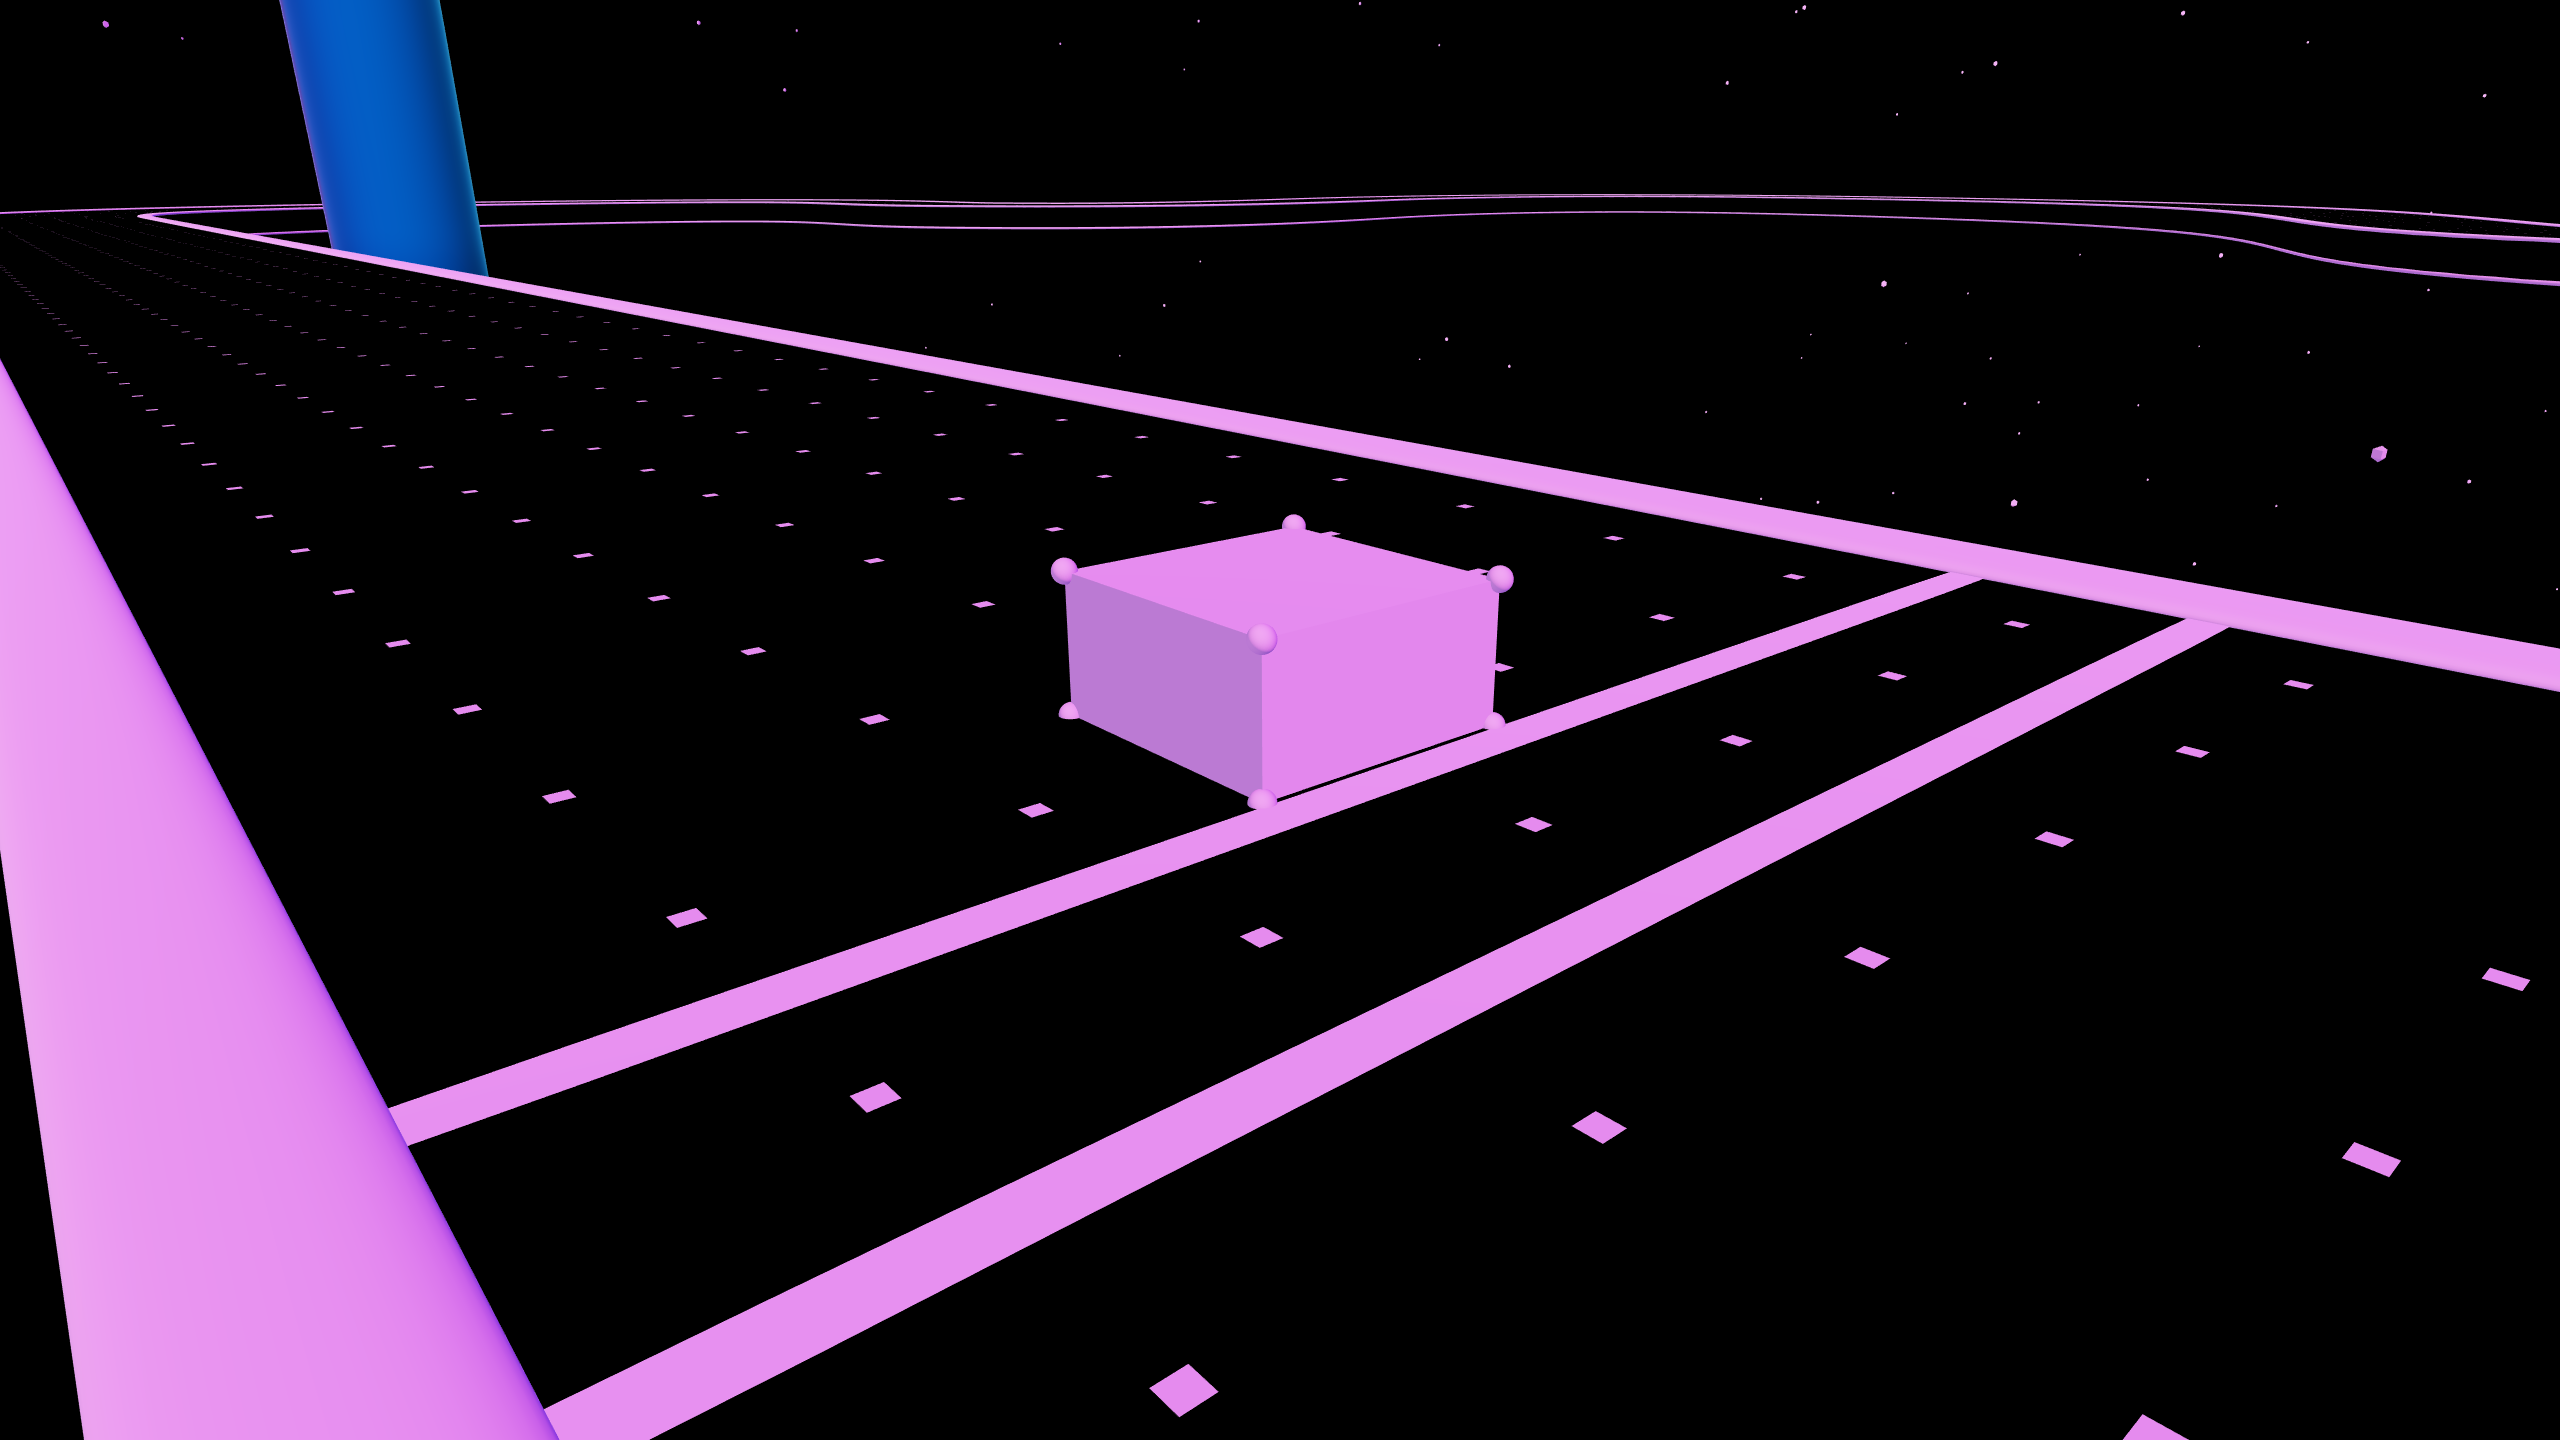
- Run Cosmospeed and confirm that the new car body is now shown in-game


- The steering wheel mesh can be edited in exactly the same way as the car body mesh by modifying the
SteeringWheelcollection shown in theScene Collectionview on the right of the screen - To adjust the cockpit driving position in game, first return to the
Rigcollection - Select the
CameraEyeempty and move it to a suitable location. You can visualize the camera position by pressing 0. IMPORTANT: The camera is there for visualization purposes, do not try to move it as this will have no effect in-game.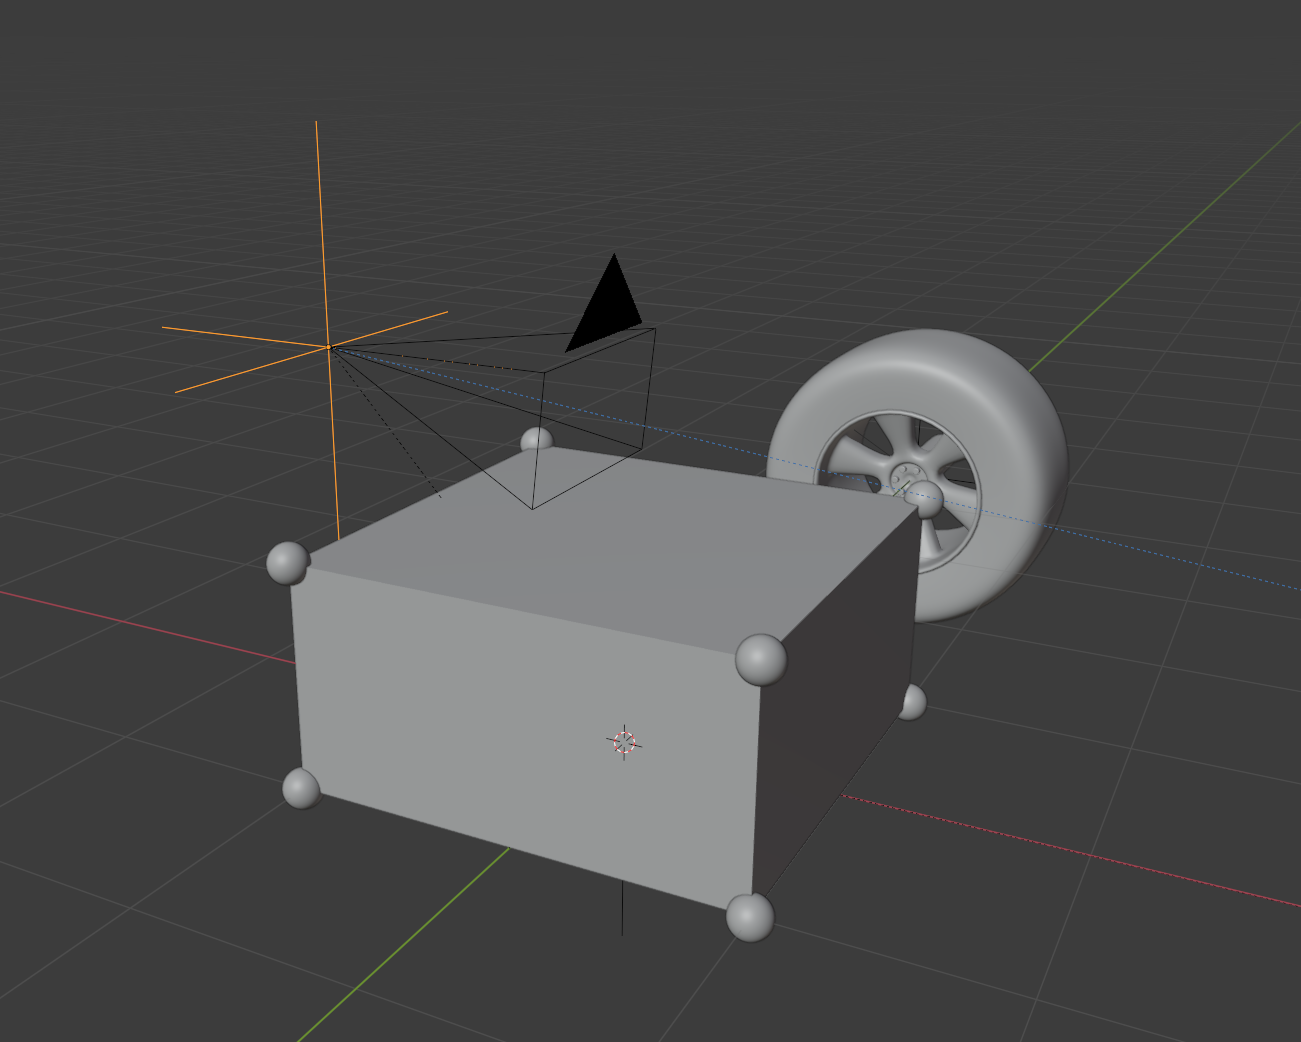
- Once the camera eye is positioned correctly, you can also adjust the camera target by moving the
CameraTargetempty - To adjust the steering wheel position, select the
SteeringWheelRootobject and move it so that the steering wheel is positioned correctly and visible in the camera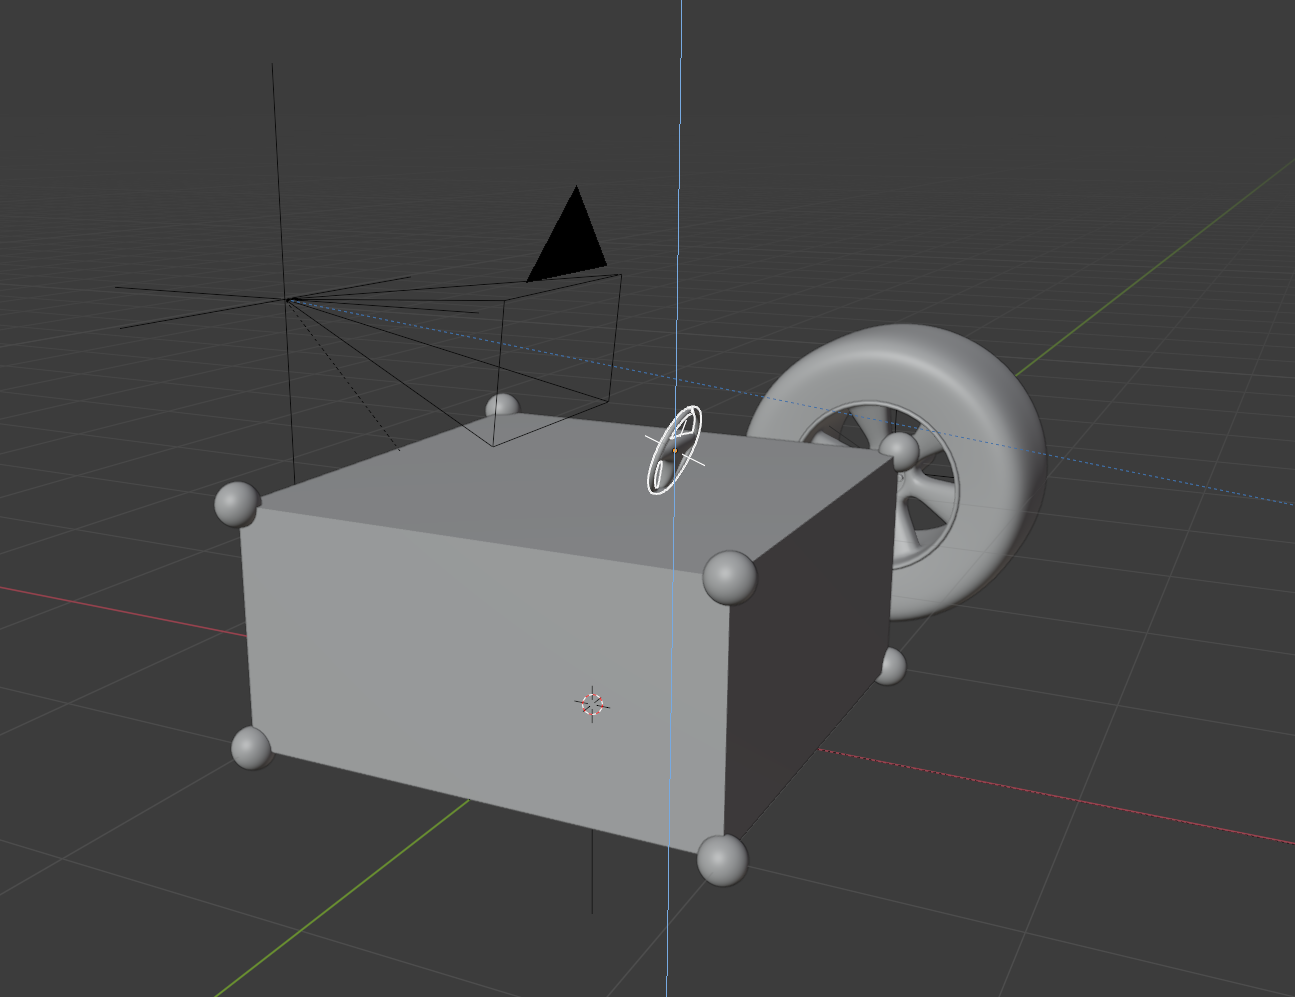
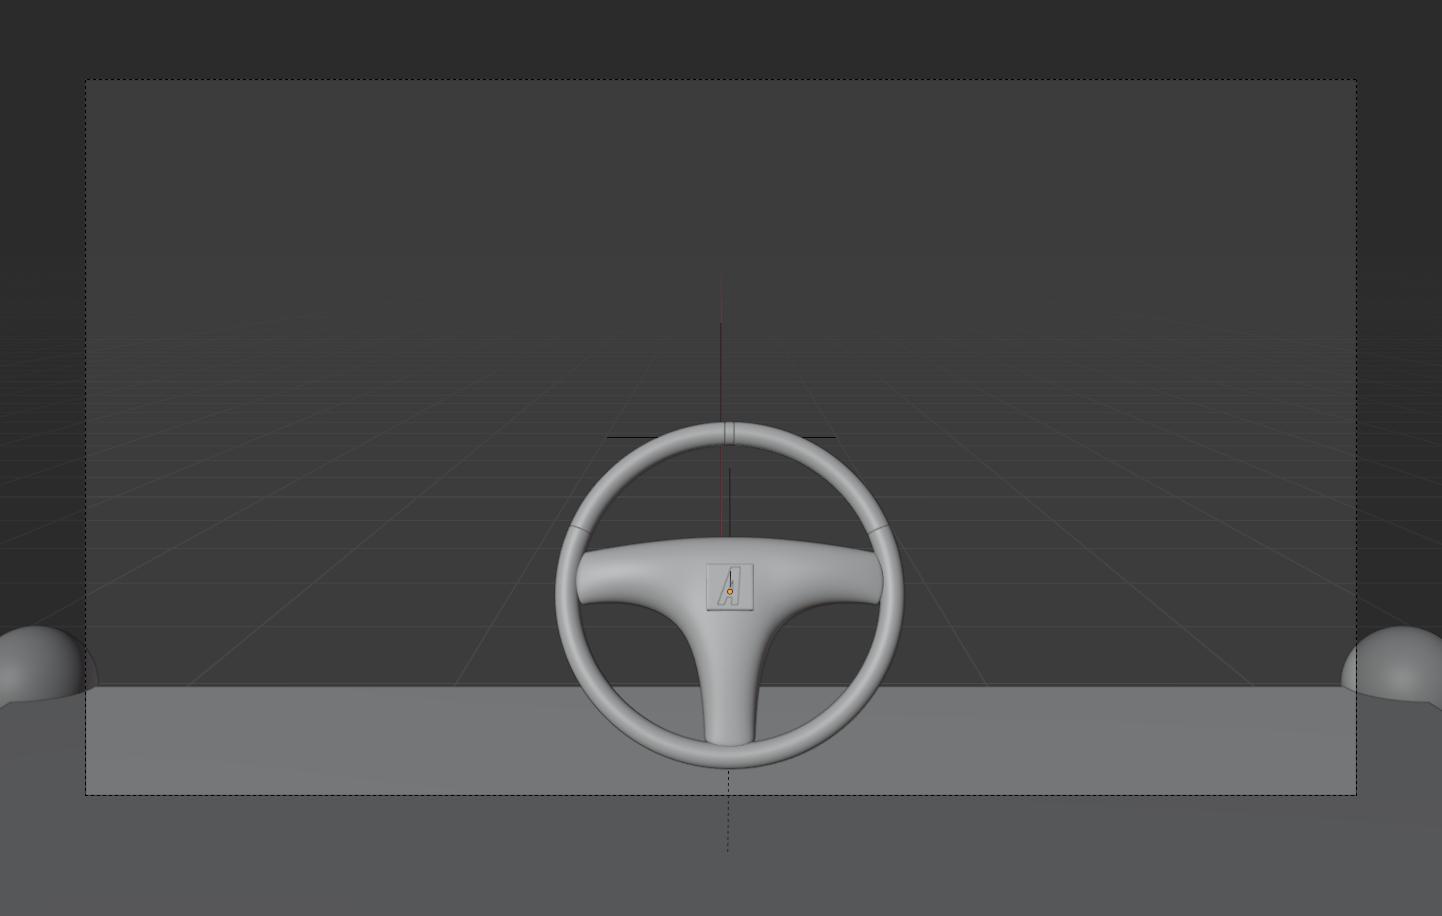
- Export the scene to verify the seating position and steering wheel position in-game


- The wheel mesh can be edited the same way as the steering wheel and car body. No modifications are required in
Rigbecause the game places the tires automatically based on the car's wheelbase and track IMPORTANT: The wheel model MUST have an overall radius of 1 meter, otherwise it will not appear to be the correct size in-game. Follow the wheel model in thevehicle_template.blendas an example
- Cosmospeed uses the same scale as Blender, so 1 meter in Blender will equate to 1 meter in-game. It is better to keep your car model in-line with real-world measurements for this reason
- You will sometimes need to adjust the position of the vehicle model in order to align it with the vehicle in-game. A useful rule to remember is the
VehicleRootempty will always be at the exact center of the 4 wheels in-game (and at z=0)
- Cosmospeed supports a small number of builtin materials. These are conveniently listed in the
Materialscollection. Assign these materials to your objects to color your model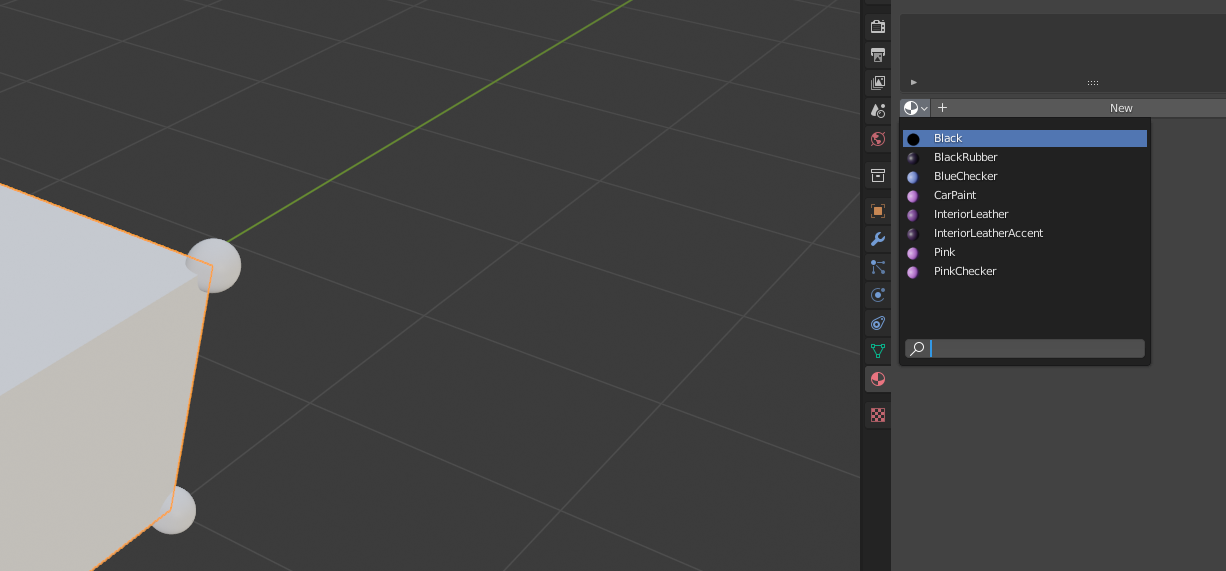
 The material names assigned in Blender will be mapped to the builtin materials in Cosmospeed


If something didn't work as expected in this tutorial, please create an issue in this GitHub repo and @AngeTheGreat will take a look.