There are 2 ways :
- You can directly use codes in
darknetfolder. (You may need follow tutorial on the websit shown in the second way on Windows platform to recompile) - You can simply delete existed
darknetfolder and rungit clone https://github.com/AlexeyAB/darknet.gitin the same folder. Then you can follow the tutorial on this website https://github.com/AlexeyAB/darknet .
-
Put all of images in
darknet/train/or any other path you like. -
For each one of images, generate a
.txtfile with same name in which is like this:0 0.6895424836601307 0.44140625 0.05147058823529412 0.0693359375 0 0.31147875816993464 0.47998046875 0.05024509803921569 0.0732421875Meaning of each number:
- Class number
- The x-coordinate of normalized center point
- The y-coordinate of normalized center point
- The x-coordinate of normalized target's width
- The x-coordinate of normalized target's height
You can easily get tutorial about this by Google.
-
Generate a txt file in which each line is a path to an image for training. Name it as
train.txt -
Prepare validation set in the same way.
-
Create
obj.namefile in which each line corresponds to the name of each class number.
Contact me if you want to try industrial abnormal data.
-
Open
darknet/Makefileand you can set your compile configurations.GPU=0 CUDNN=0 OPENCV=0 OPENMP=0 DEBUG=0
0 means disabling this option, and 1 means enabling.
-
Open
darknet/cfg/. Then you can see a lot of yolo models. Choose one of them, for exampleyolov3.cfg. At the beginning, you set model parameters. Here are some parameters you may change:# Testing uncomment following two lines when testing # batch=1 # subdivisions=1 # Training batch=64 subdivisions=64 width=416 height=416
ATTENTION Most important part to set is the class number. There are three
[yolo]part in the model. Change all of theirclassesto yours and set all of thefiltersin[convoluntional]parts just before[yolo]to be3*(classes+1+4). -
Create
obj.dataand its content is like following:classes= 1 # number of classes train = ./train.txt # path to train set folder valid = ./train.txt # path to valid set folder names = ./obj.names # path to obj.names created in previous step backup = ./output/ # path to folder which save the model weights
-
Download pre-trained weights by https://pjreddie.com/media/files/darknet53.conv.74.
-
run command in
darknetfolder (Mac or Linux)It will generate train log in
train.log./darknet detector train obj.data cfg/yolov3.cfg darknet53.conv.74 >> train.log
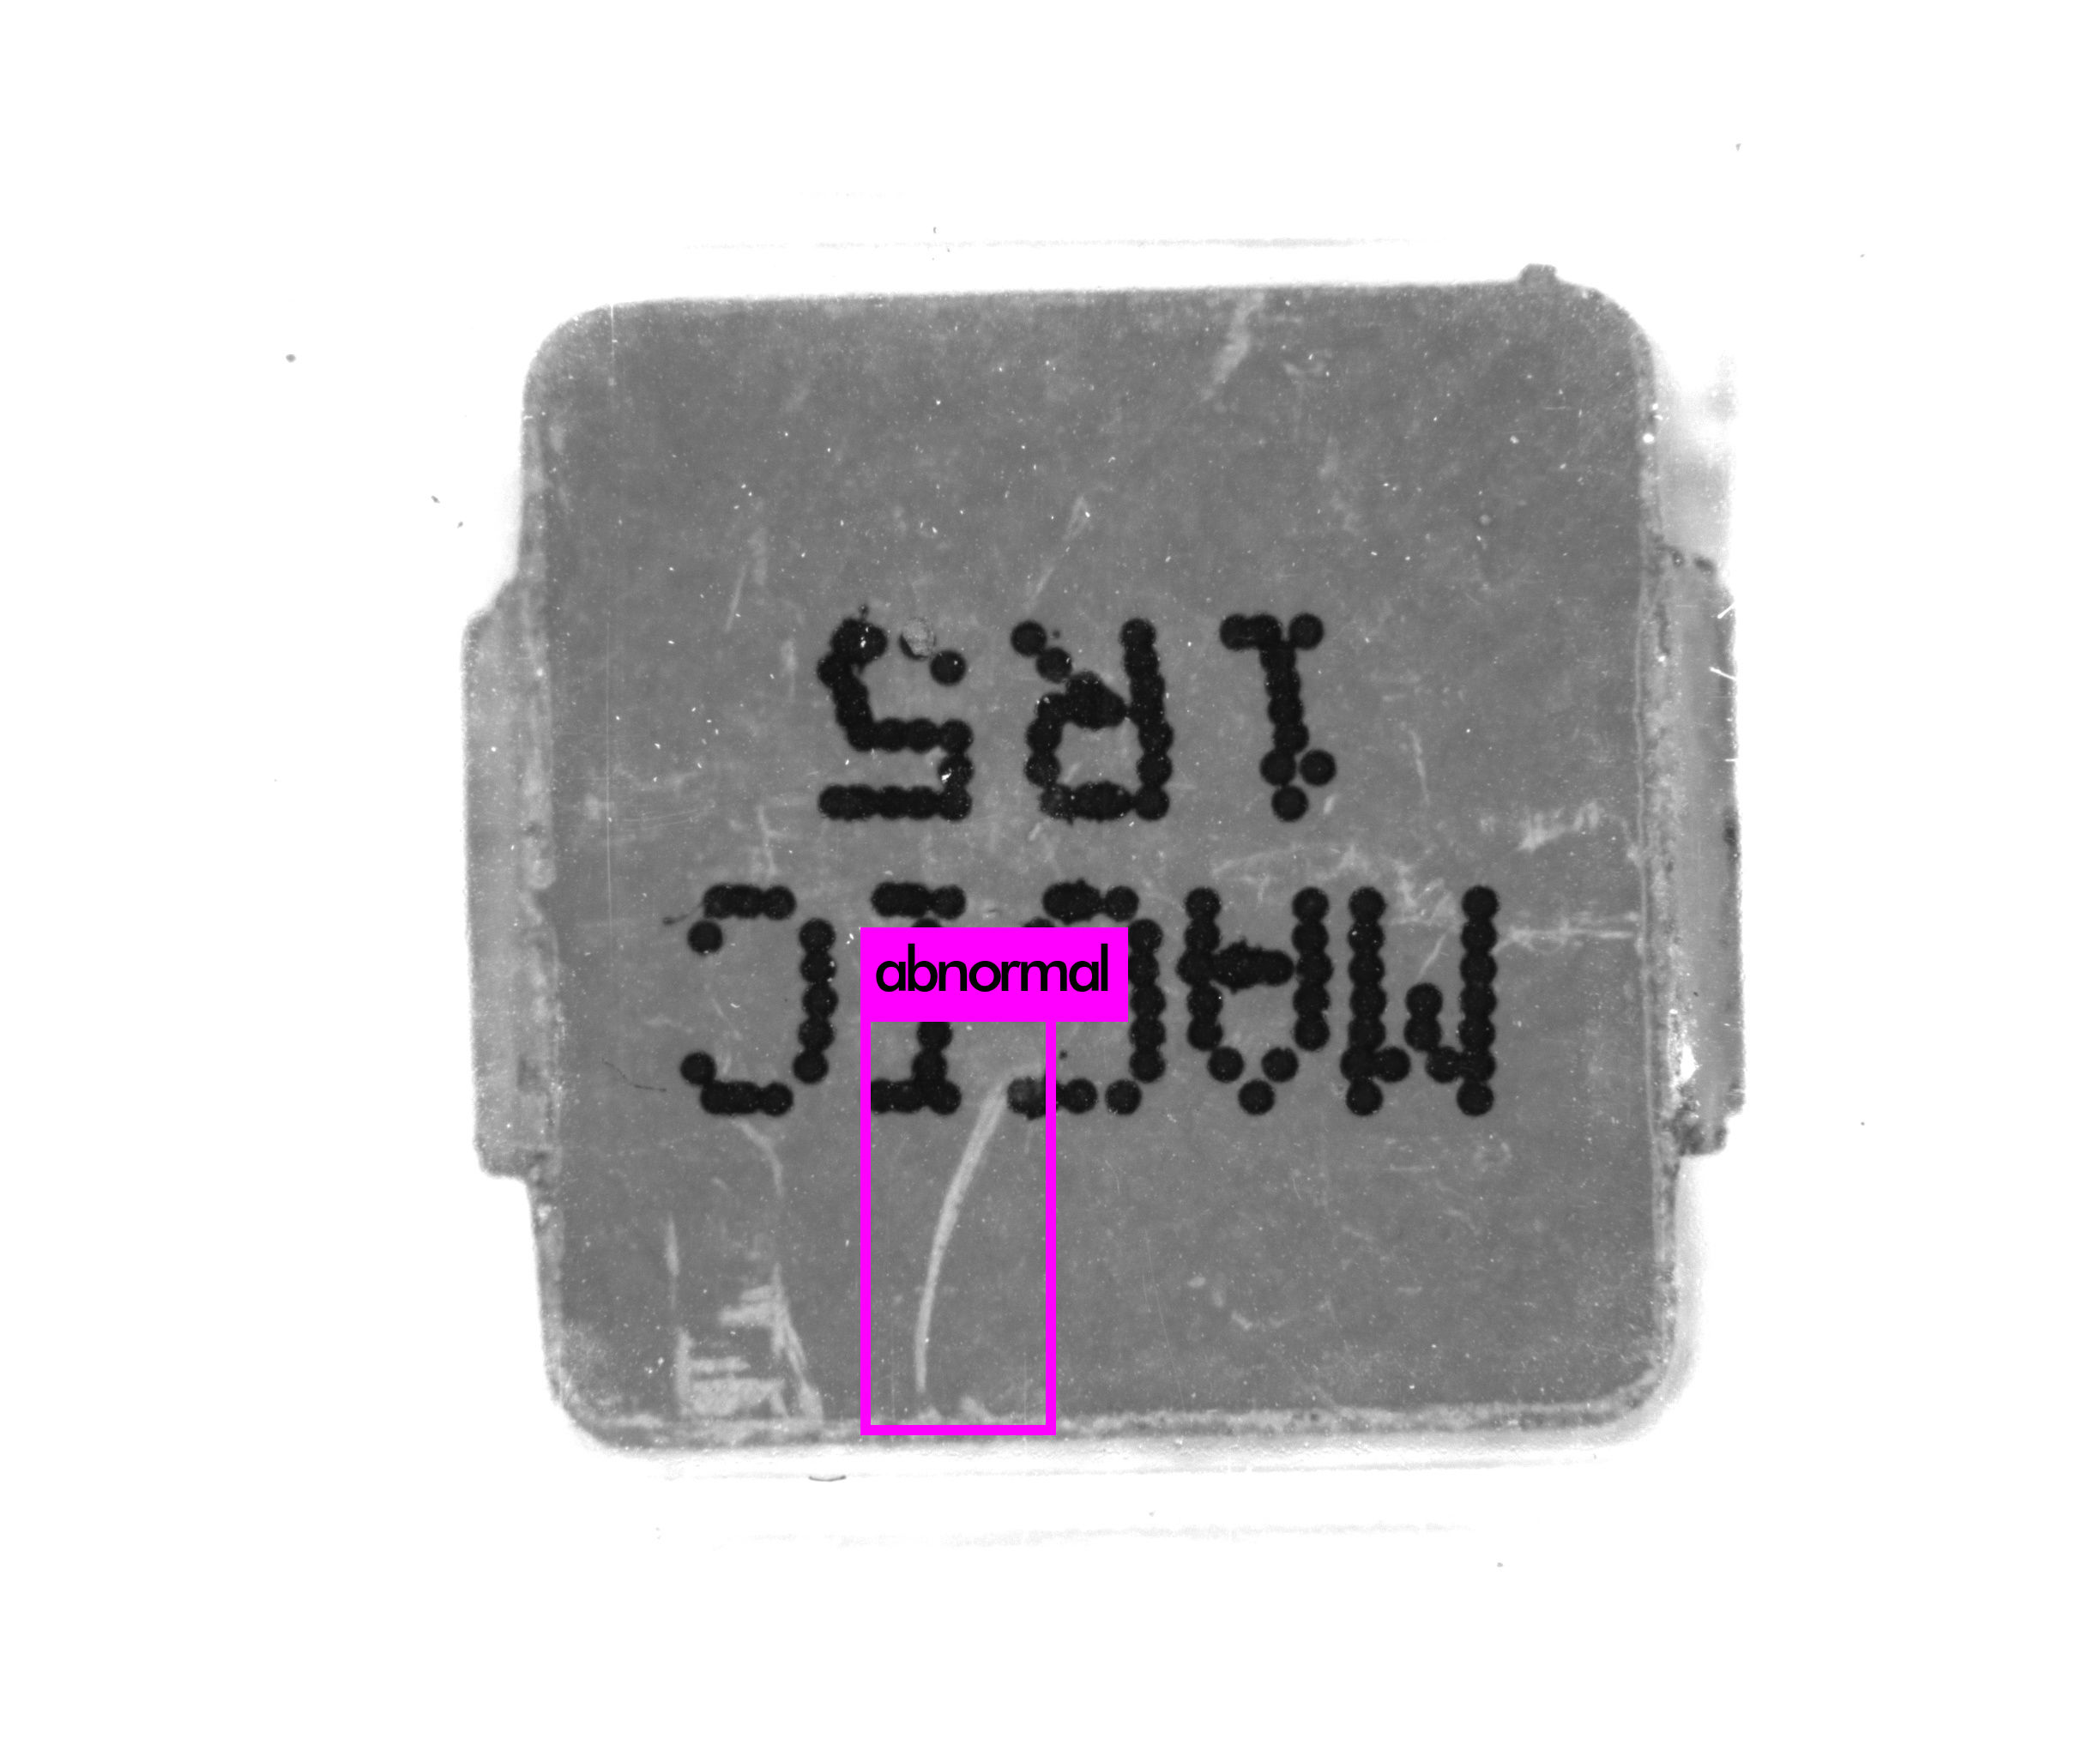
The model weights are in the path you set in obj.data. You can just use following command to test one image
./darknet detector test obj.data cfg/yolov3.cfg output/yolov3_1000.weights train/20190628141831095.jpg
-
Run
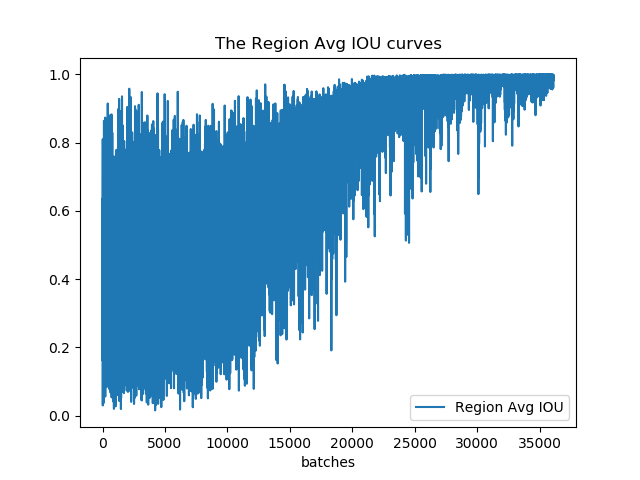
python log_transformer.pyto transform train log. -
Run
python iou_draw.pyto visualize IOU.
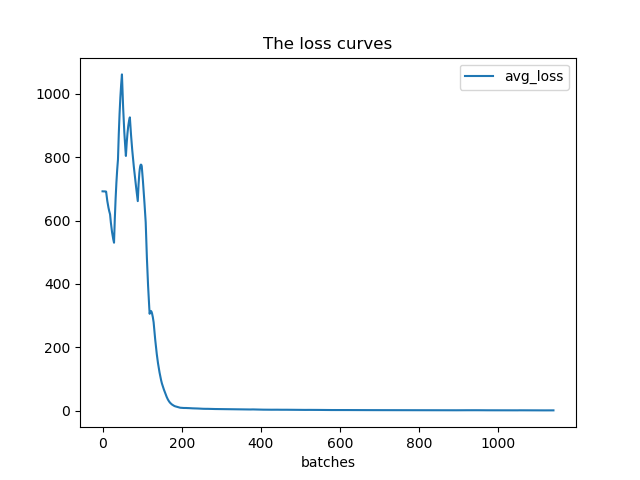
-
Run
python loss_draw.pyto visualize loss.
-
Run command
./darknet detector valid obj.data cfg/yolov3.cfg output/yolov3_200.weightsYou can find valid results in
darknet/results/comp4_det_test_abnormal.txtThe content looks like following:
20190628144629832 0.182705 177.825806 588.880005 2448.000000 749.905396
20190628144629832 0.096559 1019.806885 1163.286255 1929.701904 1384.190796
20190628144629832 0.095504 1.000000 153.420364 2448.000000 643.597717
20190628144629832 0.088120 1005.774109 885.752563 1432.554199 1645.059204
20190628144629832 0.081529 978.469360 294.323853 1779.933472 2048.000000
Meaning of numbers:
- Time
- Confidence Ratio
- The x-coordinate of left-top point
- The y-coordinate of left-top point
- The x-coordinate of right-bottom point
- The y-coordinate of right-bottom point
-
Copy
.txtfile of each validation sample intodarknet/lables/ -
Run
python convert_gt.pyto transform coordinates. -
Run
python convert_results.pyto transform validation log. -
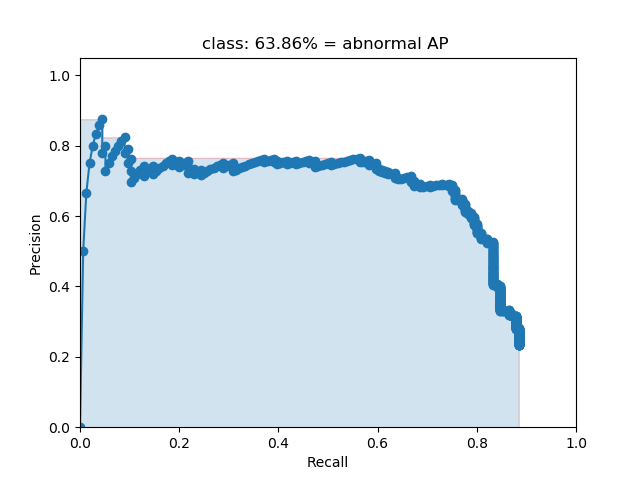
Visualization part is based on mAP.
Run
cd mAP/scripts/extrapython intersect-gt-and-dr.pyto get the intersection of validation results and ground truth. -
Then goto
mAPfolder and runpython main.py. You can see several analysis results in folderresults.

