
Use @GladysProject to Control your Spotify Premium account with Spotify Connect
- Have a Spotify developer account
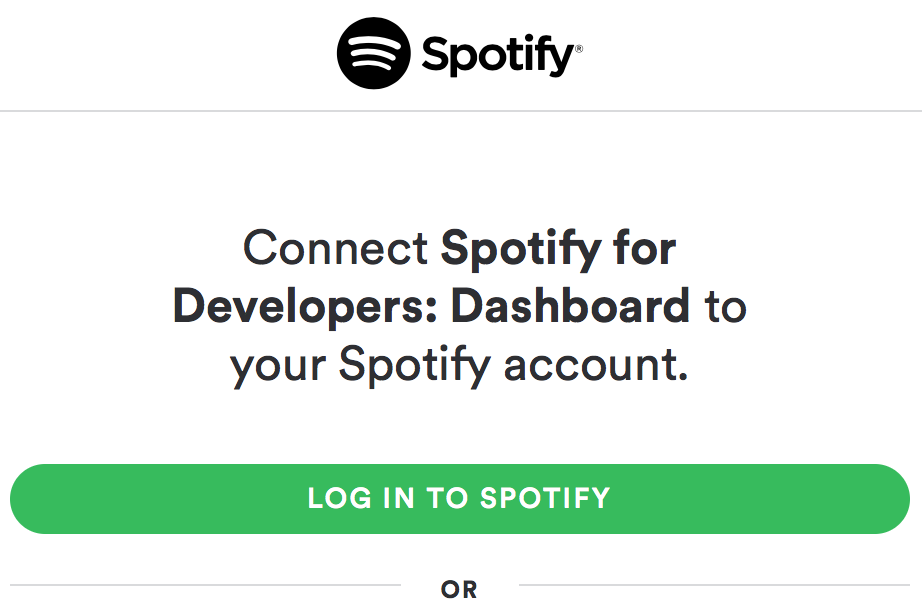
Clic on this link and log into the developer space
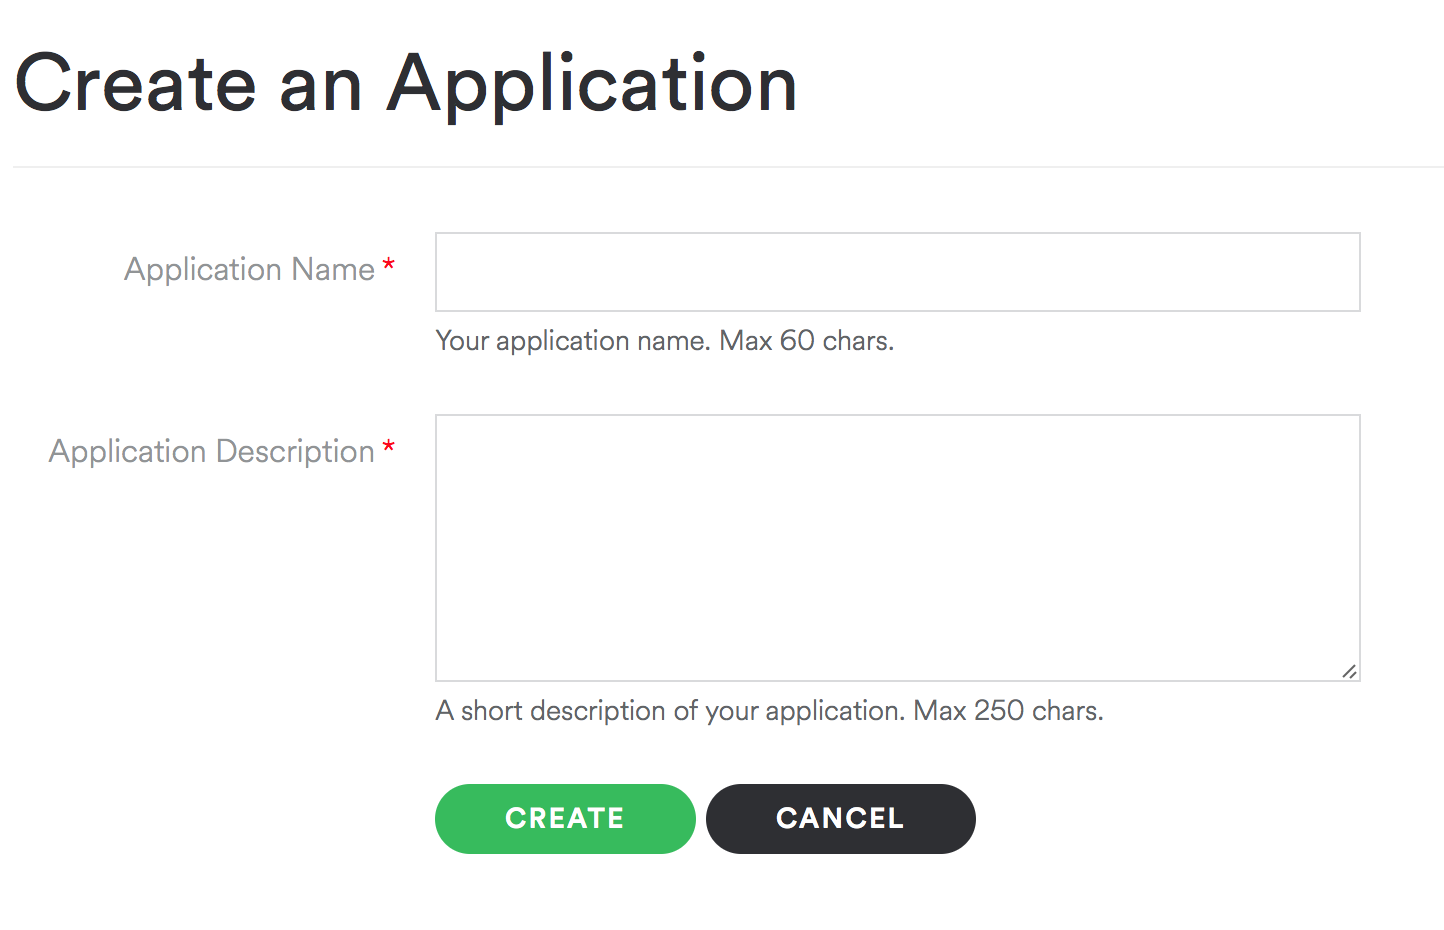
- Create a Spotify App
On your developer space, clic on the button « create an app » and follow the instruction.

- Set the Redirect URI
Then add your Redirect URI including your RasberryPi address. You can follow this example : https:<your—rpi-ip>spotify
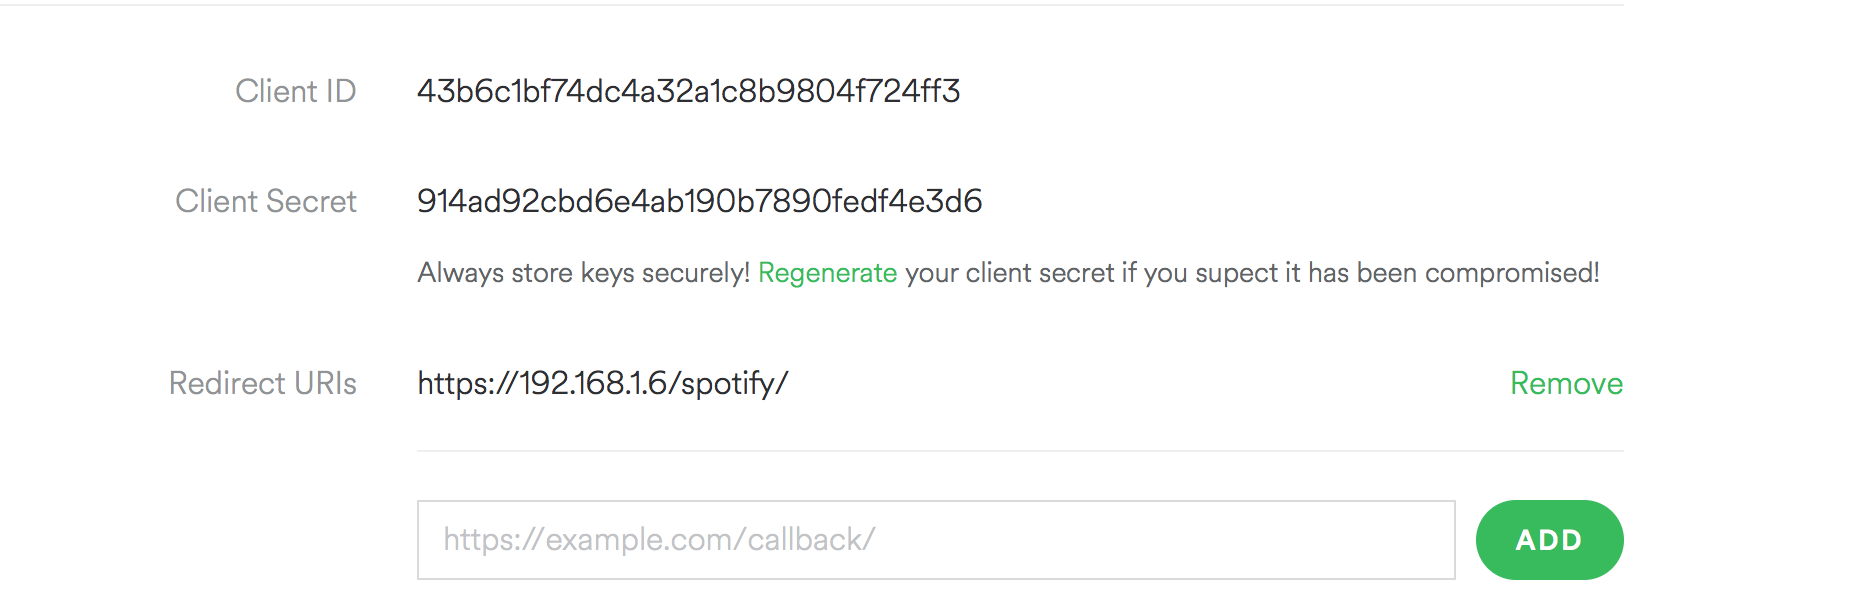 DON’T FORGET TO SAVE YOUR CONFIGURATION !


From your Gladys interface, go to the « Modules » view, then clic on the « Advanced » tab.
| Name | Version | Depot | Slug | |
|---|---|---|---|---|
| Gladys Spotify | 1.0.0 | https://github.com/AdrienDesola/gladys-spotify-2.git | gladys-spotify | Install |
| Click on install | ||||
| You don’t need to restart. |
Clic on this link in your app to join your app and find your ID.
Again from your Gladys interface, go to the « Settings » view, then clic on the « Settings » tab.
 Fill the settings with the following information
 Finally restart Gladys
 Clic on the « Modules » view and on the button « Set »
After clicking on the button « set » you will receive a link in your Gladys’ logs by using the SSH method.
Clic on the « Modules » view and on the button « Set »
After clicking on the button « set » you will receive a link in your Gladys’ logs by using the SSH method.
Allow your Spotify Account by click on this url :* And follow the instruction. Congratulation your Gladys are configured ! You can test if everything works properly in the « Scripts » view.
gladys.music.playPlaylist({context_uri: 'spotify:album:4ydl8Ci7OsndhI2ALnrpIv'})
Connect any RPI device and execute this command :
curl -sL https://dtcooper.github.io/raspotify/install.sh | sh
As the author would say : « Spotify Connect client for the Raspberry Pi that Just Works™. »
For more information about Raspotify
