PyEditorial
A free, open-source Blog CMS based on the "Django" and "Editorial" HTML5 theme.


Features
- Has a "Blog" section to create and edit a blog + Blog Category
- Has a "Videocast" section to create and edit a videocast + Videocast Category
- Has a "Podcast" section to create and edit a podcast + Podcast Category
- Has a "Skill" section to create and edit a skill
- Has a "CONSTANCE" Section to manage dynamic Django settings (Blog title, Social Networks links and ...)
- Displays the list of Blog posts as paged in archive
- Displays the list of Videocast as paged in archive
- Displays the list of podcast as paged in archive
- Used "Django Admin" to manage all models
- Used "Editorial" theme by HTML5 UP
- Used "Sqlite" to create DB
- Used "CKEditor"
Screenshots
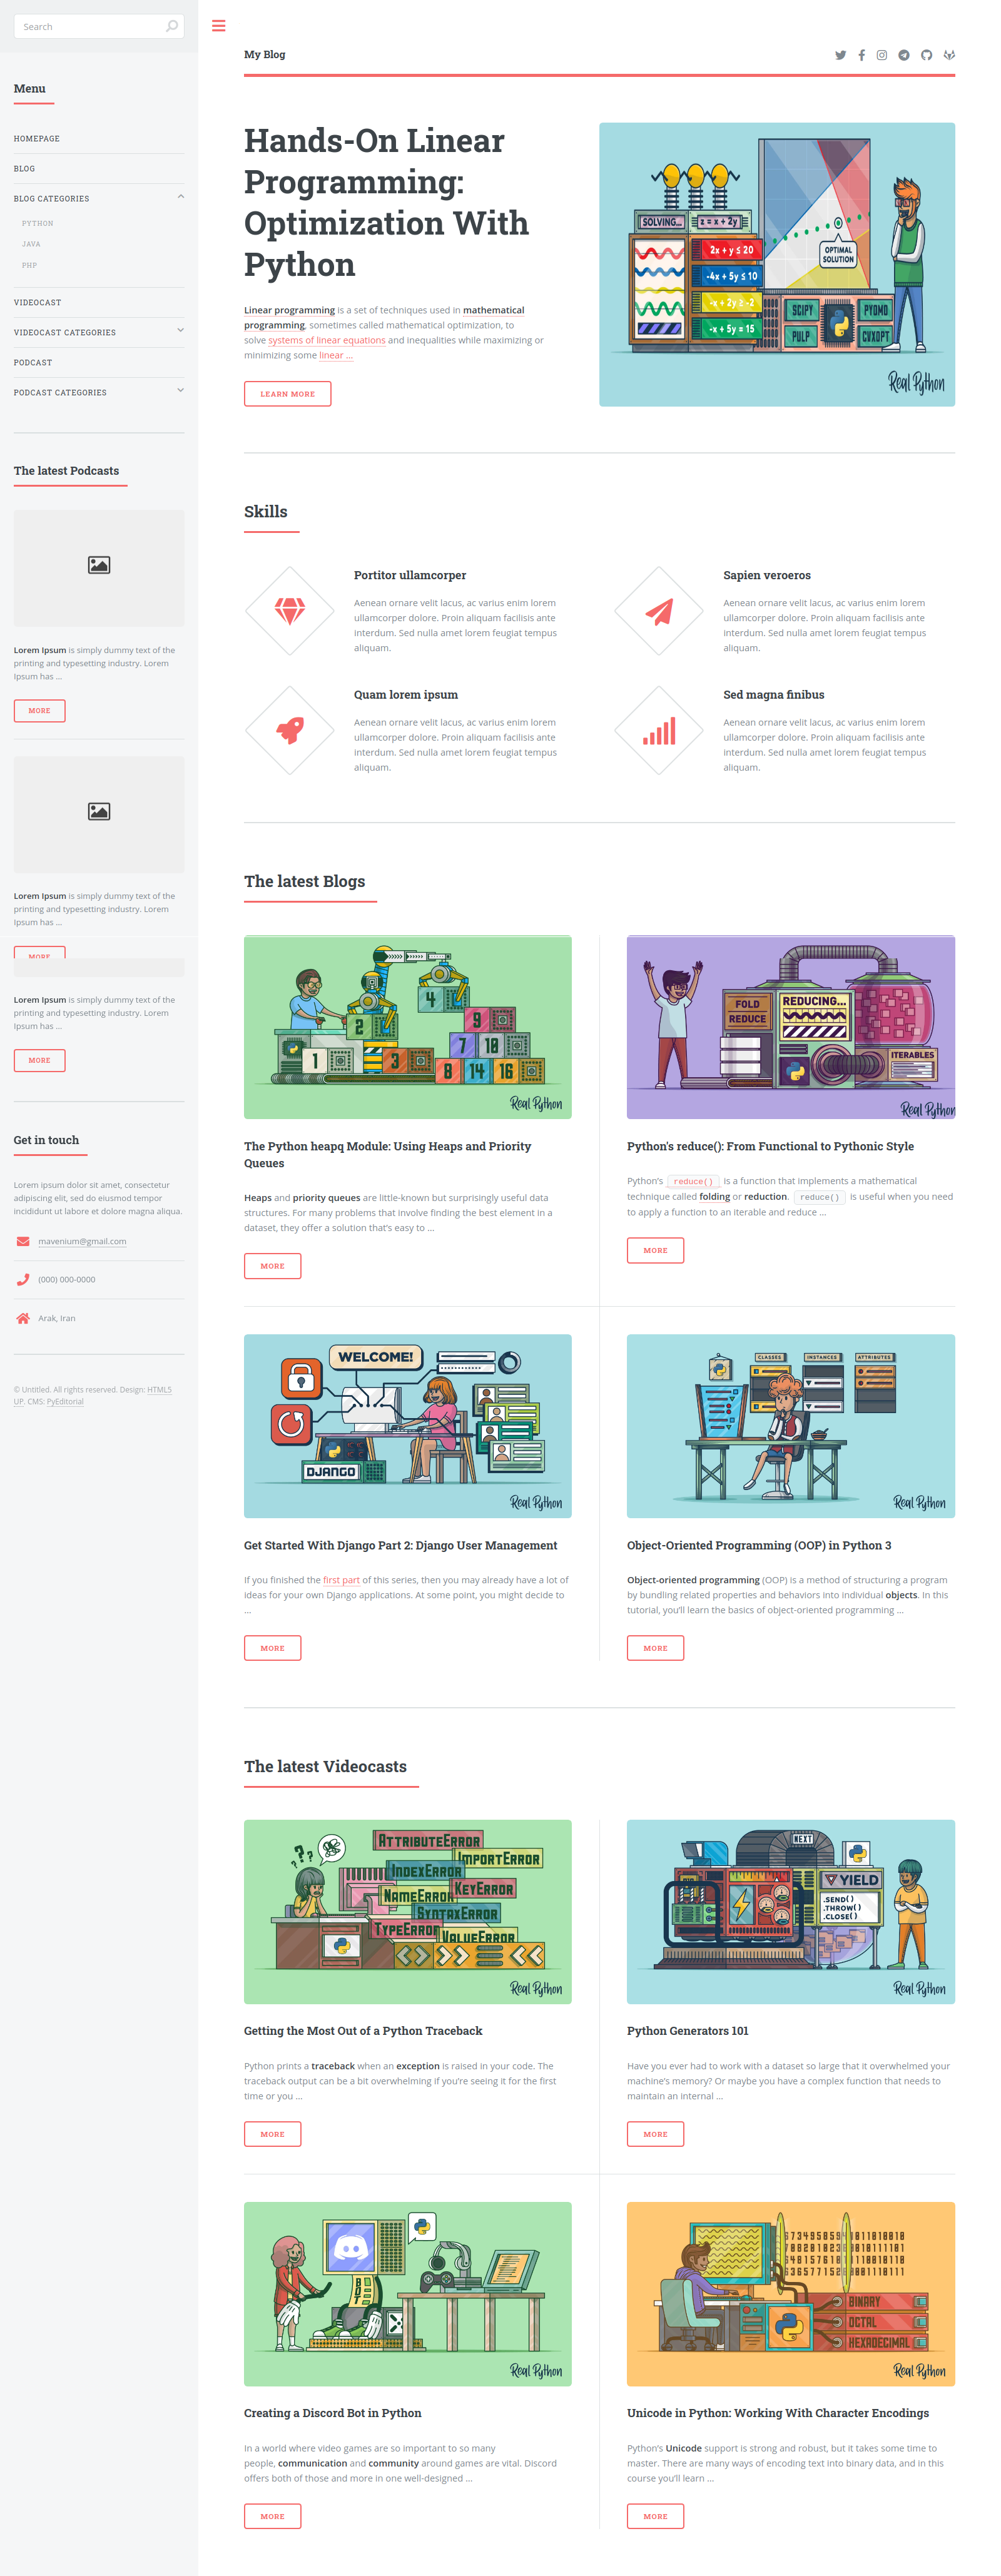
Index Page

Archive Page

Blog Single Page
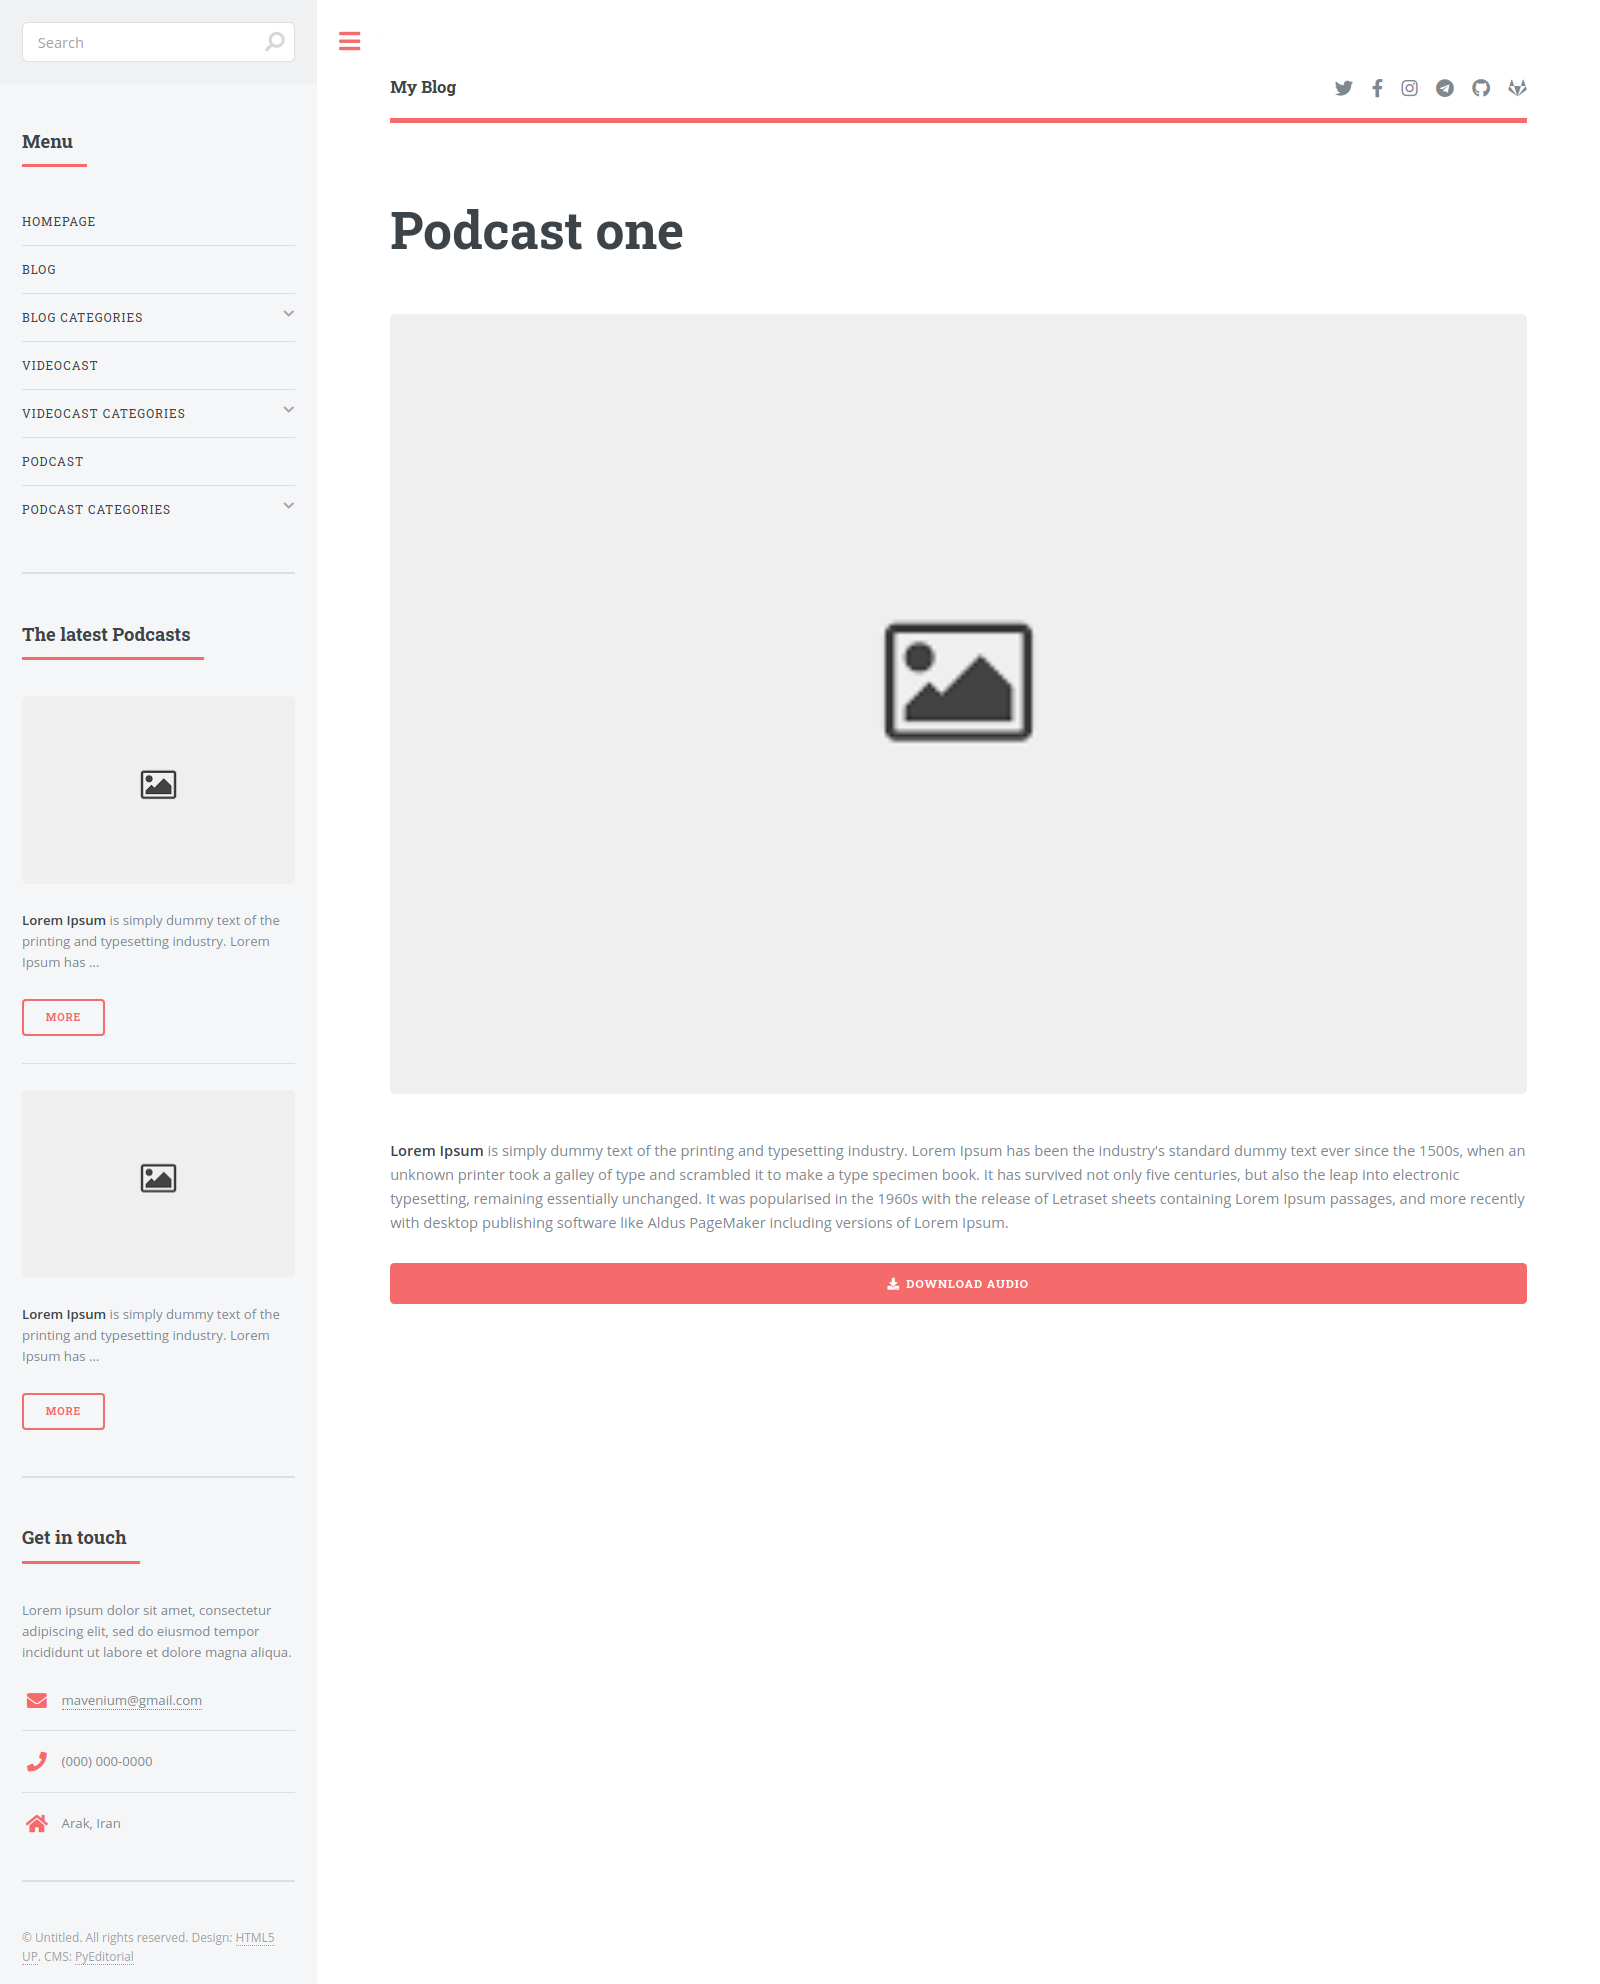
Podcast Single Page
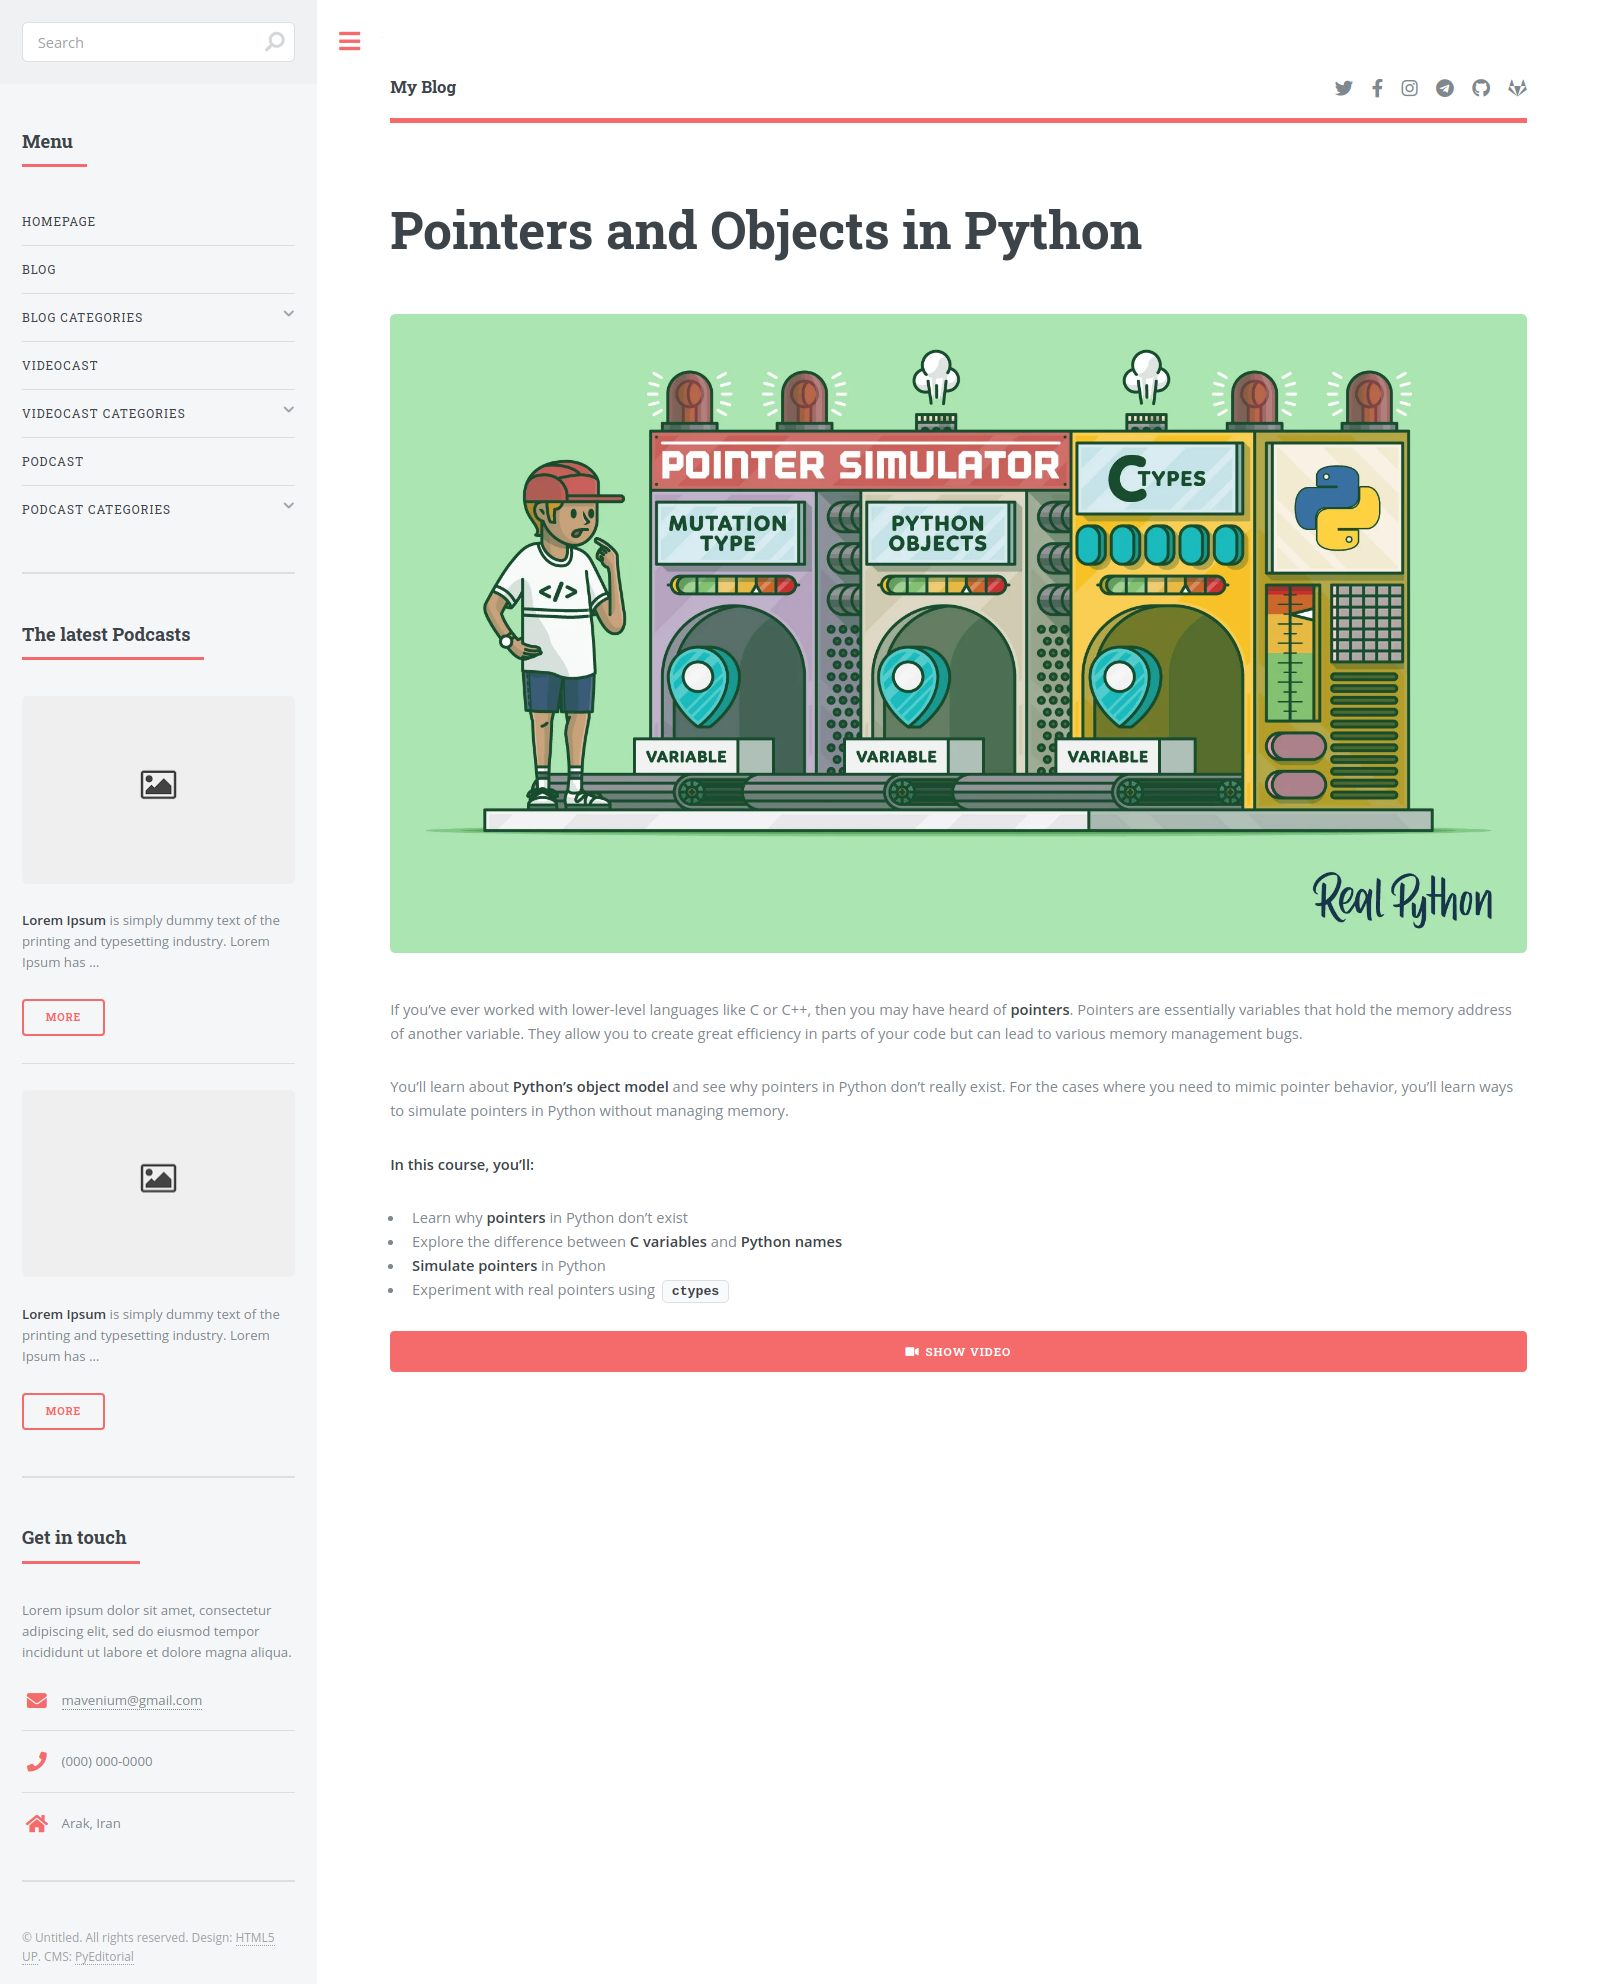
Videocast Single Page
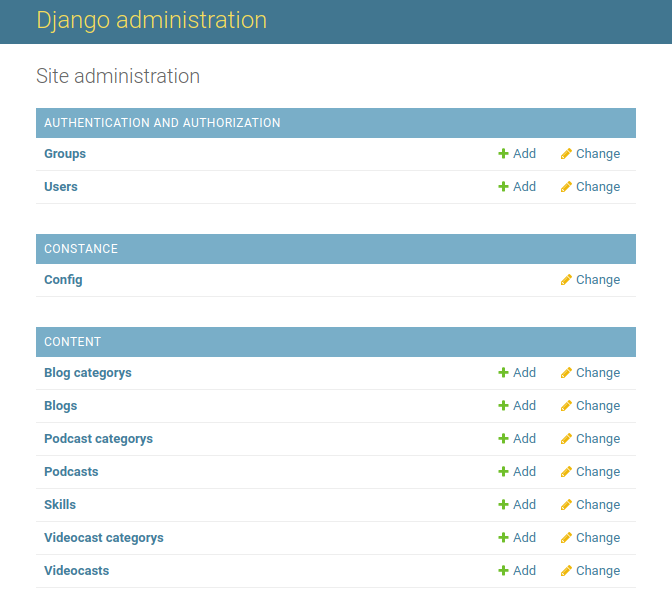
Admin Area
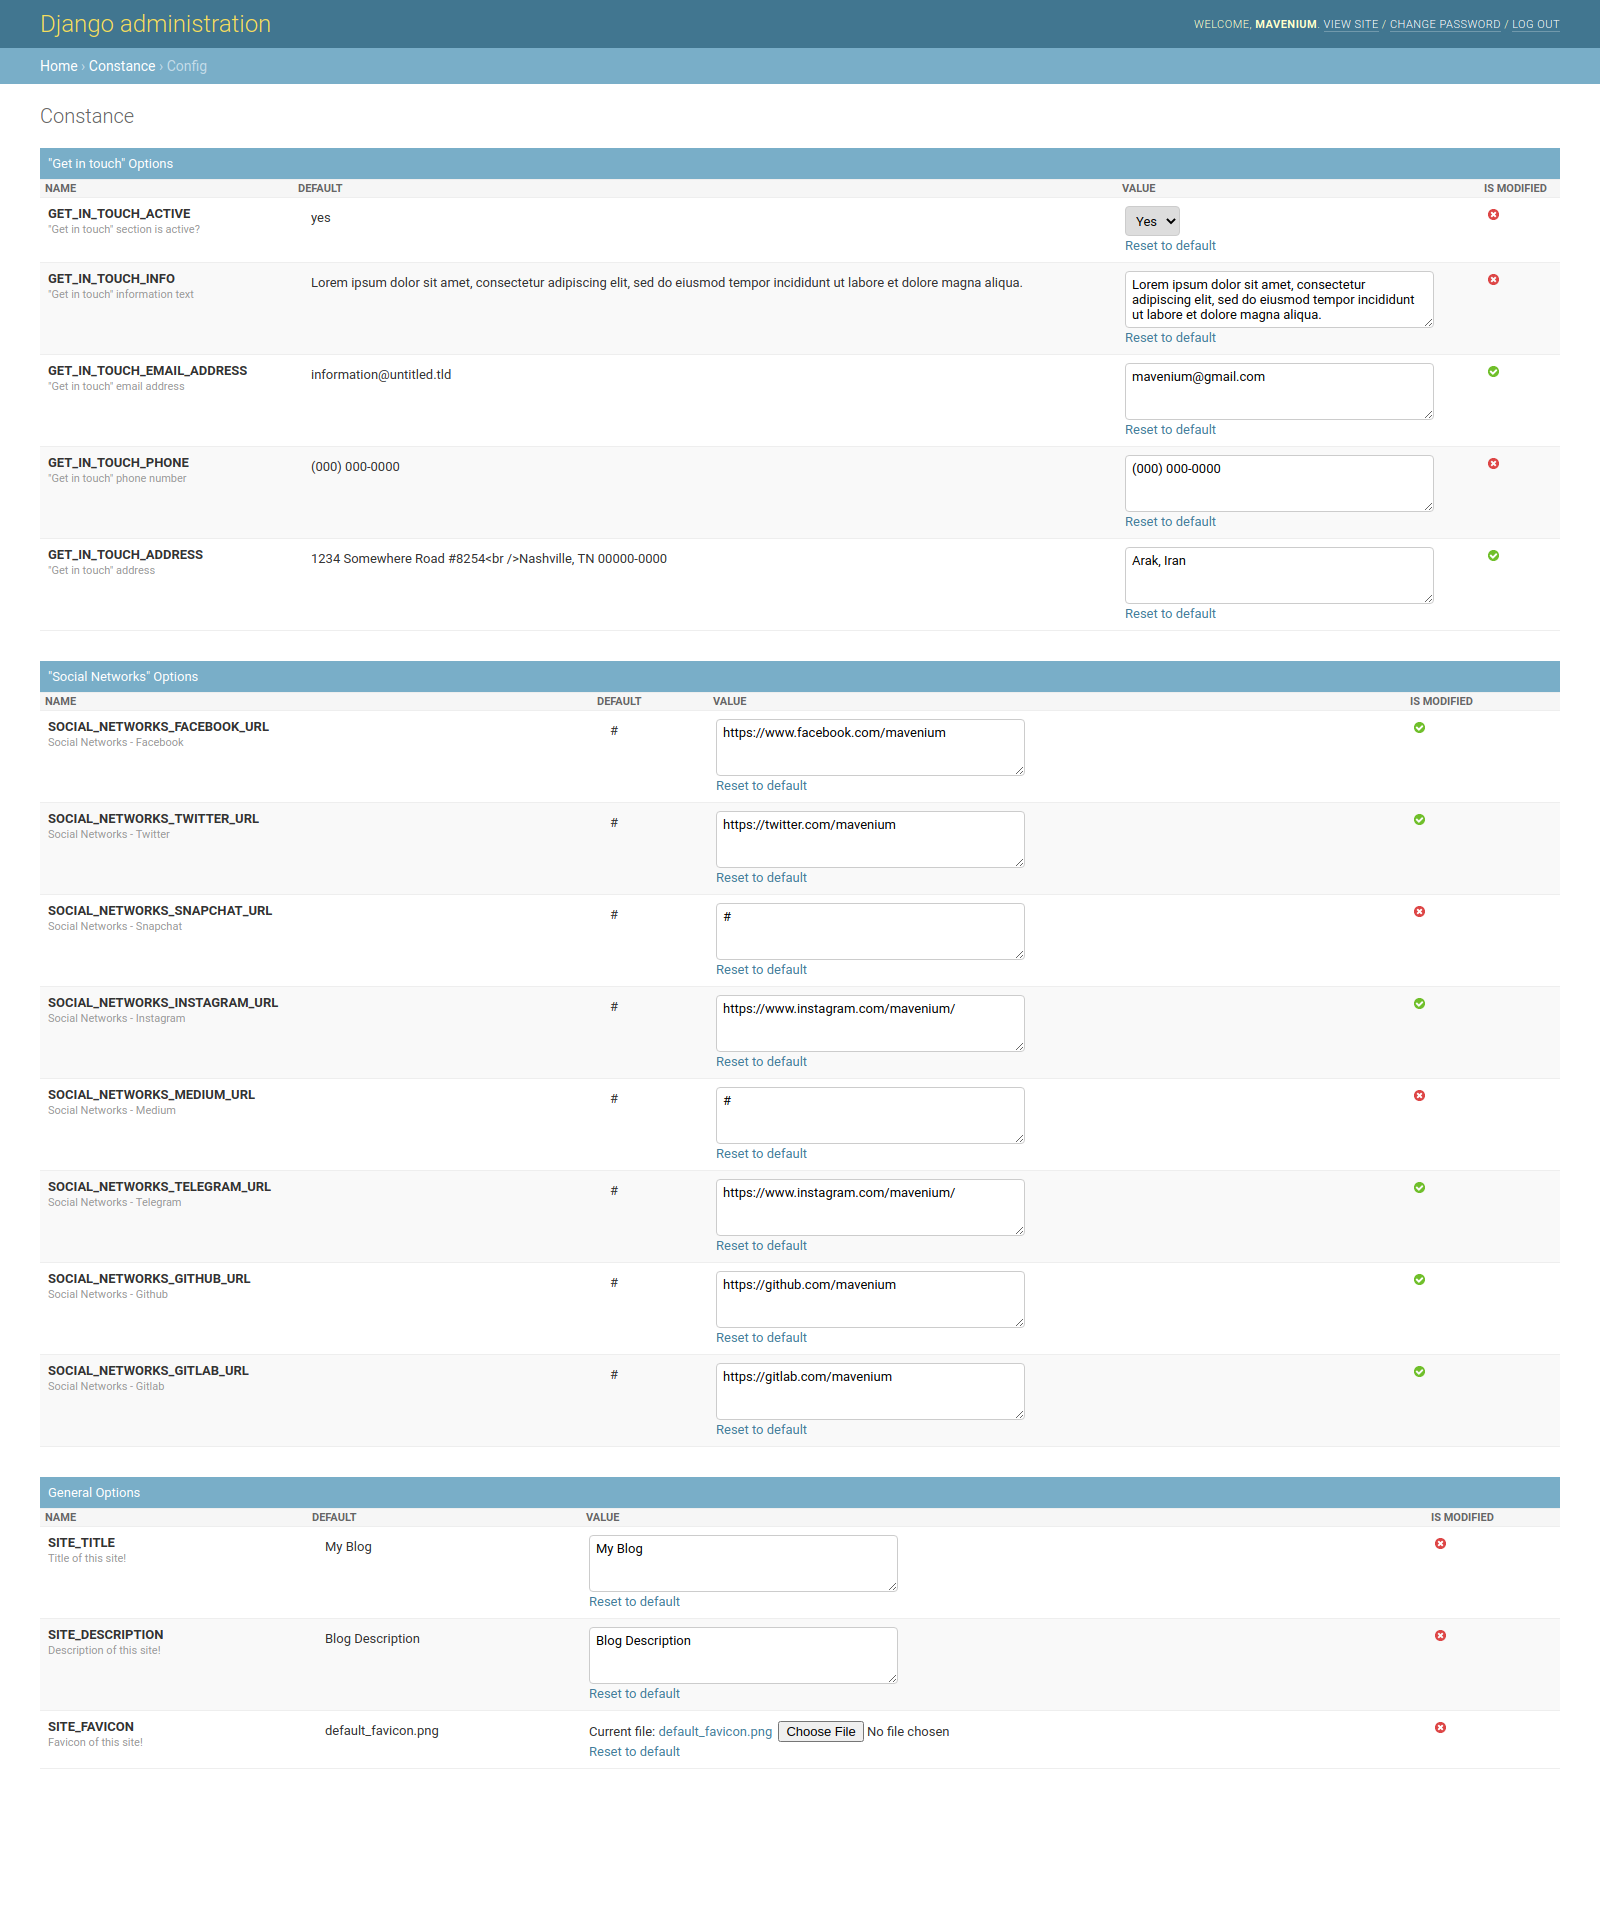
Dynamic Django Settings
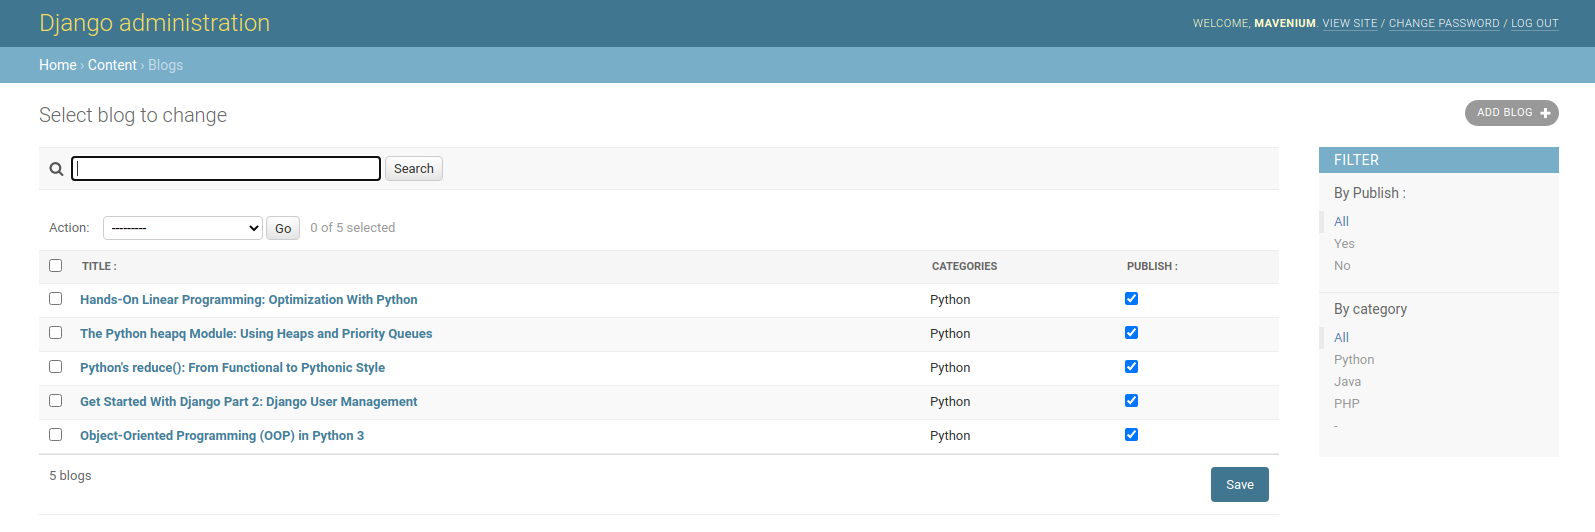
Blog Section
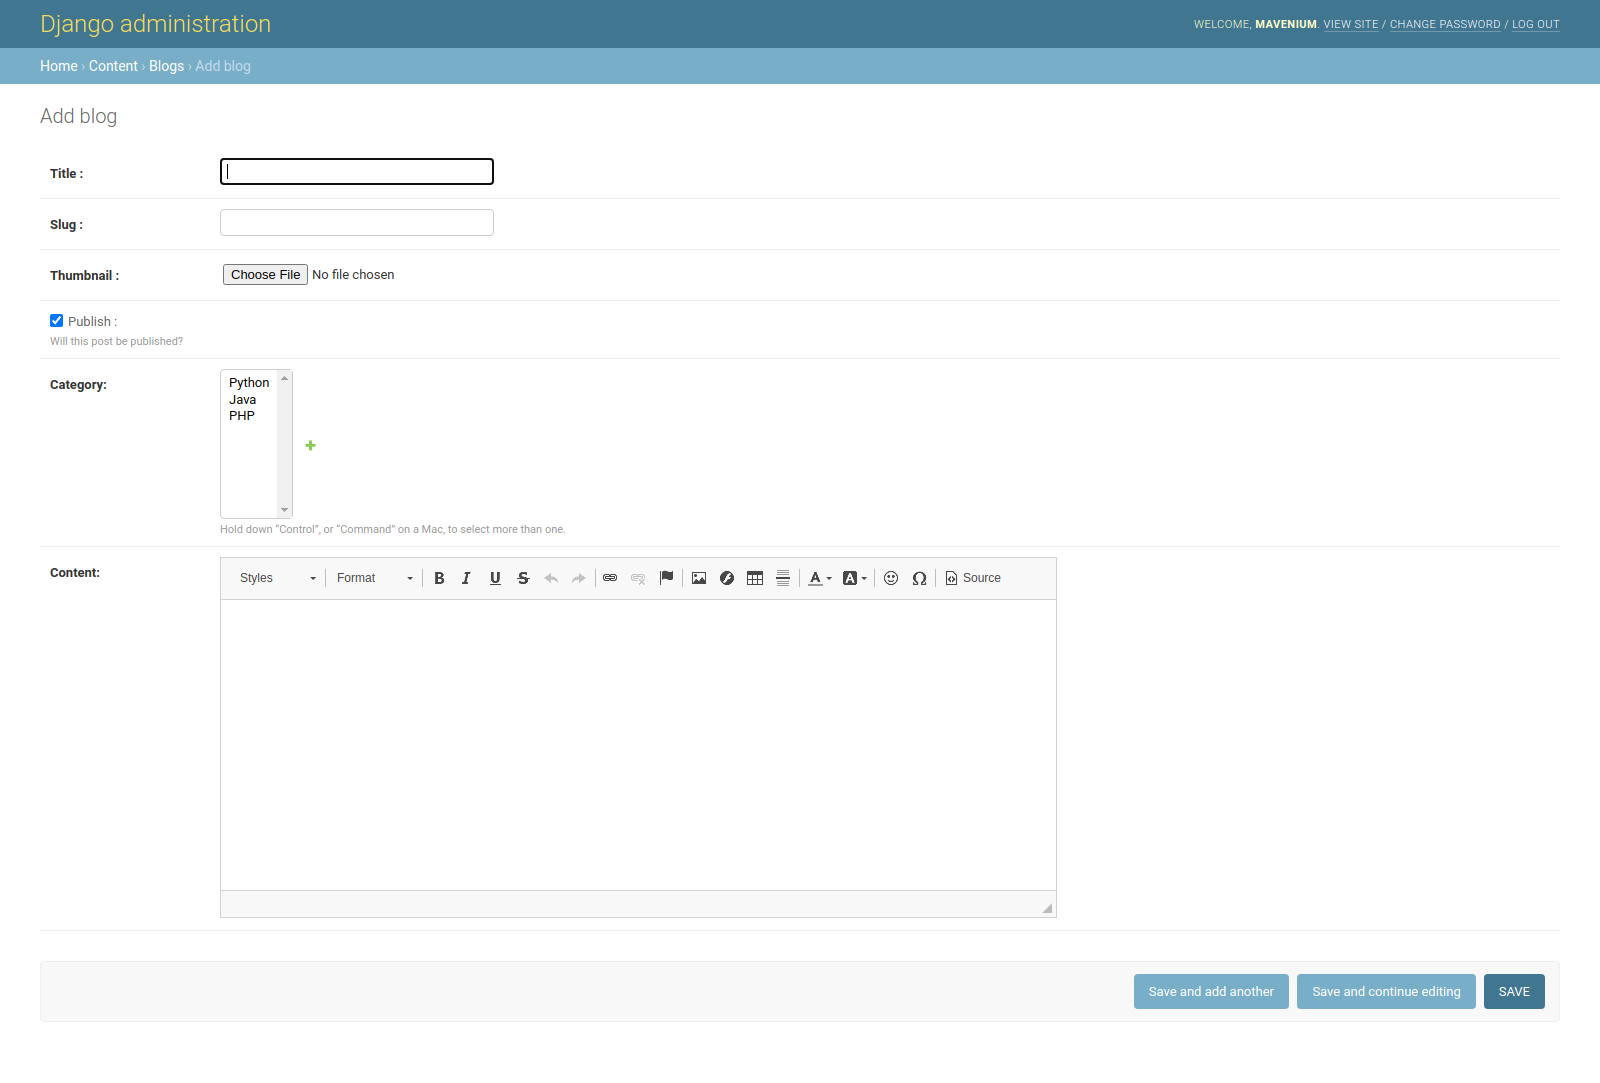
Add Blog
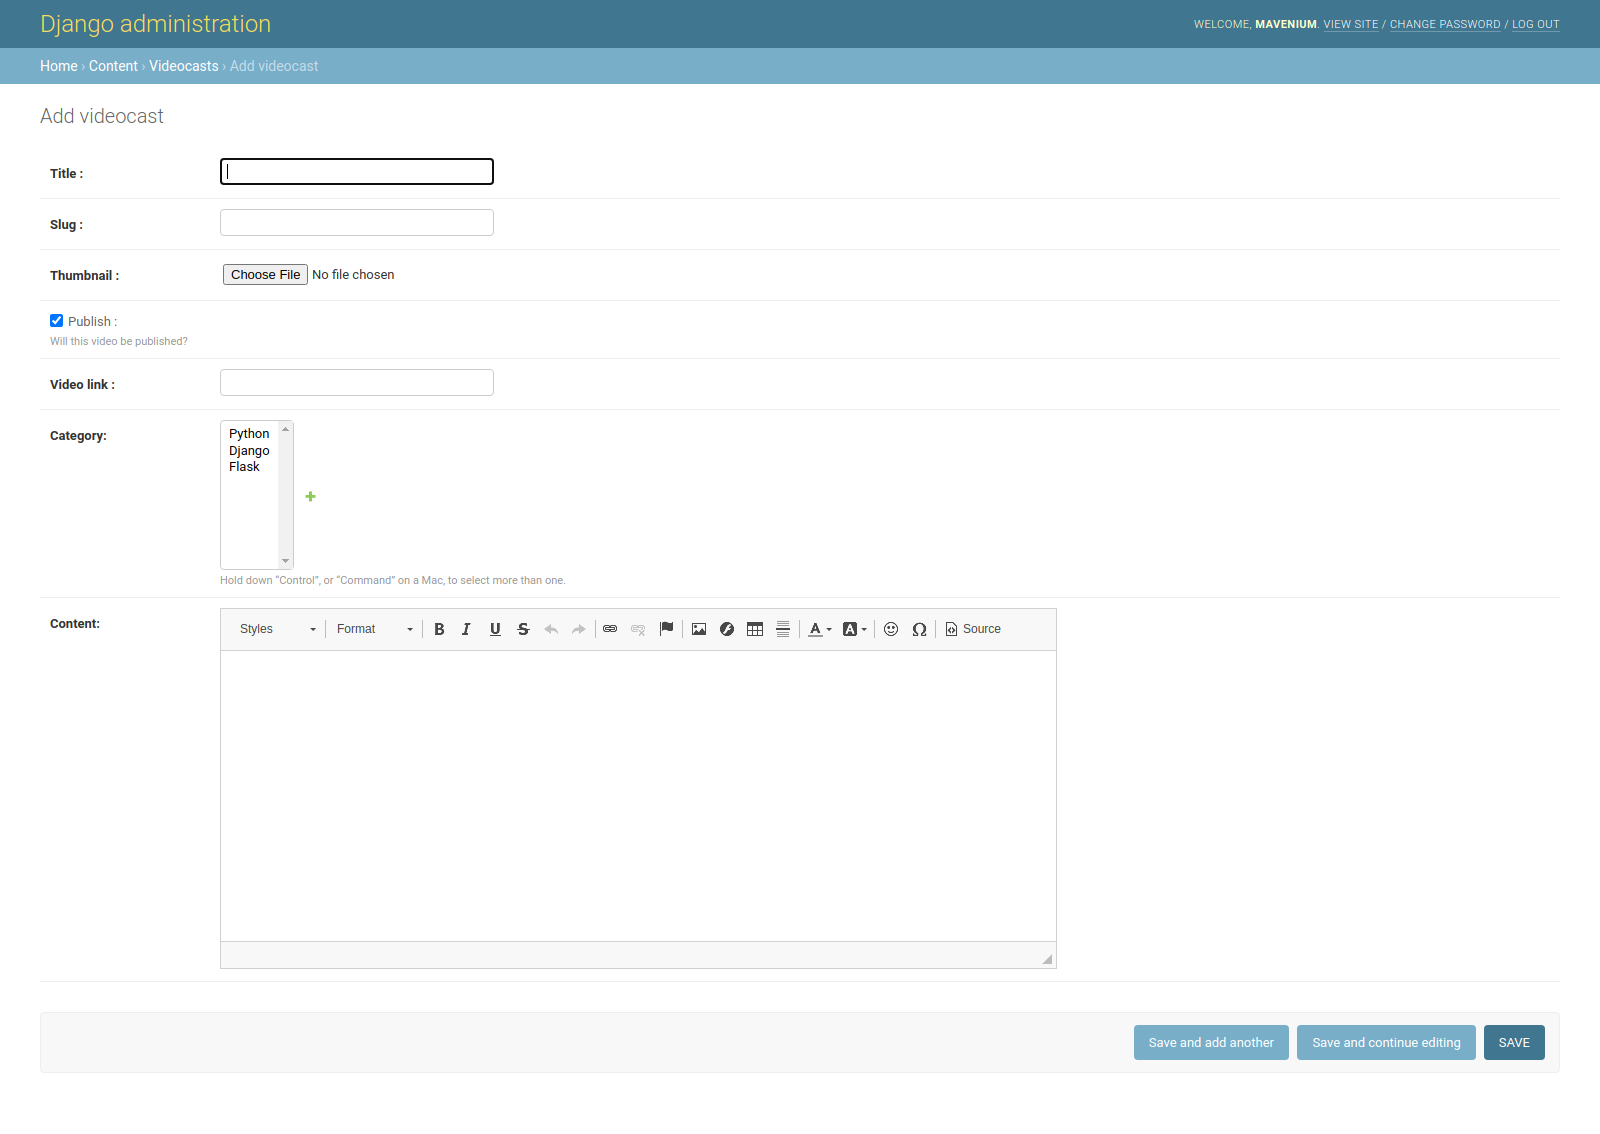
Add Videocast

Add Skill
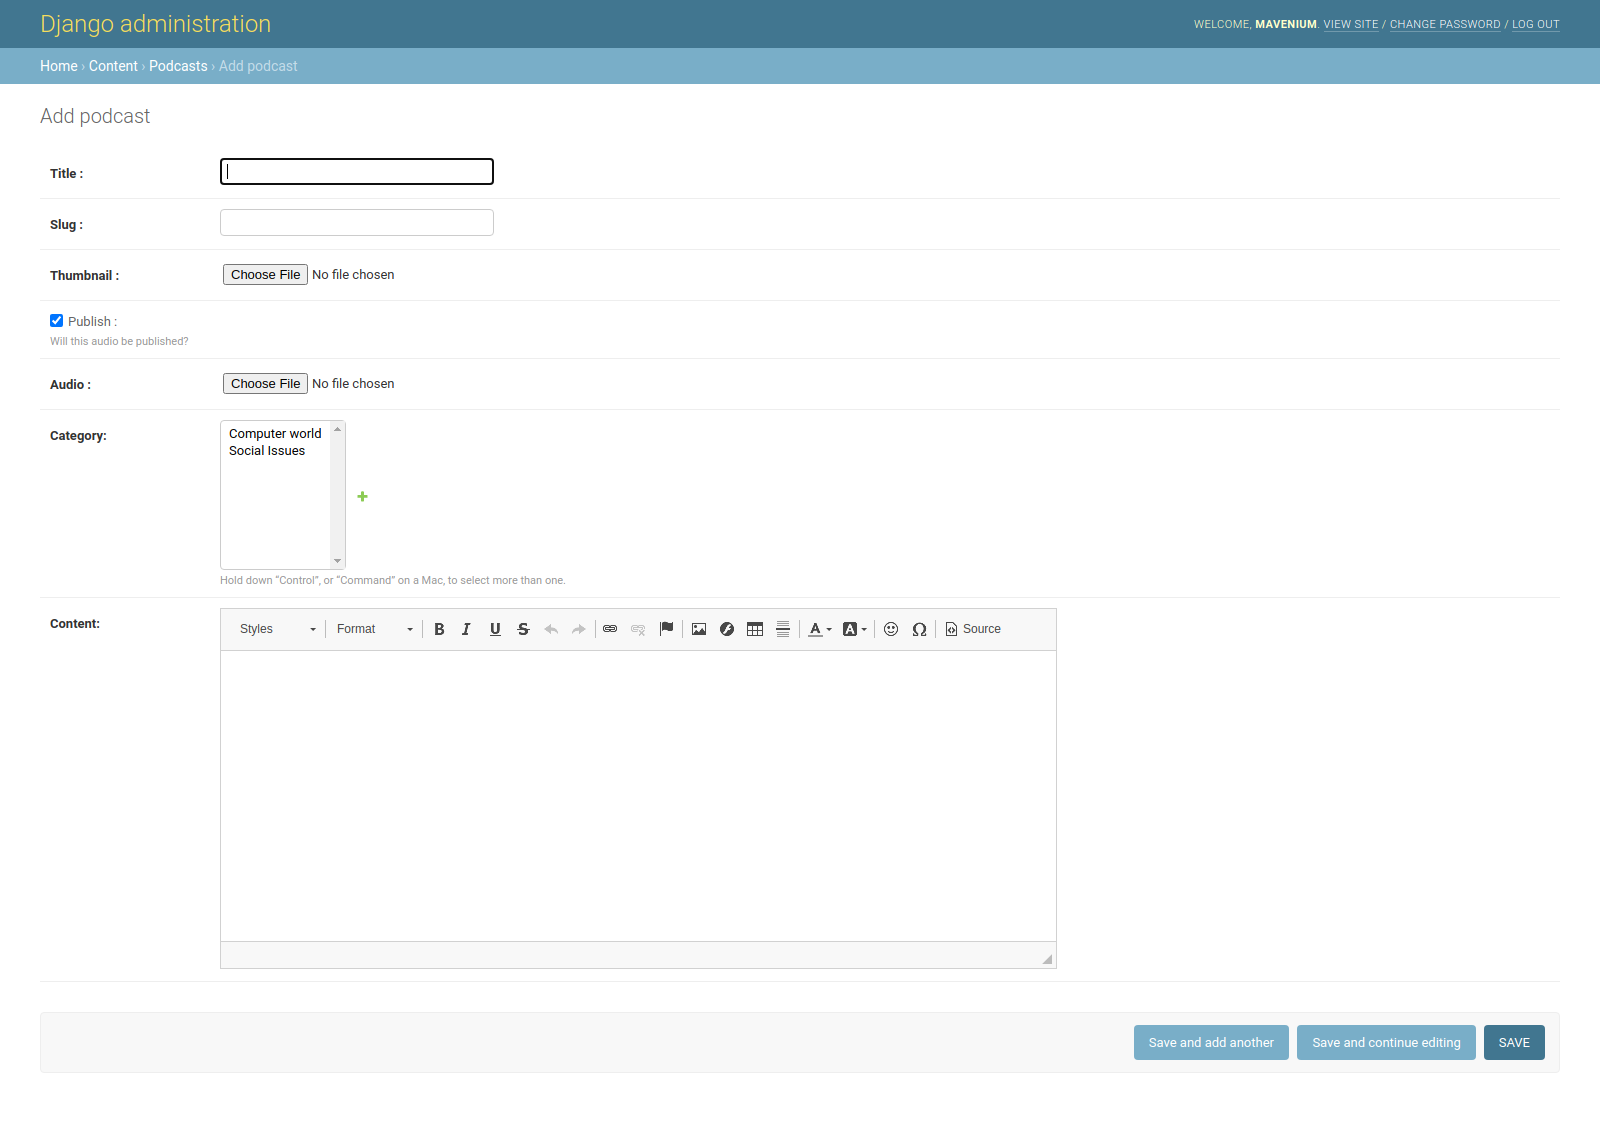
Add Podcast
How to install and run (GNU/Linux and Mac)
- Install
git,python3,pip3,virtualenvin your operating system - Create a development environment ready by using these commands
git clone https://github.com/mavenium/PyEditorial		# clone the project
cd PyEditorial		# go to the project DIR
virtualenv -p python3 .venv		# Create virtualenv named .venv
source .venv/bin/activate		# Active virtualenv named .venv
pip install -r requirements.txt		# Install project requirements in .venv
python manage.py makemigrations		# Create migrations files
python manage.py migrate		# Create database tables
python manage.py collectstatic		# Create statics files
python manage.py runserver		# Run the project
- Go to
http://127.0.0.1:8000/to use project
TODO list
- Create useful tests
- Create search section
- Create user Login/Logout forms in front-end
- Create dynamic forms to add contents in front-end
- Create REST-API