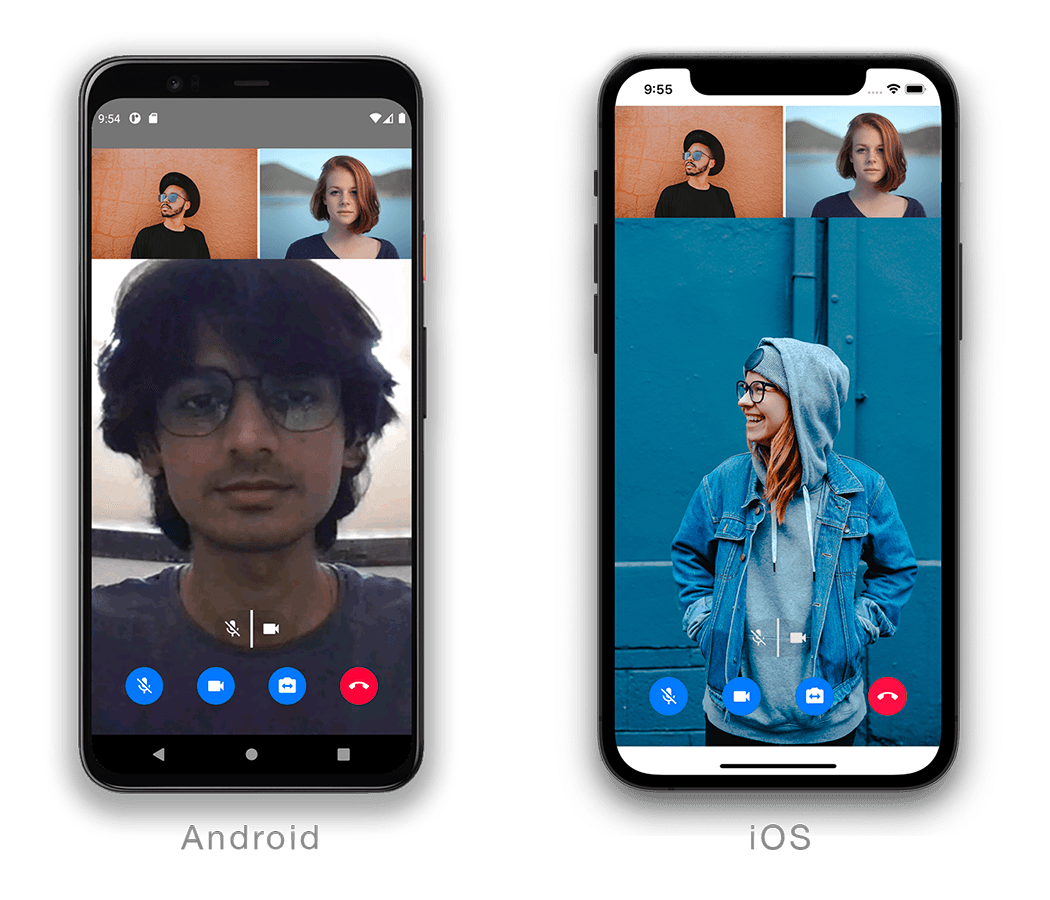
Instantly integrate Agora video calling or streaming into your React Native application.
- An Agora developer account (it's free)
- Android or iOS Device
- React Native Project
Expo is supported using custom-dev-clients, for more information read this blog post
To a react-native application generated using react-native-cli, add the following:
npm i react-native-agora agora-react-native-rtm agora-rn-uikit
This VideoUIKit is very simple to use and contains a high level component called AgoraUIKit. You can check out code explanation here.
A simple sample app integrating Agora UI Kit:
import React, {useState} from 'react';
import AgoraUIKit from 'agora-rn-uikit';

const App = () => {
  const [videoCall, setVideoCall] = useState(true);
  const connectionData = {
    appId: '<Agora App ID>',
    channel: 'test',
  };
  const rtcCallbacks = {
    EndCall: () => setVideoCall(false),
  };
  return videoCall ? (
    <AgoraUIKit connectionData={connectionData} rtcCallbacks={rtcCallbacks} />
  ) : (
    <Text onPress={()=>setVideoCall(true)}>Start Call</Text>
  );
};

export default App;
Replace the '<Agora App ID>' with your own appID.
If you created the Agora App in secured mode, you'll need to pass in an rtcToken and an rtmToken to the connectionData prop. Alternatively, you can deploy the one-click token server and pass in the tokenUrl, the UIKit then automatically fetches and manages the tokens.
There's a React Native VideoUIKit demo here, and one with typescript here.
- Connect your Android device to system with debugging on
- Type
adb devicesto verify if the device is connected - Run
npm start– This will start the development server - Open another terminal in the same folder
- Run
npm run android- This will deploy the app on the Android device. (Now, the app will connect our development server) - Note Android simulators are not recommended since they might not be able to access the camera and microphone.
- Connect an iOS device to your Mac, create an apple developer account and register your device with apple for development.
- Run
npx pod-installto download the necessary pods. - Open the
.xcworkspacefile located iniosfolder using XCode. - Open the info tab and add the following:
- Privacy Camera description - Camera permission
- Privacy Microphone description - Mic permission
- Configure code signing: https://reactnative.dev/docs/running-on-device#2-configure-code-signing
- Run the project by clicking the Run button in Xcode
- Note Simulators won’t work since iOS simulator can’t access the camera
For full documentation, see our docs page.
You can visit the wiki for other examples and in depth guide.
