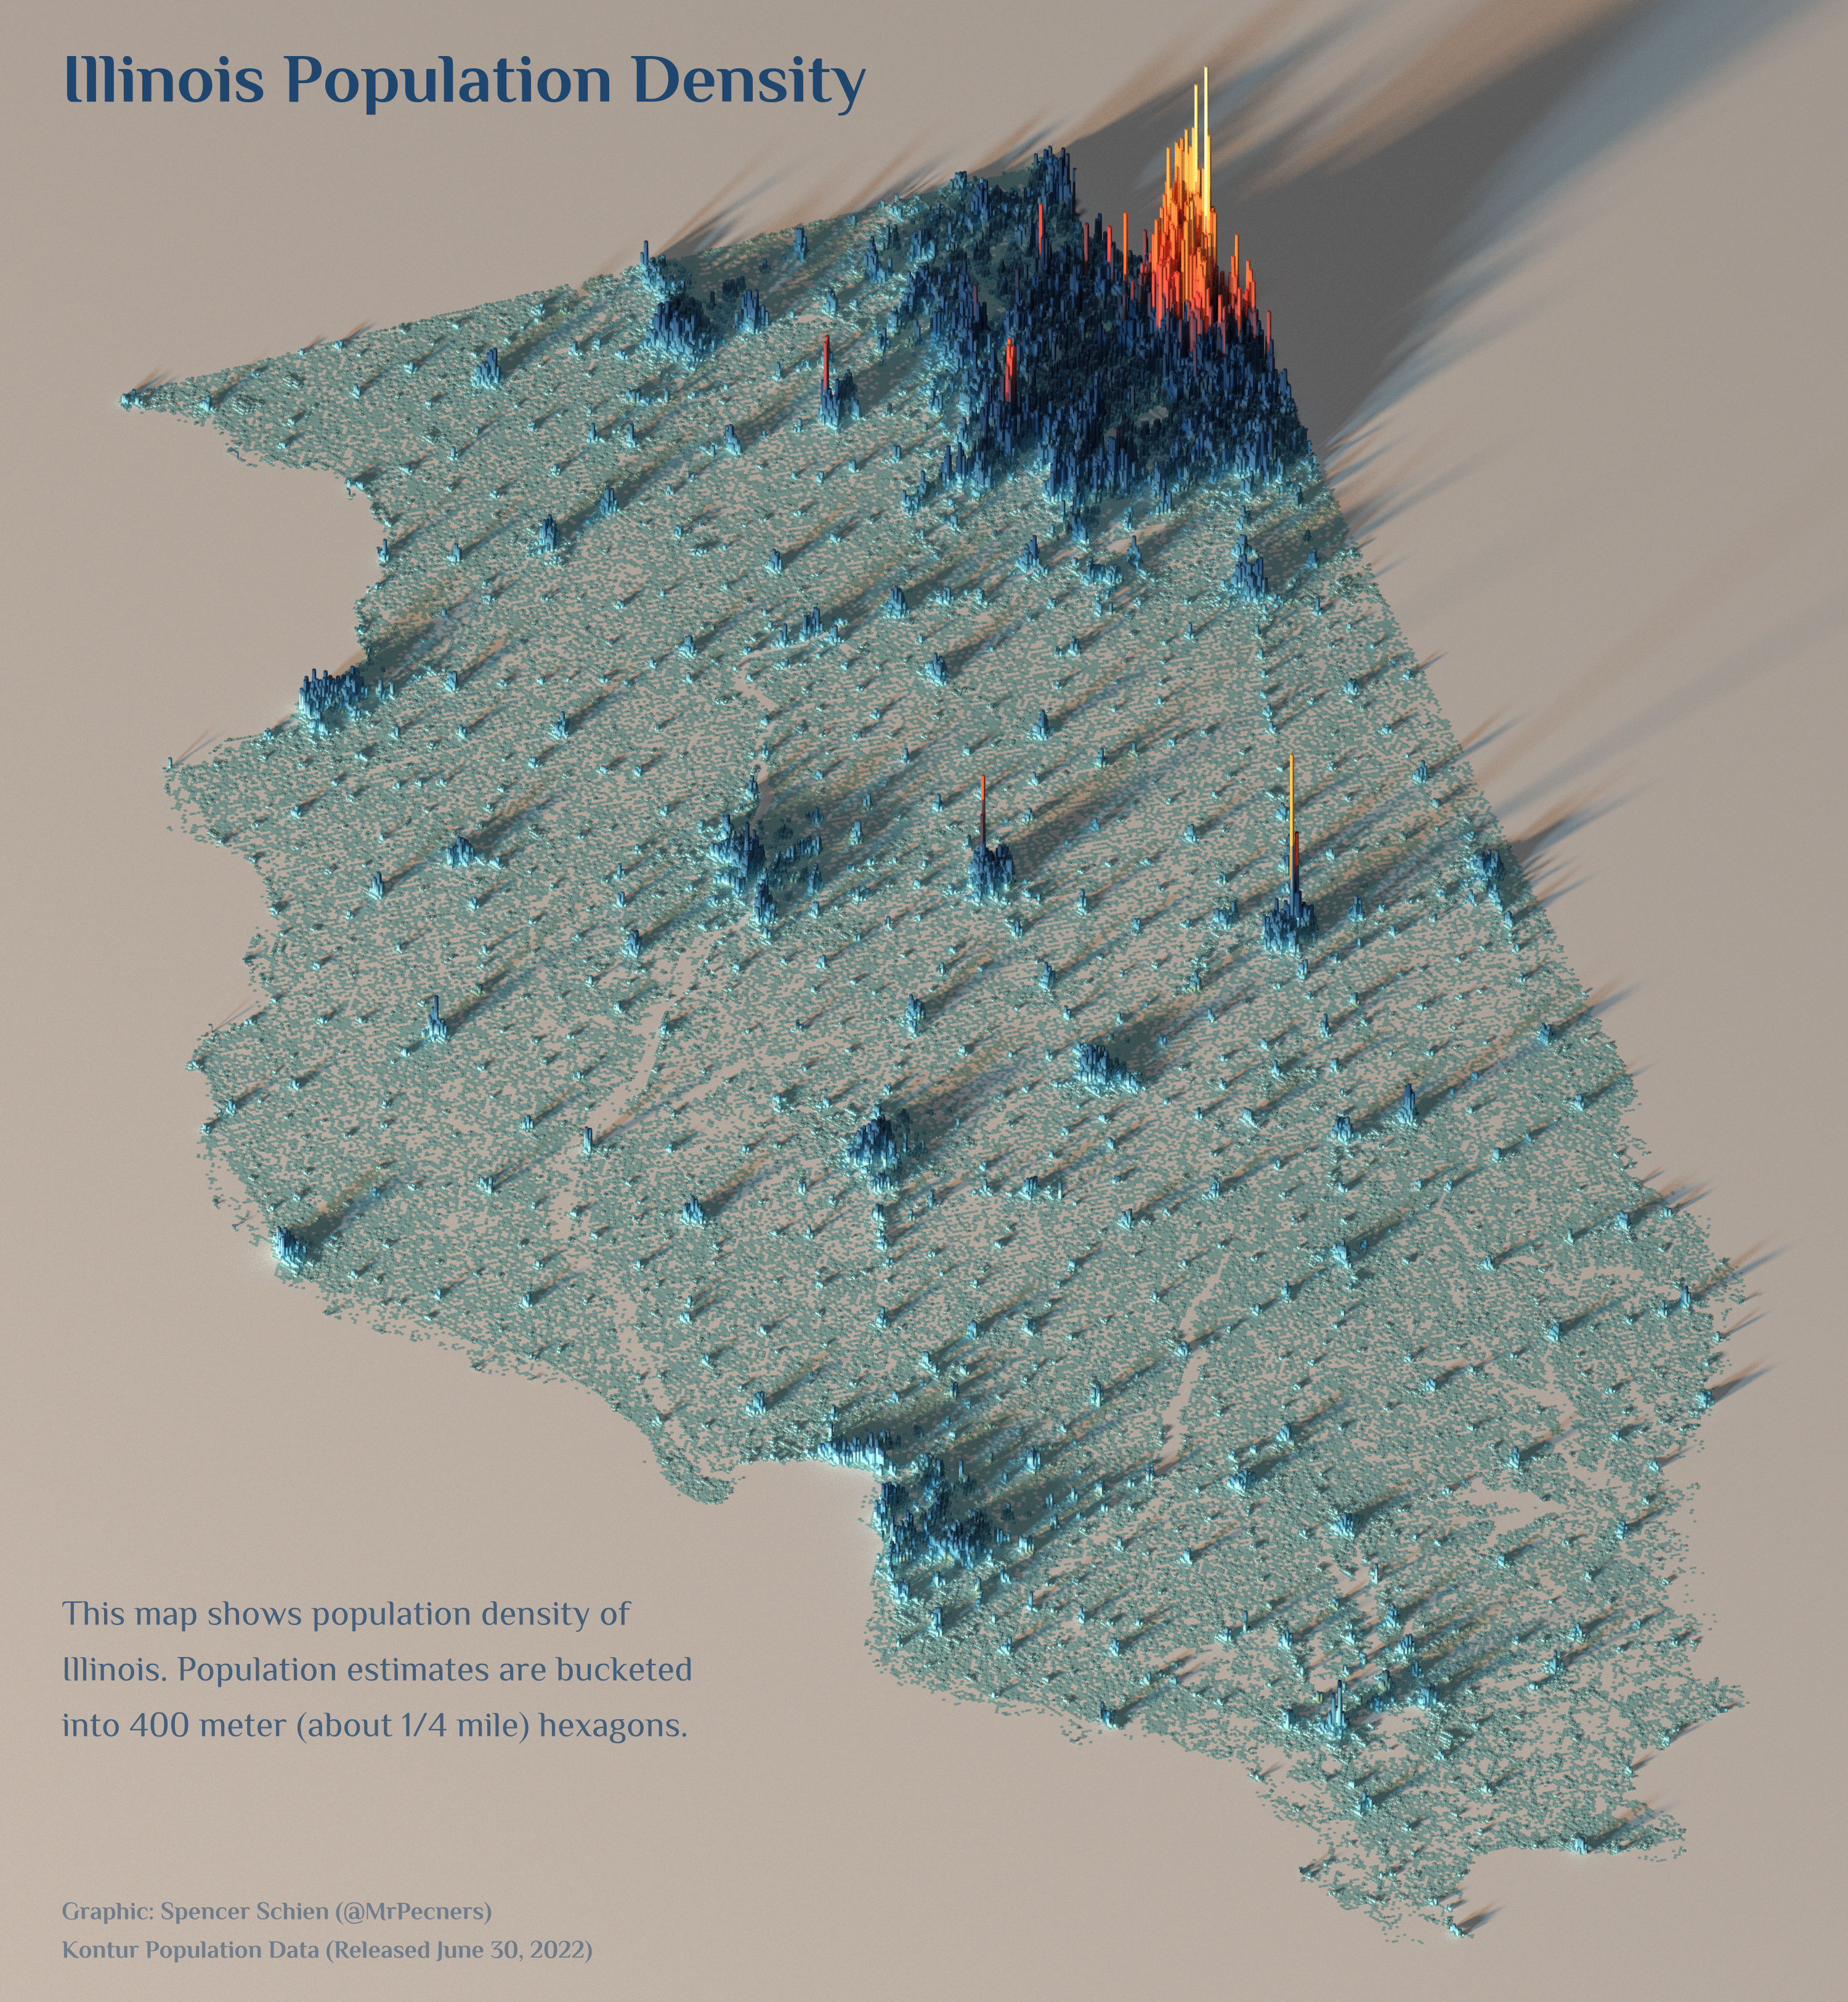
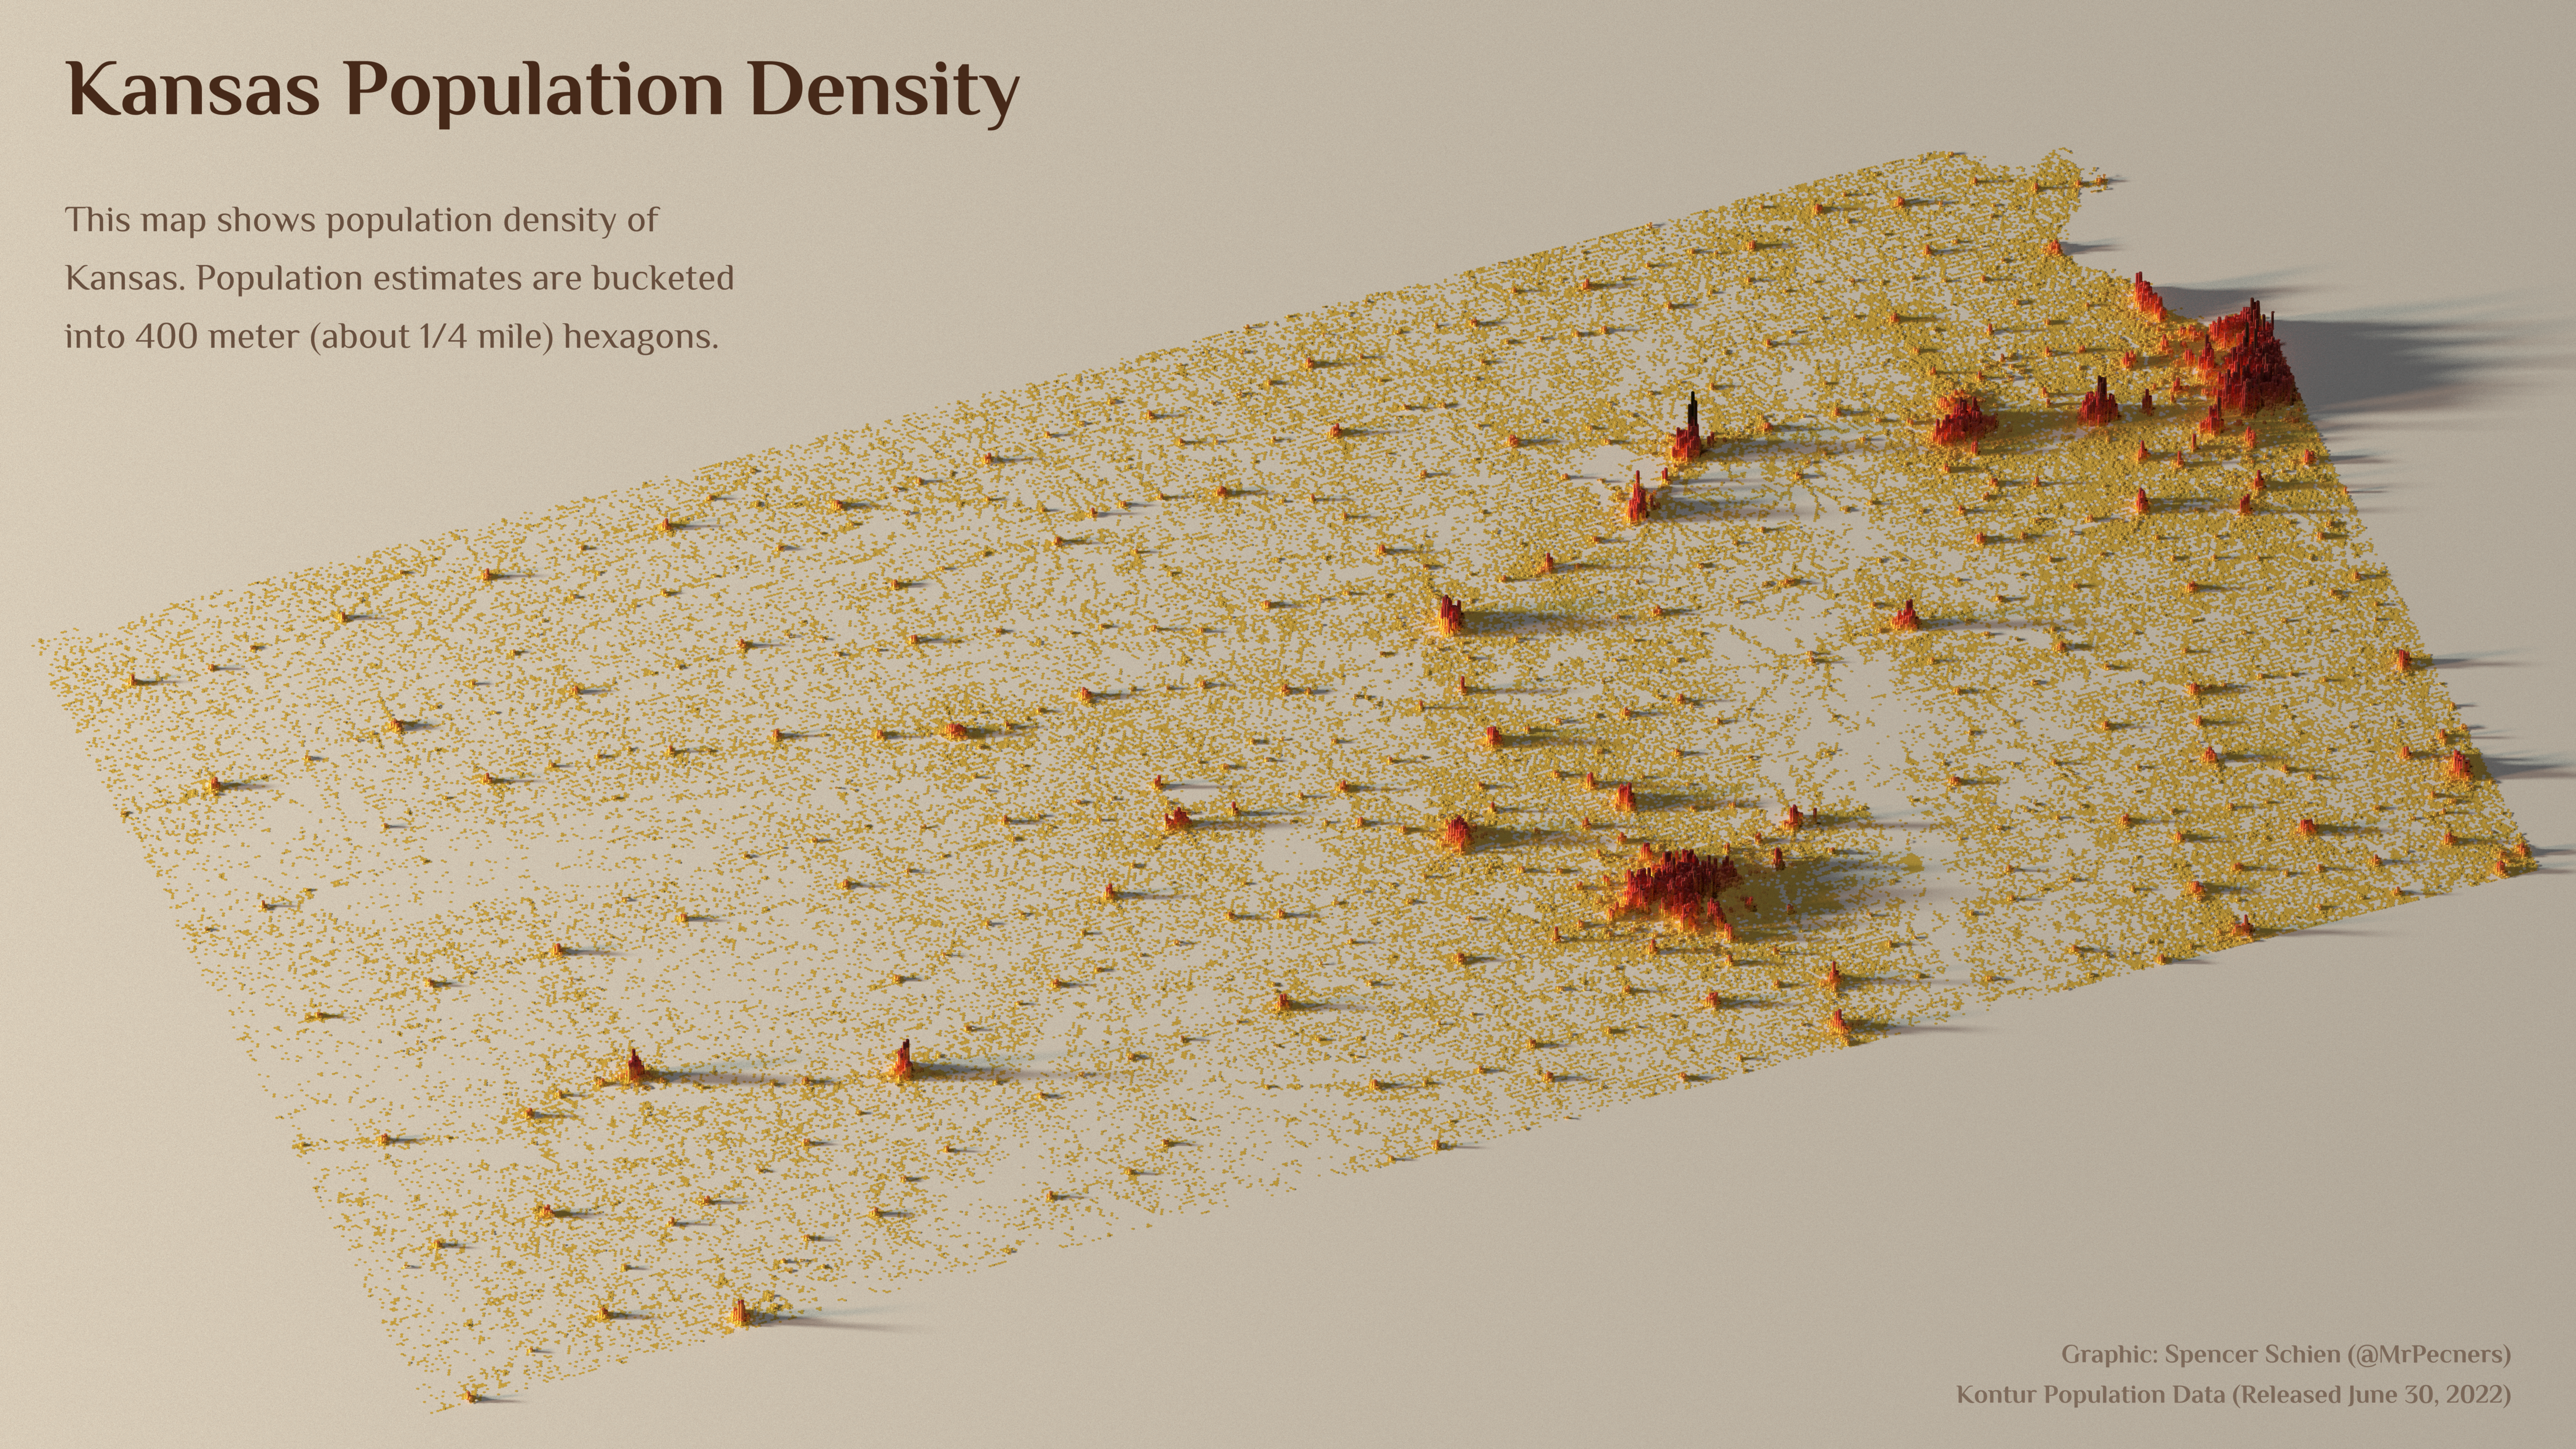
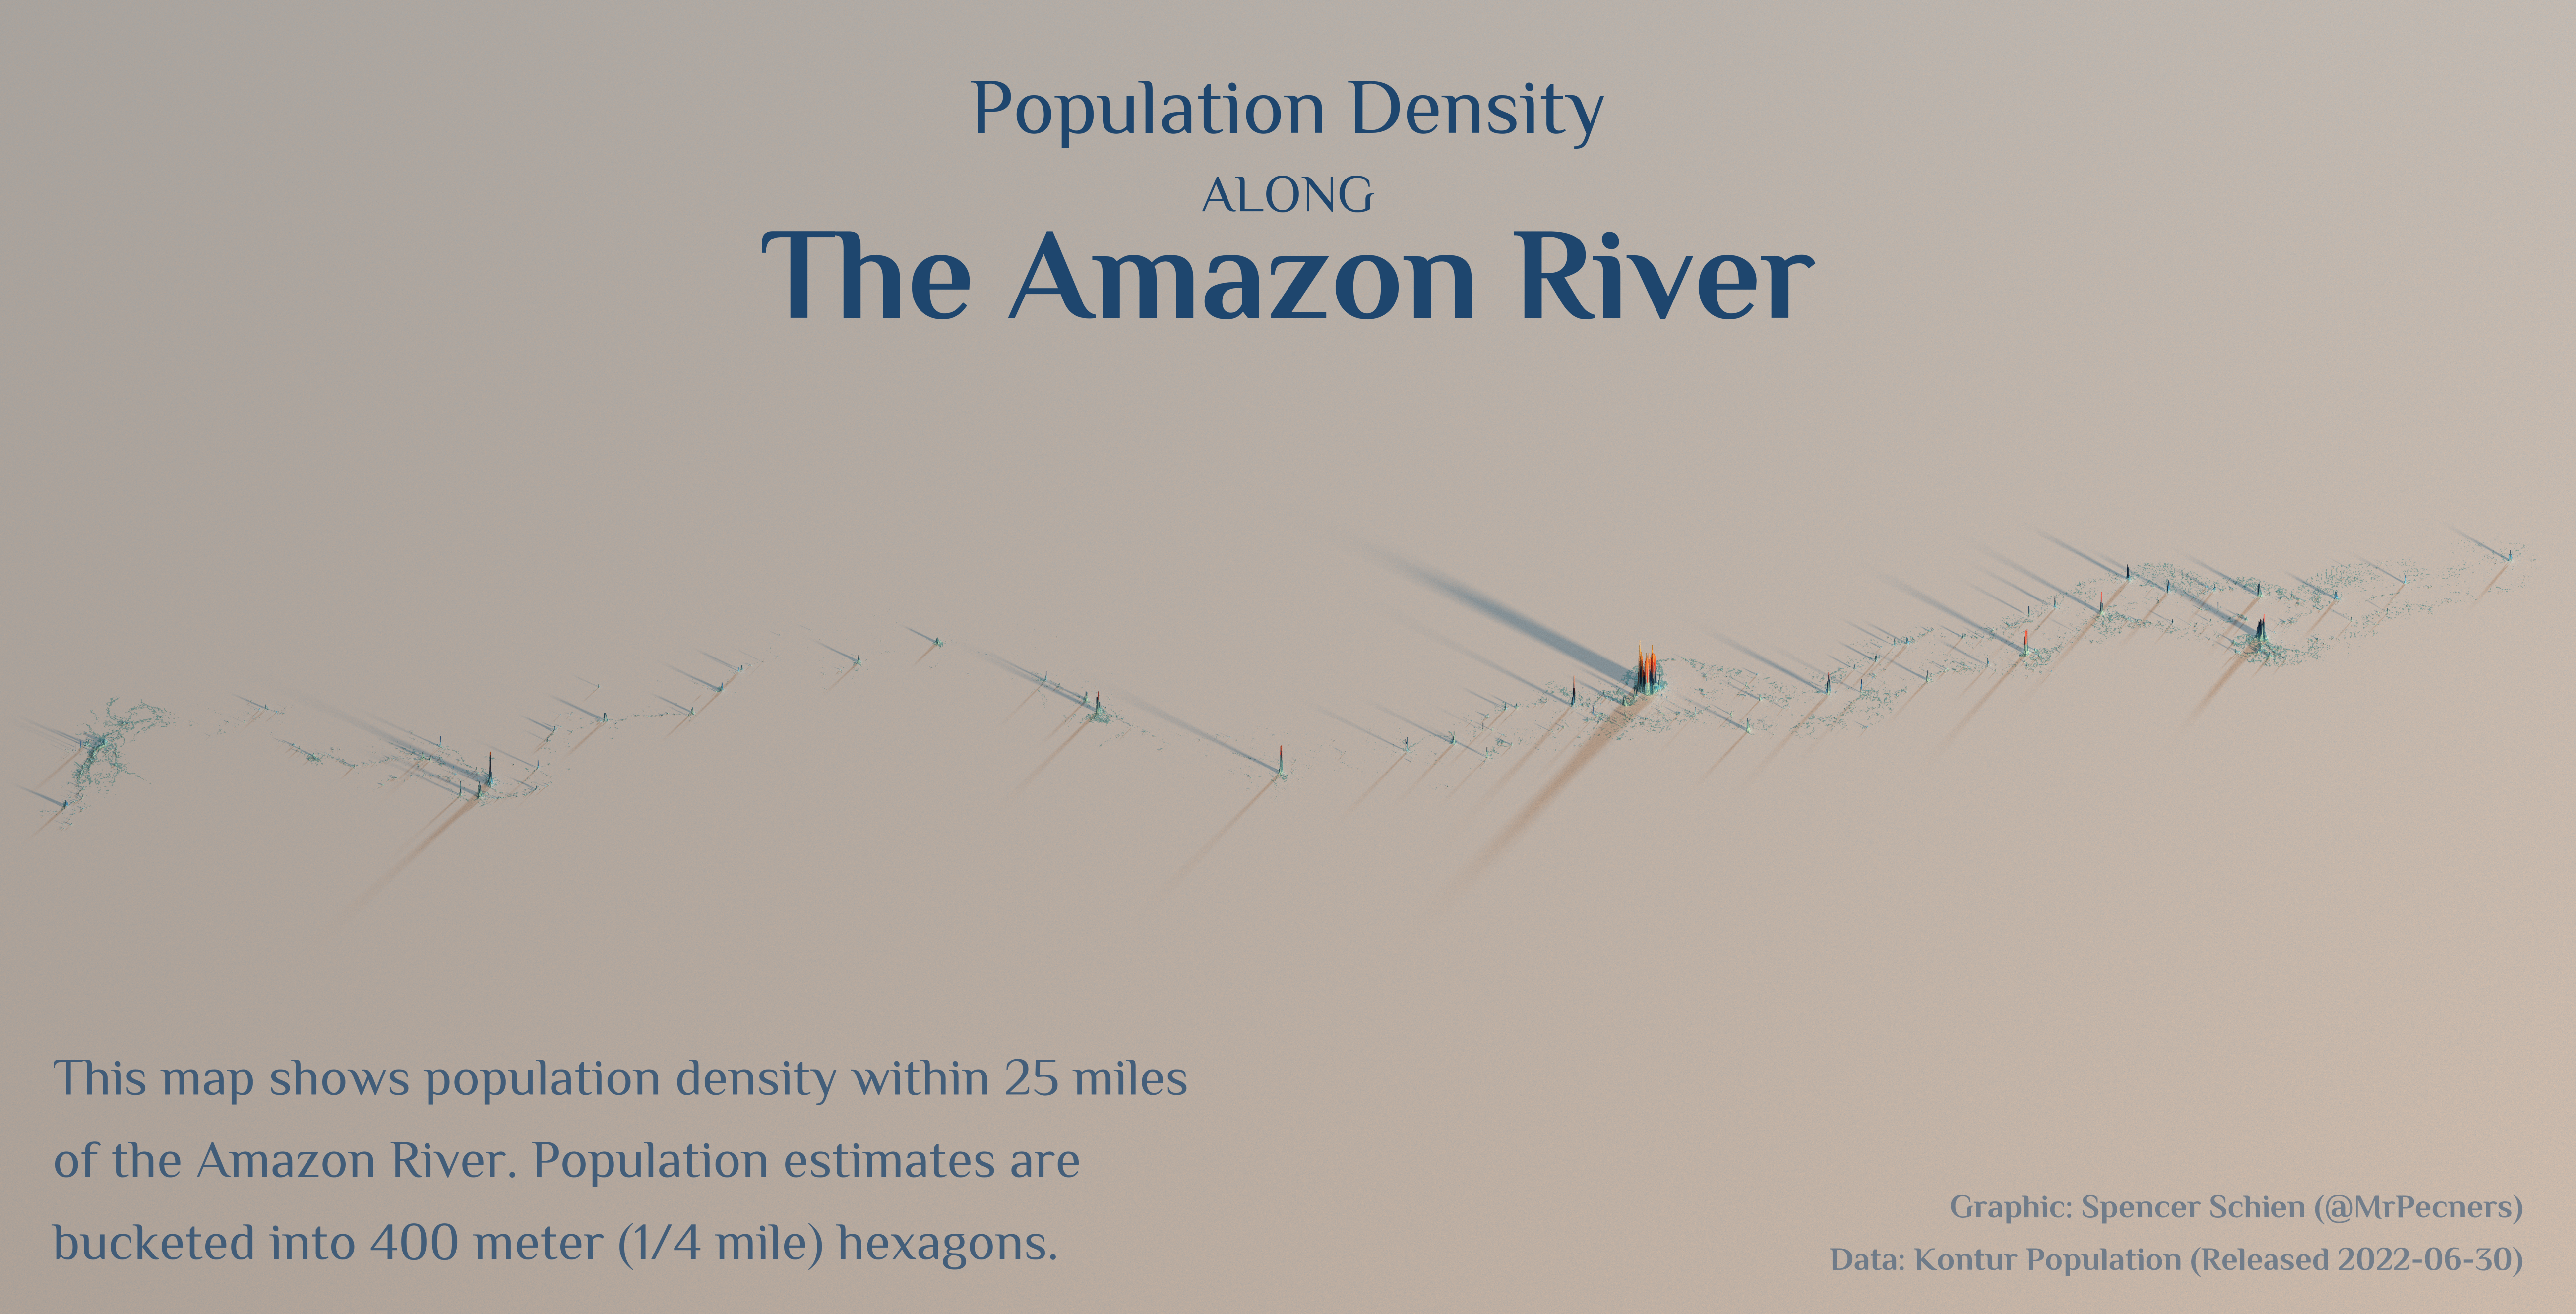
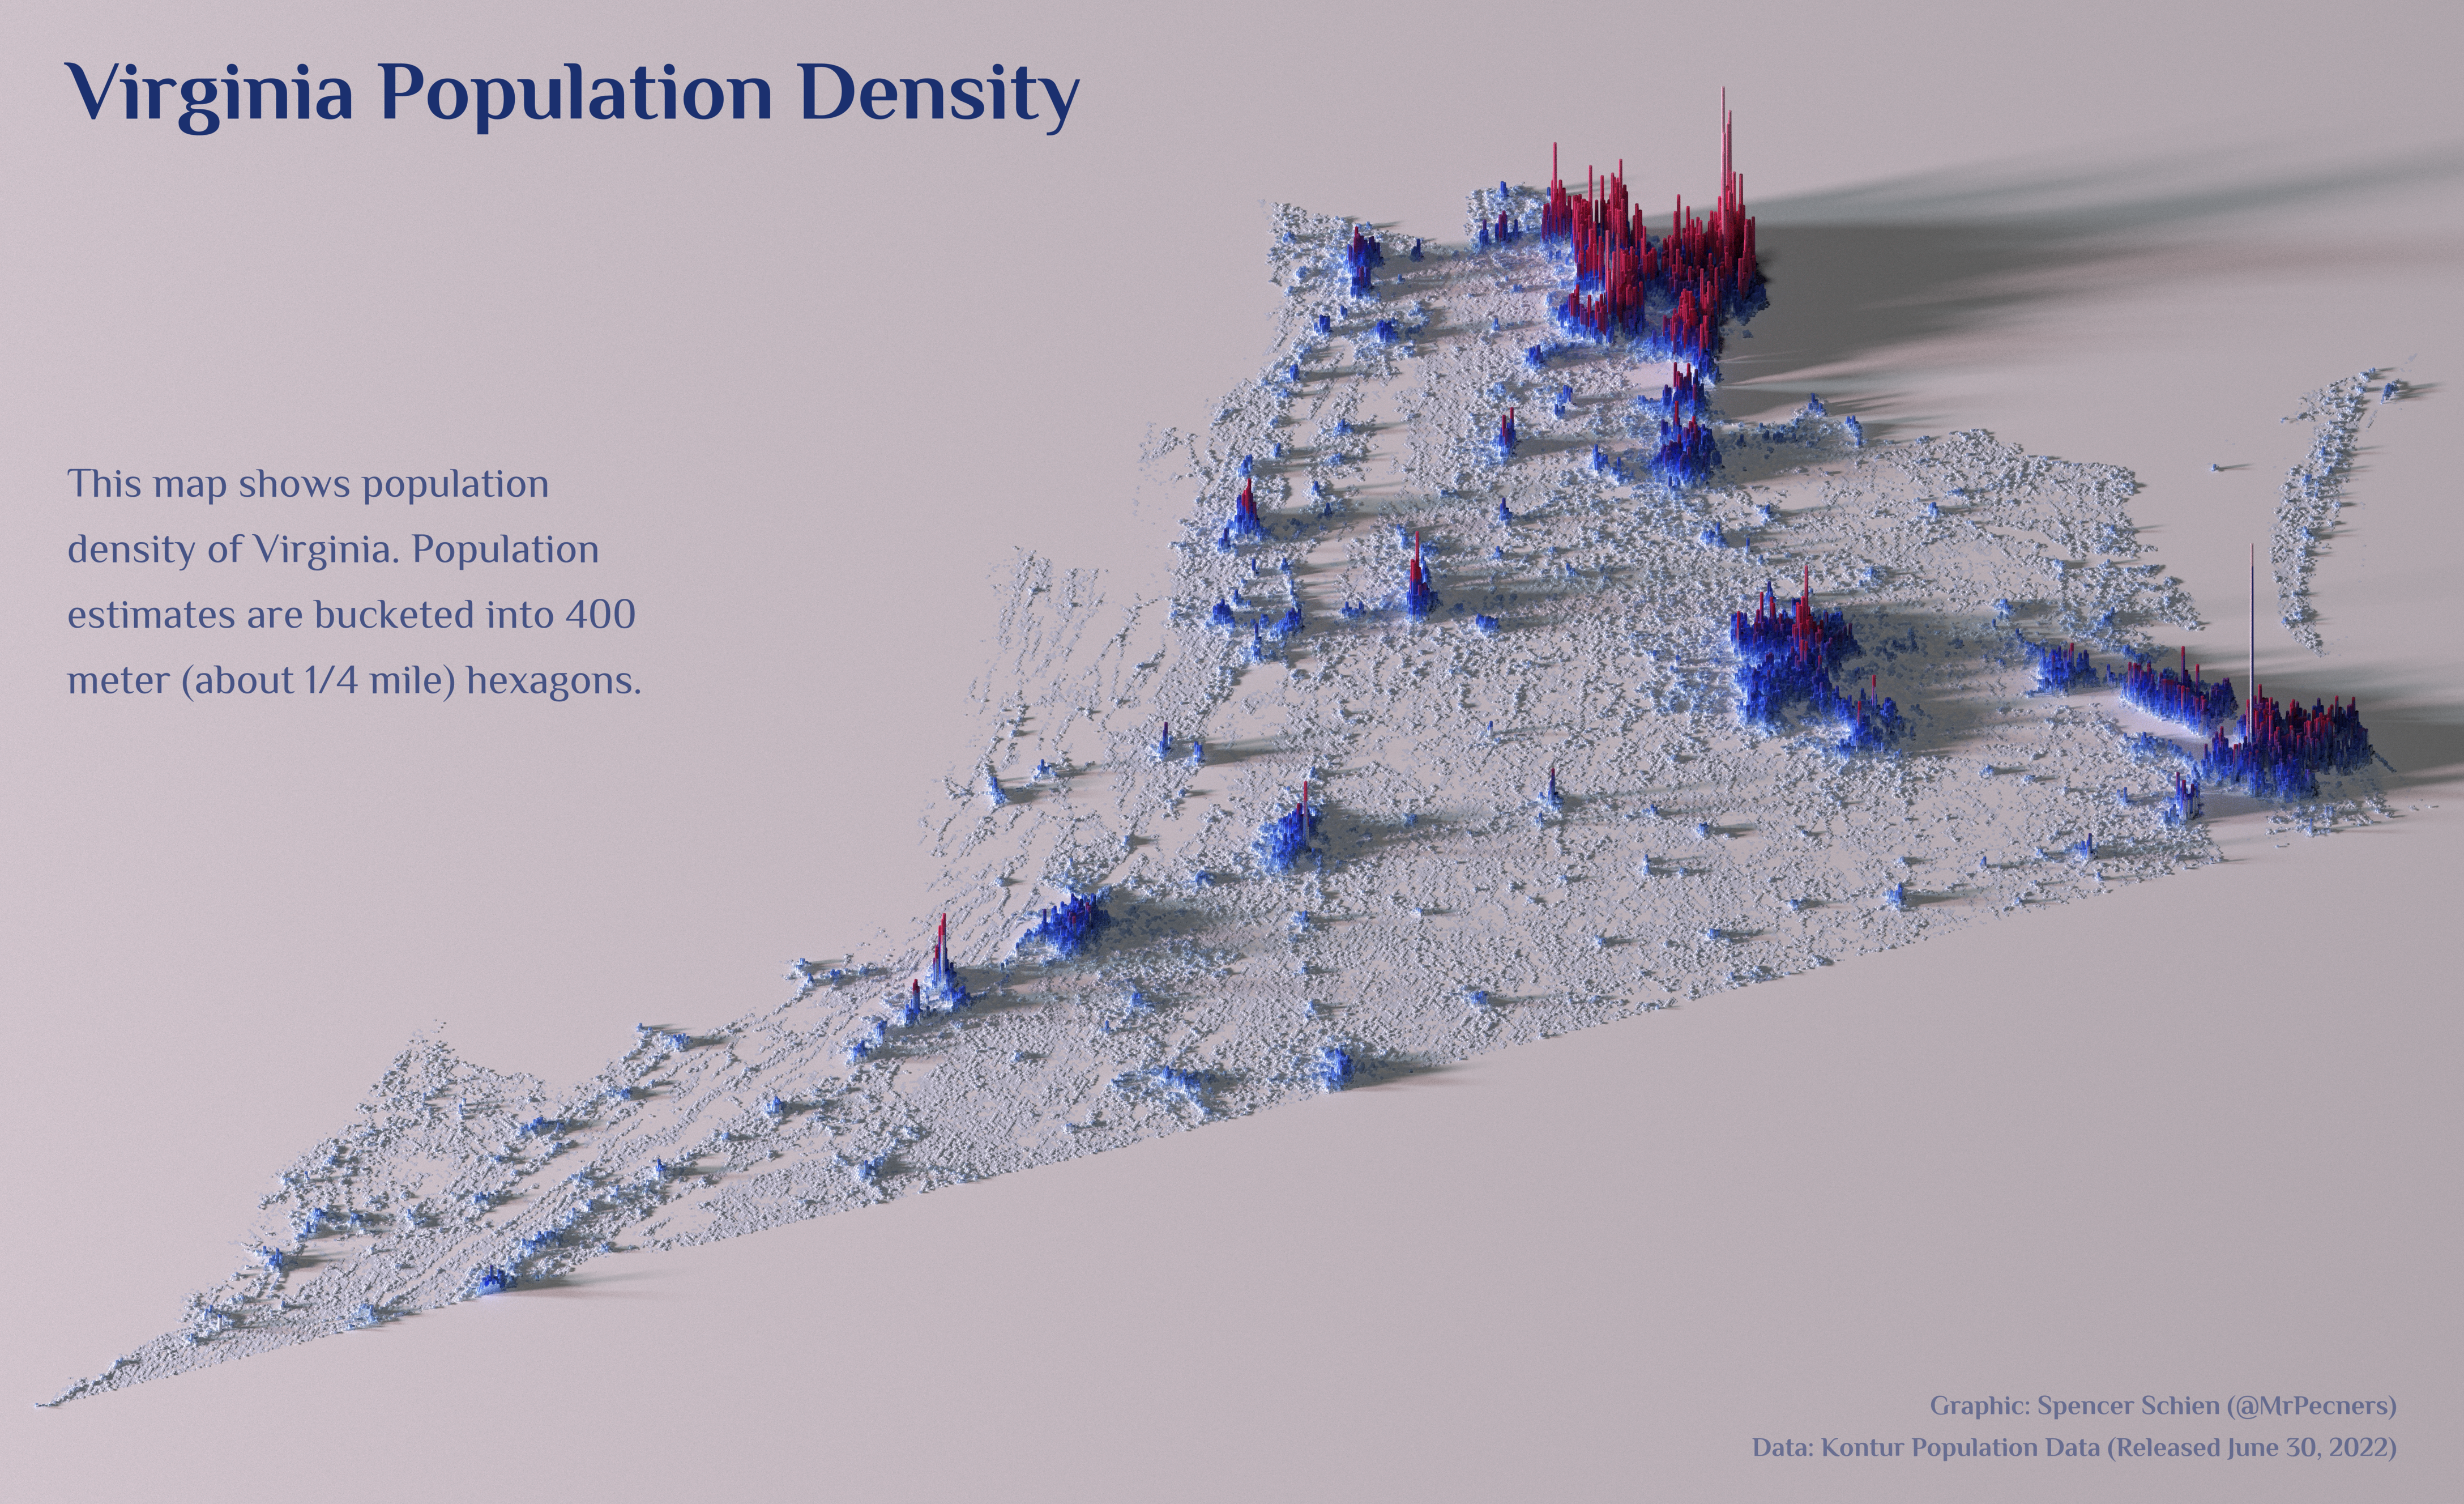
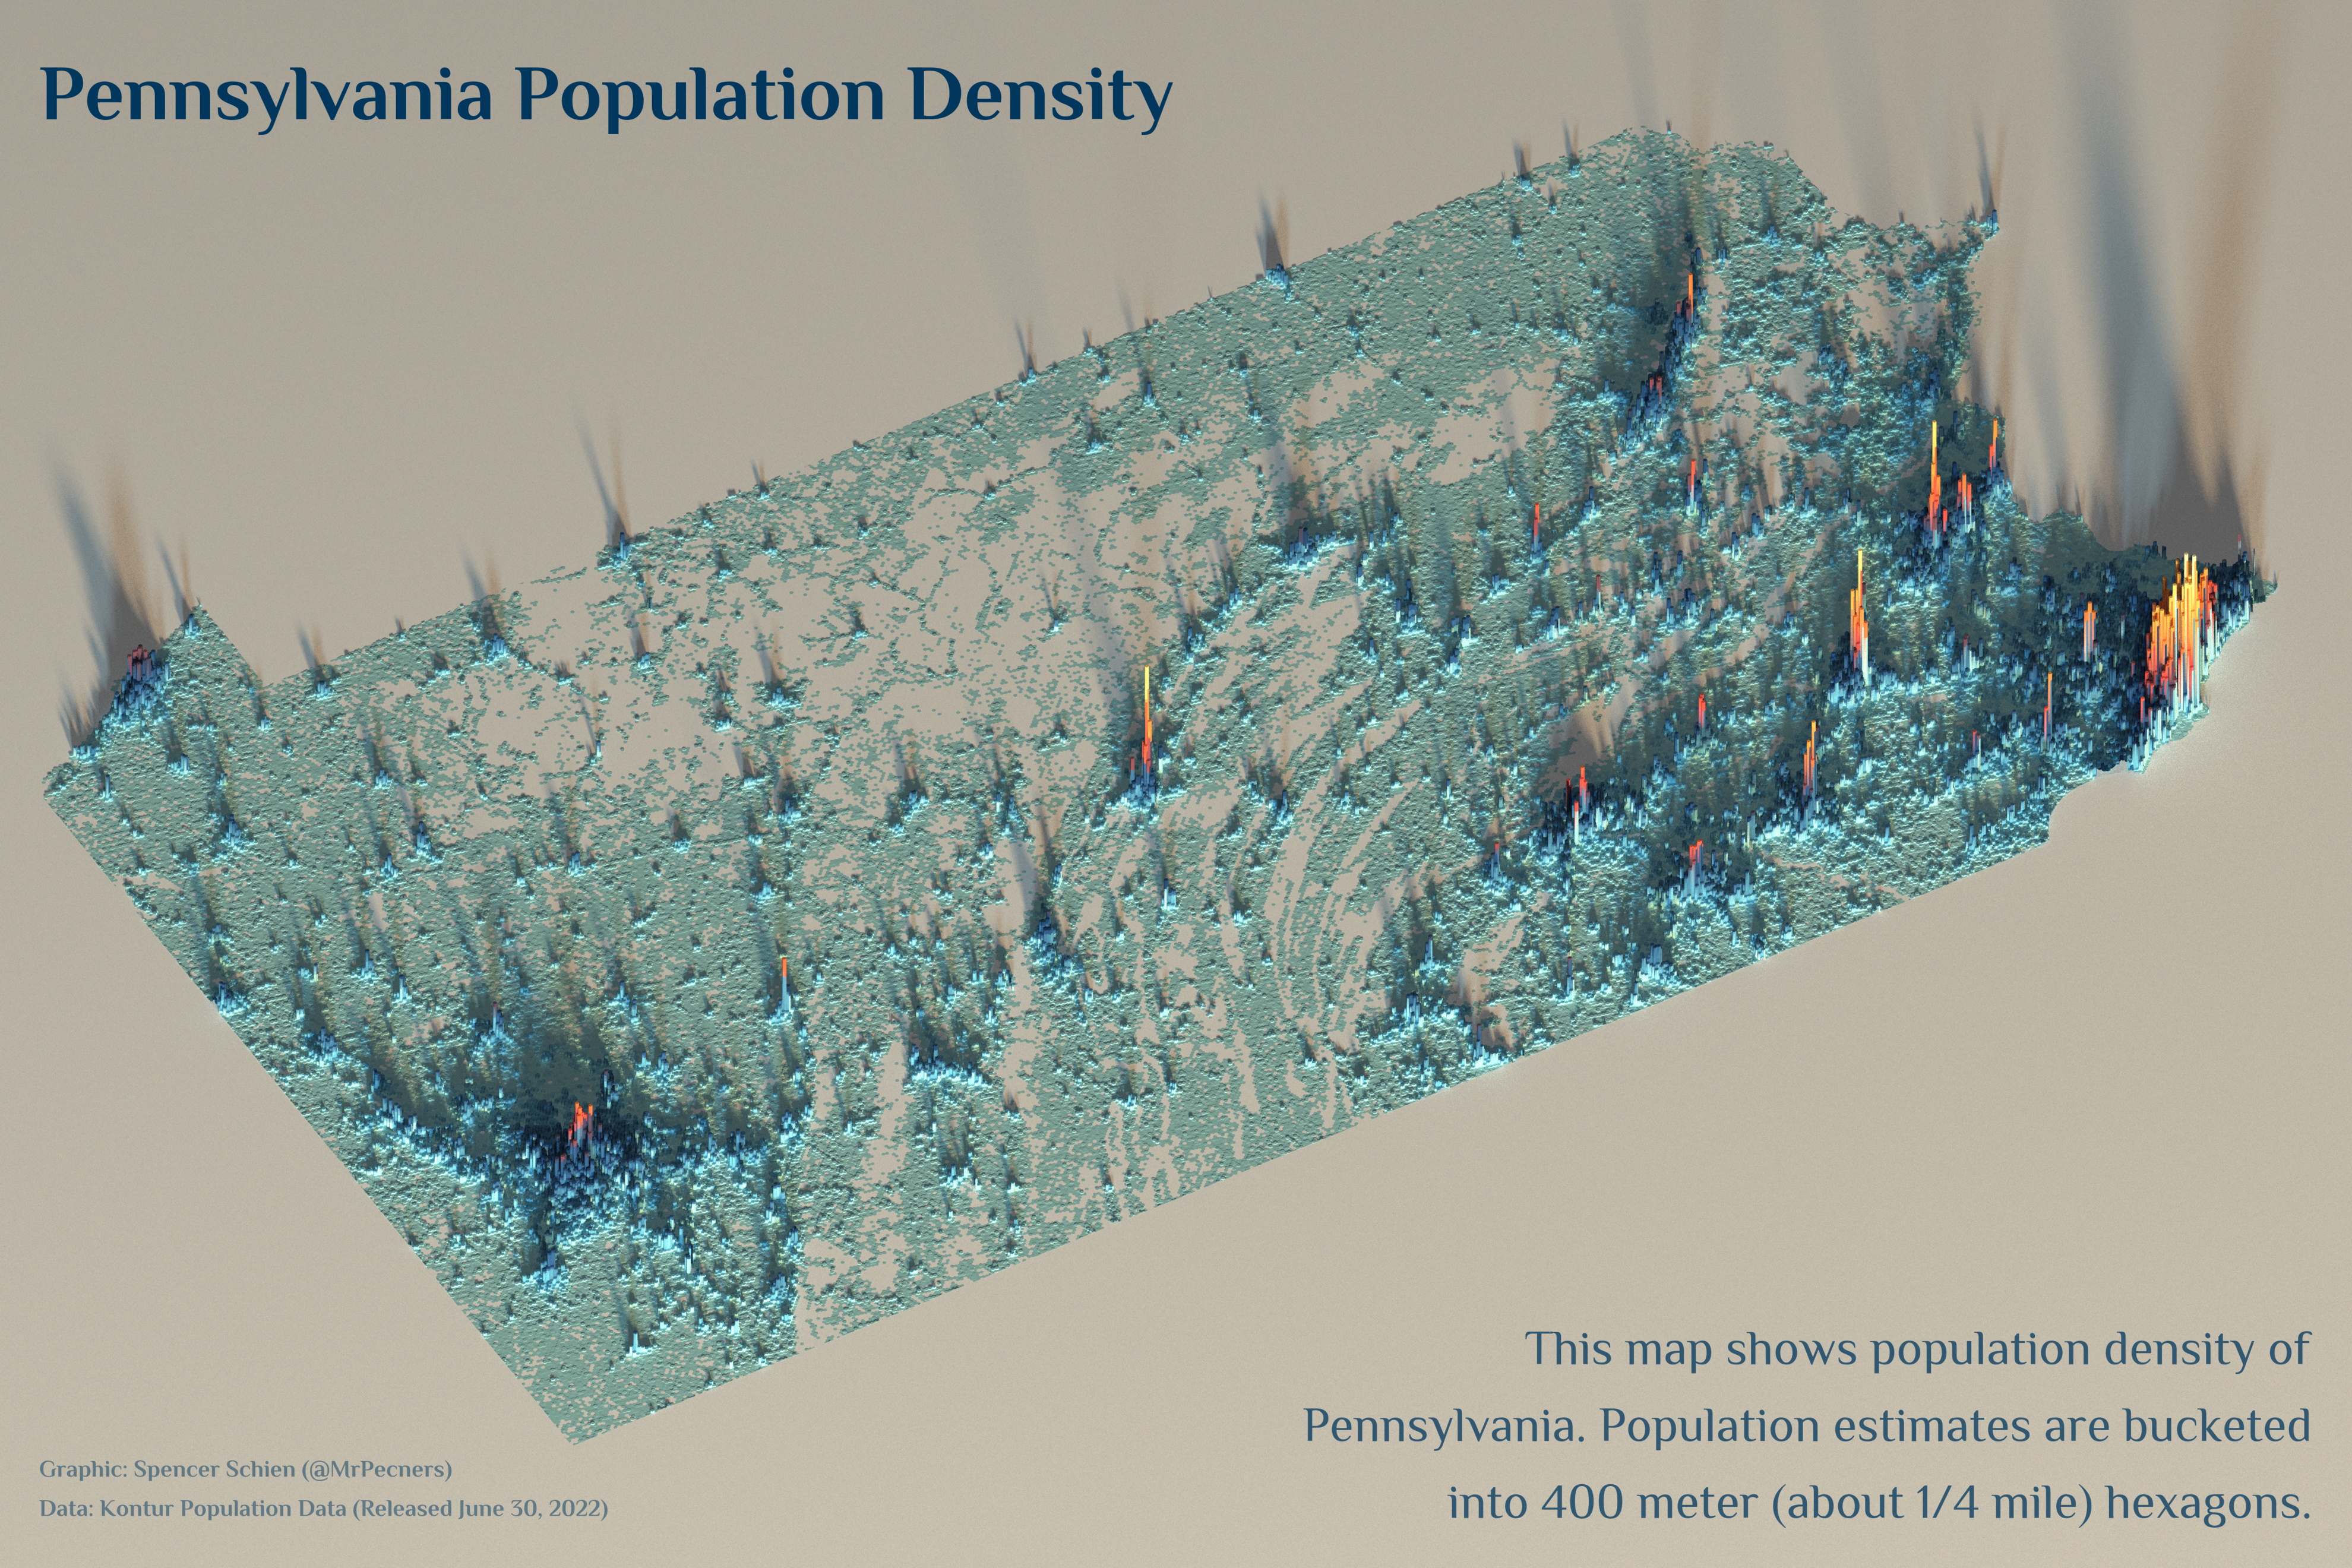
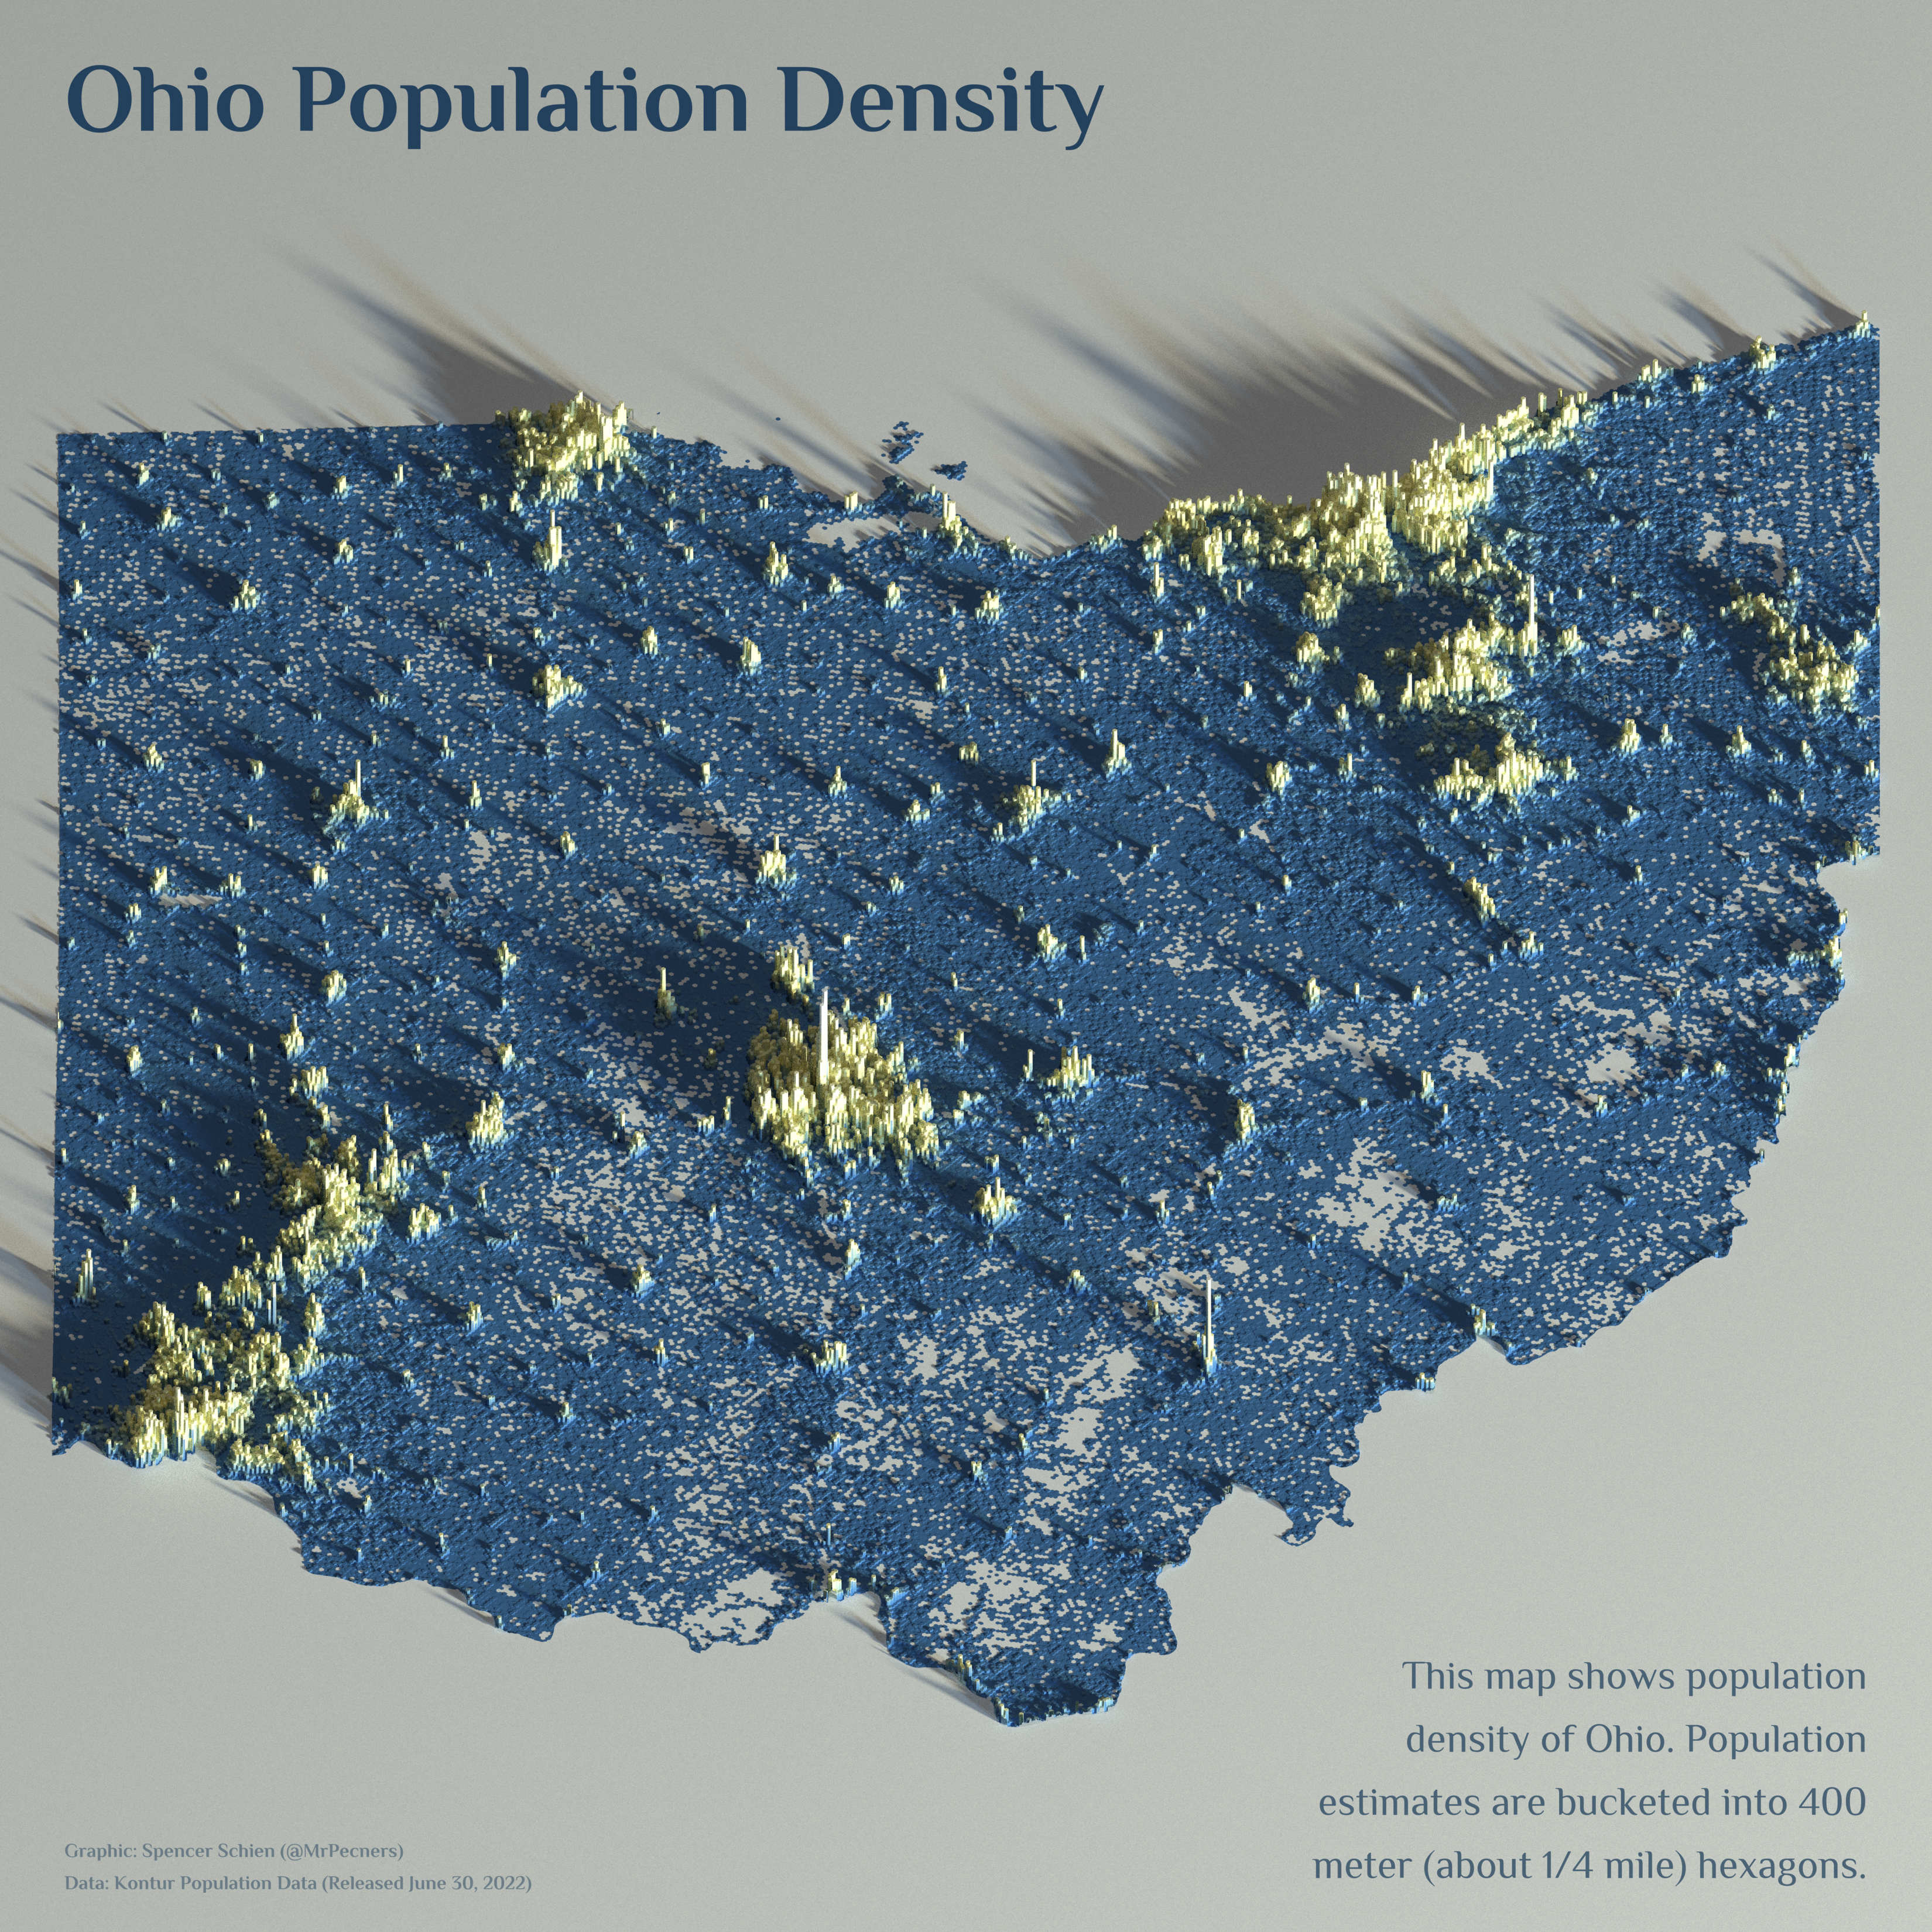
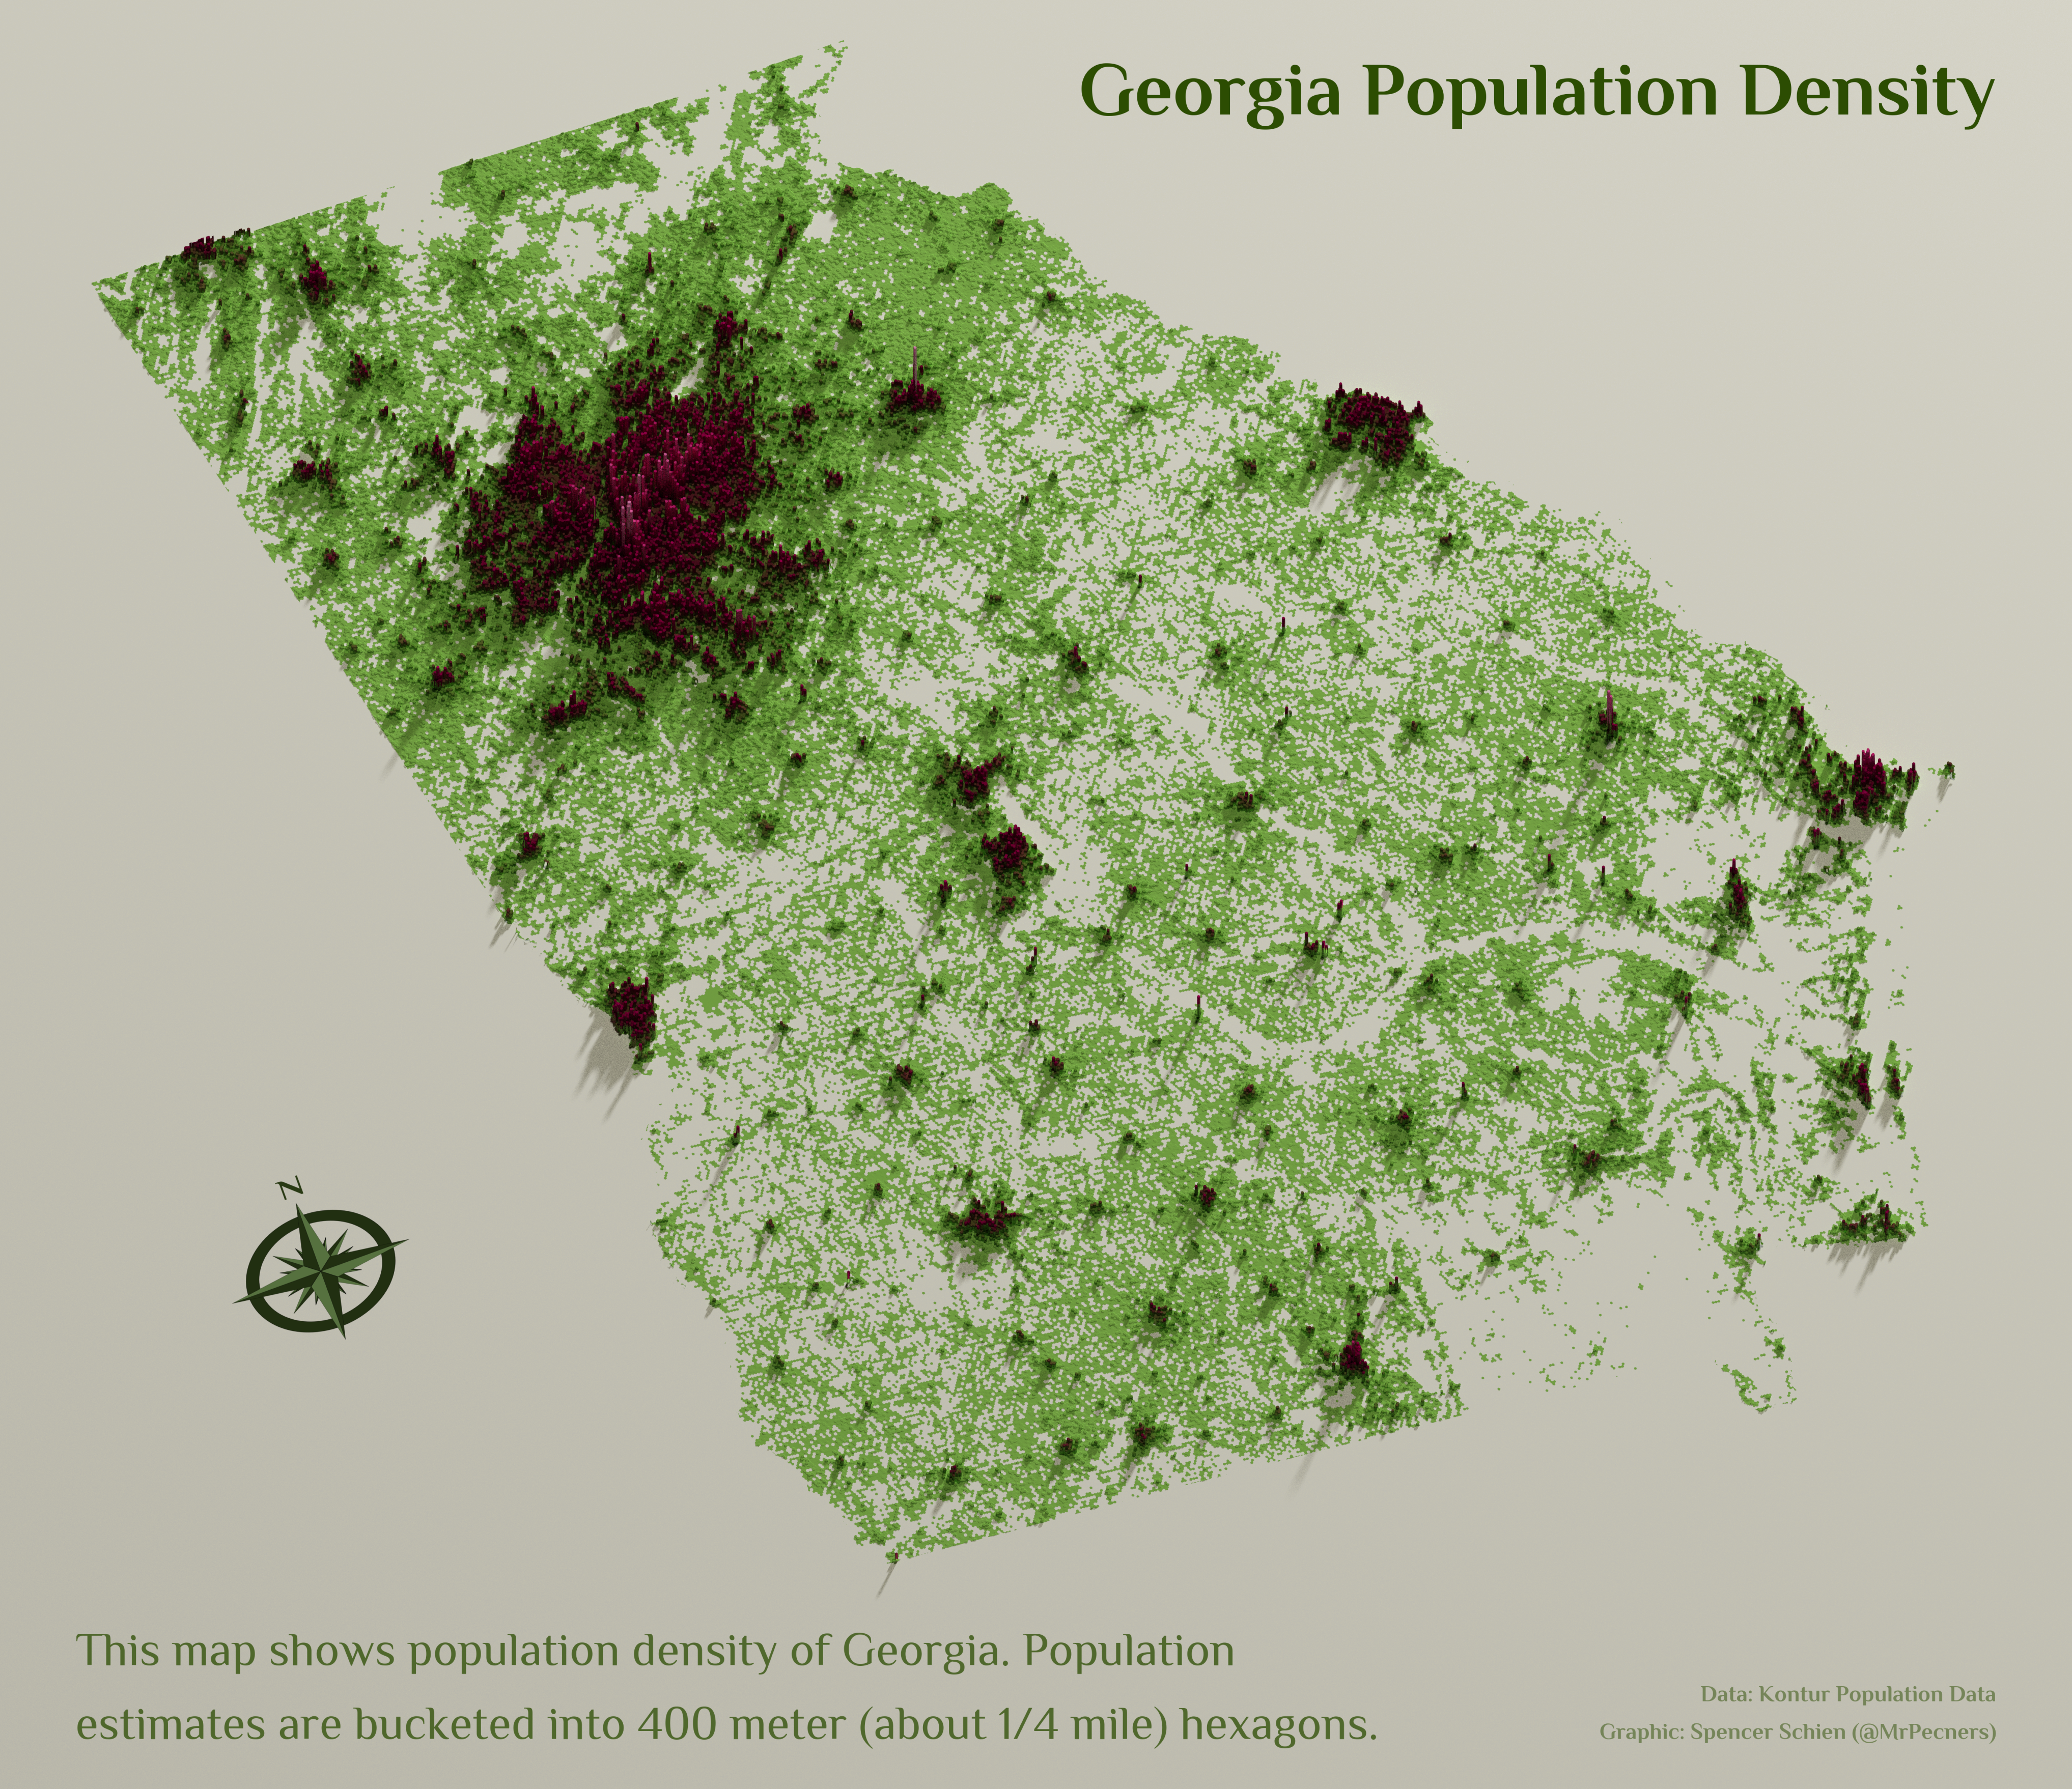
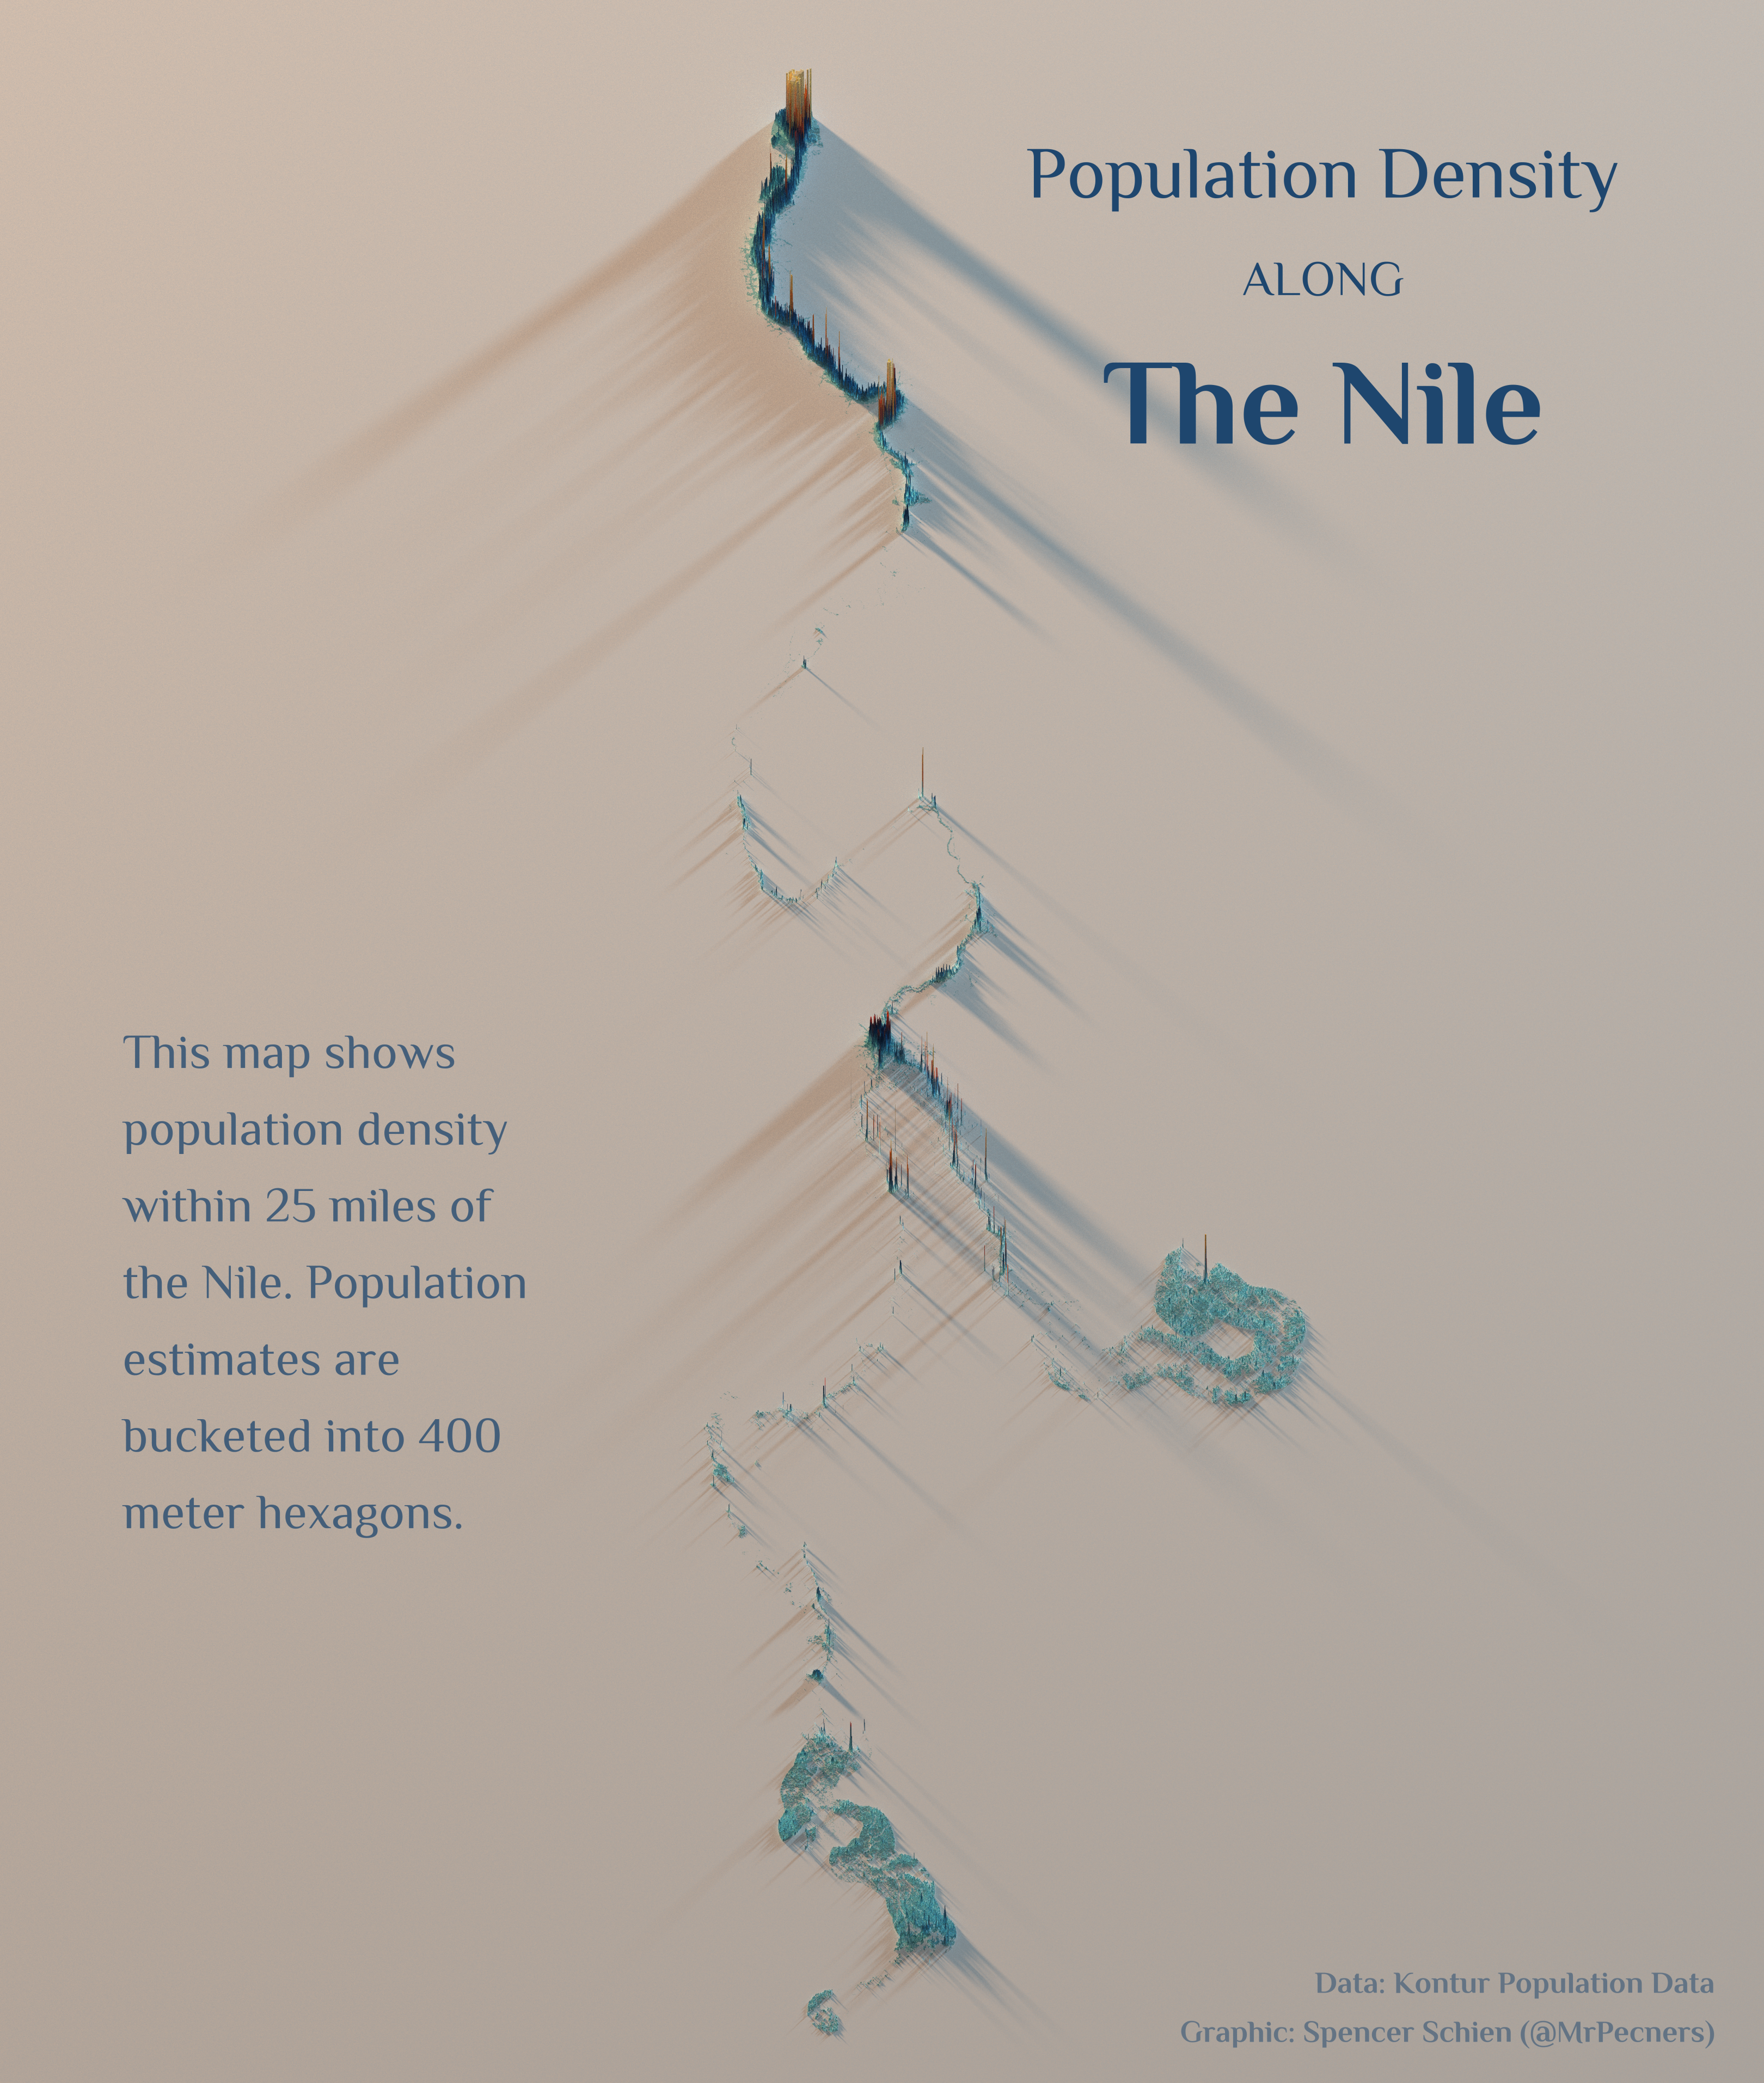
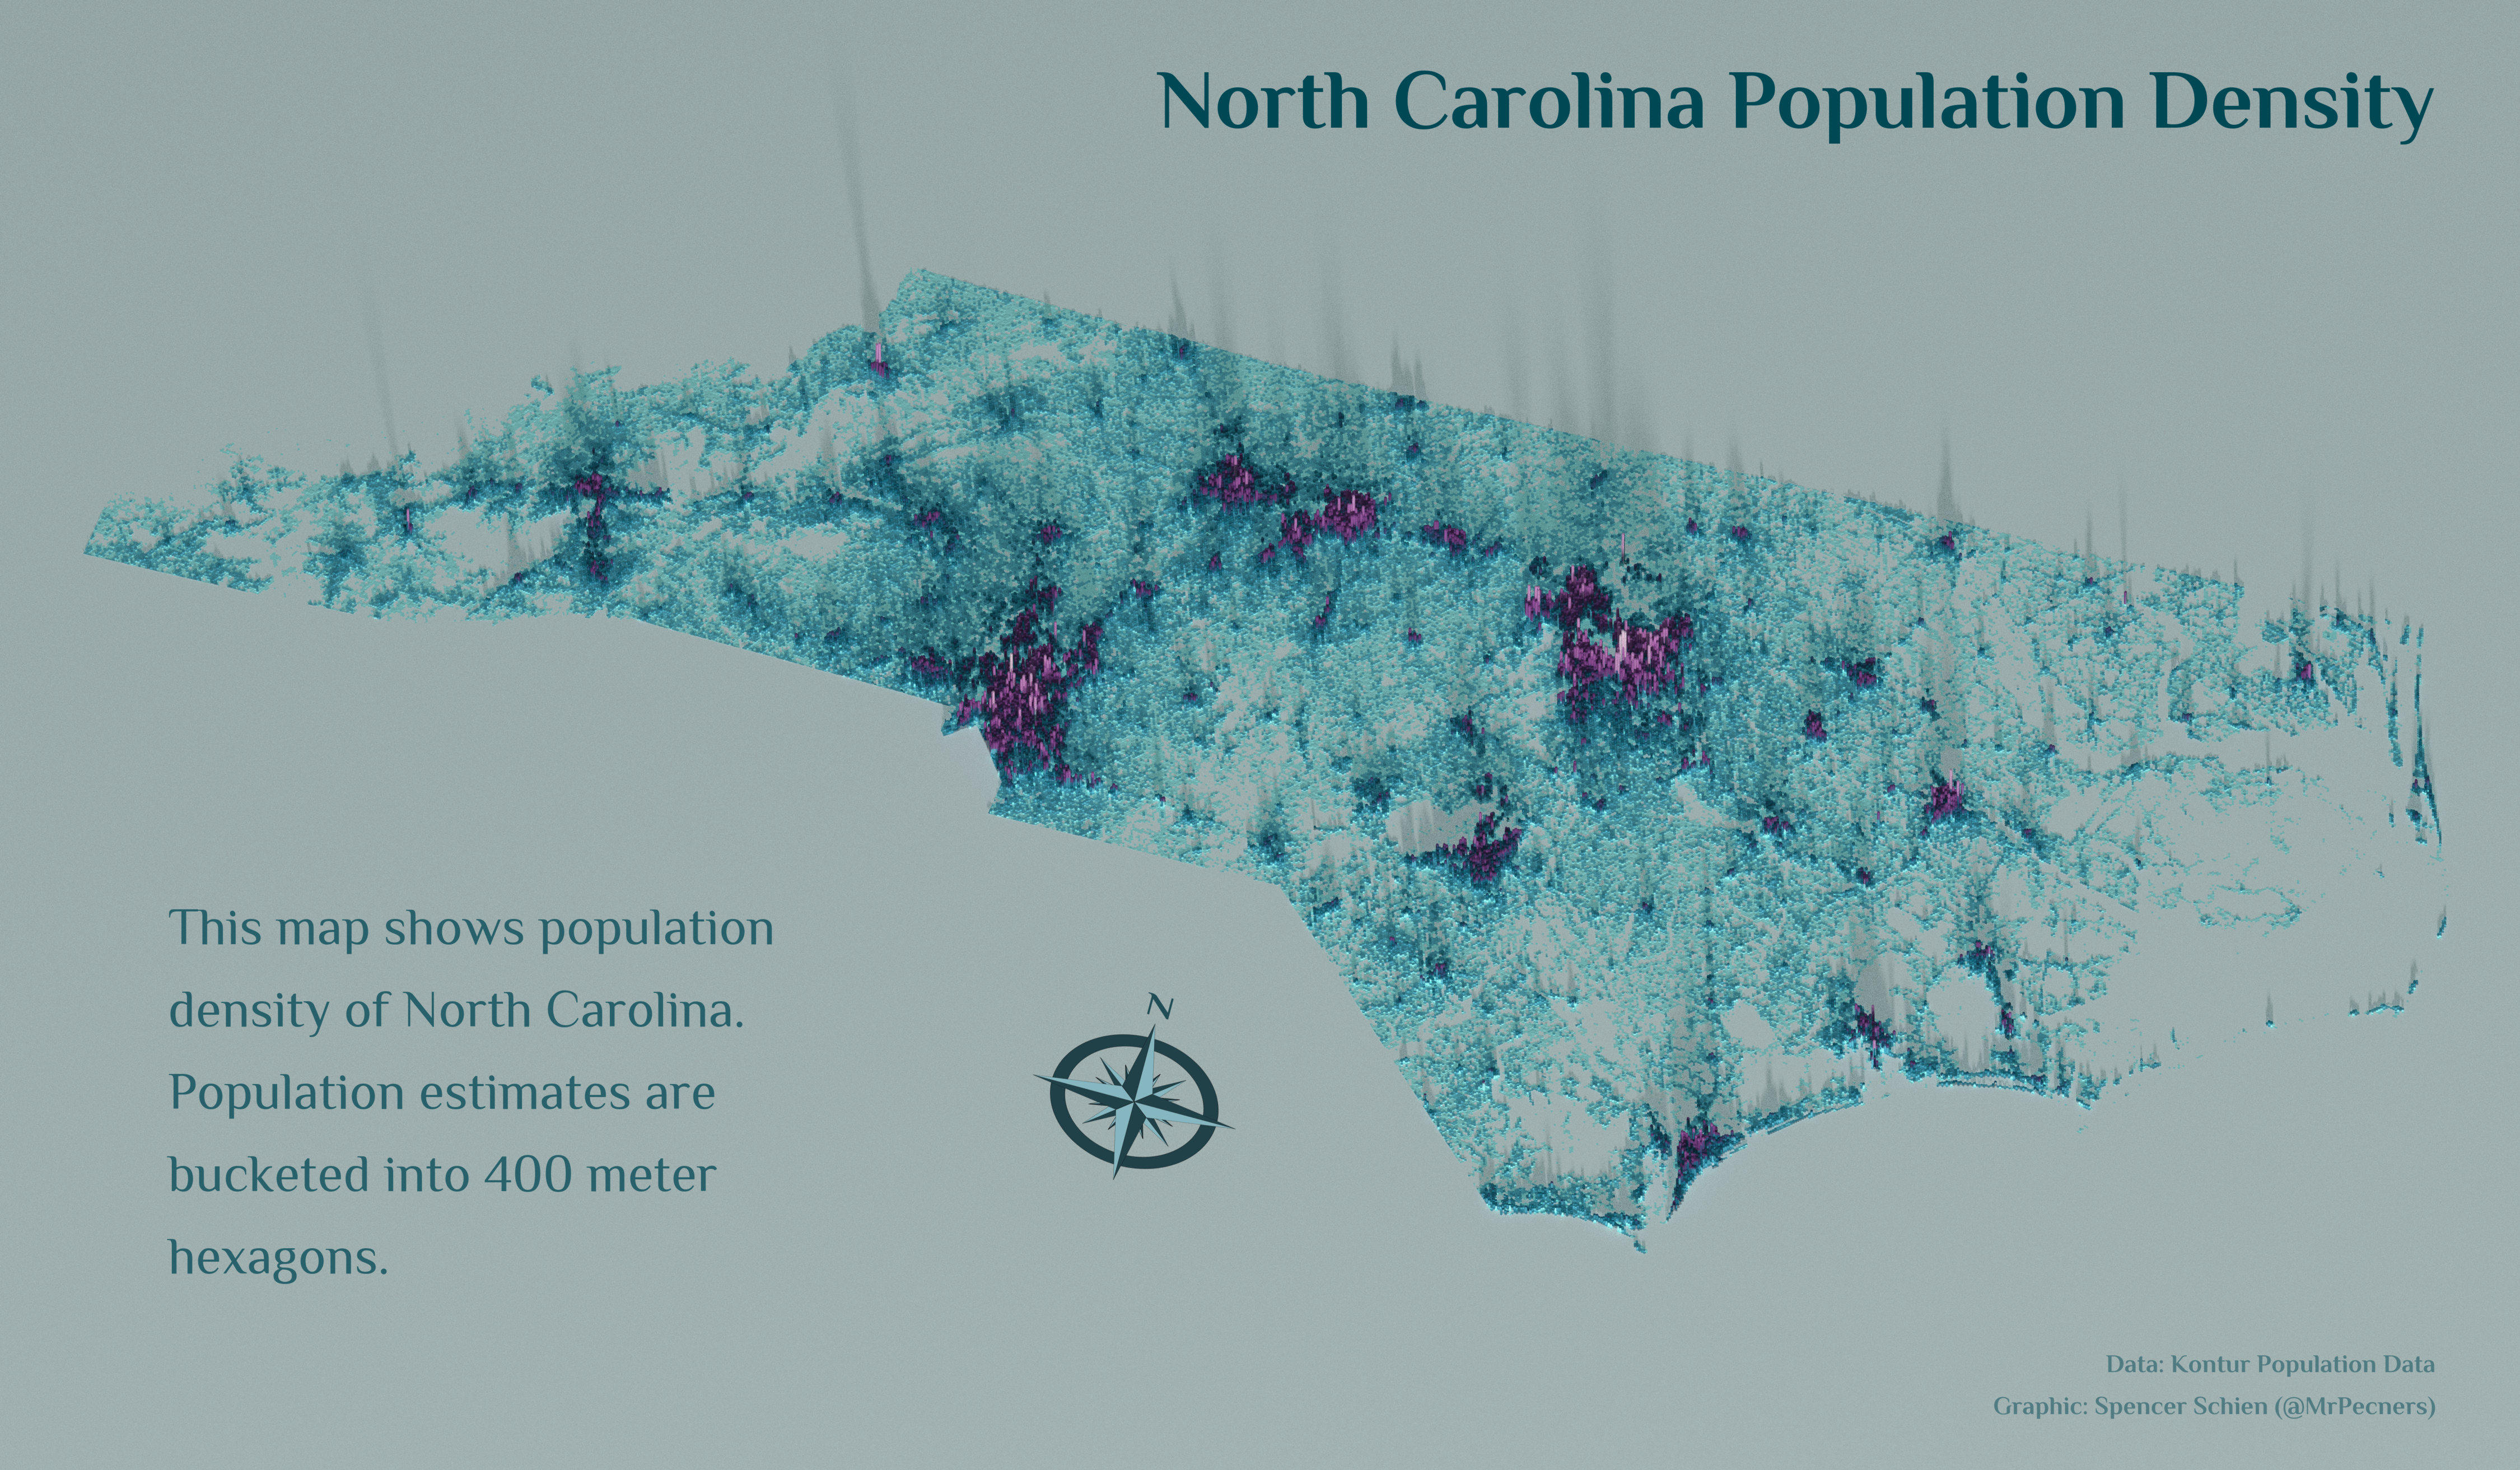
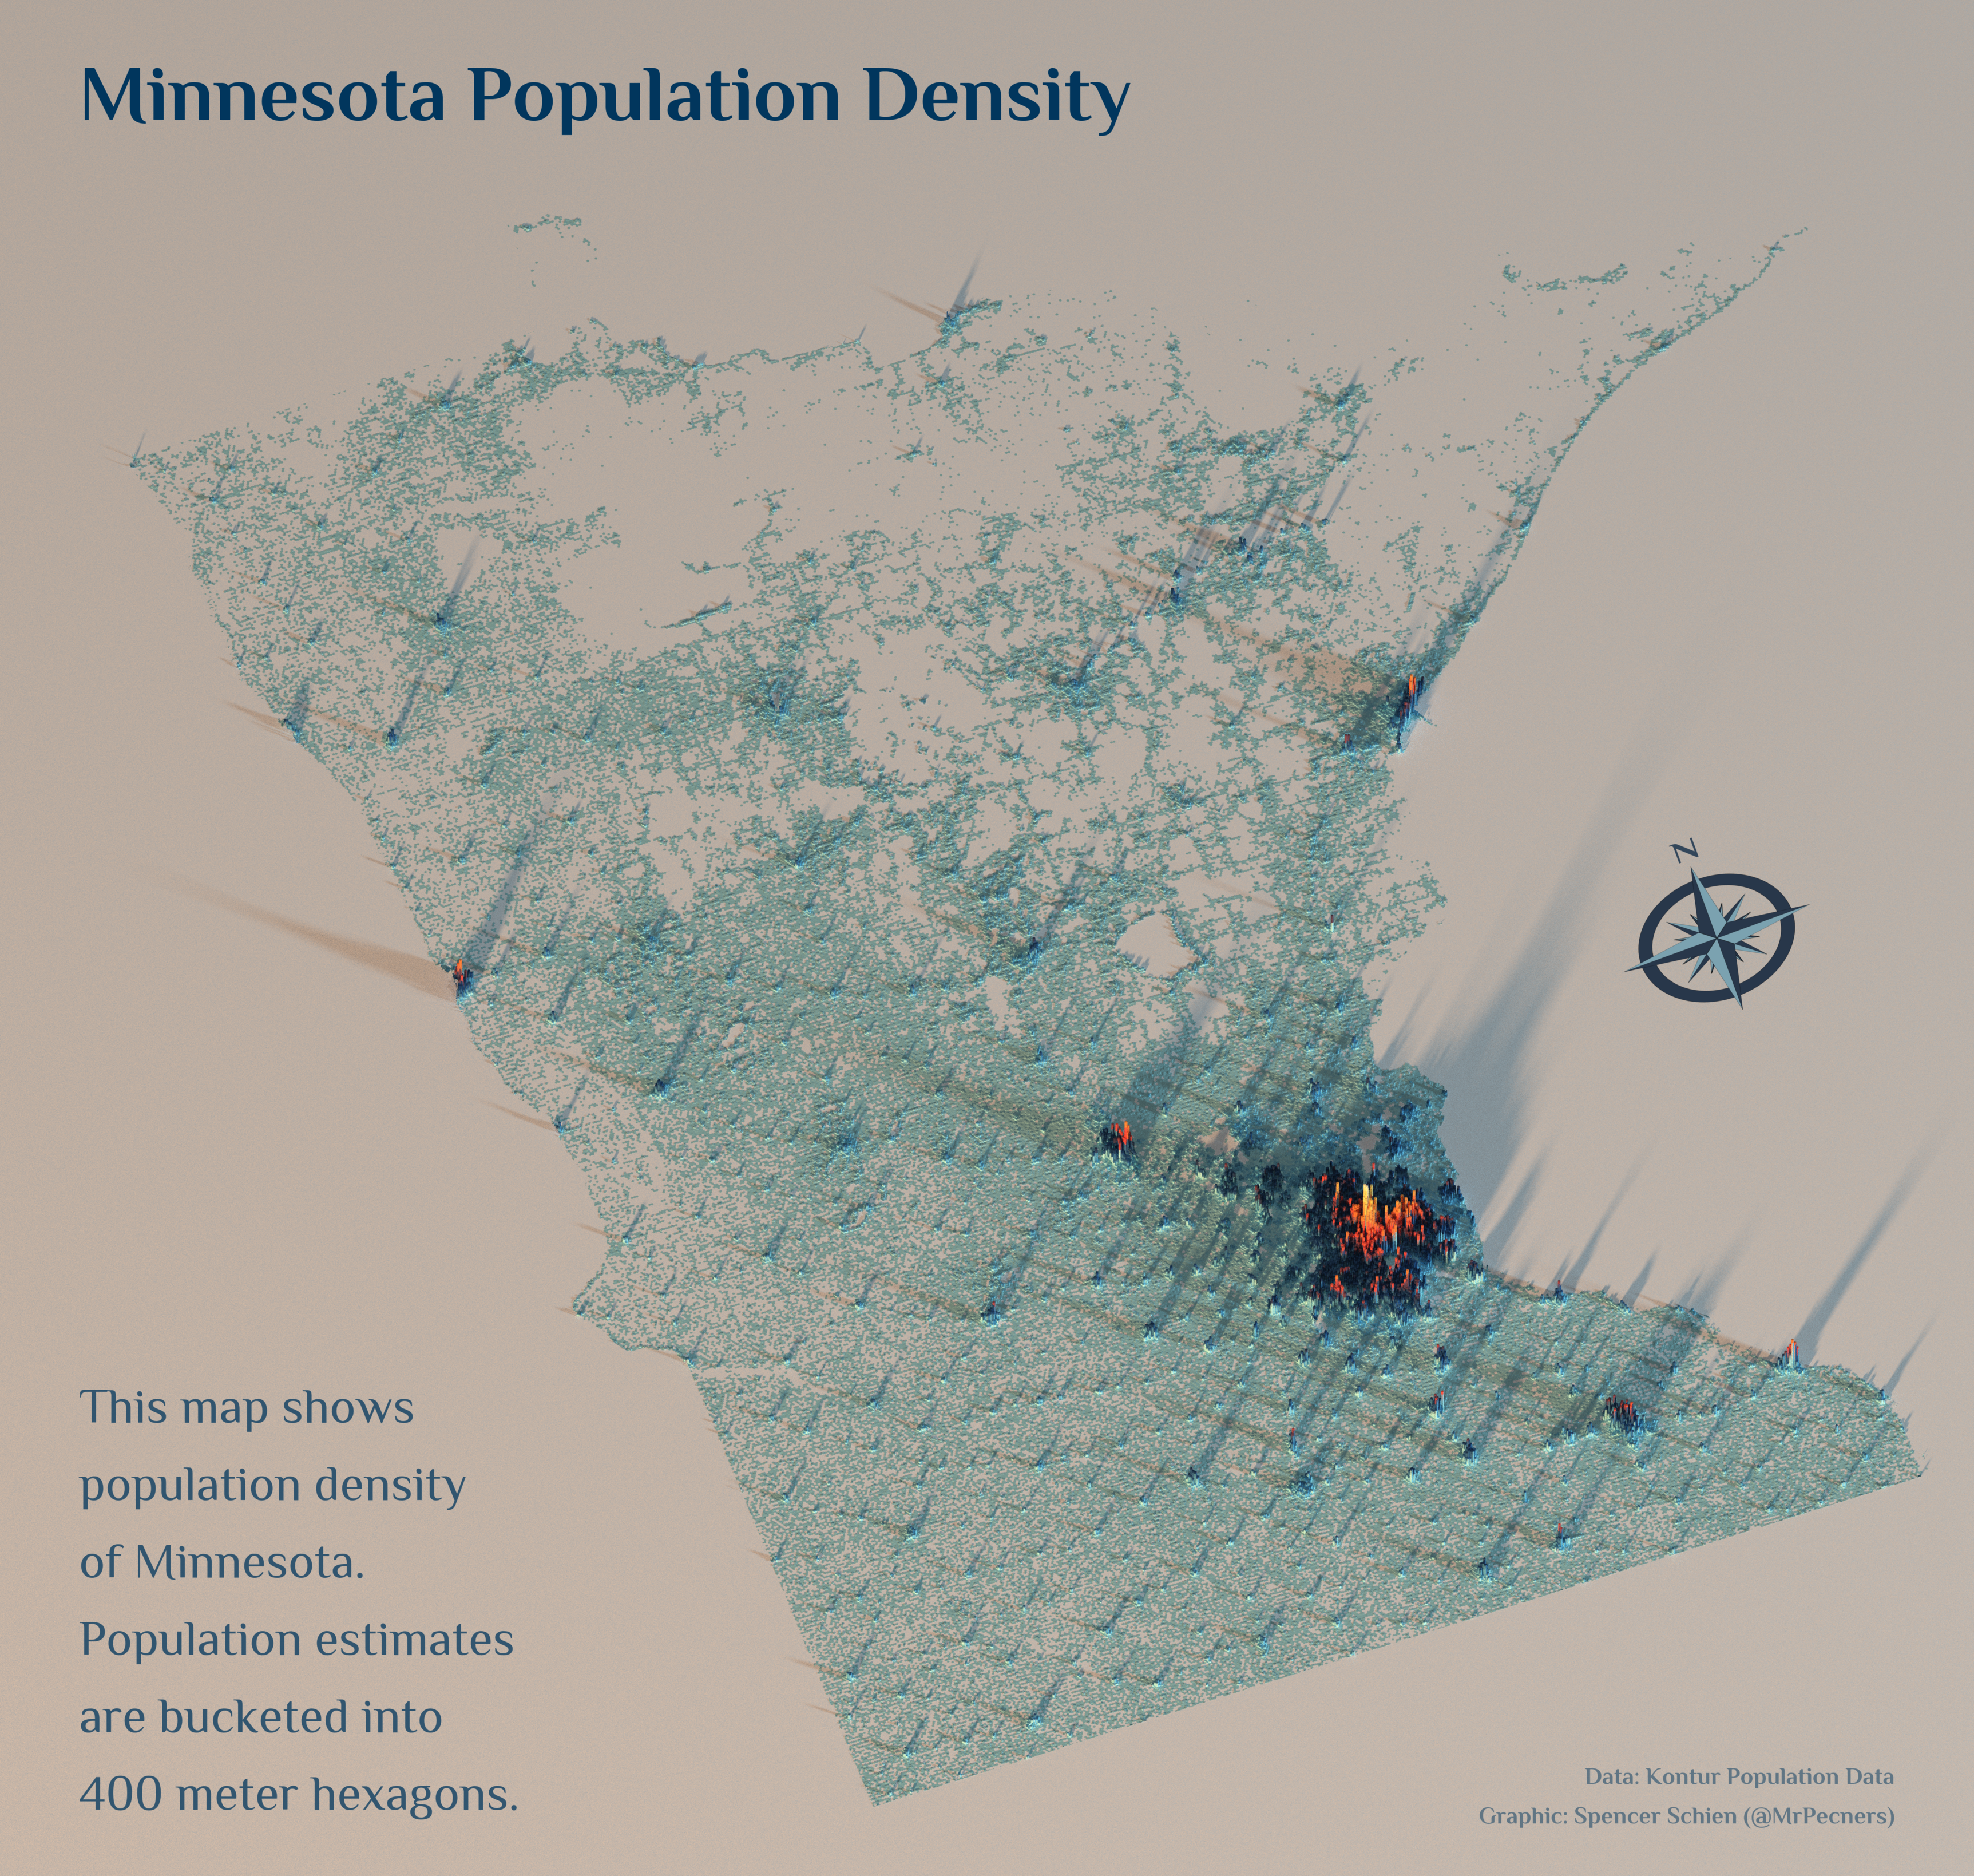
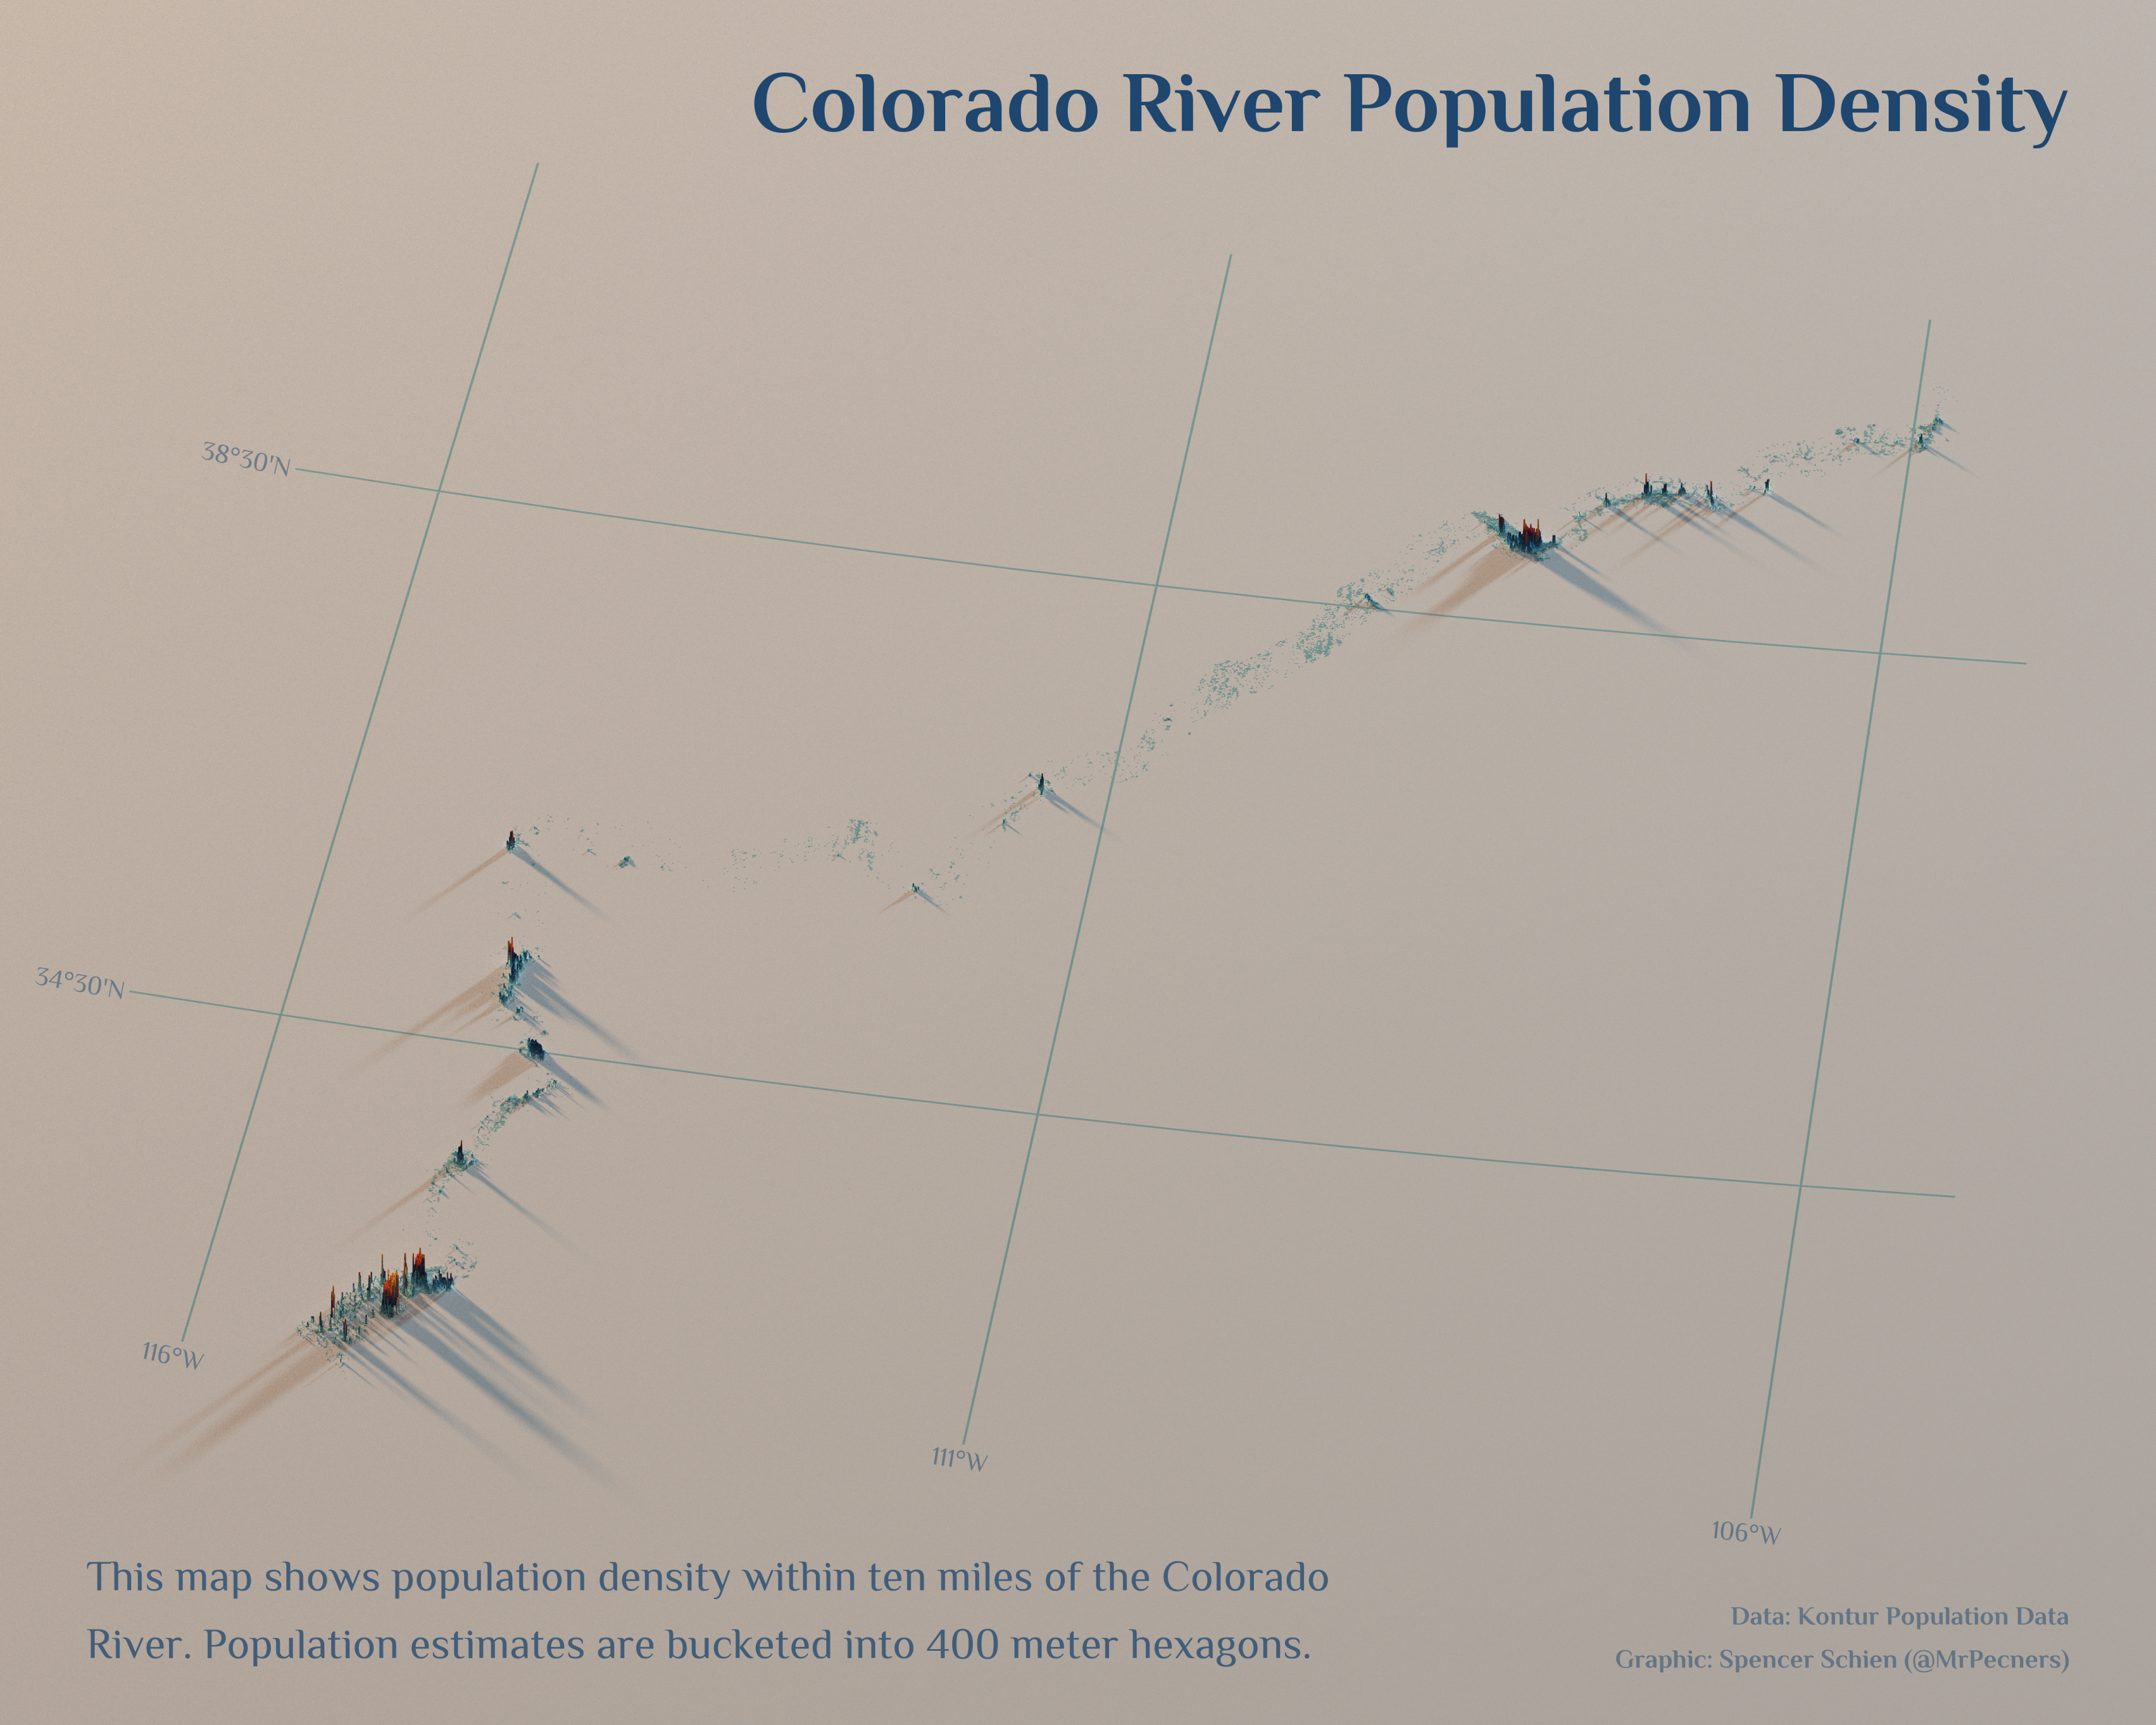
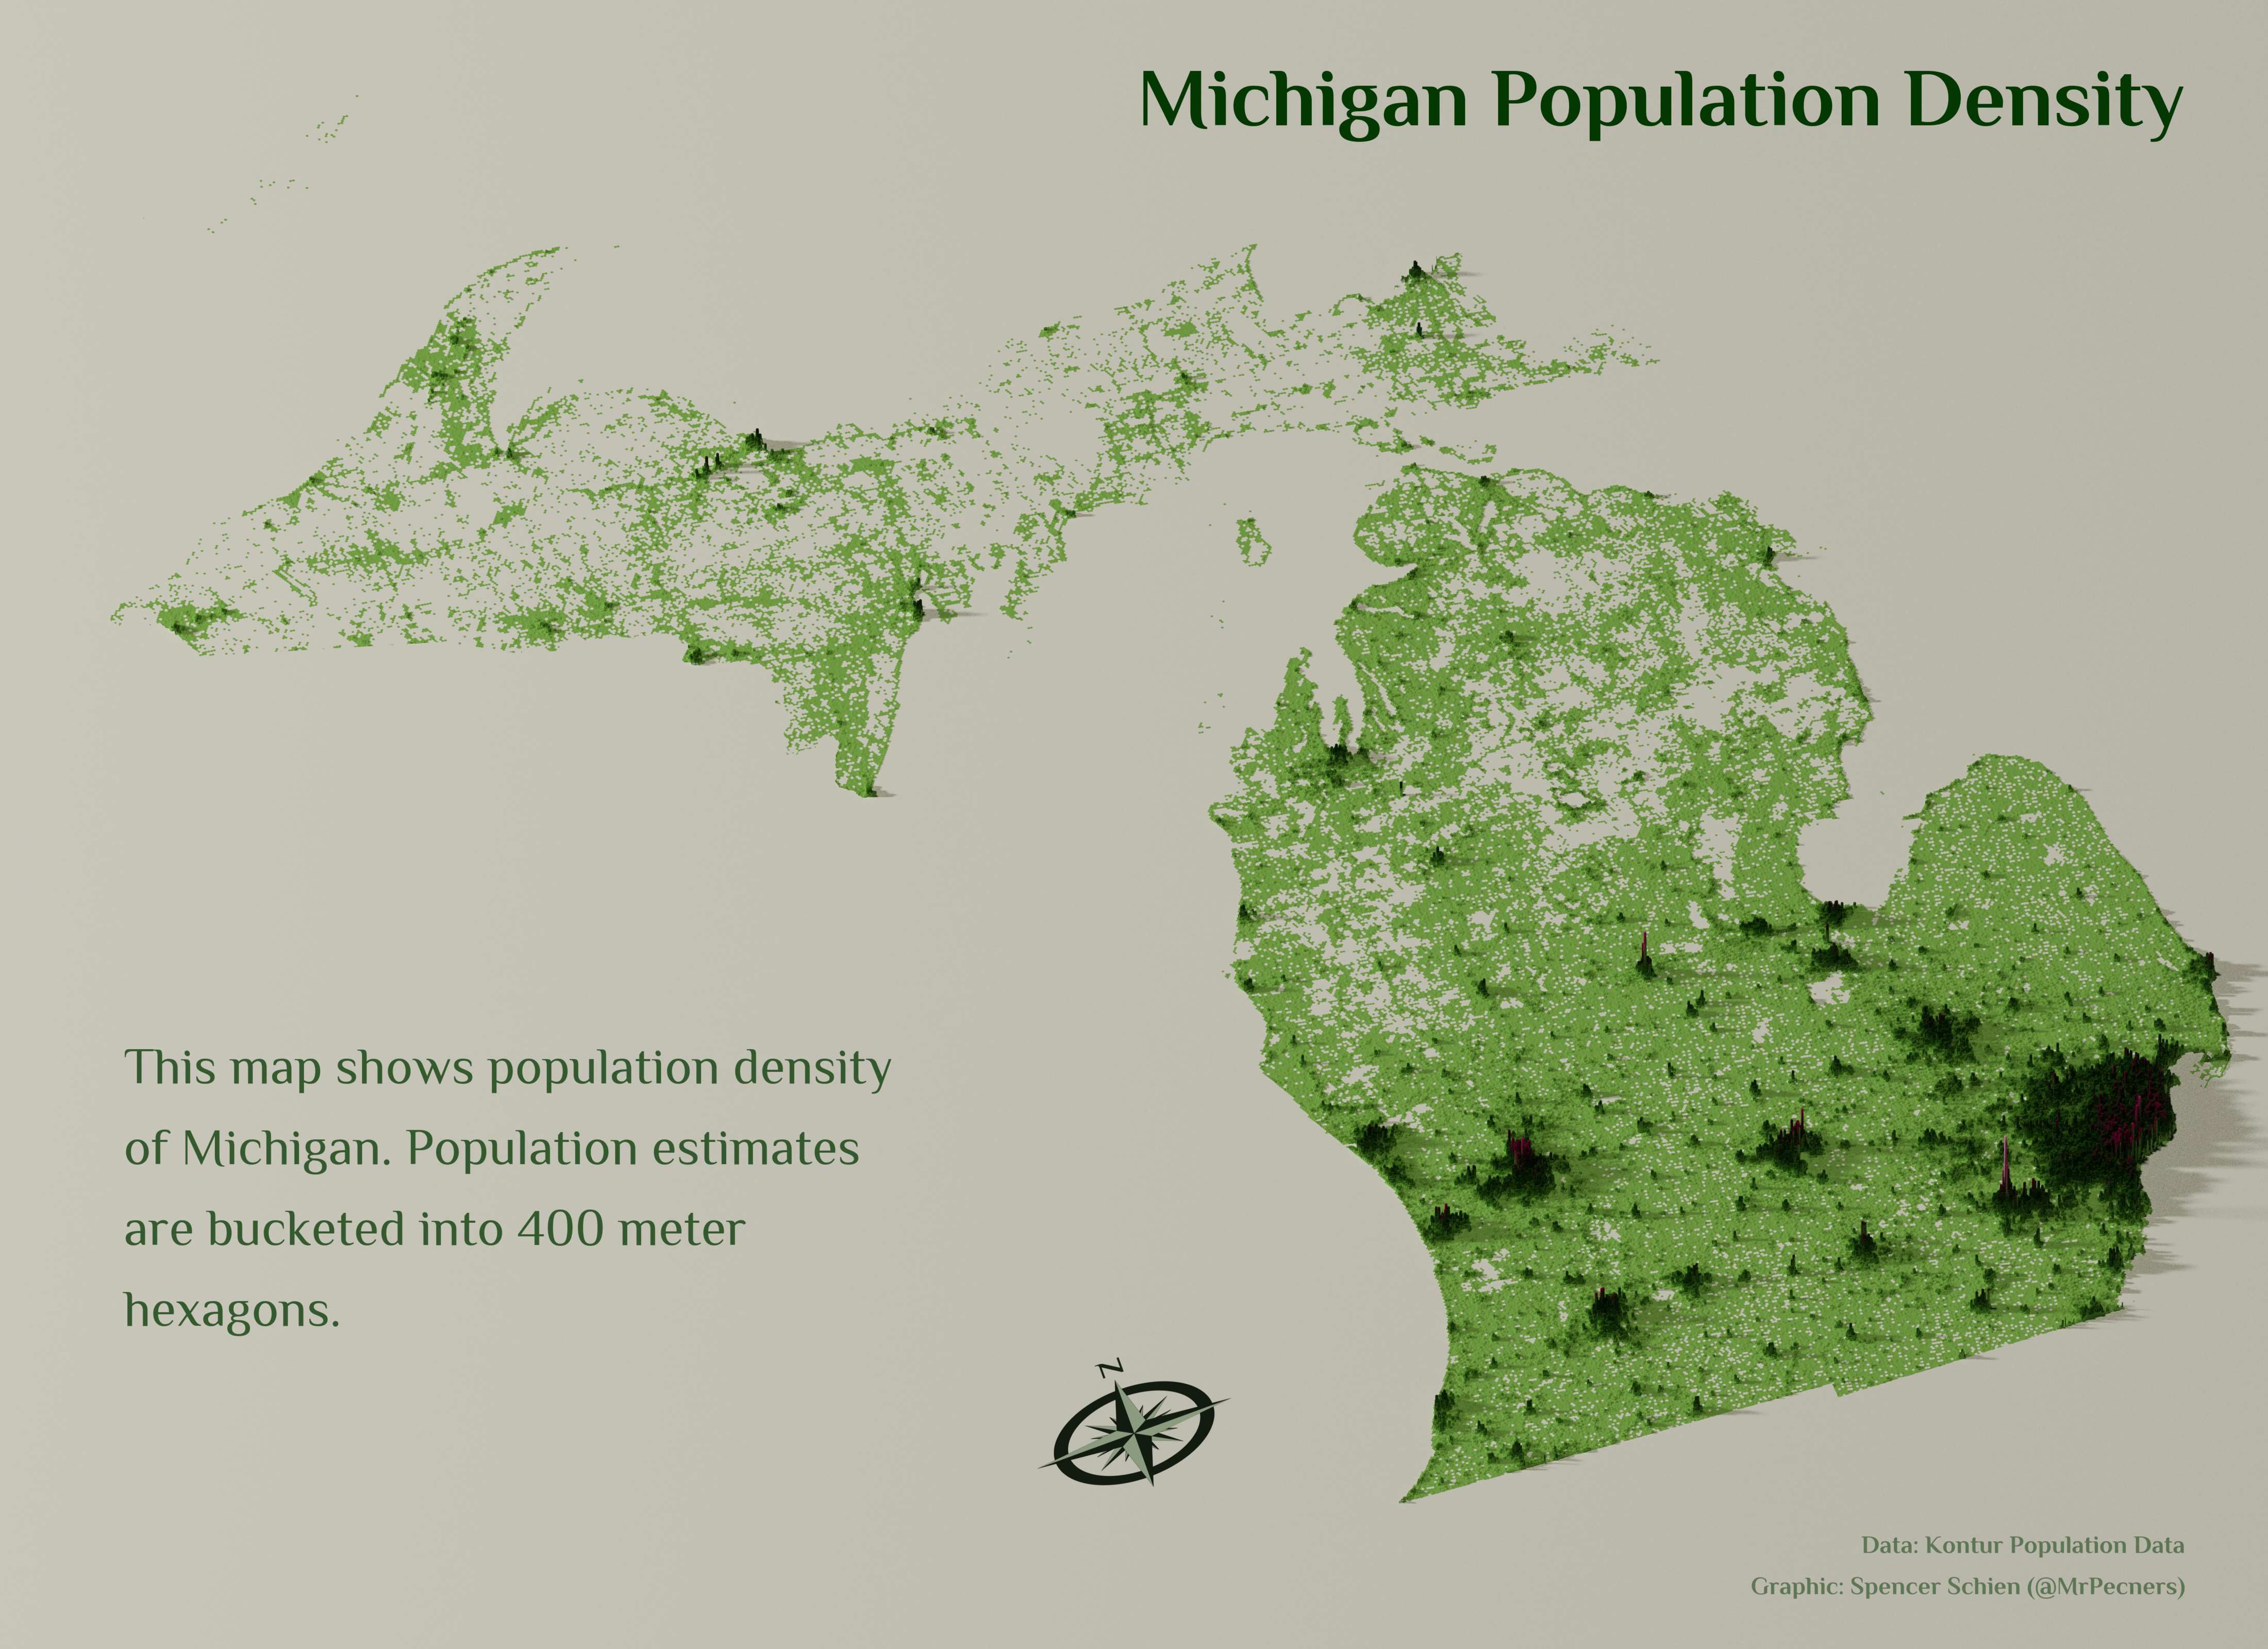
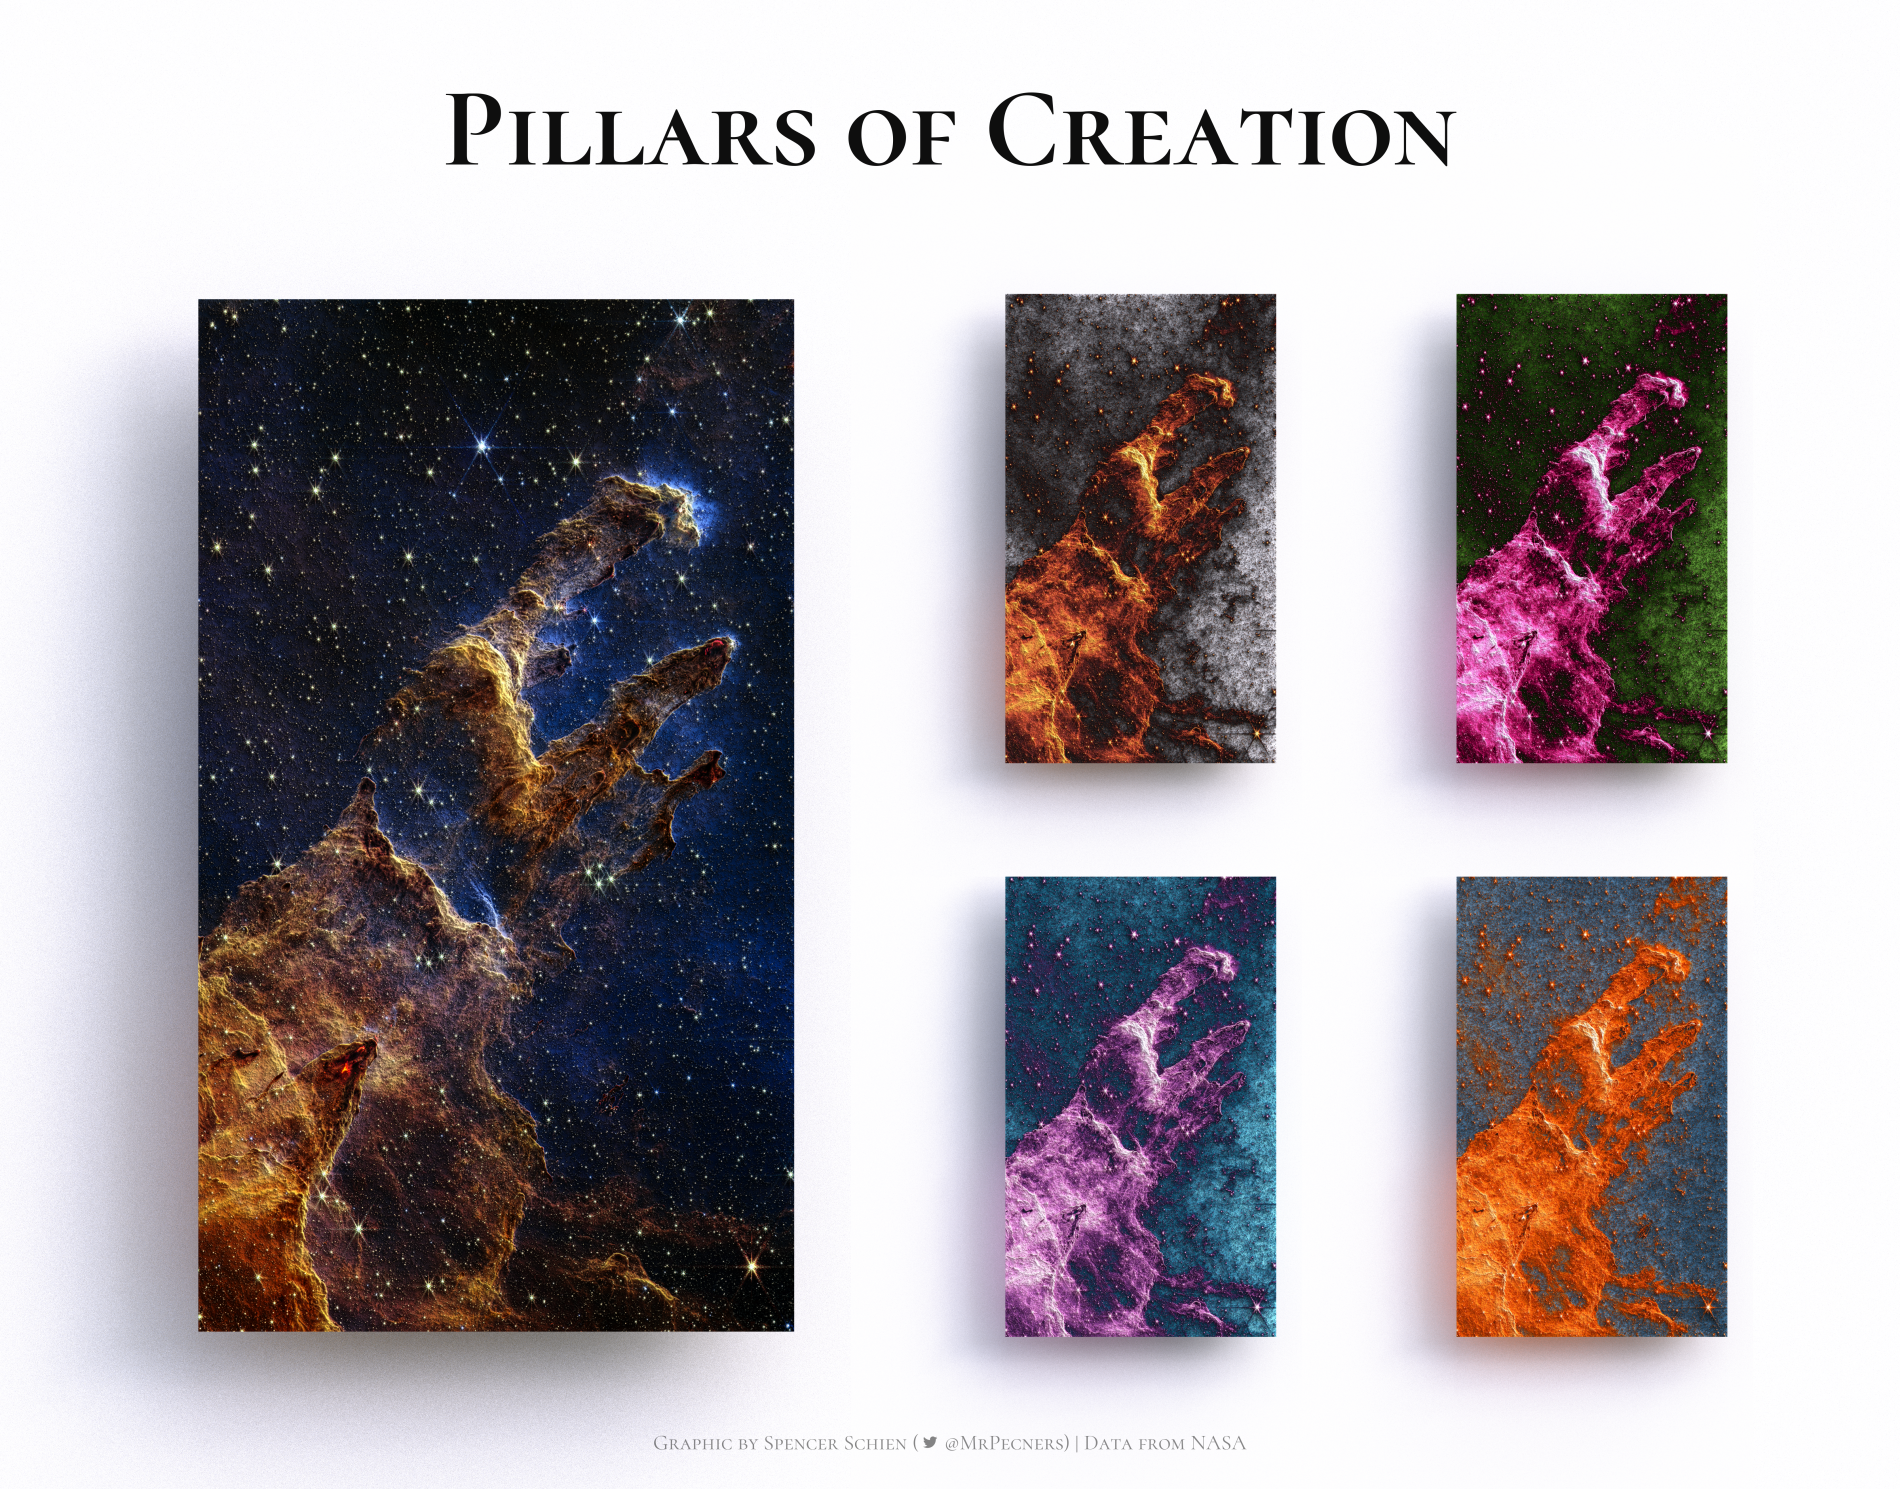
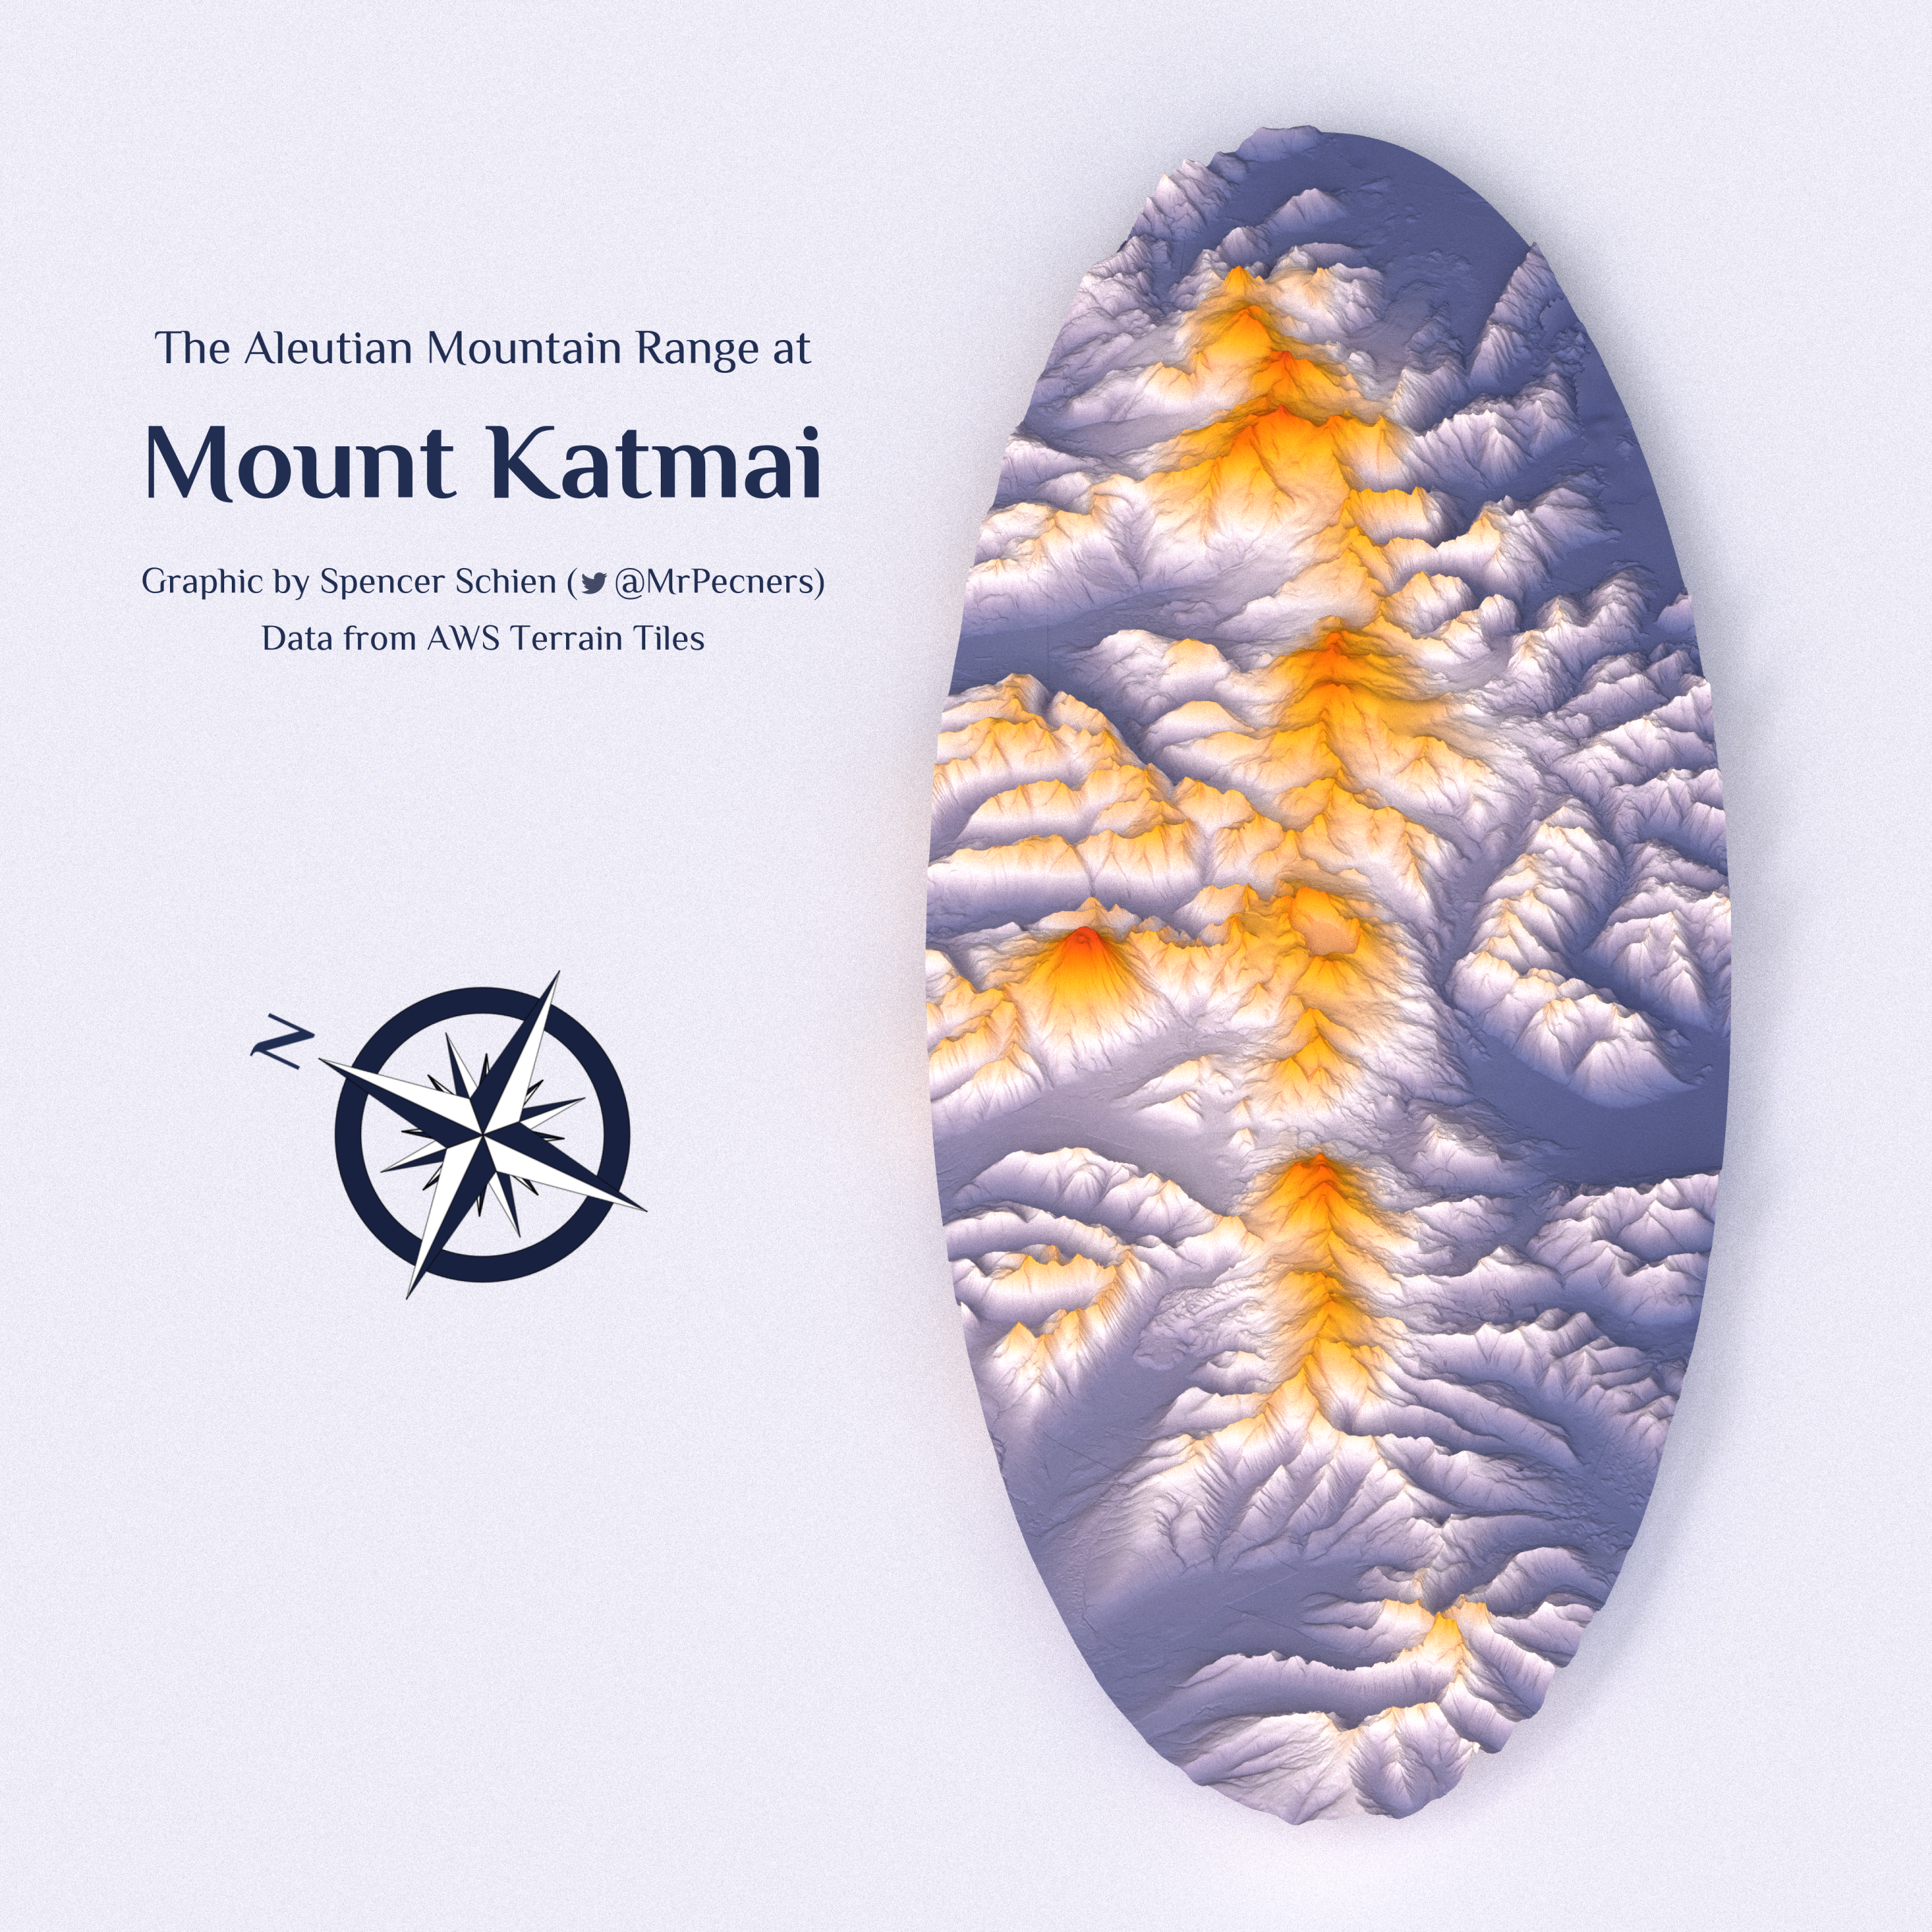
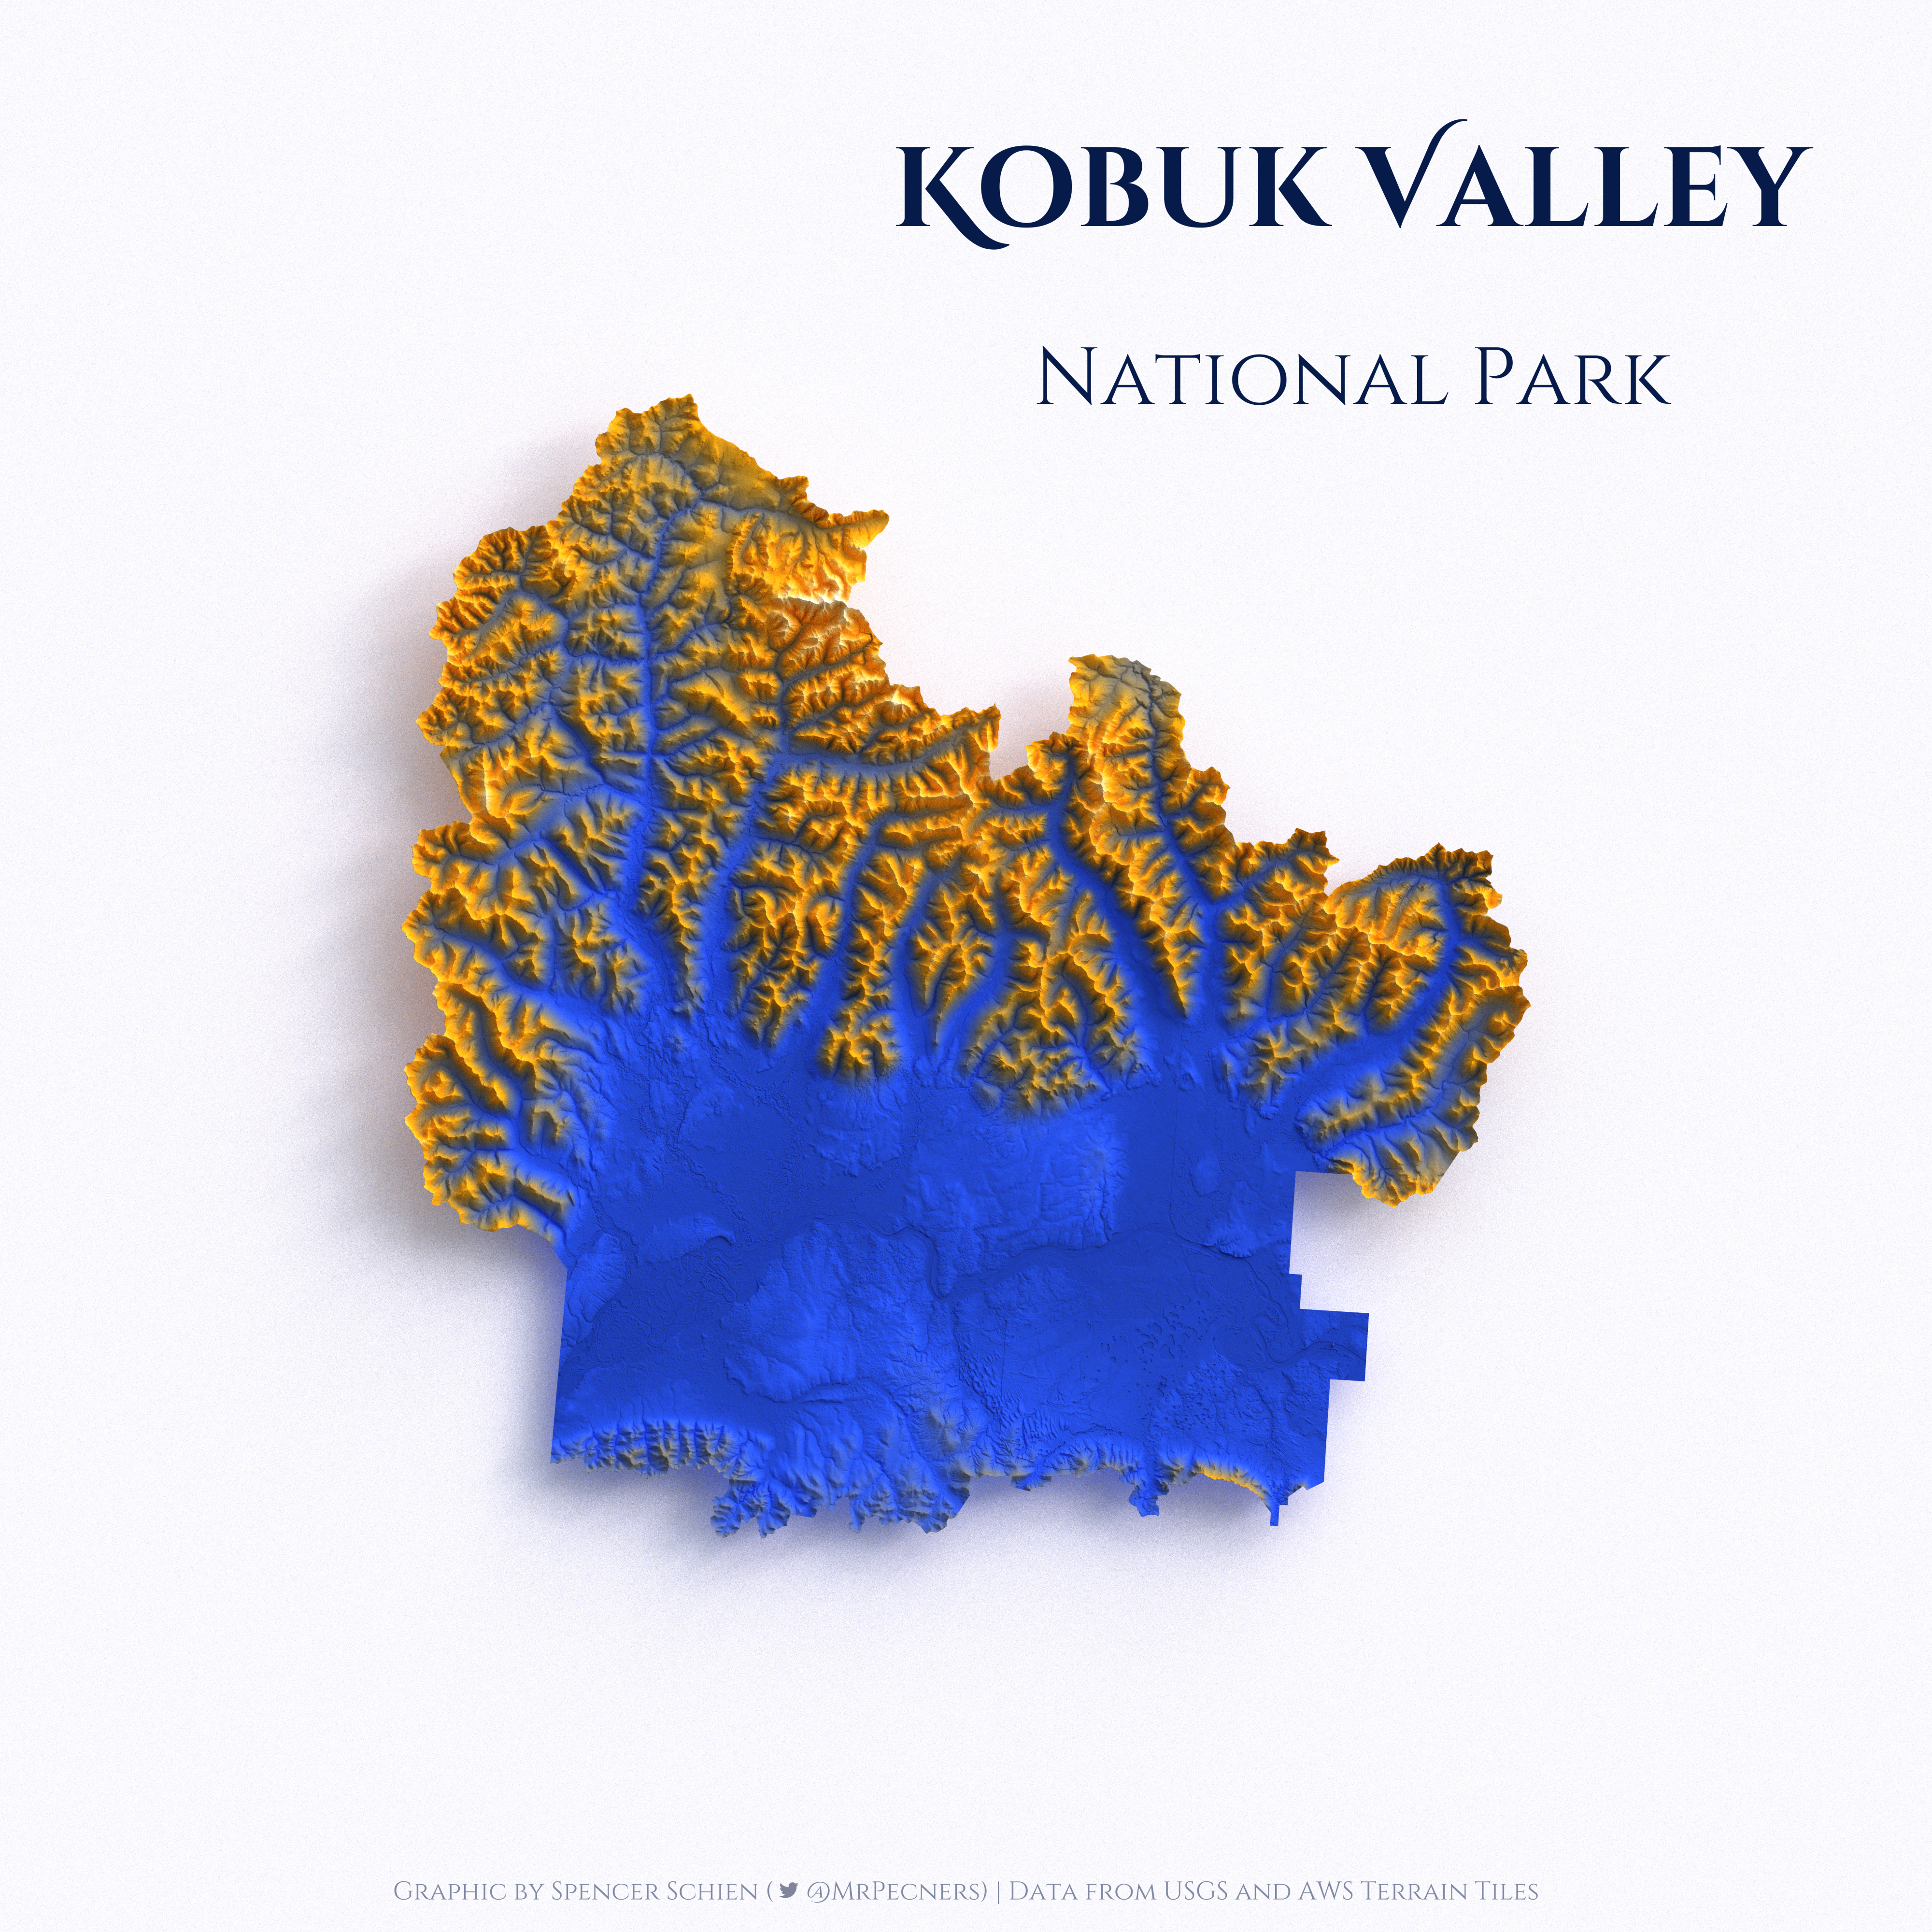
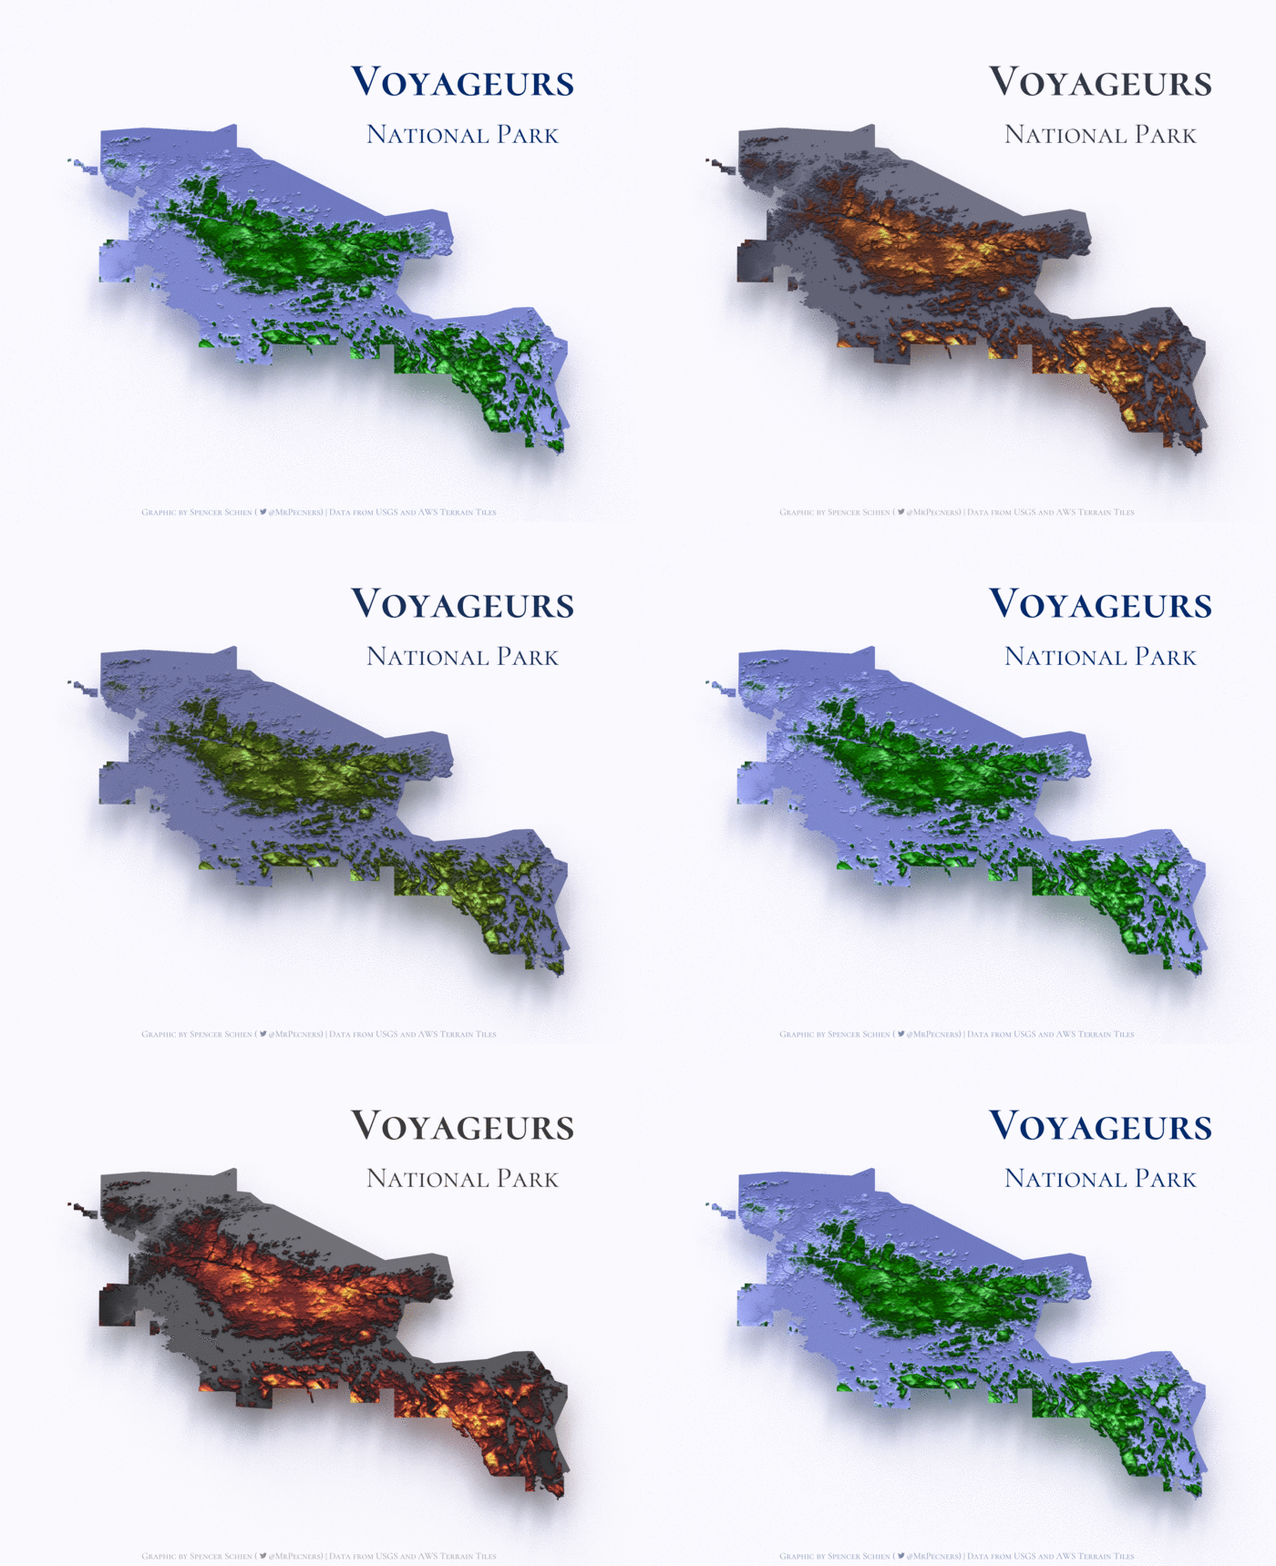
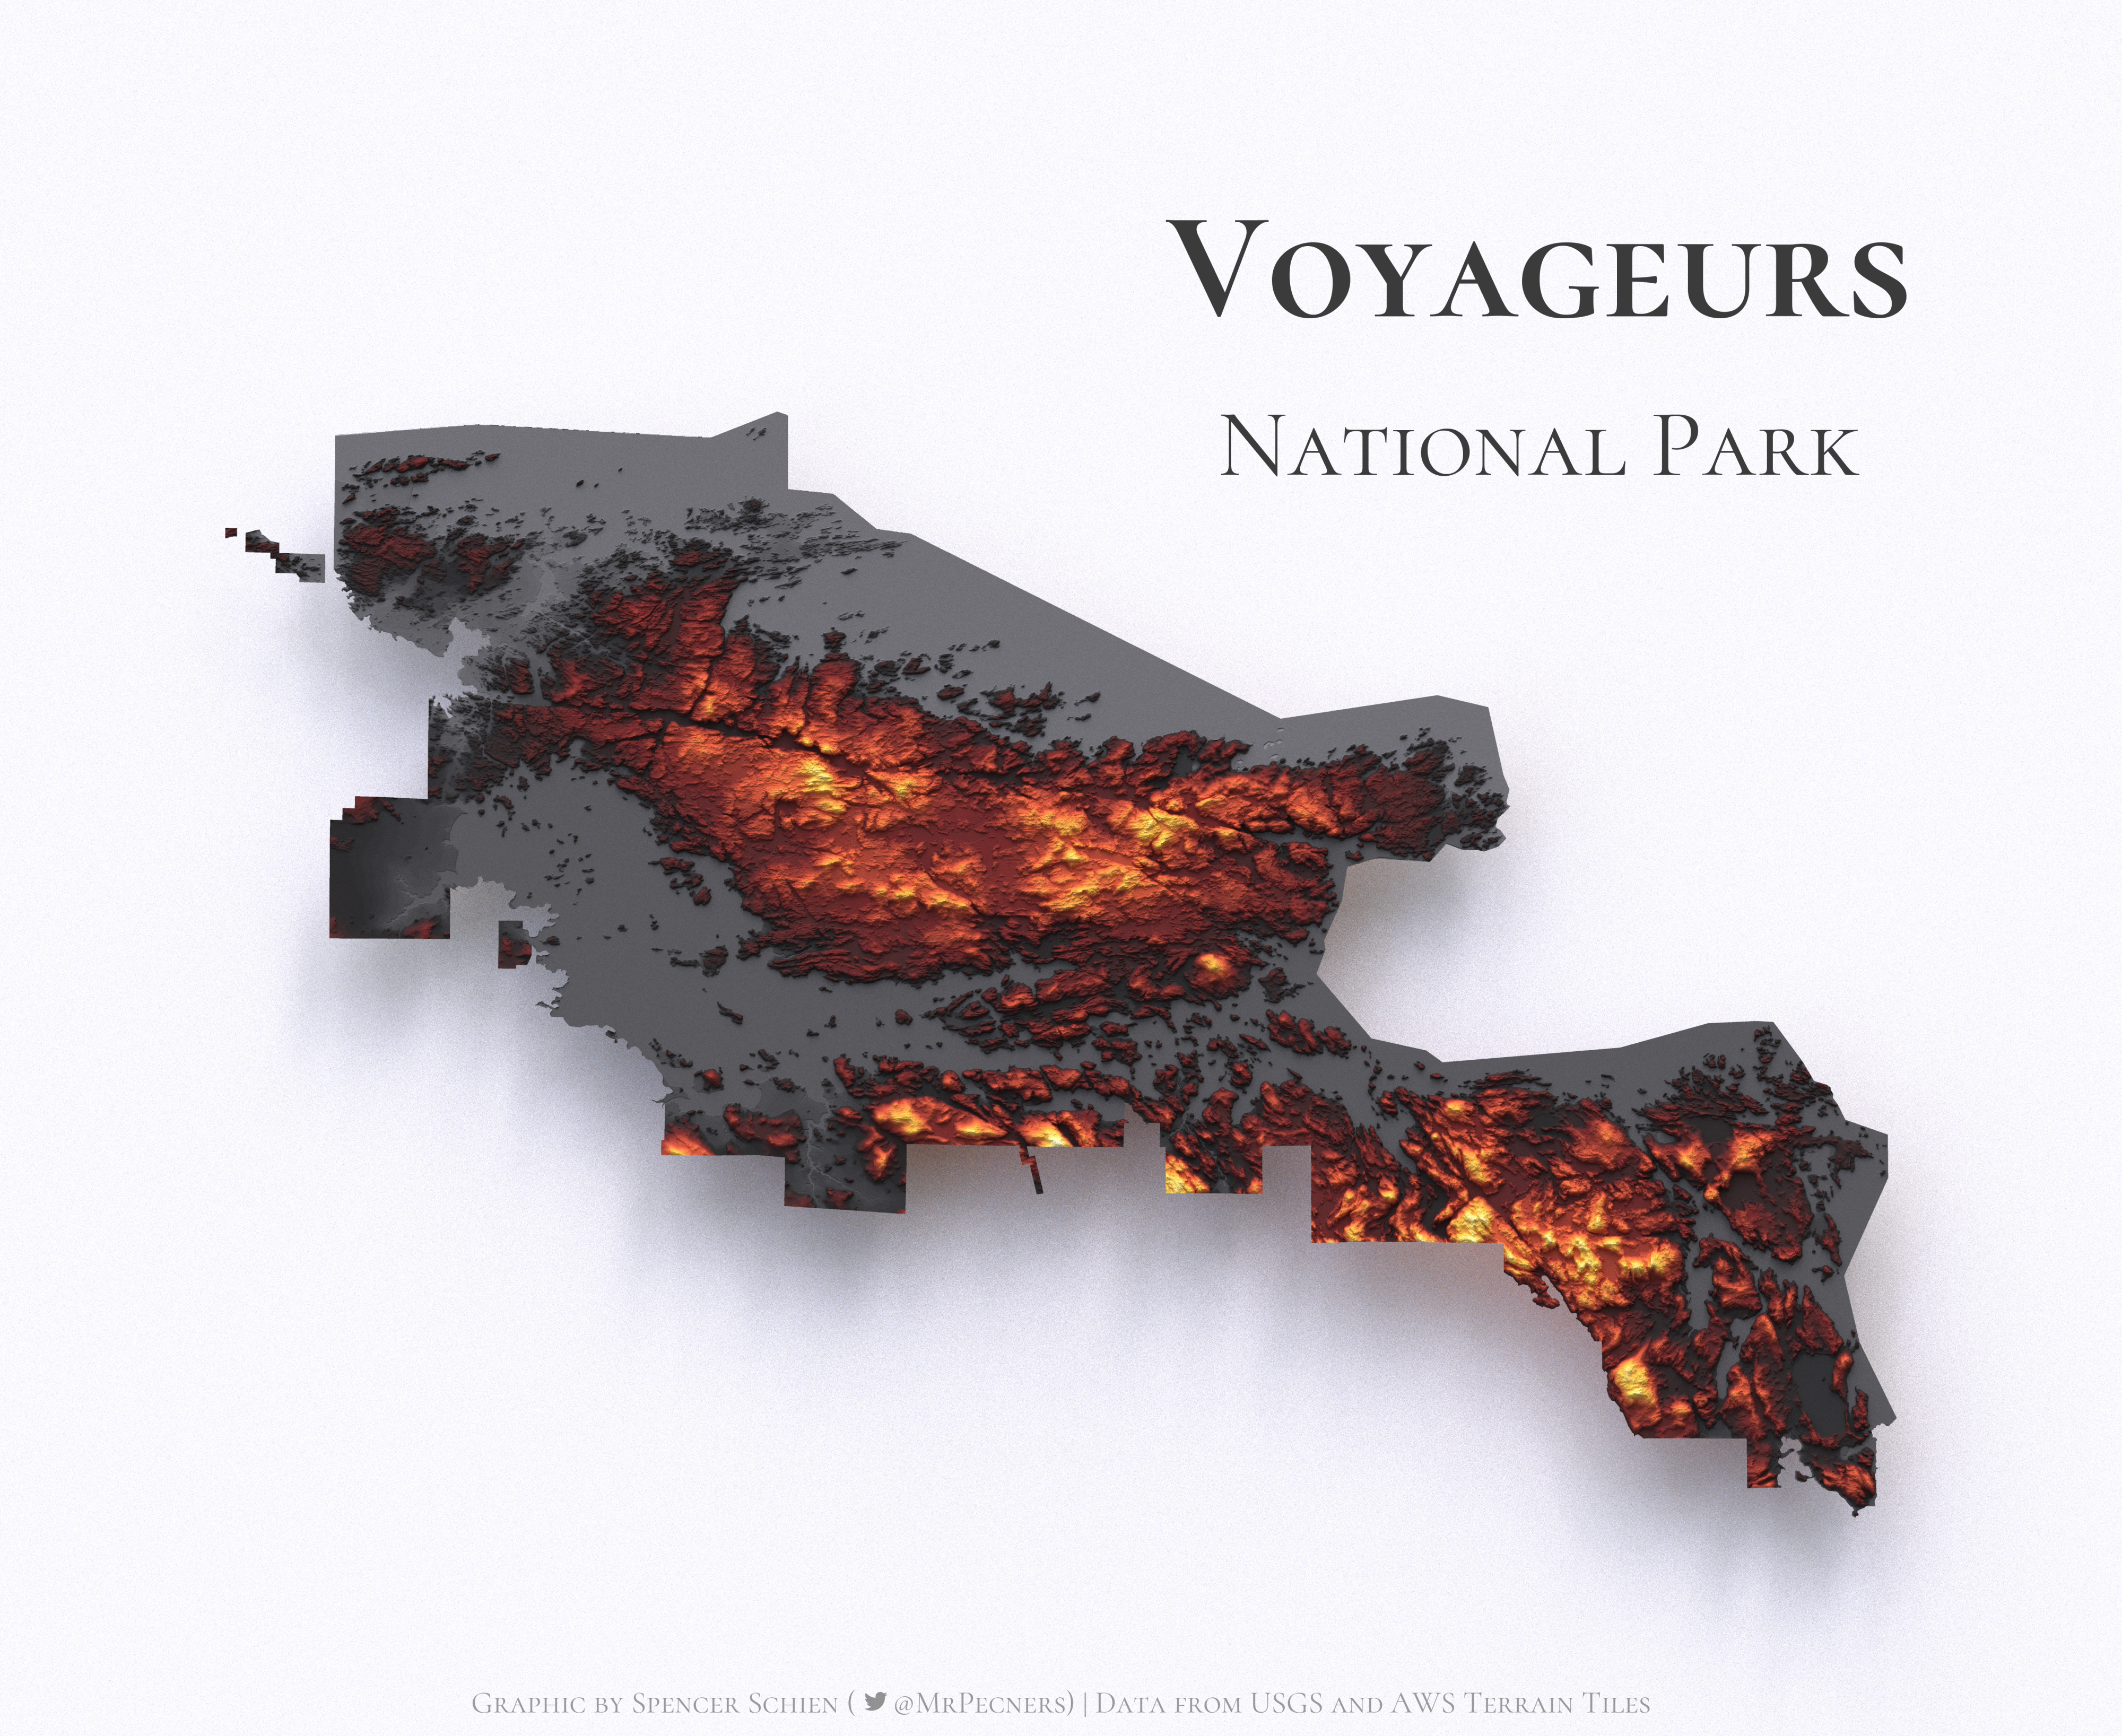
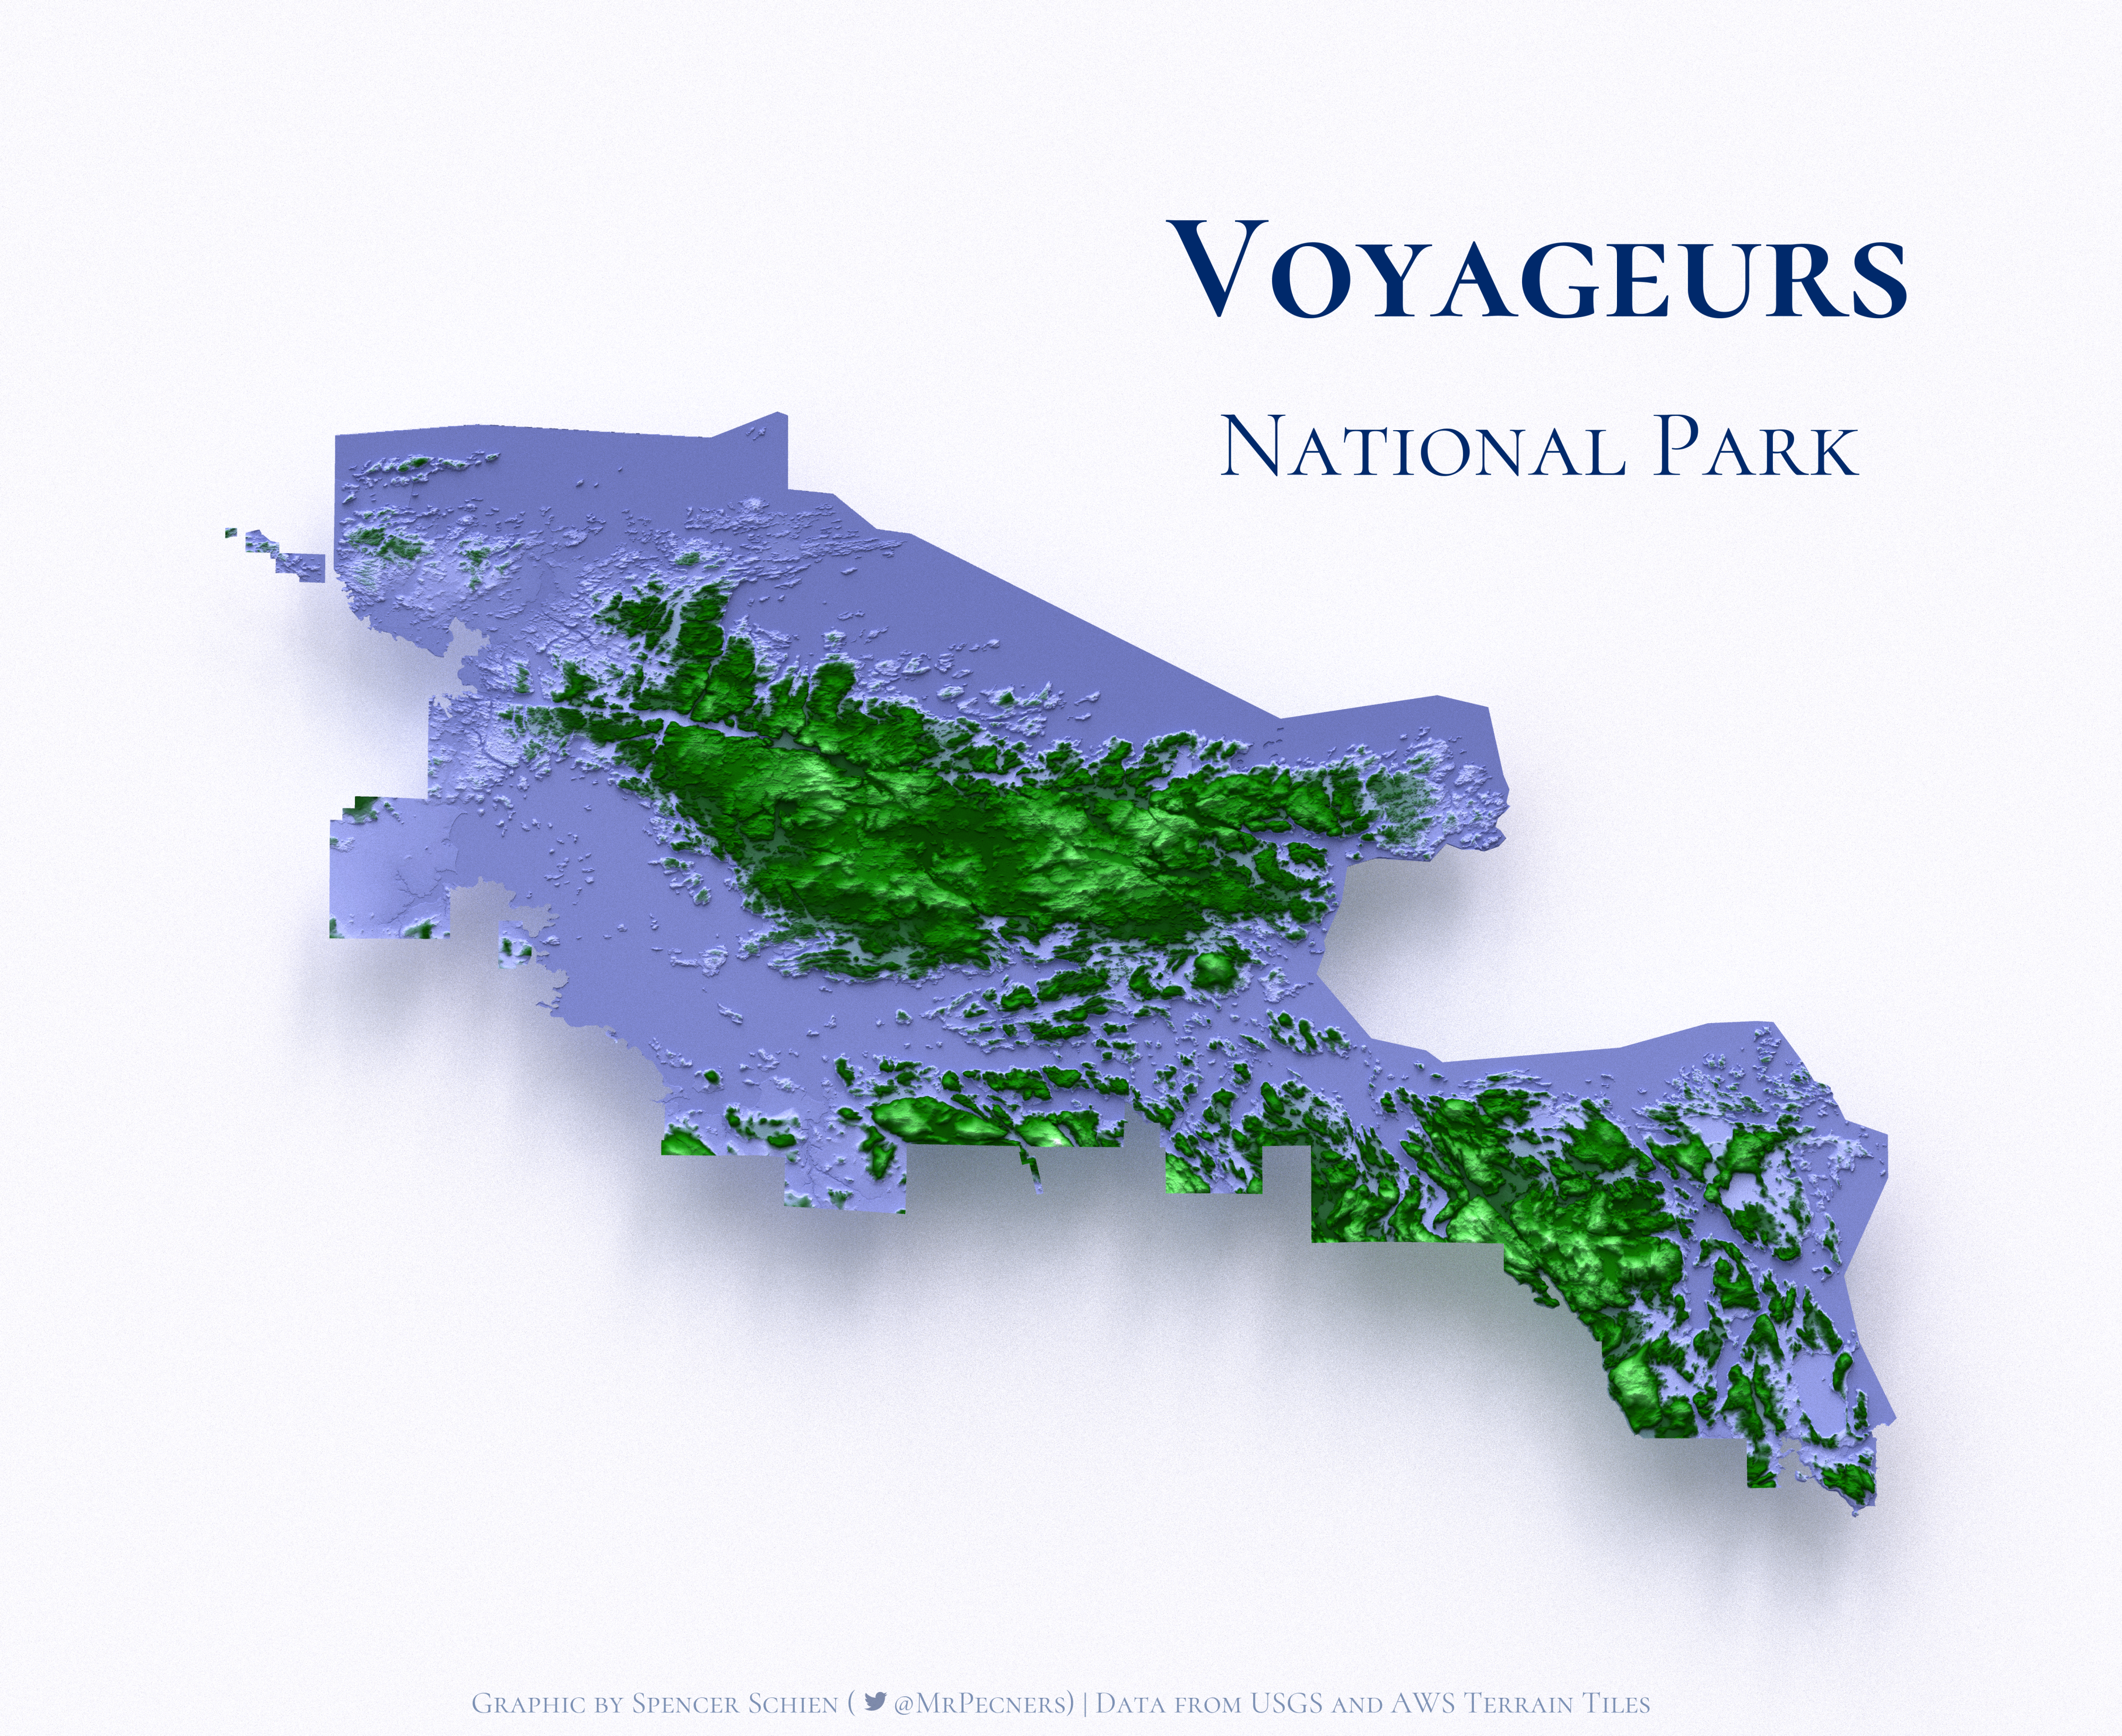
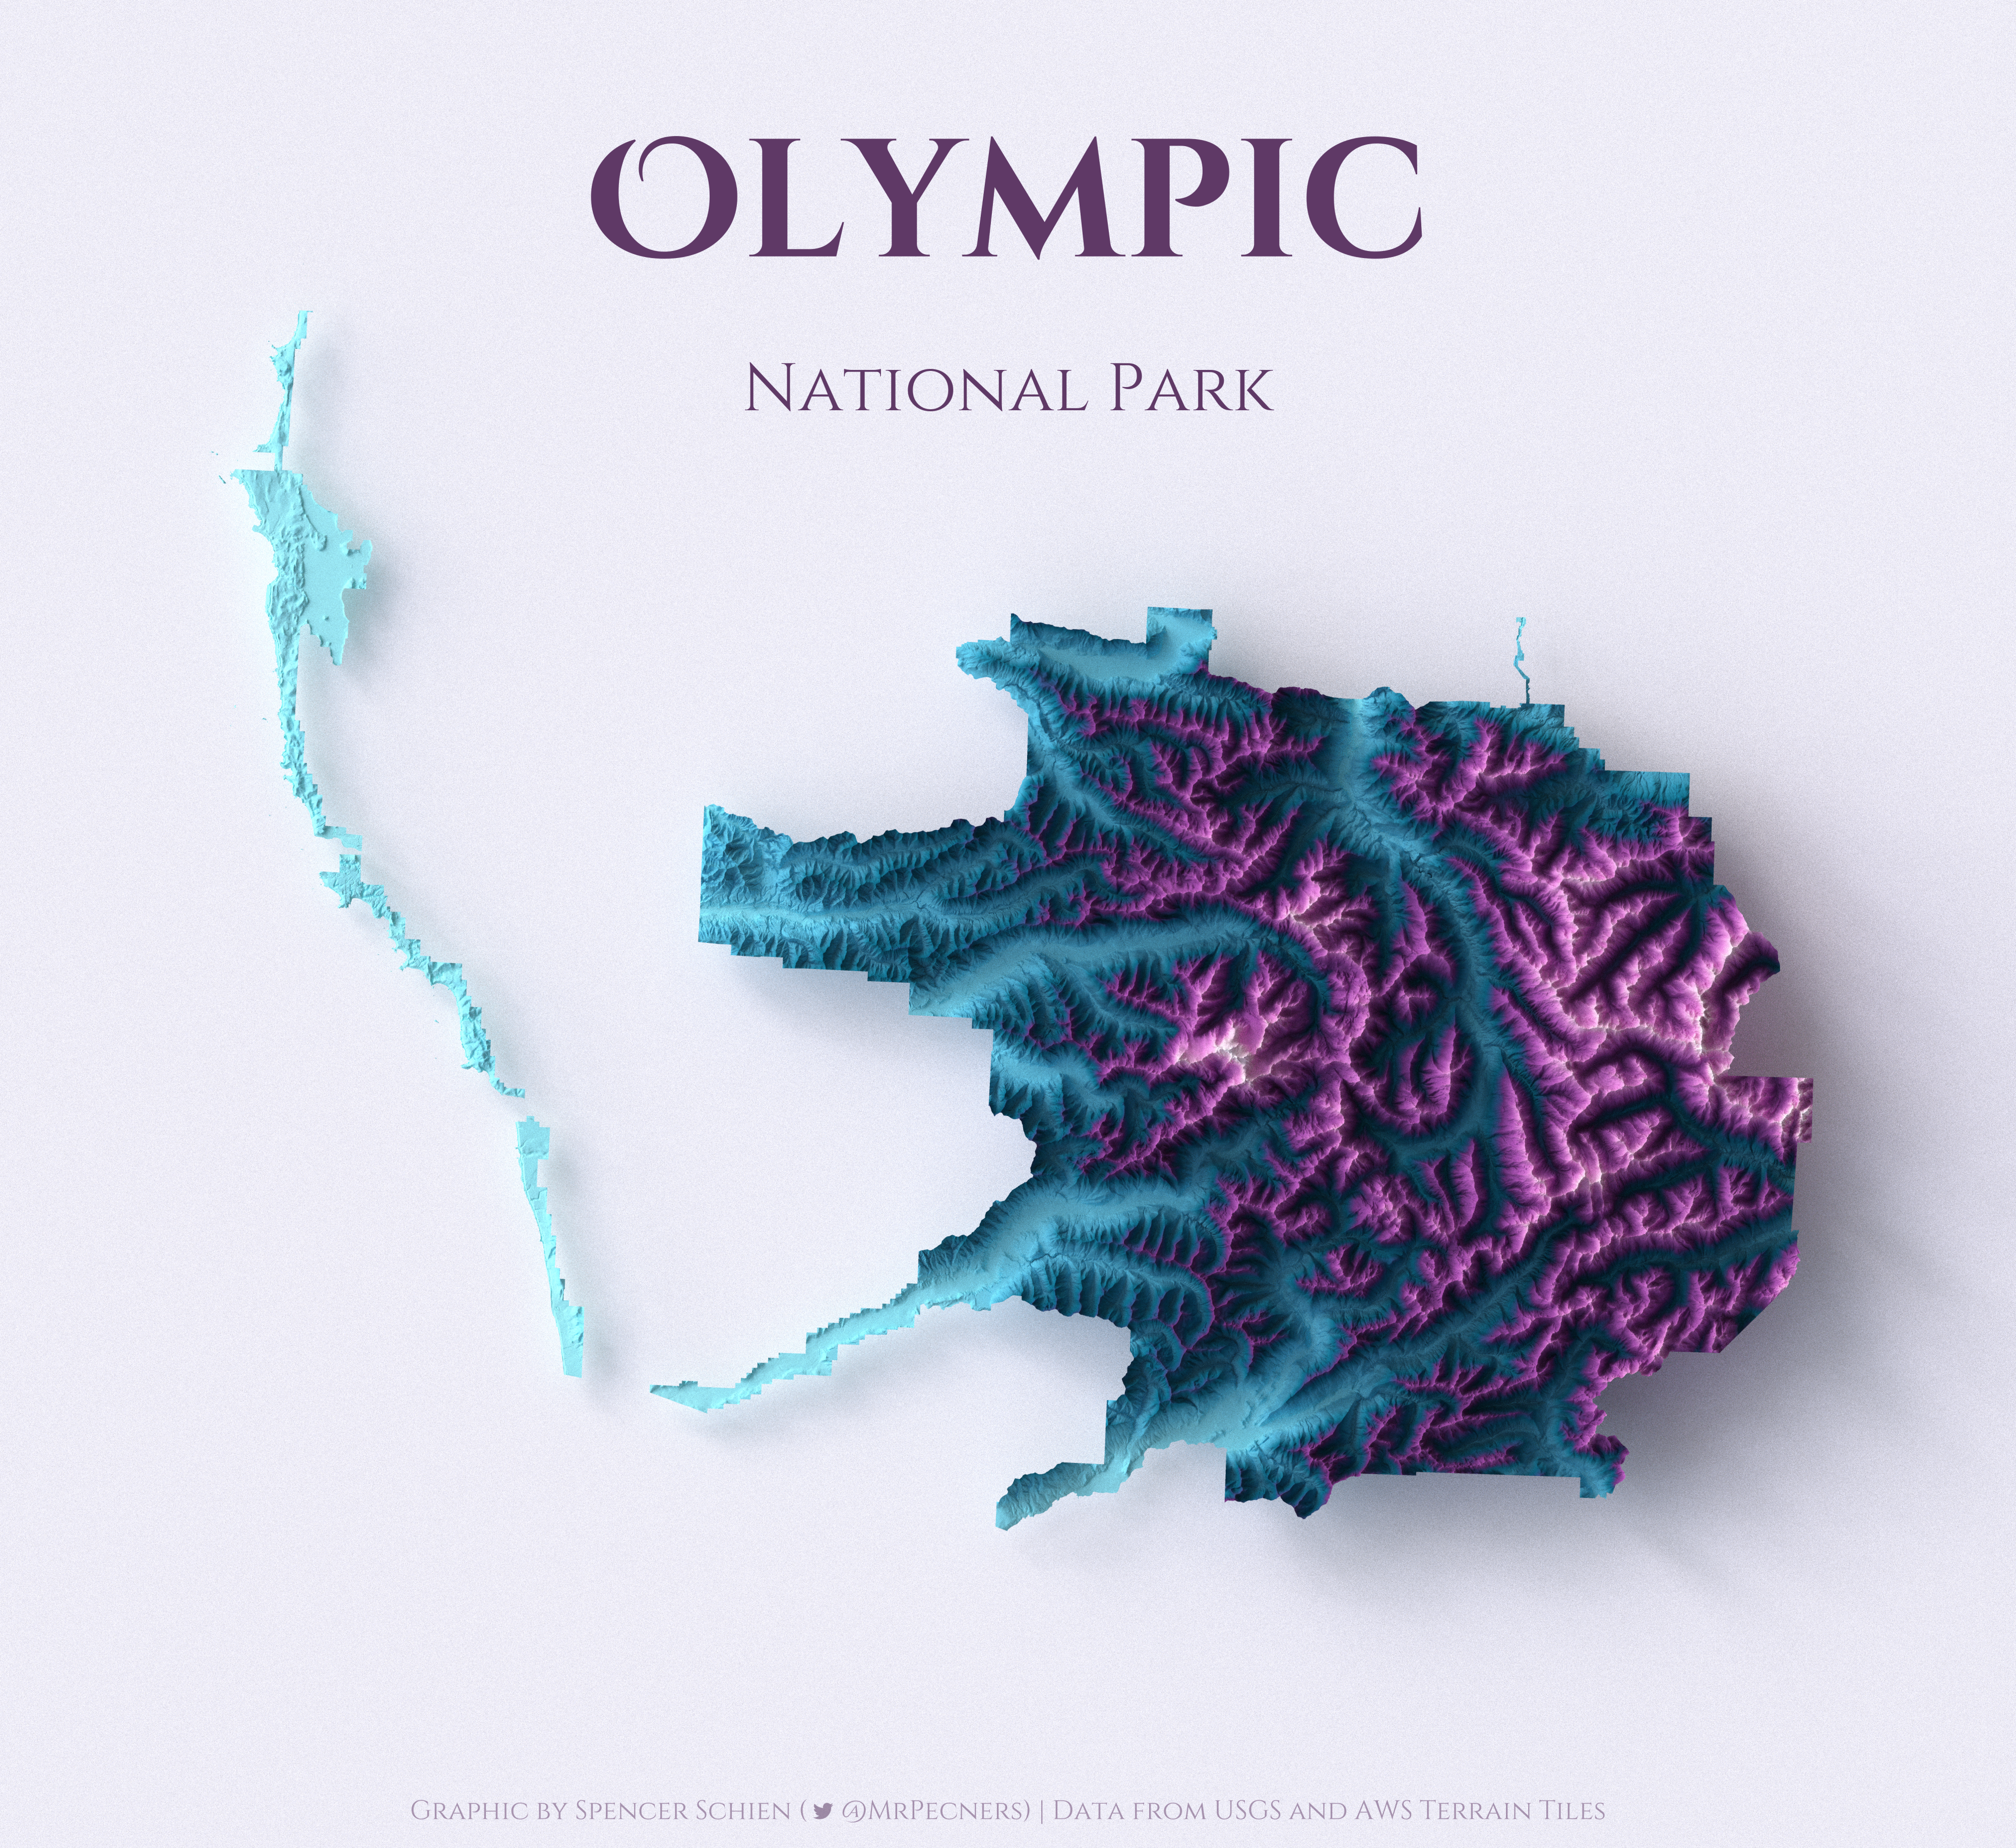
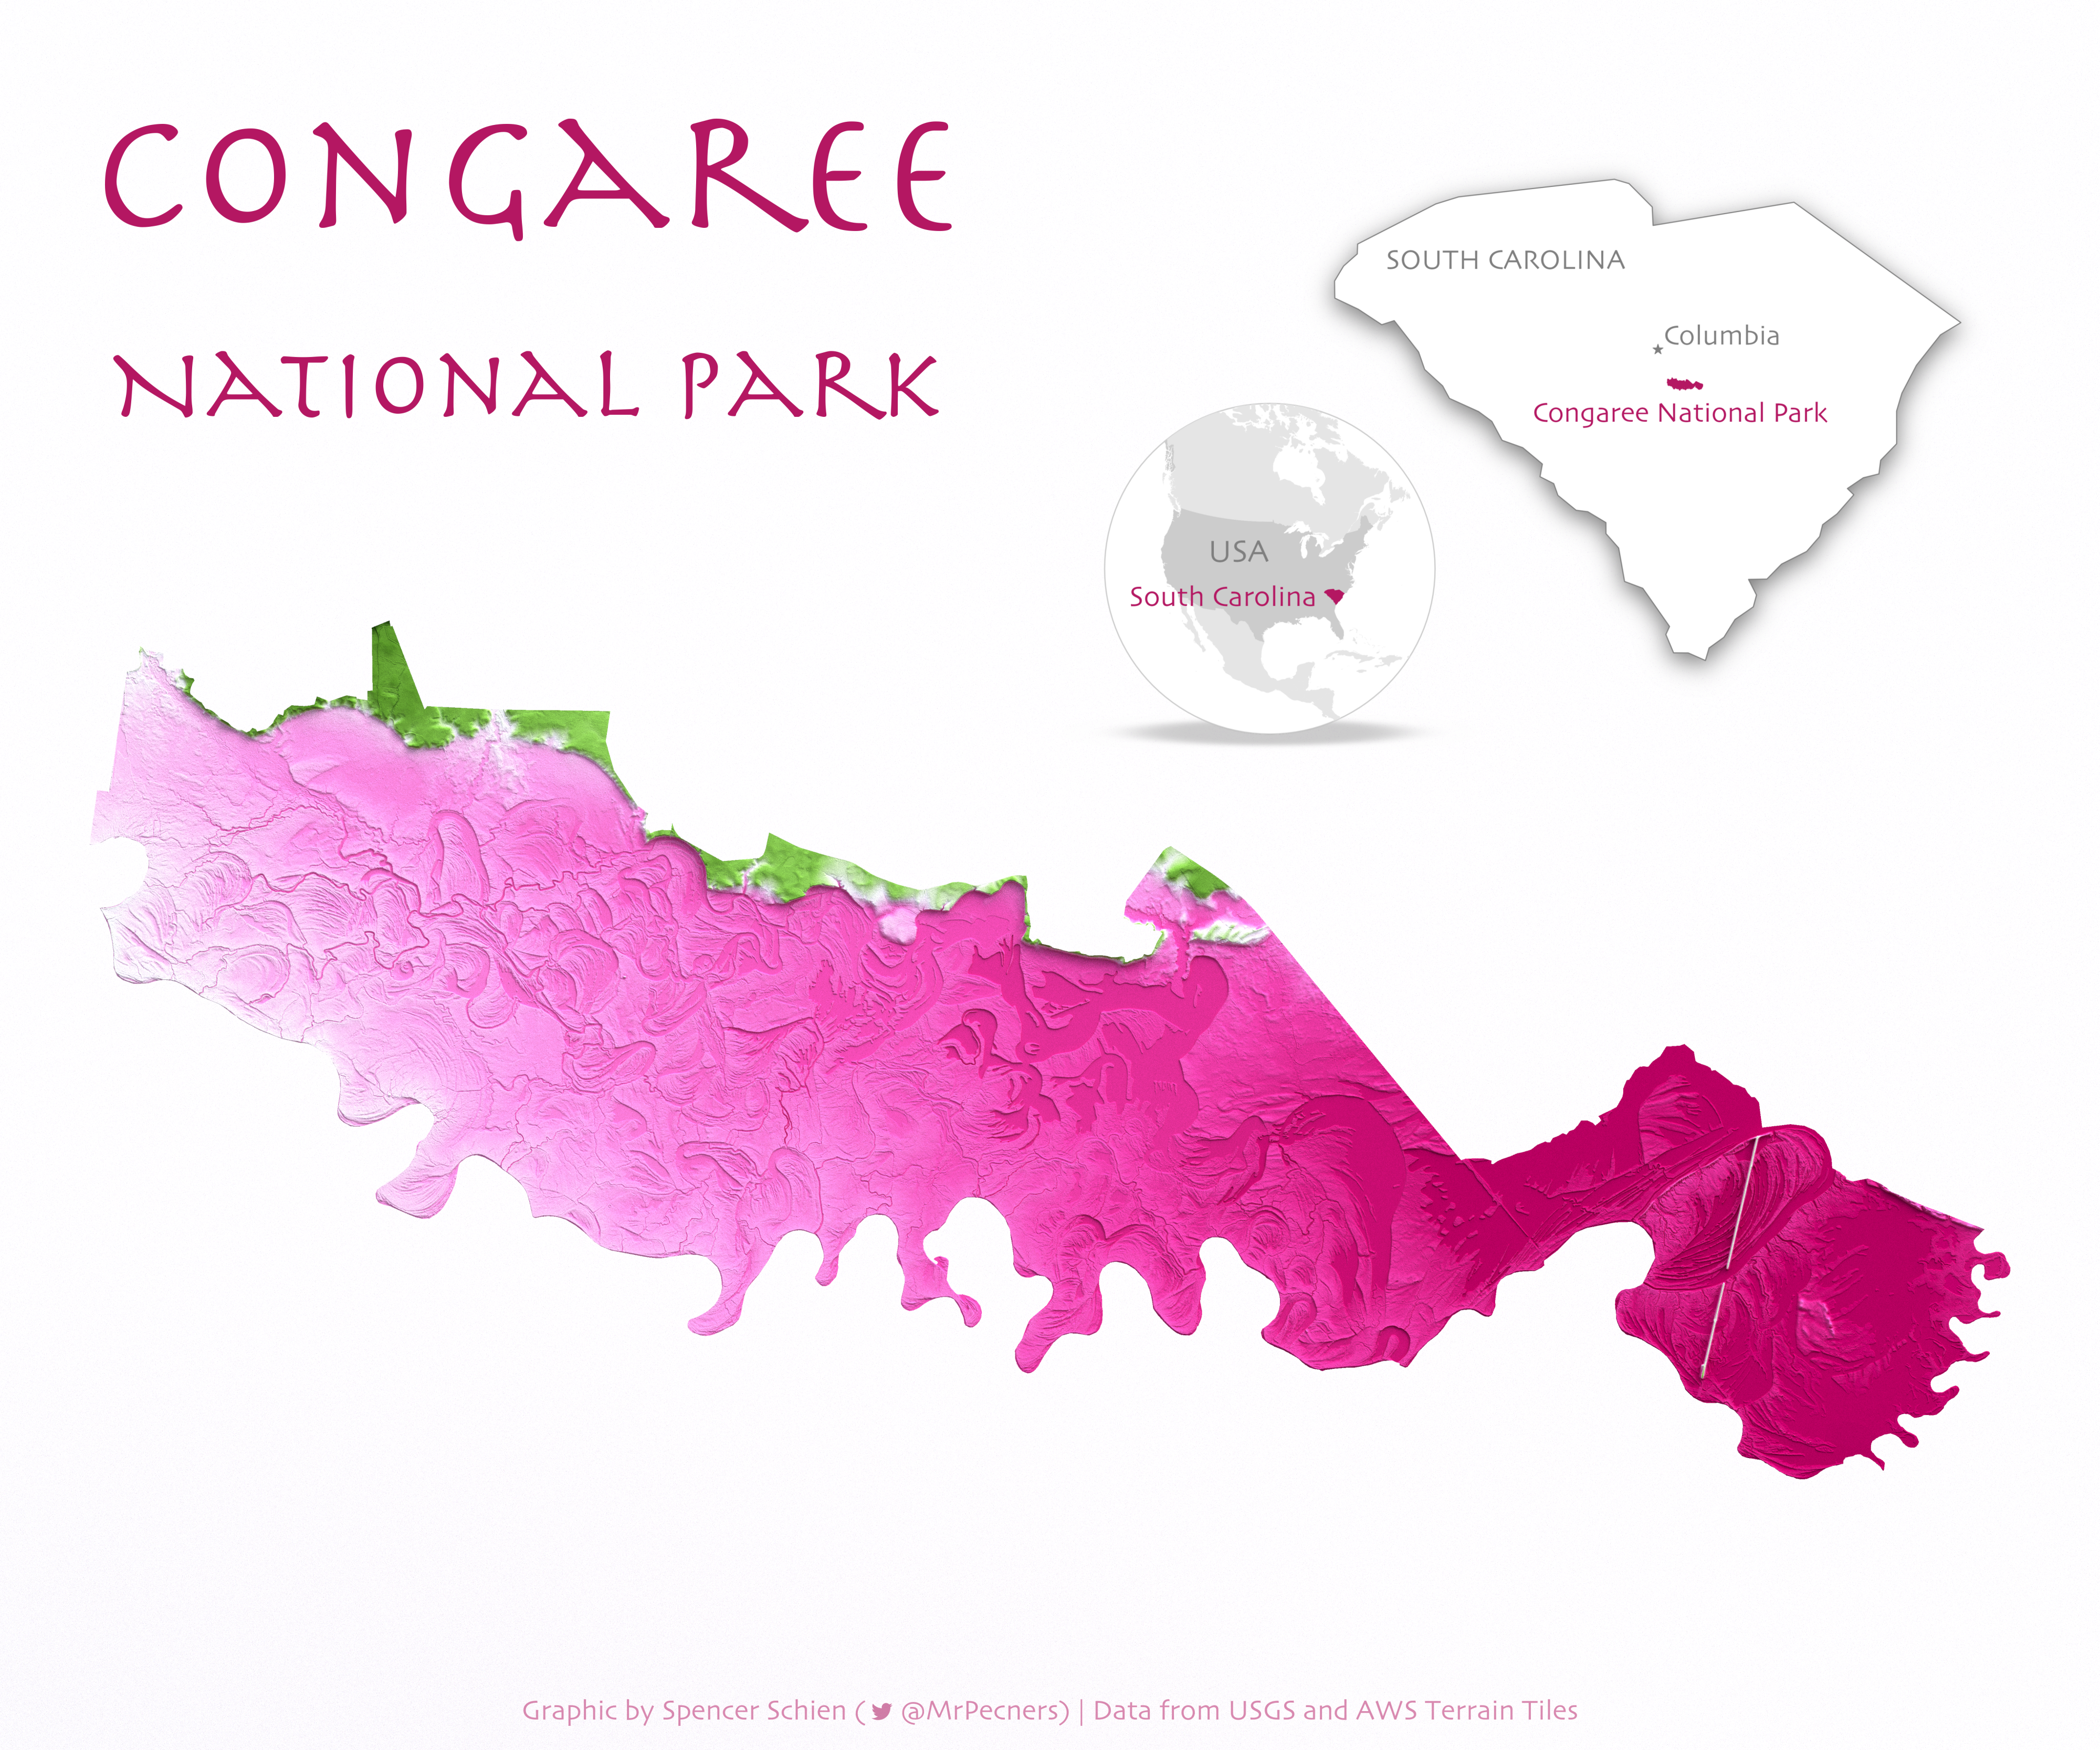
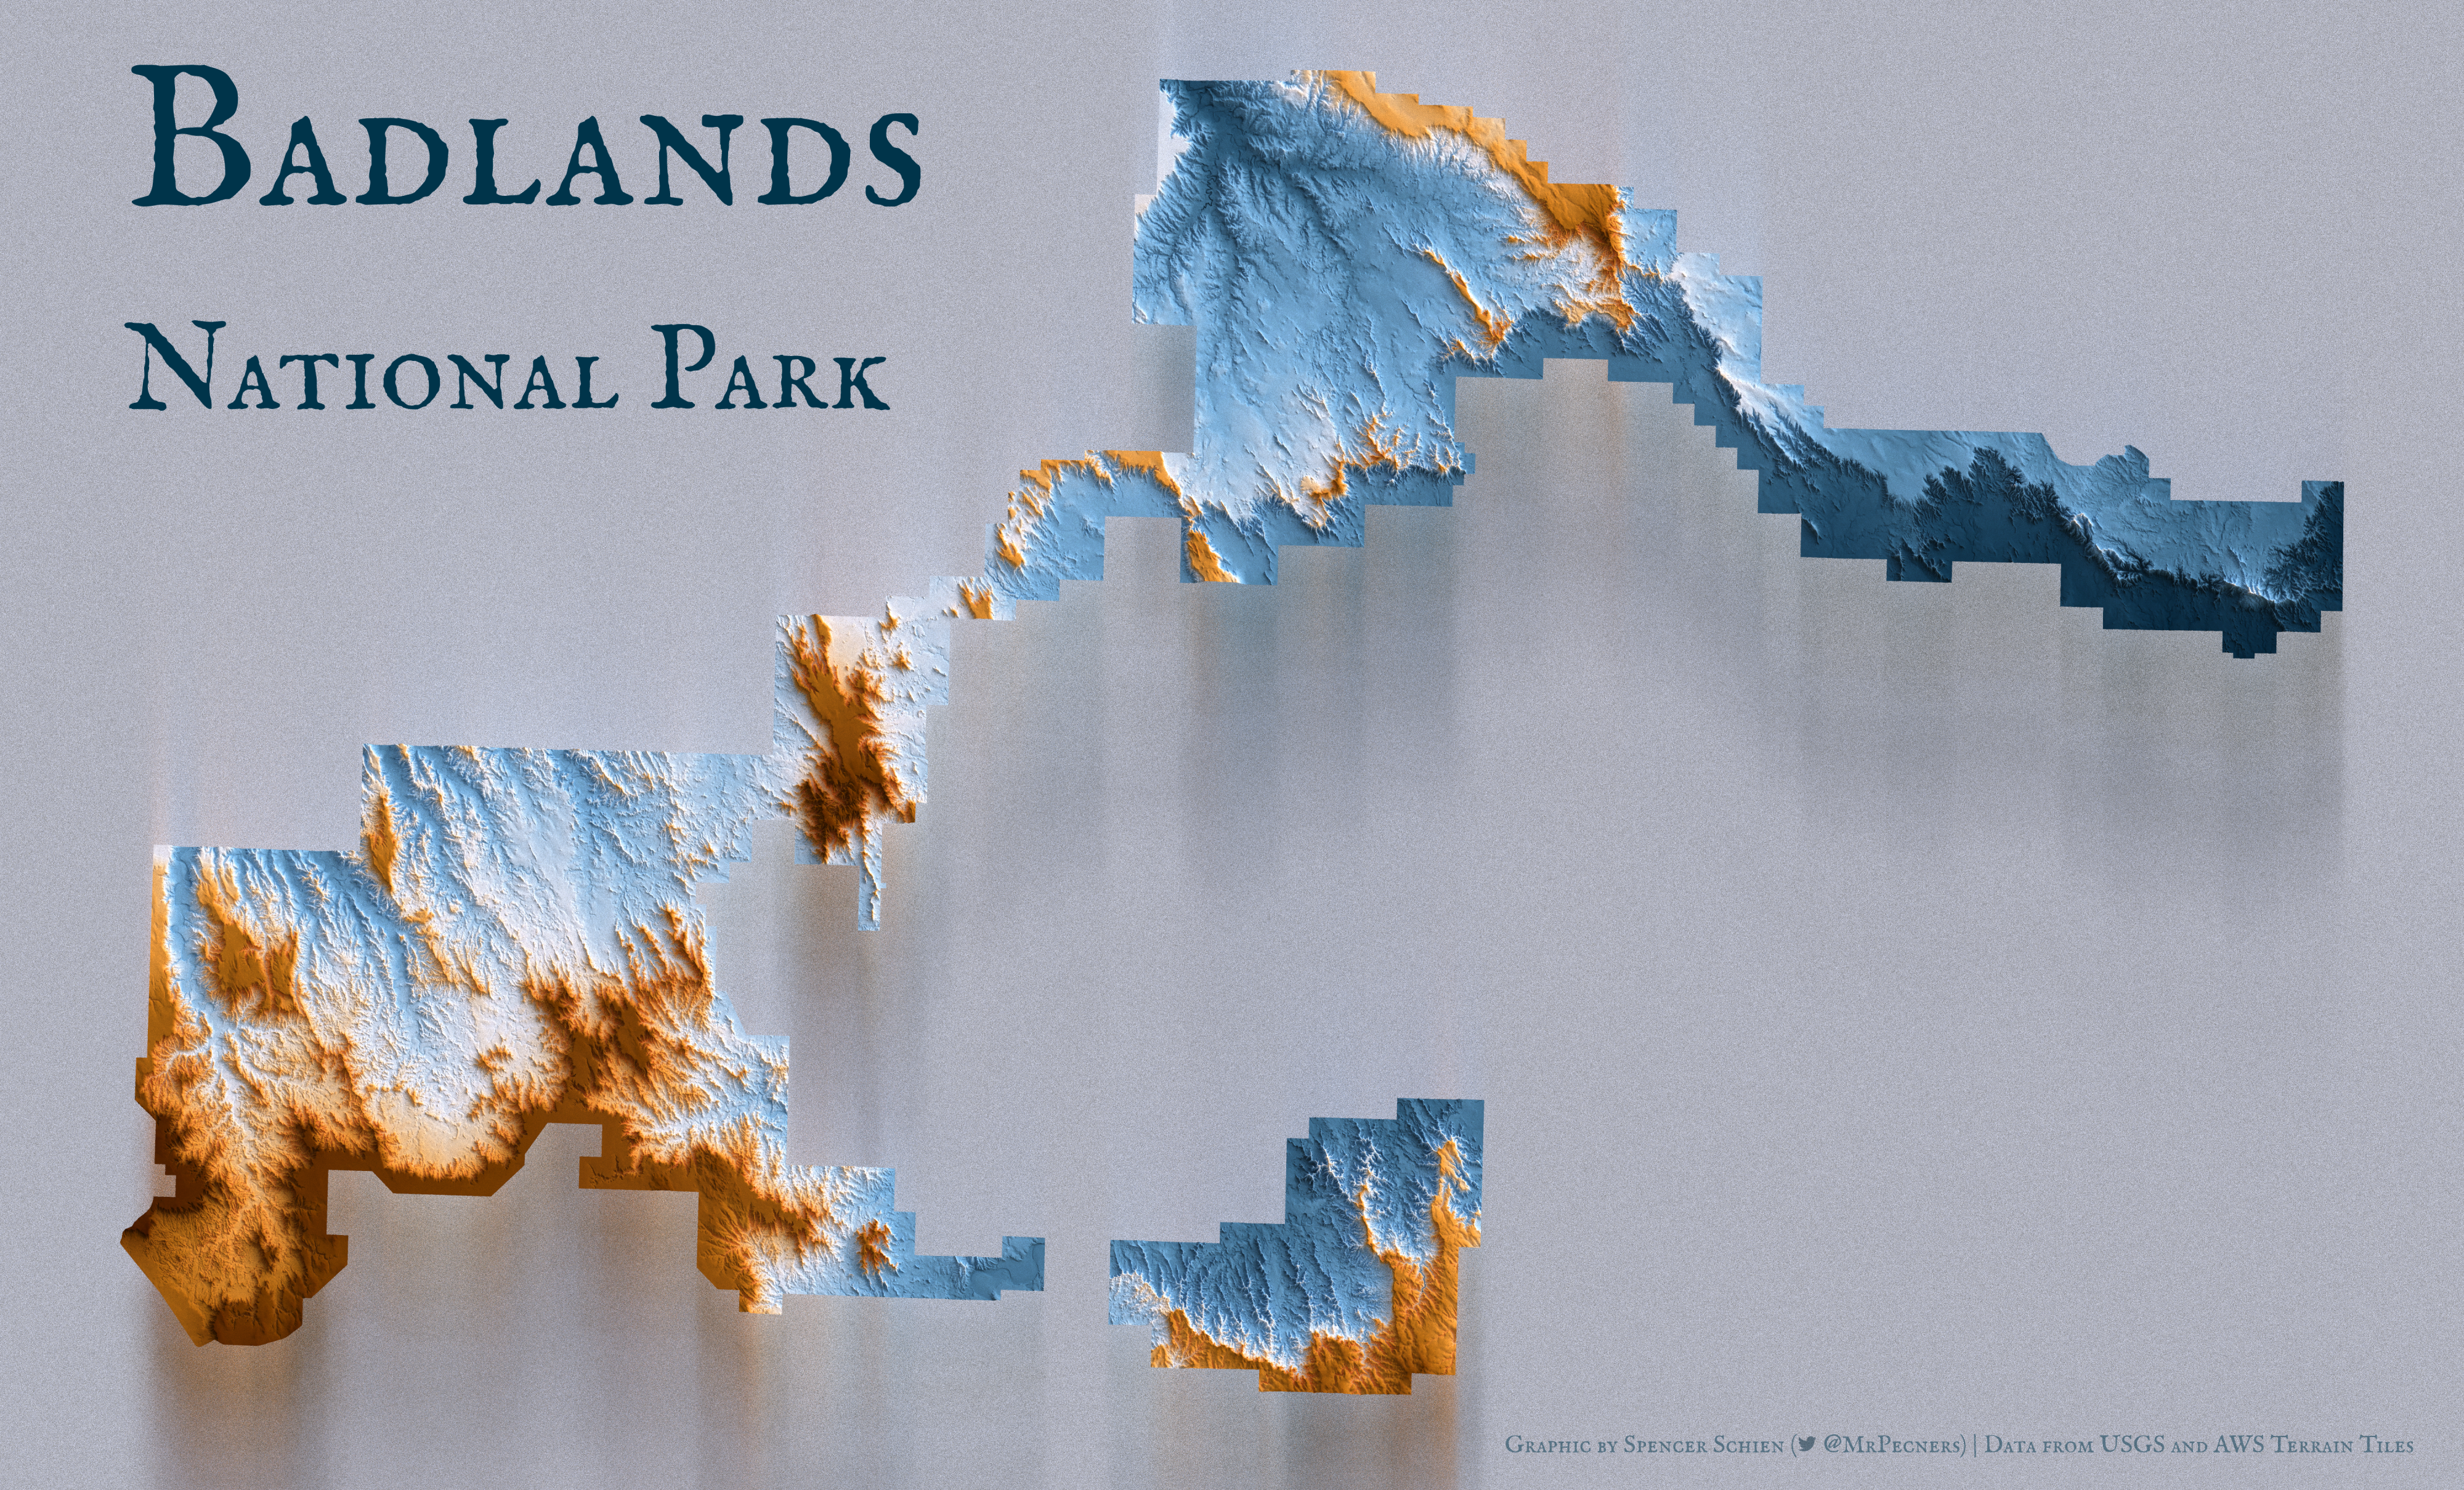
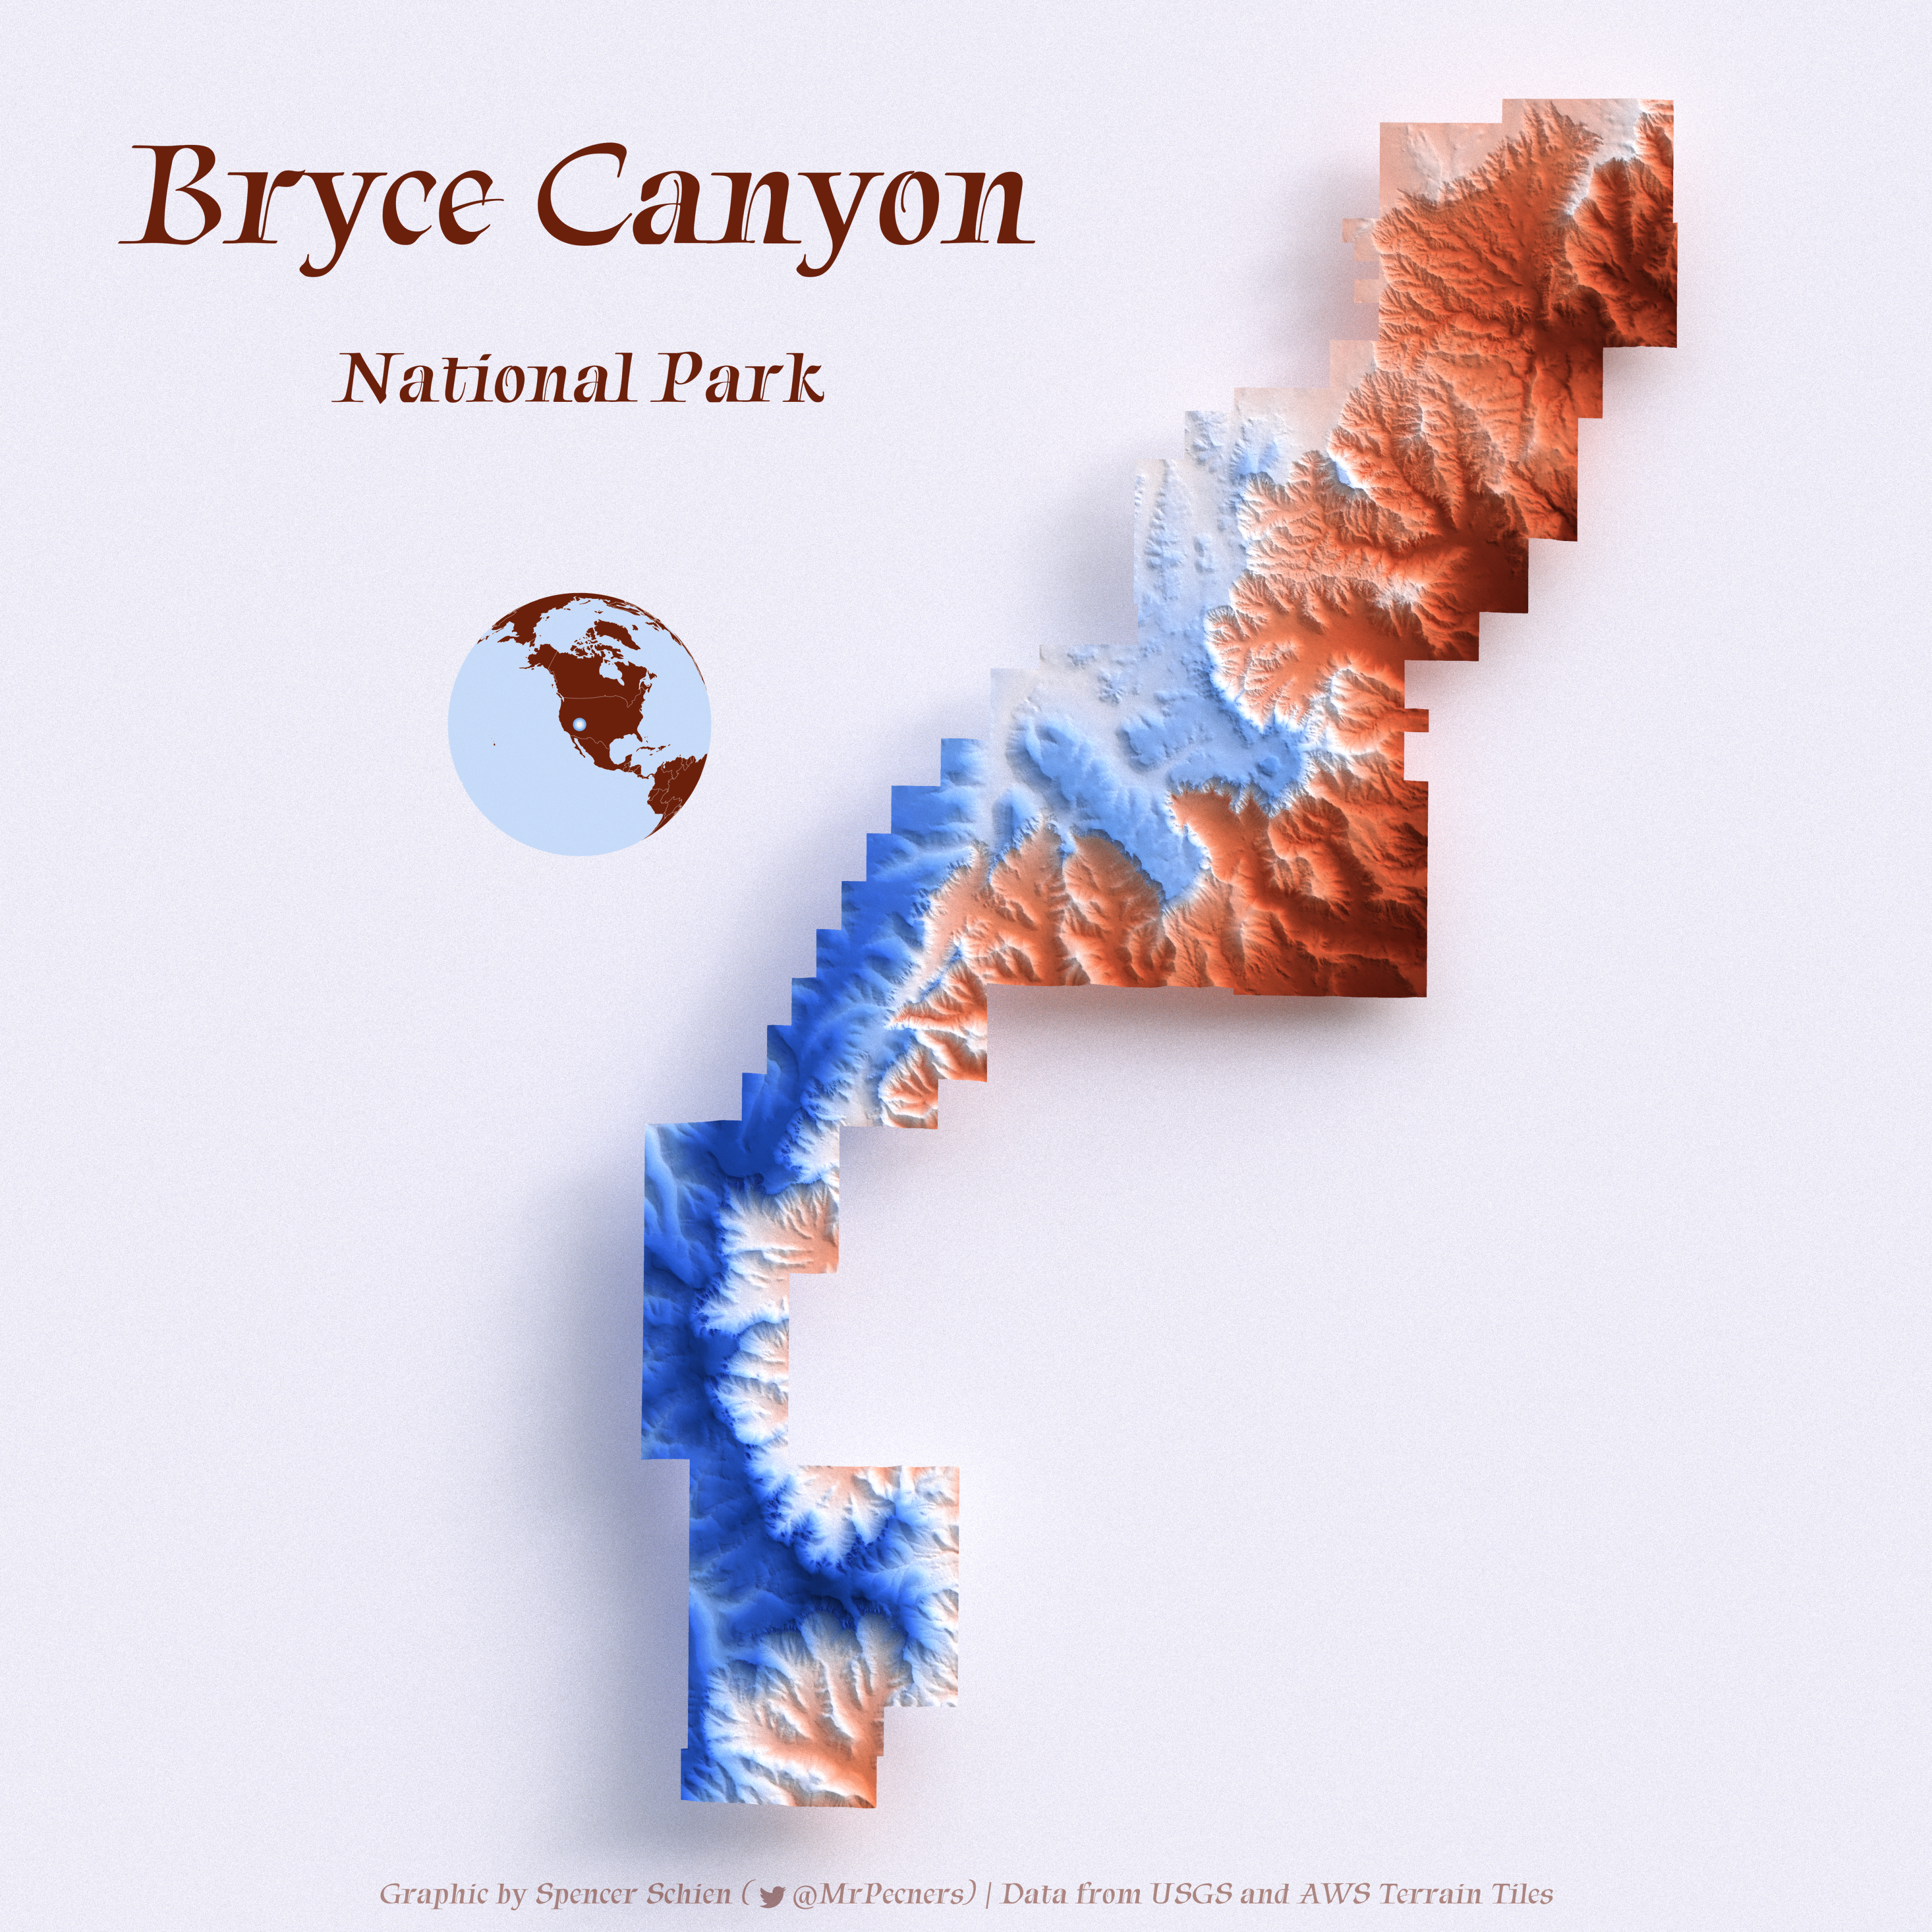
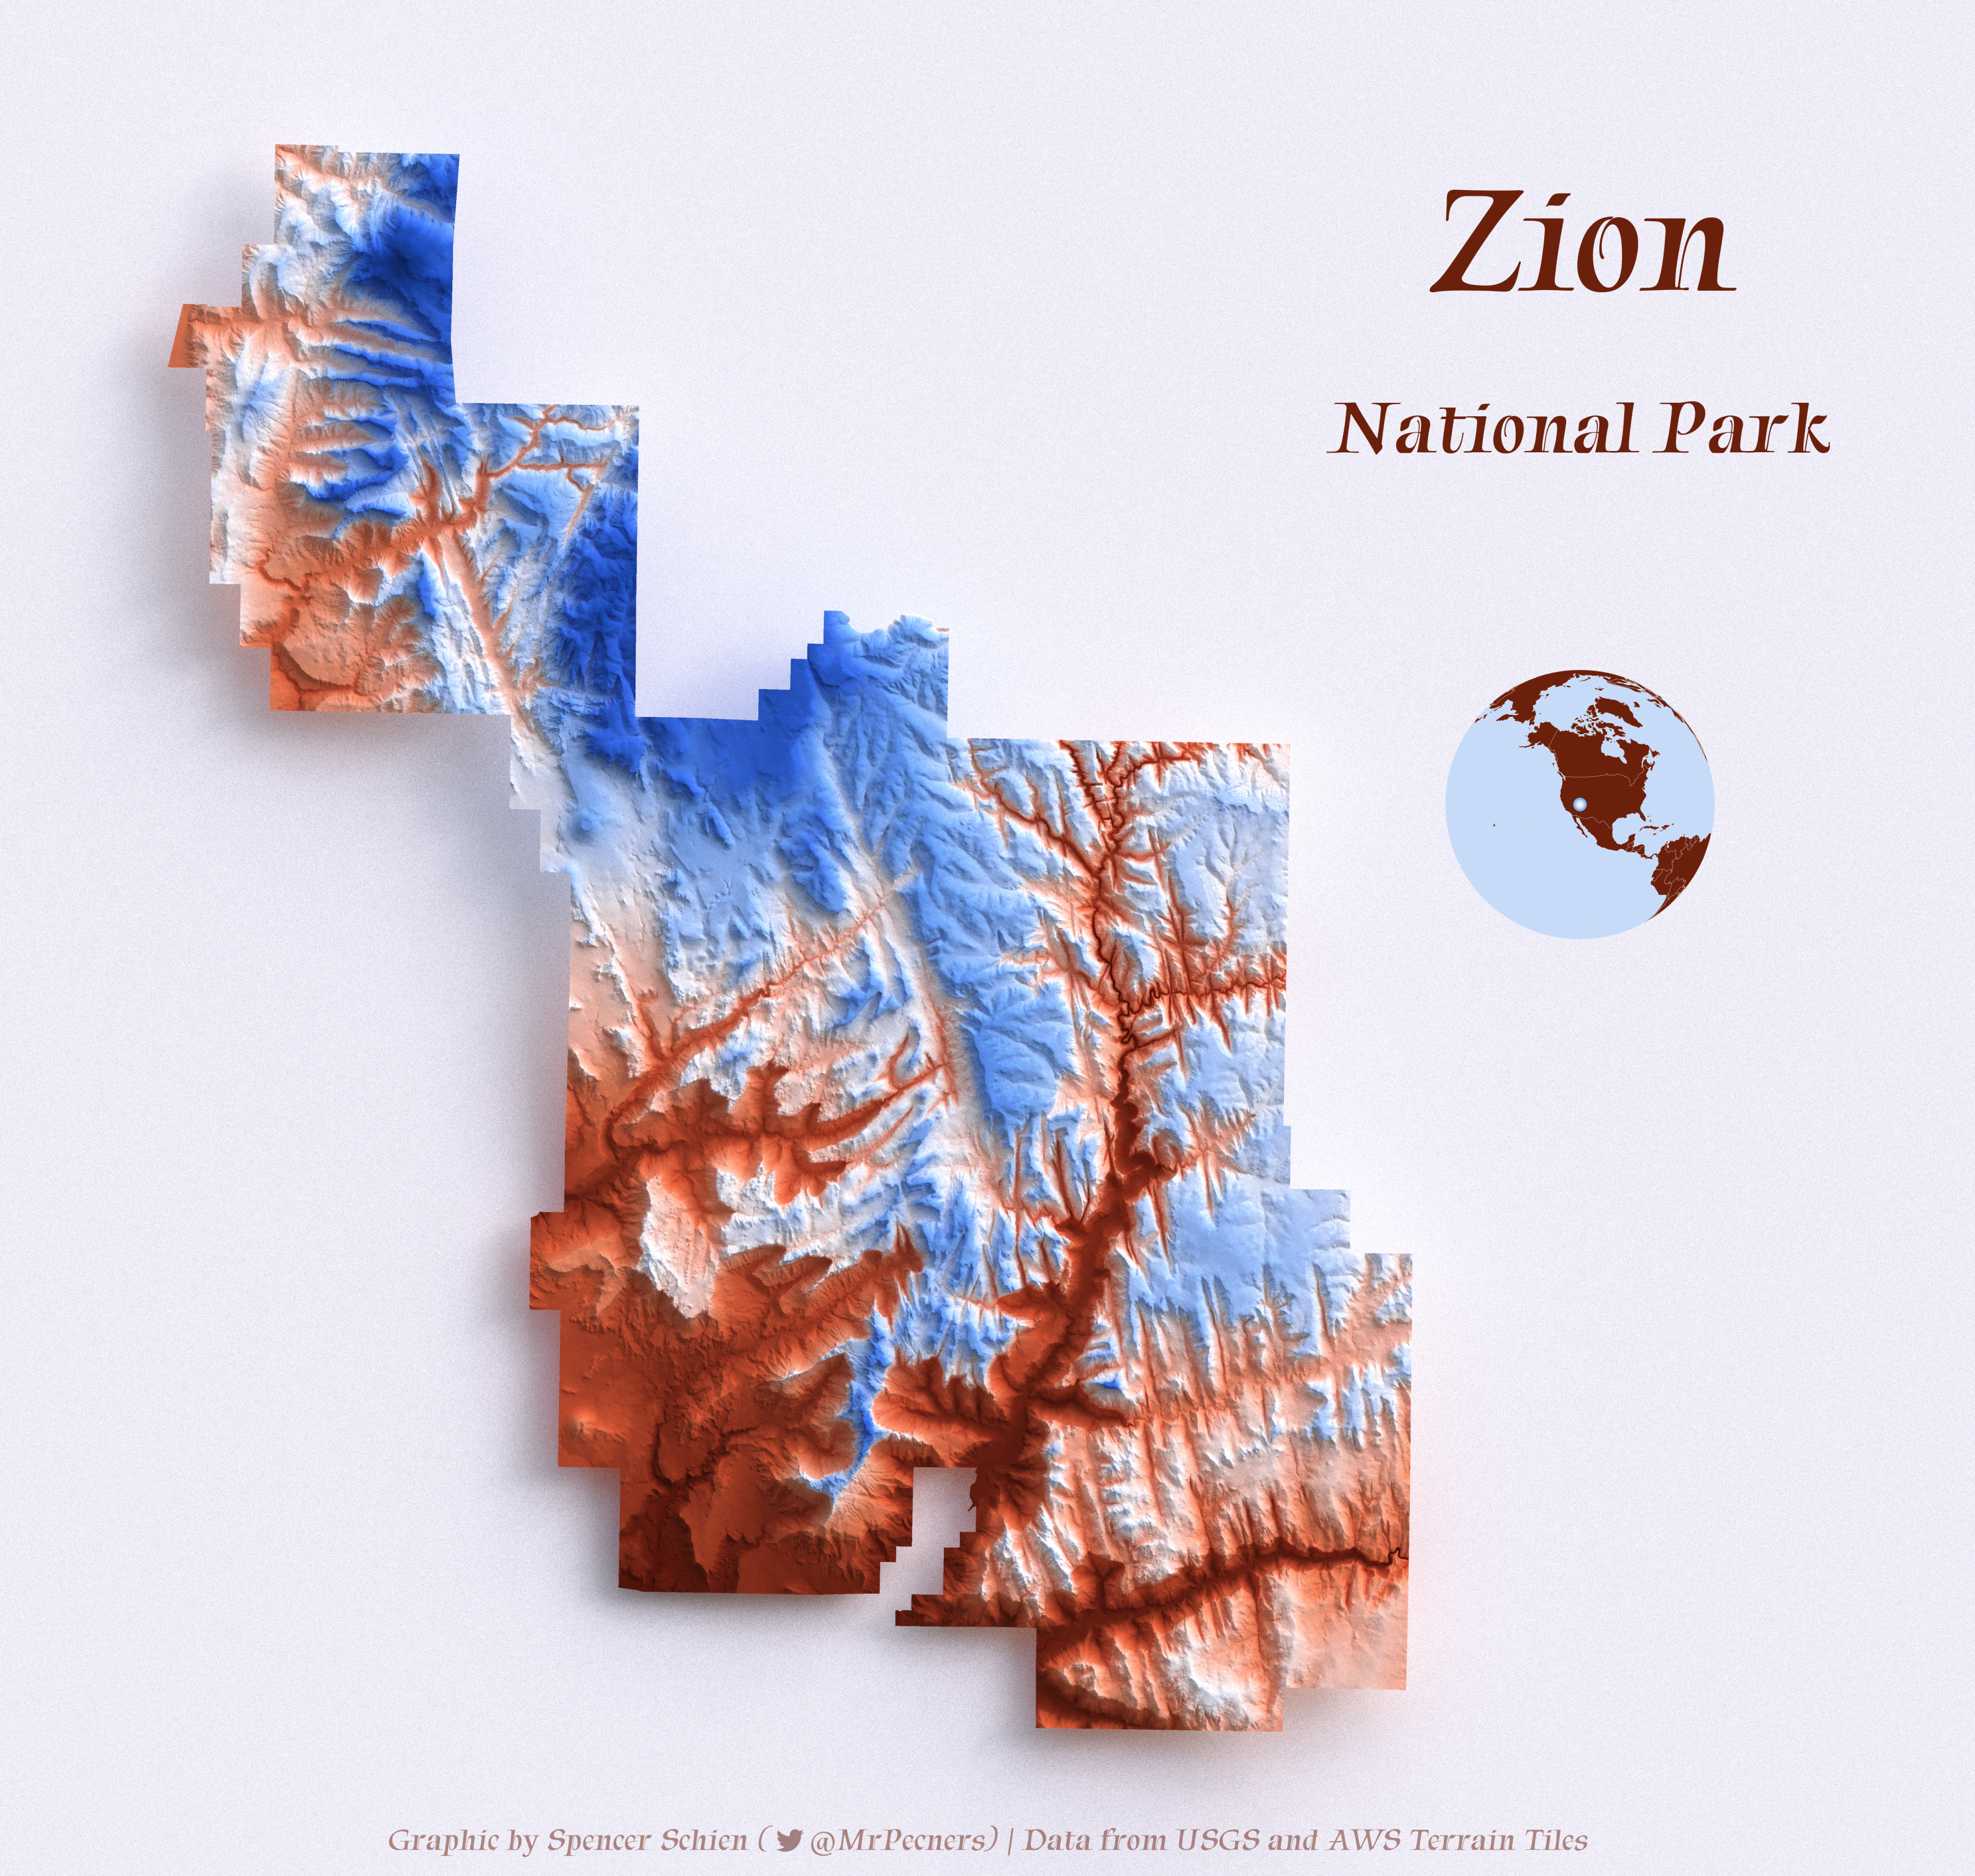
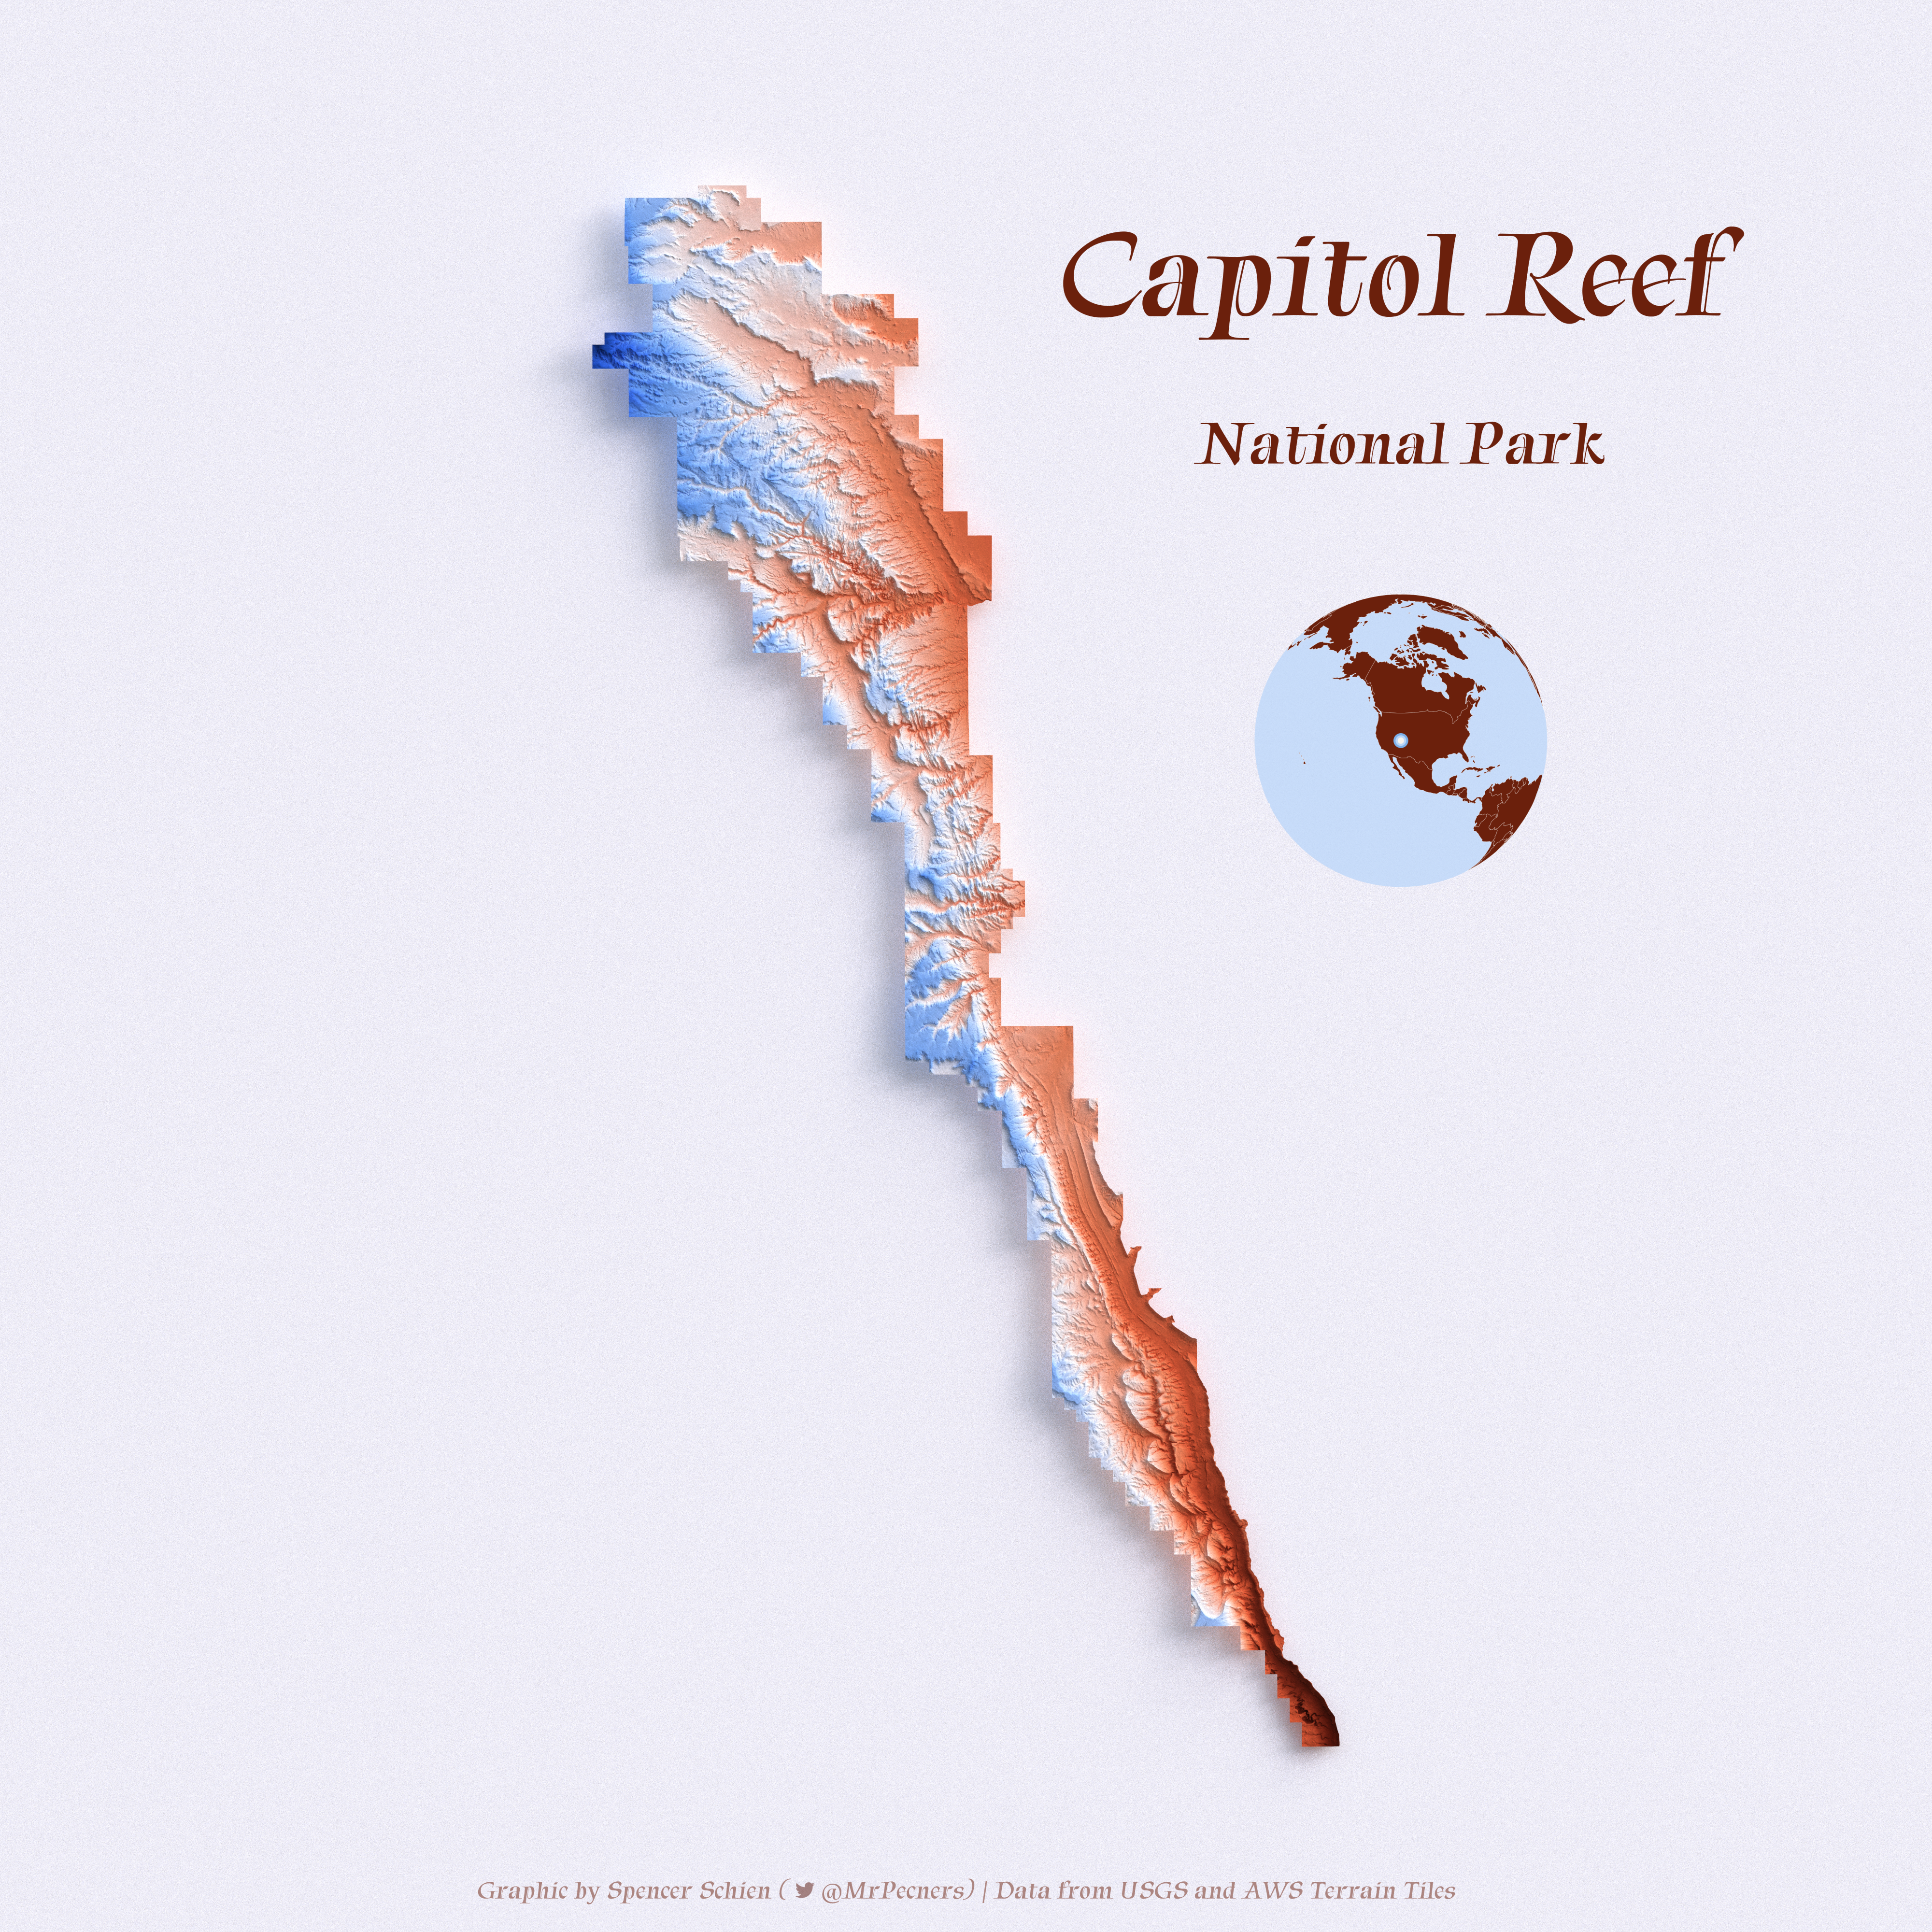
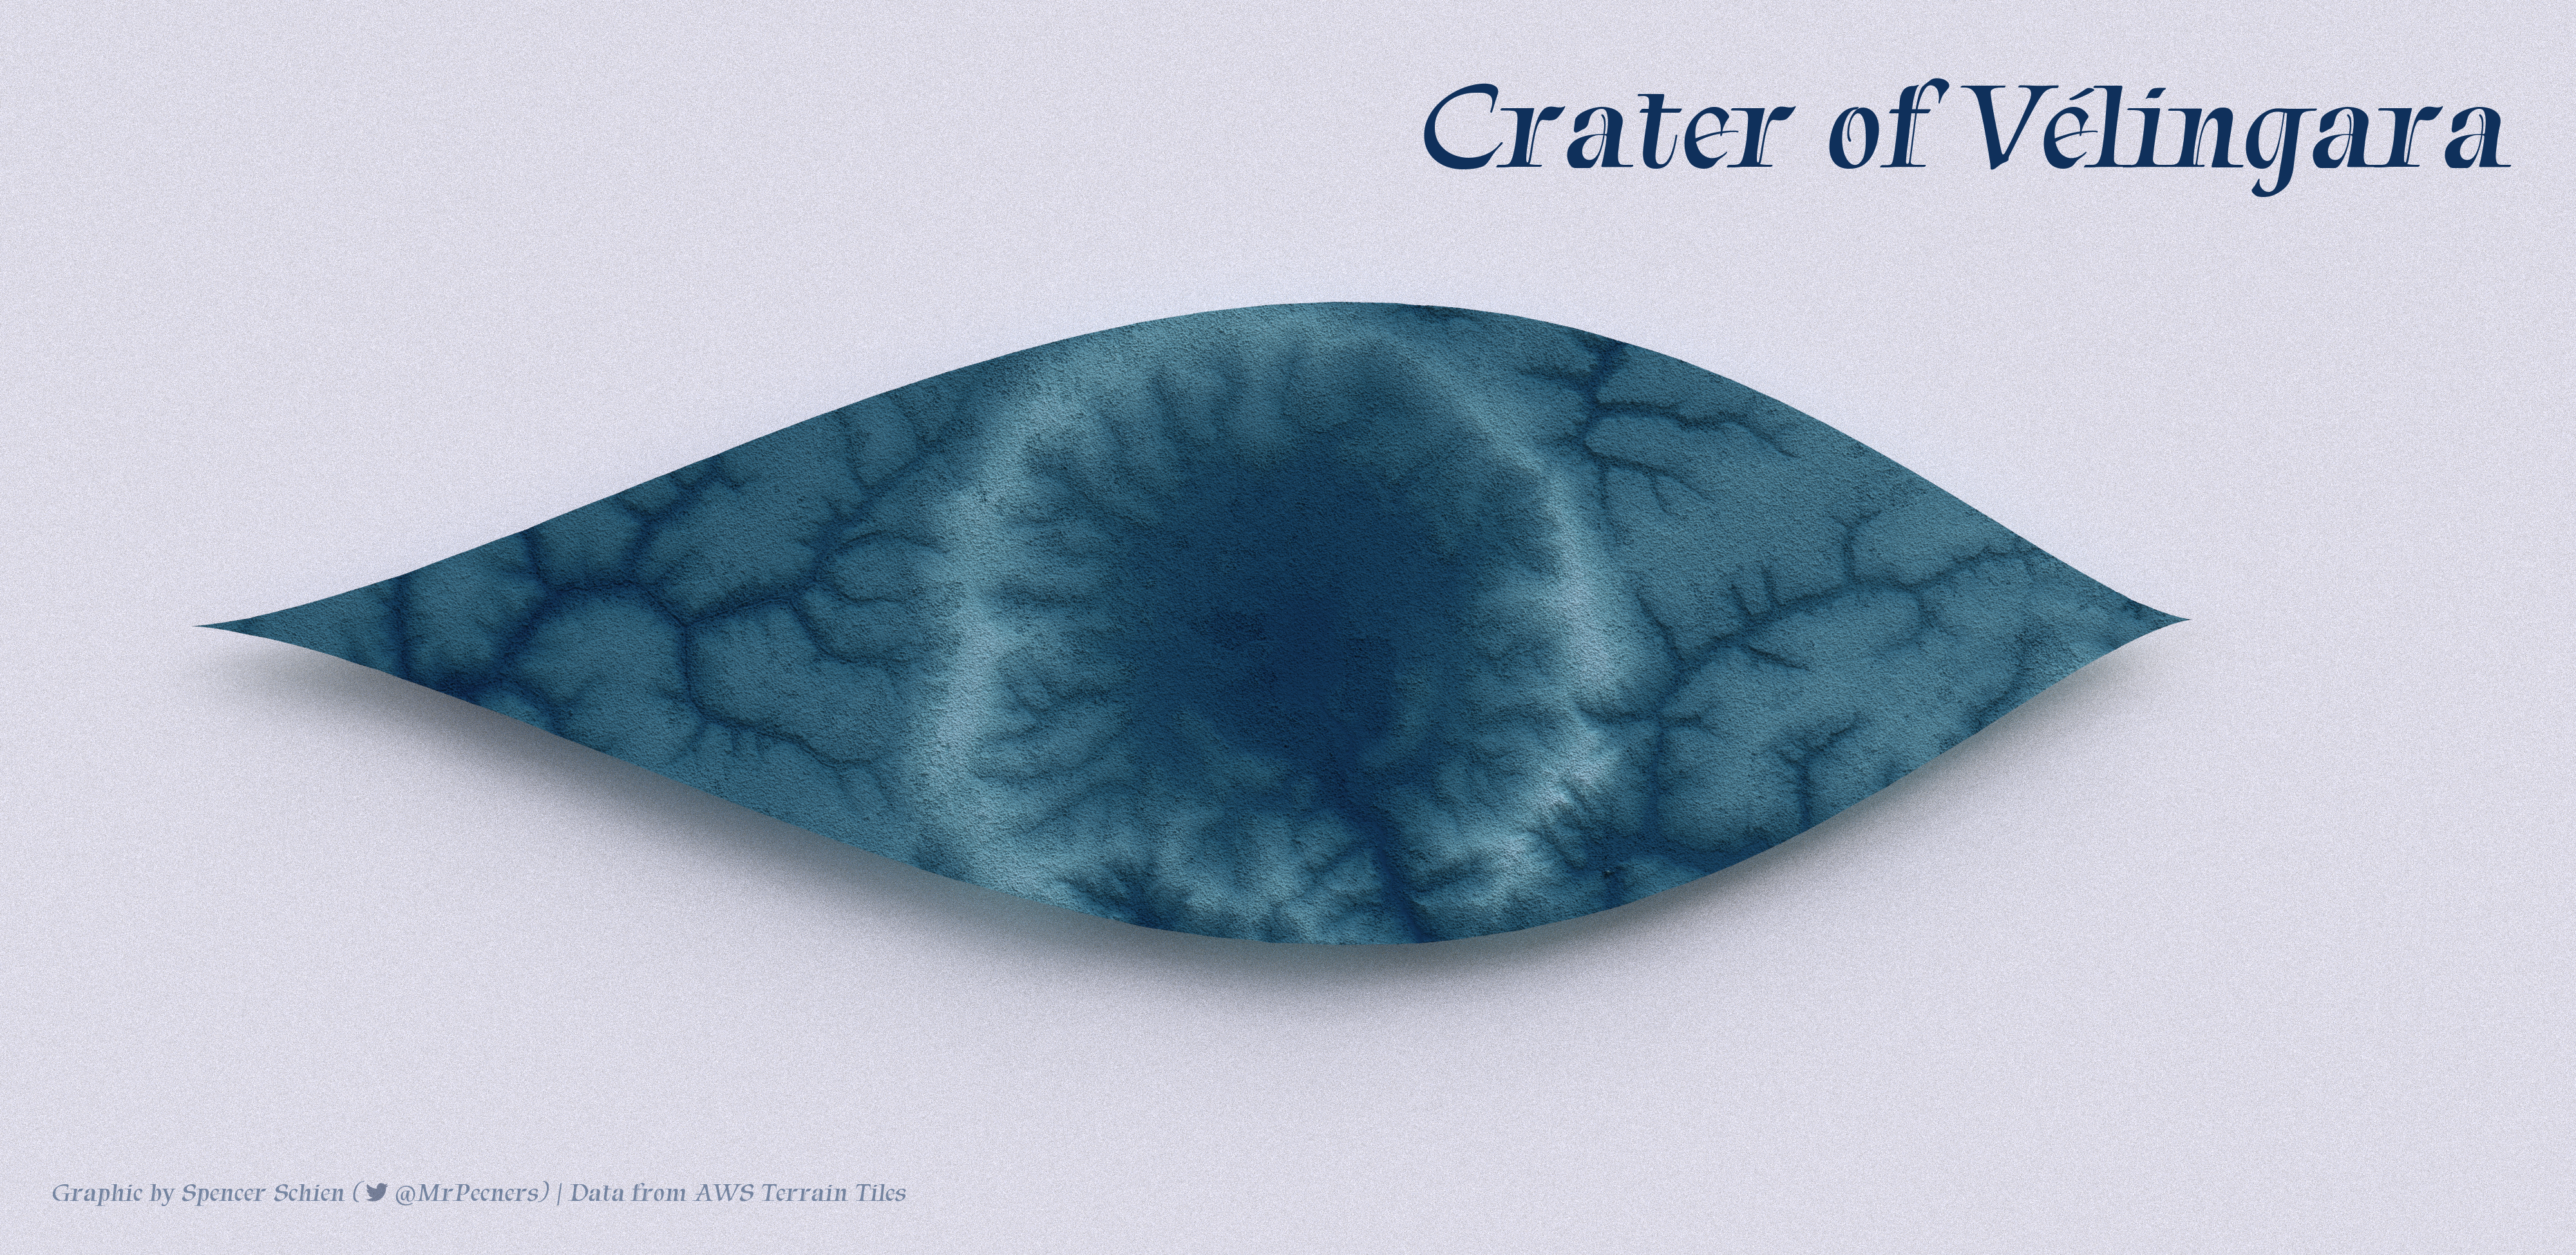
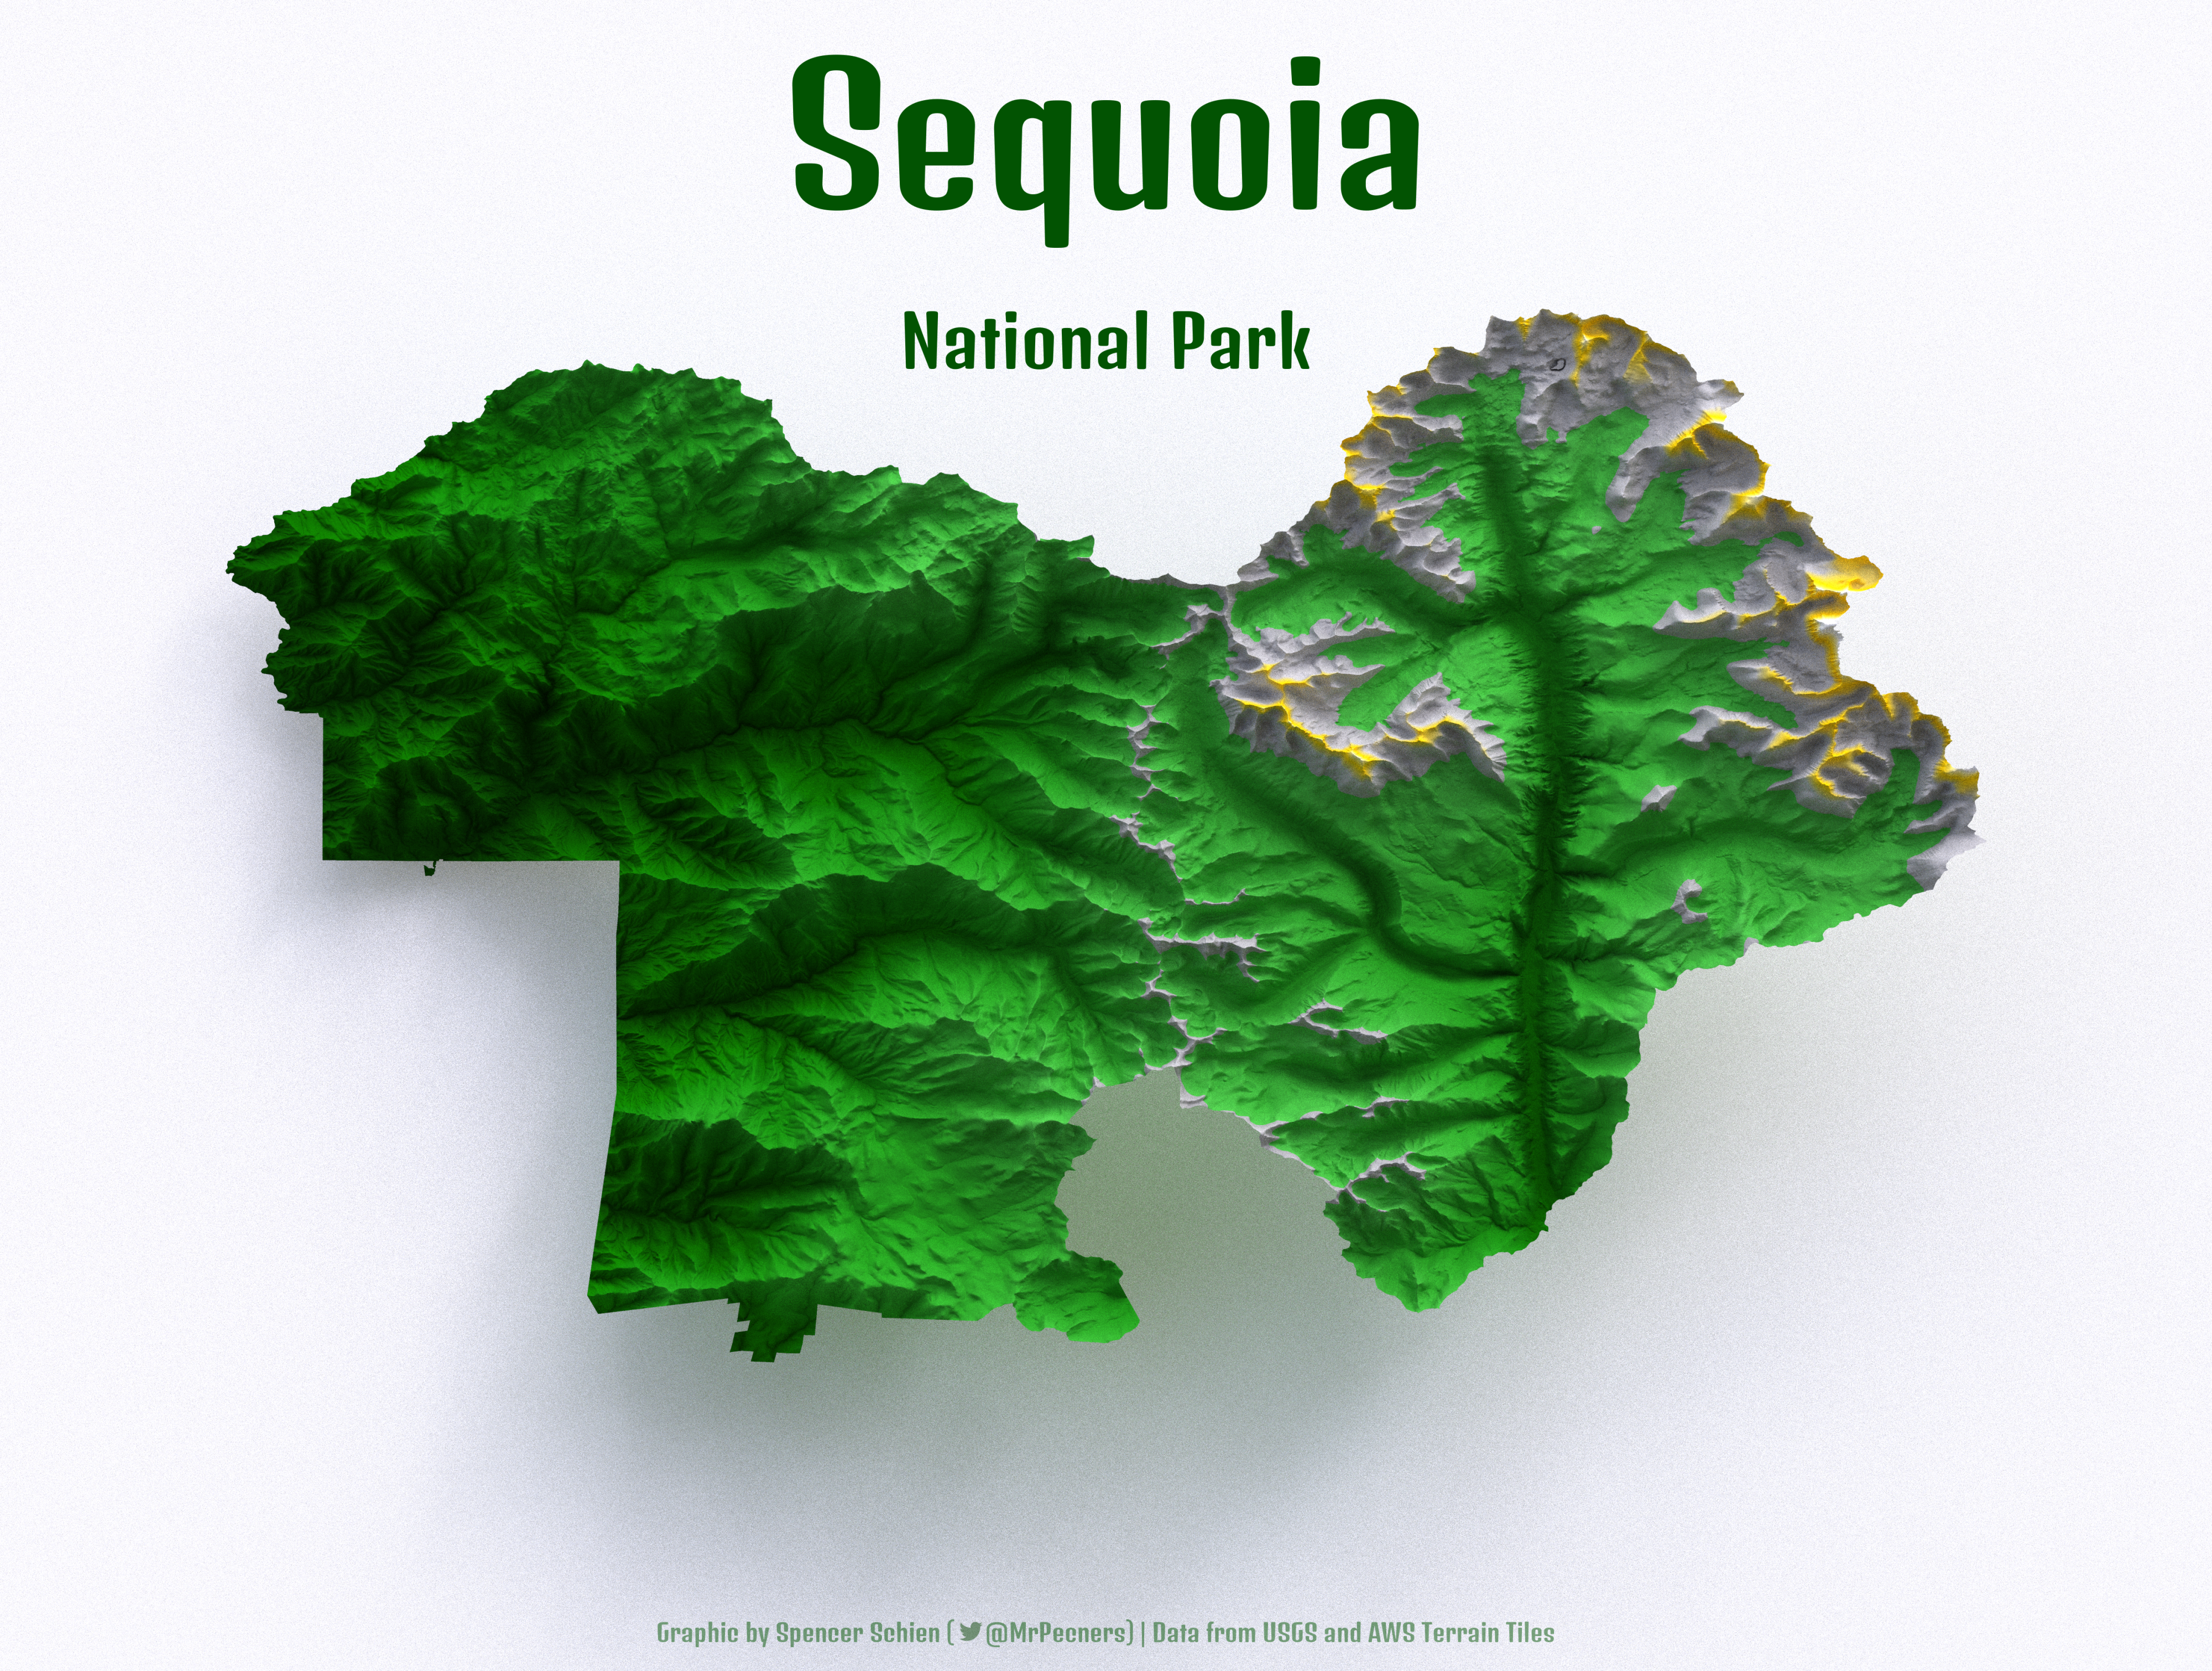
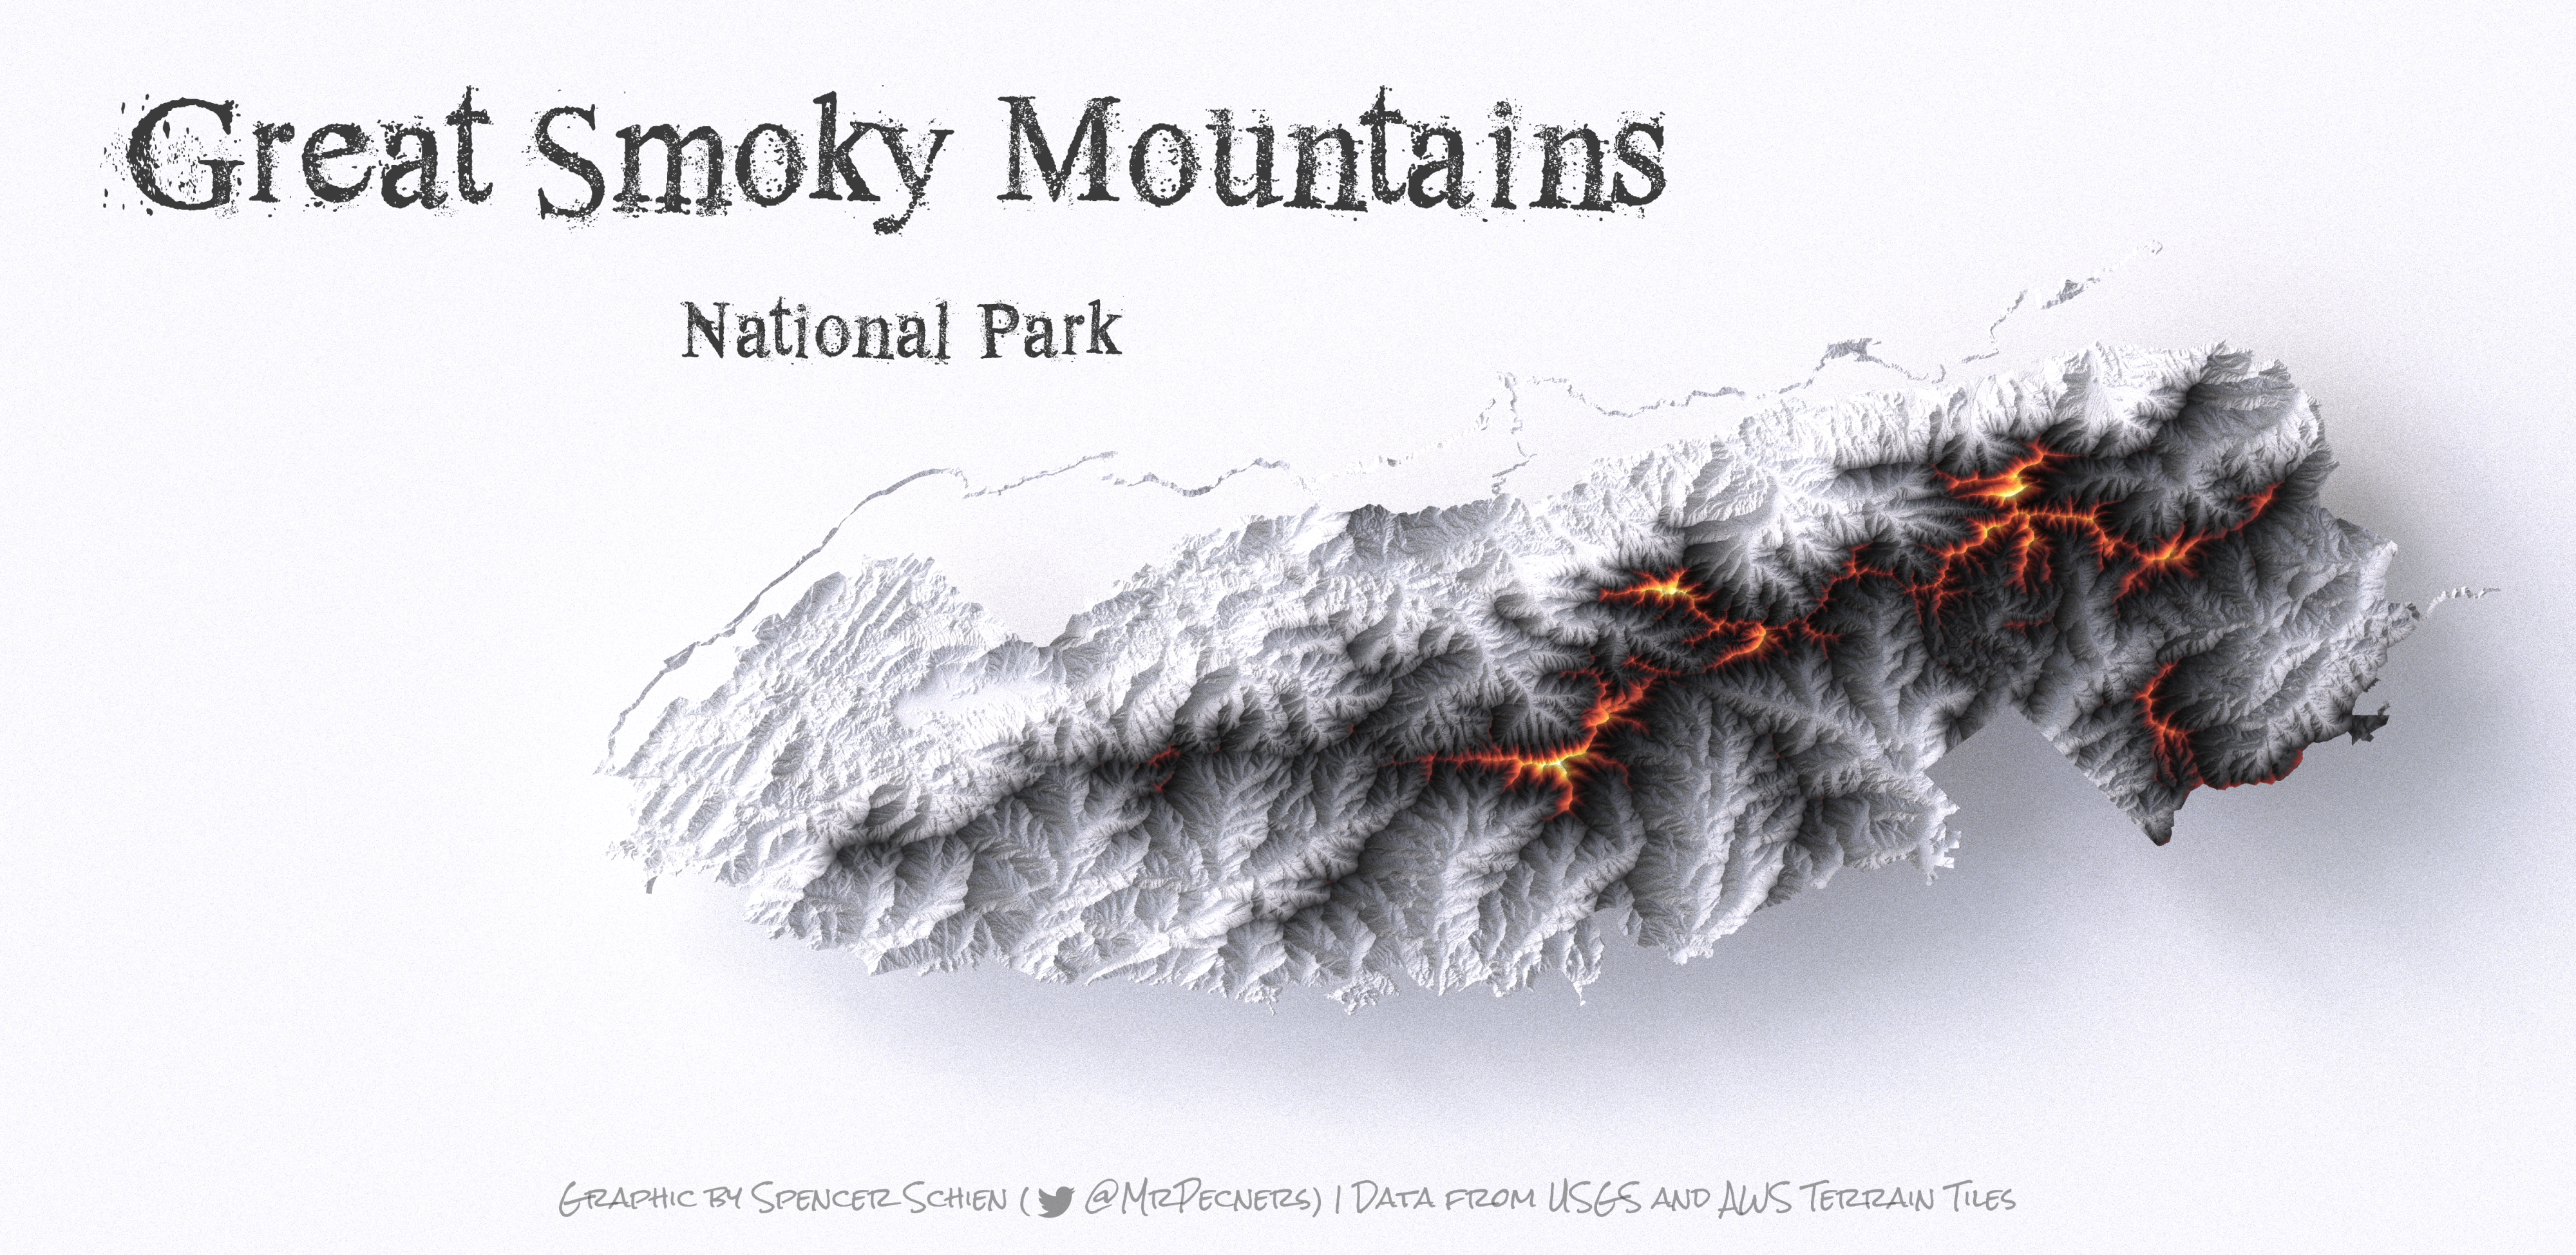
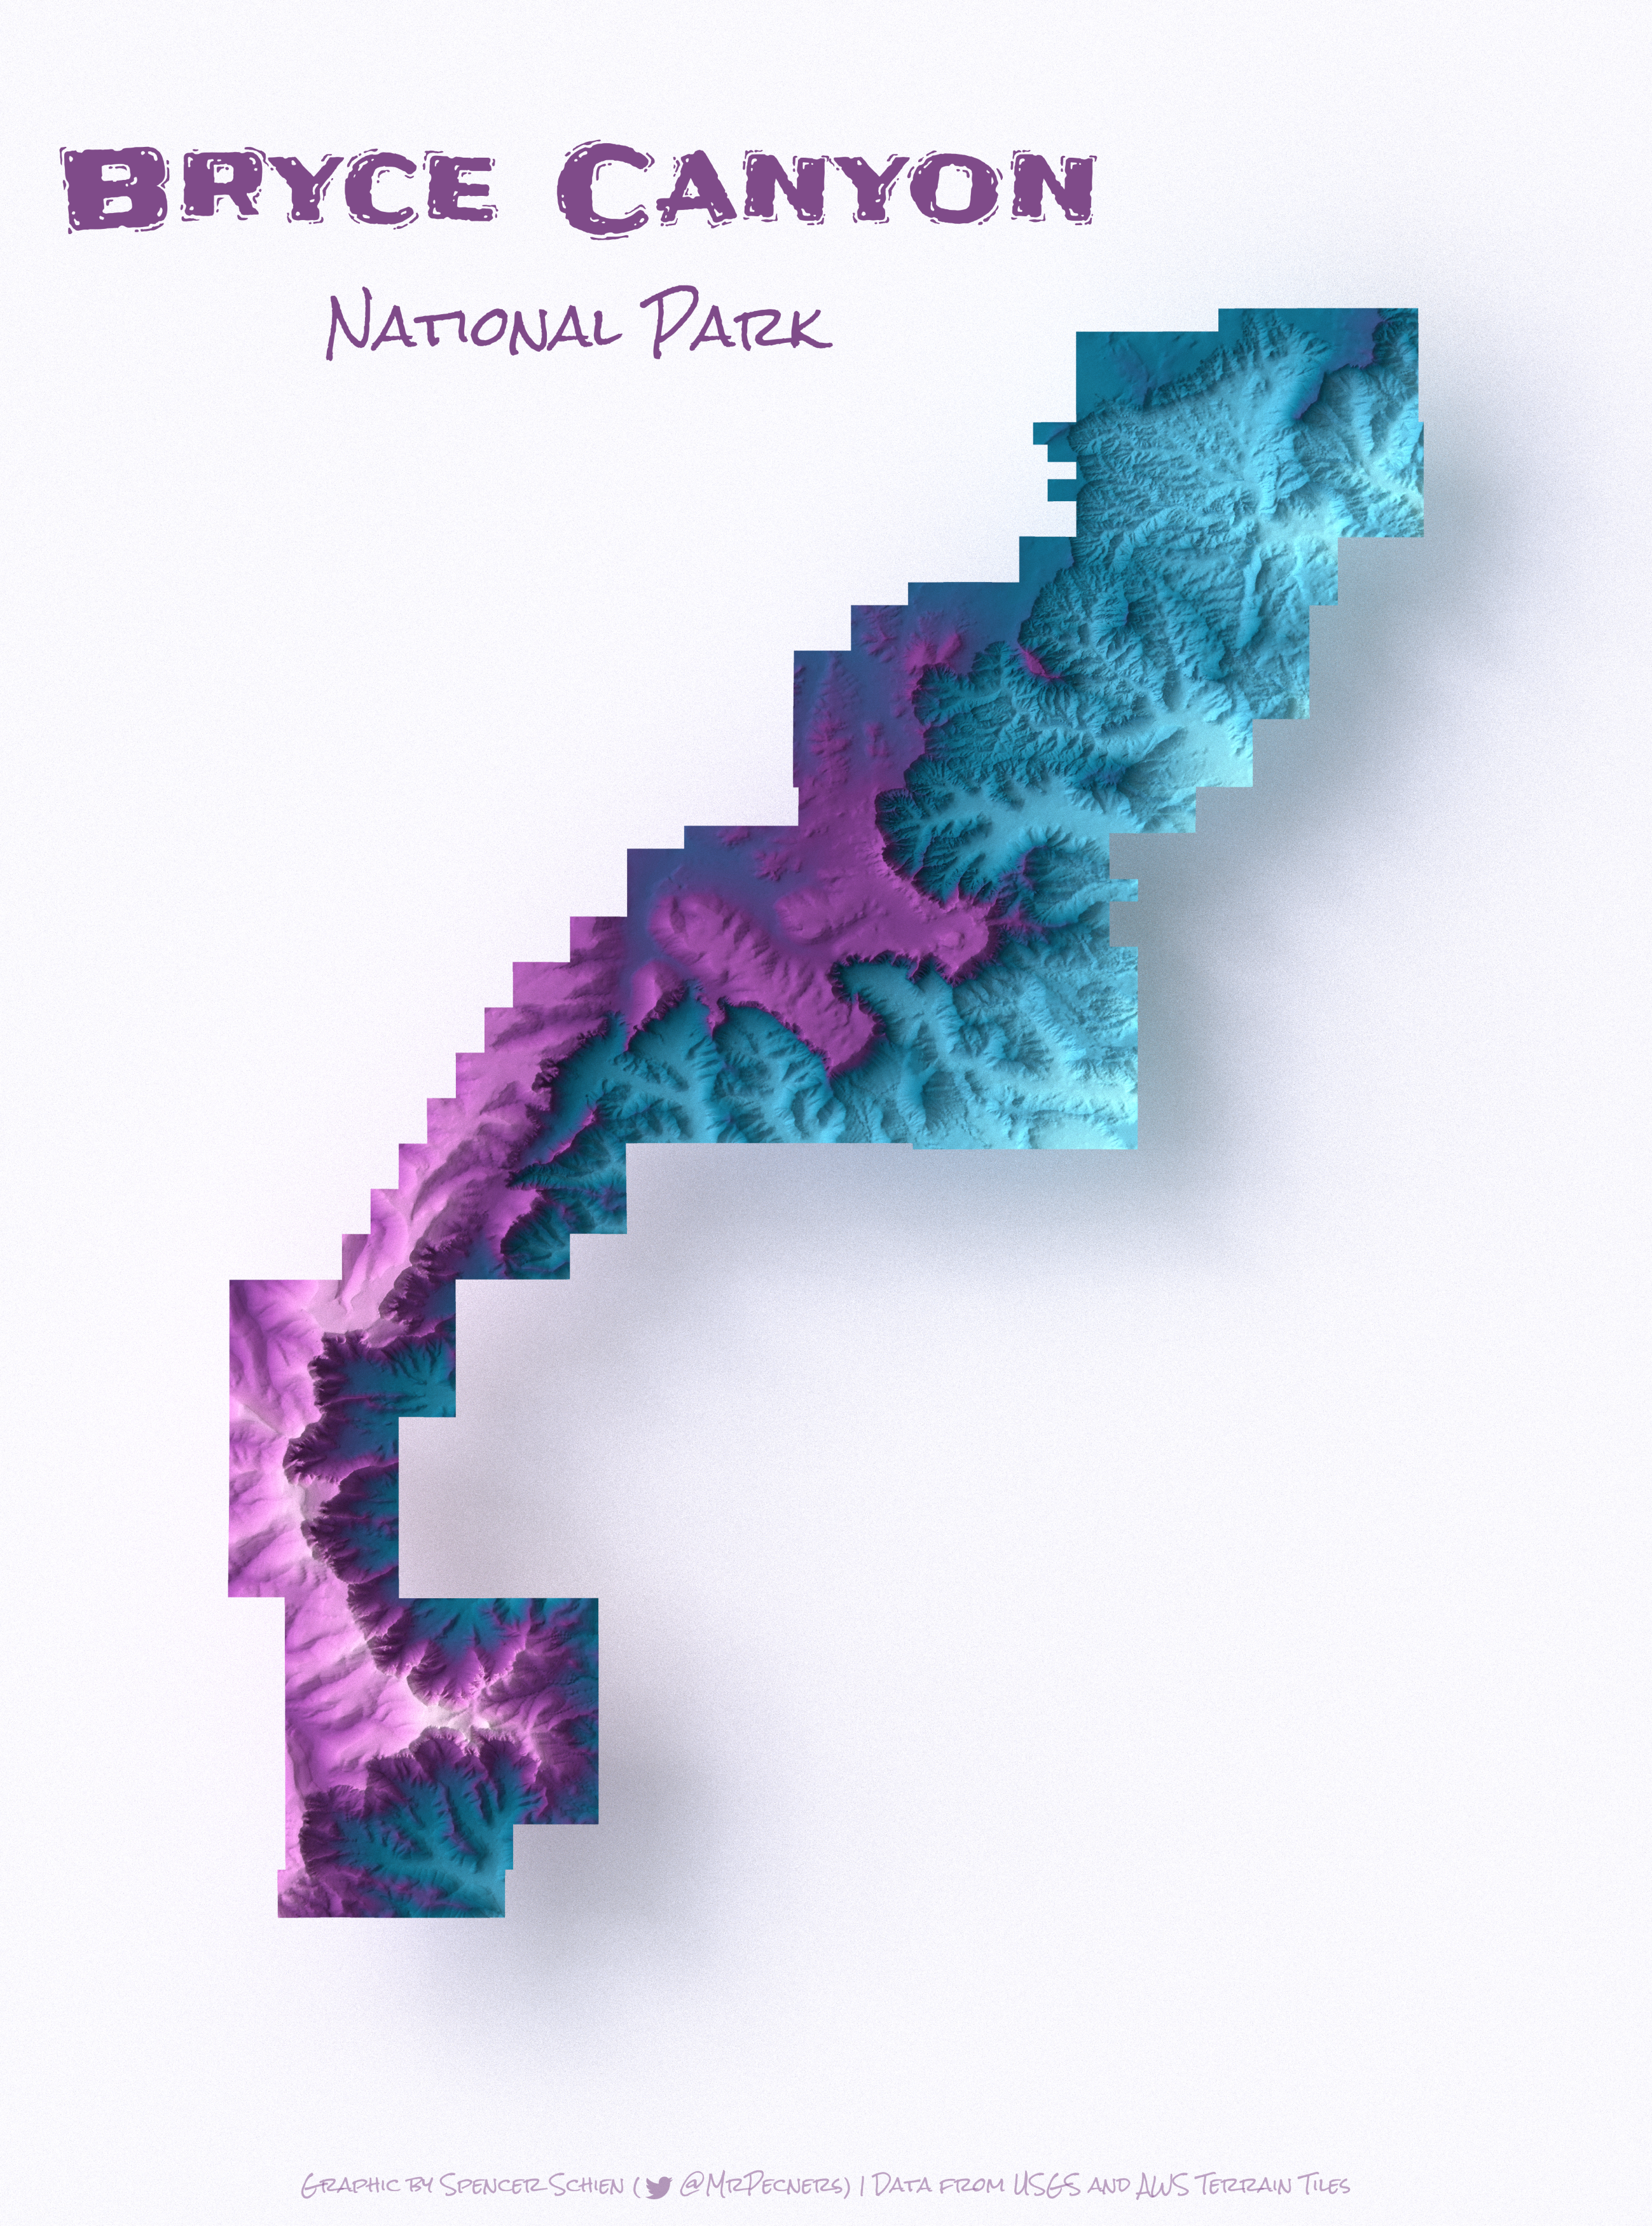
This repo houses code I use to create shaded relief graphics using the rayshader R package by Tyler Morgan-Wall. I'm walking in the giant steps of Twitter user flotsam whose graphics originally inspired me, and tips + code snippets they shared helped immensely as I was just learning how to make these.
I've been making these graphics for a while (see my gallery) and wanted to share code from the start, but I was self-conscious about the state of my code. This repo is an effort to better organize my code so I can be confident in sharing it.
Code to create each graphic has its own directory within the R/portraits directory, and helper functions can be found in the R/utils directory.
Graphics are written to an images directory, but I'm not tracking it here because the graphics tend to be pretty large files. Instead, I copy the smaller version of the graphics (created for posting to platforms like Instagram or Reddit where file size limits are enforced) to the tracked_graphics directory so there is something to showcase here.
Here's a sample workflow you could use to repurpose this code for your own geography (assuming you've forked or otherwise copied this directory):
- Call
.new_portrait()to start work on a portrait. This function takes one argument, which is the name of the map.- If it is based on a US National Park, the name will be used to filter the master list of park geometries for the one you specified in the function call.
- This function will create a new directory within
R/portraits, with the directory name determined bymapargument in the the function call. .new_portrait()is loaded whenever you open the project via the.Rprofilefile, but it remains hidden from the environment because its name begins with a leading period.
- Run the code in the
render_graphic.Rfile, an example of which is R/portraits/bryce_canyon/render_graphic.R.- If you're changing things up at all, this will be an iterative process.
- Start with a lower
zvalue so you're working with less data, and it's easier to iterate as you work to to get everything set how you want it. - When you're ready to render the final graphic, bump it up to the highest resolution you want.
- Run the code in
markup.R(e.g. R/portraits/bryce_canyon/markup.R), adjusting the code as necessary for your given scenario.- The code is structured to allow for aligning text, but currently I have only built it out to allow for center aligned. Aligning to left or right will involve handling those settings by setting
{magick}'sgravityargument to 'west' or 'east', and then adjusting the coords accordingly. You could achieve this directly with{magick}as well if you want more direct control. - I'm making improvements to the
utilsfunctions as I go, so earlier render and markup scripts might need updating to work with new functions. I am not maintaining backwards compatibility.
- The code is structured to allow for aligning text, but currently I have only built it out to allow for center aligned. Aligning to left or right will involve handling those settings by setting
- The code as I've written it will save two files, one at a higher resolution, and one at a lower resolution that should fall under the limits for sites like Instagram and Reddit.
