This is a Raspberry Pi 4 cross toolchain built using Crosstool-NG. This README file shall contain all the steps I took in order to generate it and run the object file successfully on my Pi.
Notes:
- This toolchain was built on 1/9/2023. Some steps may differ/be omitted altogether. Please, bare in mind that Crosstool-NG is a piece of software that gets updated constantly and your steps may vary depending on when you decide to build/use Crosstool-NG.
- This toolchain was built on an Ubuntu 22.04 system on my trusty ten-year-old PC with the following specs:
- i7 4790k @4.4GHz
- 16GB DDR3 RAM @2400MHz
- GTX 980ti (irrelevant to this project)
Note that build time may vary depending on your hardware.
- The object file was tested on a Raspberry Pi 4 8GB RAM version running Raspbian OS Desktop (Bullseye). The OS version will become relevant later on to solve an issue I encountered.
- The source I followed is Chris Simmond's book "Mastering Embedded Linux Programming - Second Edition." It is a fantastic book that I STRONGLY recommend. But, bear in mind that some of the steps from this version are deprecated now---I know there is a 3rd edition but this is what I could get my hands on.
Now, with that out of the way, here is the whole thing in a nutshell:
-
Make sure all your packages are up to date.
sudo apt upgrade sudo apt update -
Clone Crosstool-NG's Git repository. Make sure to clone it in the desired directory. In my case, I cloned it in Desktop.
git clone https://github.com/crosstool-ng/crosstool-ng.git -
After the process is done, change directory to crosstool-ng and see which branch is your repository on.
cd crosstool-ng git status -
Make sure you are on "master" and not any other branch. This costed me over 90 minutes of work because I was on a deprecated branch. If you were not on the master branch, switch to the master branch and then make sure you are on it.
git checkout master git status -
Execute the following commands in sequence. the
--enable-localoption means that the program will be installed into the current directory, which avoids the need for root permissions. After executing them, Crosstool-NG will be installed on your system and can be run from the repository folder. It can be run by typing./ct-ngfrom the repository's directory../bootstrap ./configure --enable-local make make install
Now, with Crosstool-NG ready, we can begin building our Raspberry Pi 4 toolchain.
-
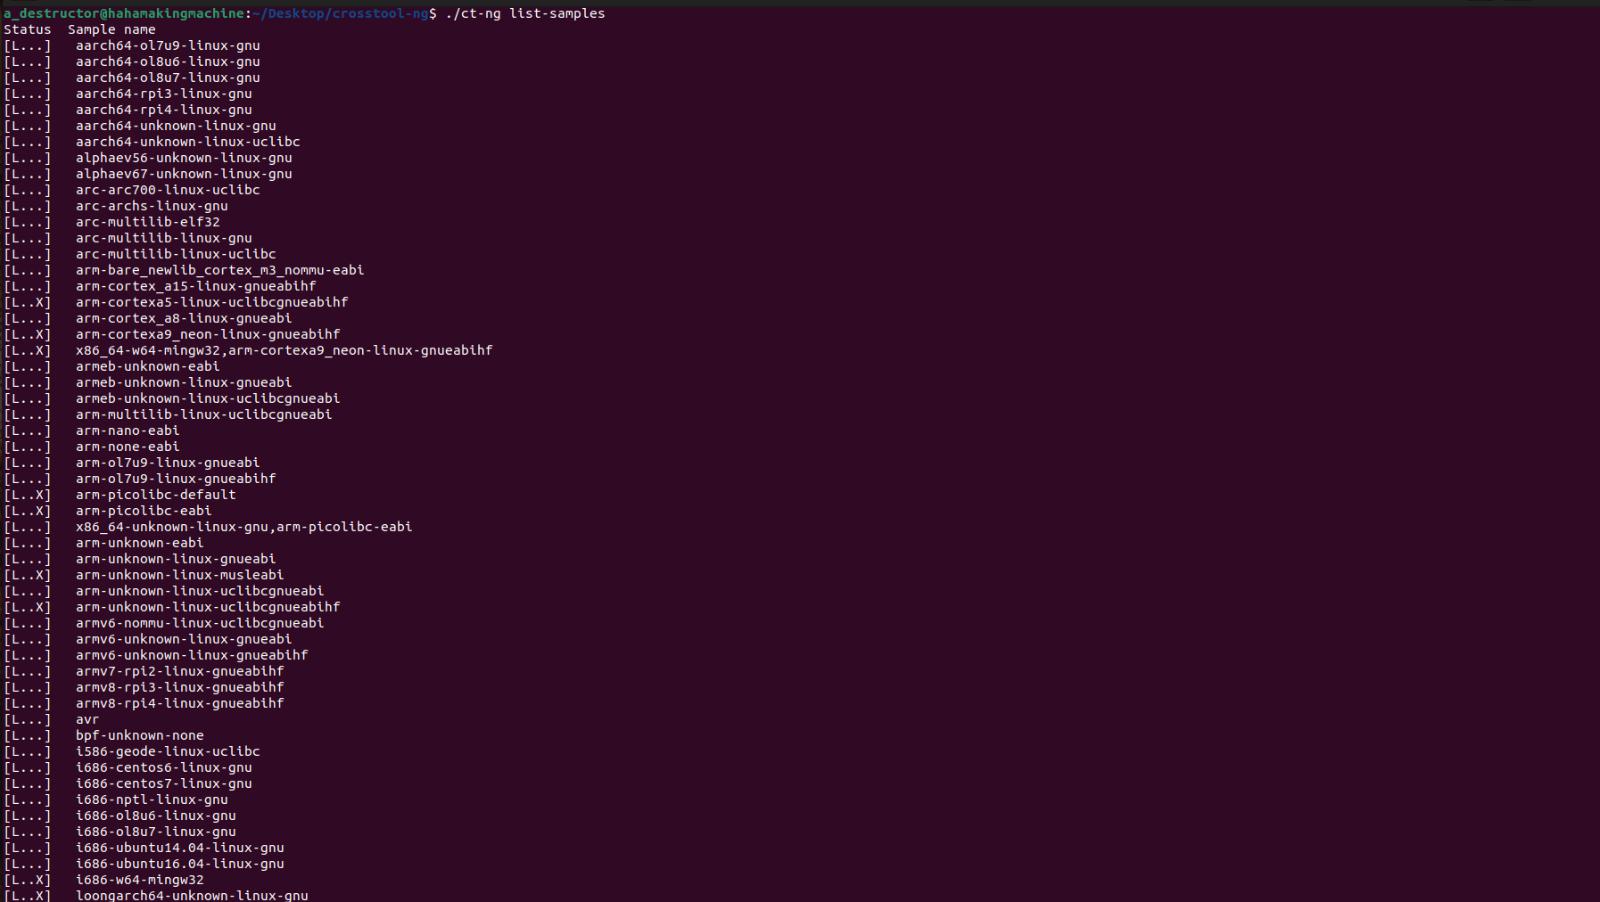
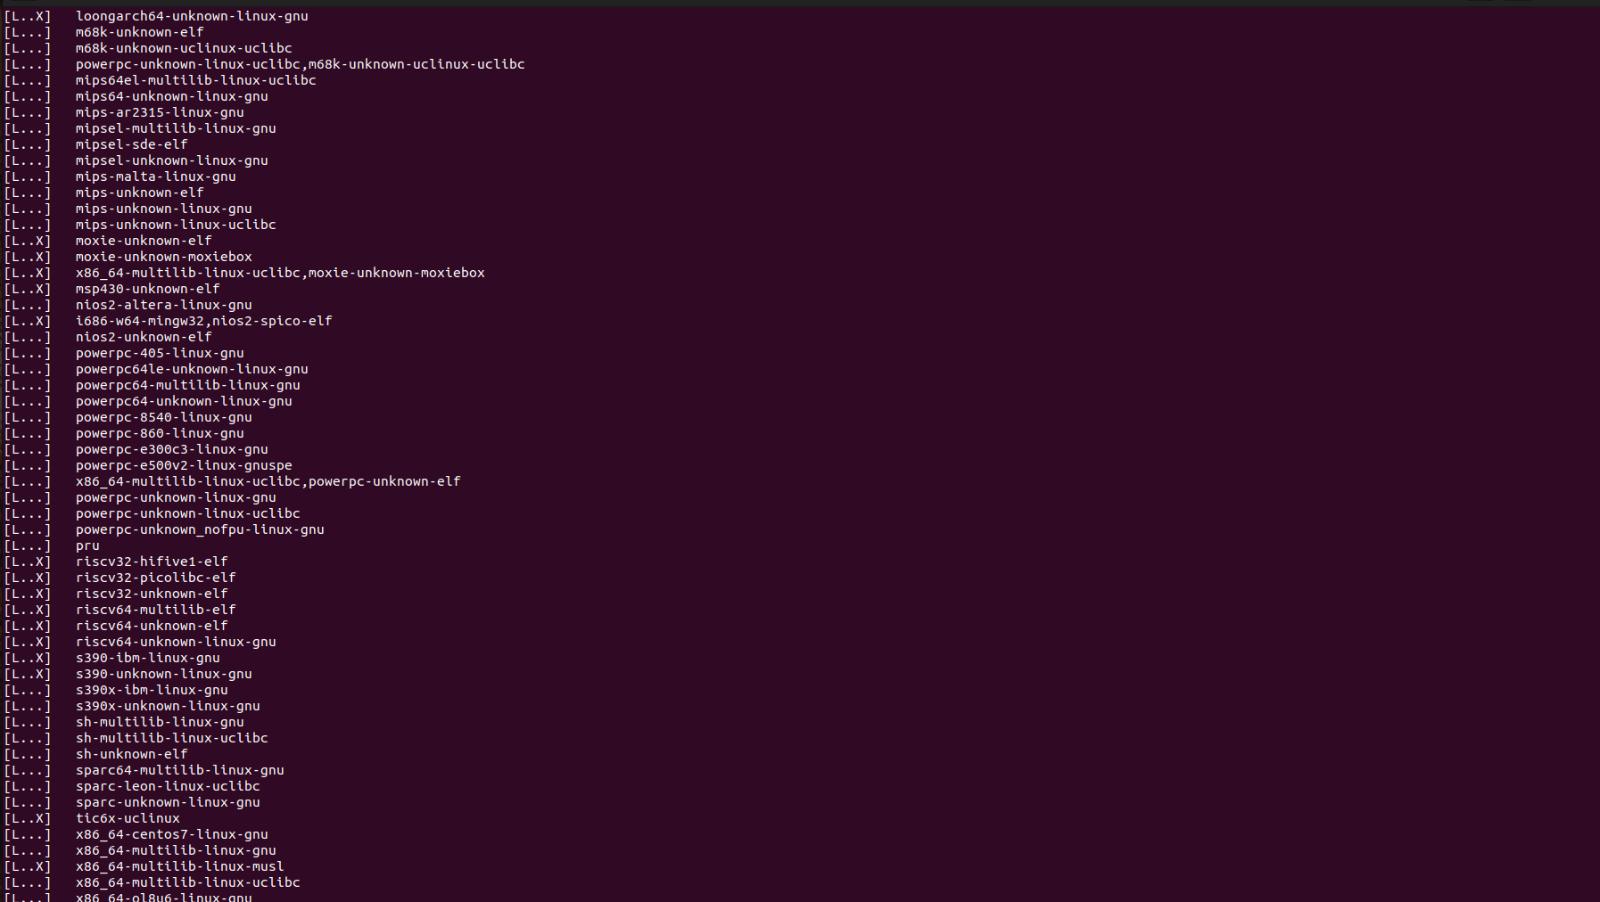
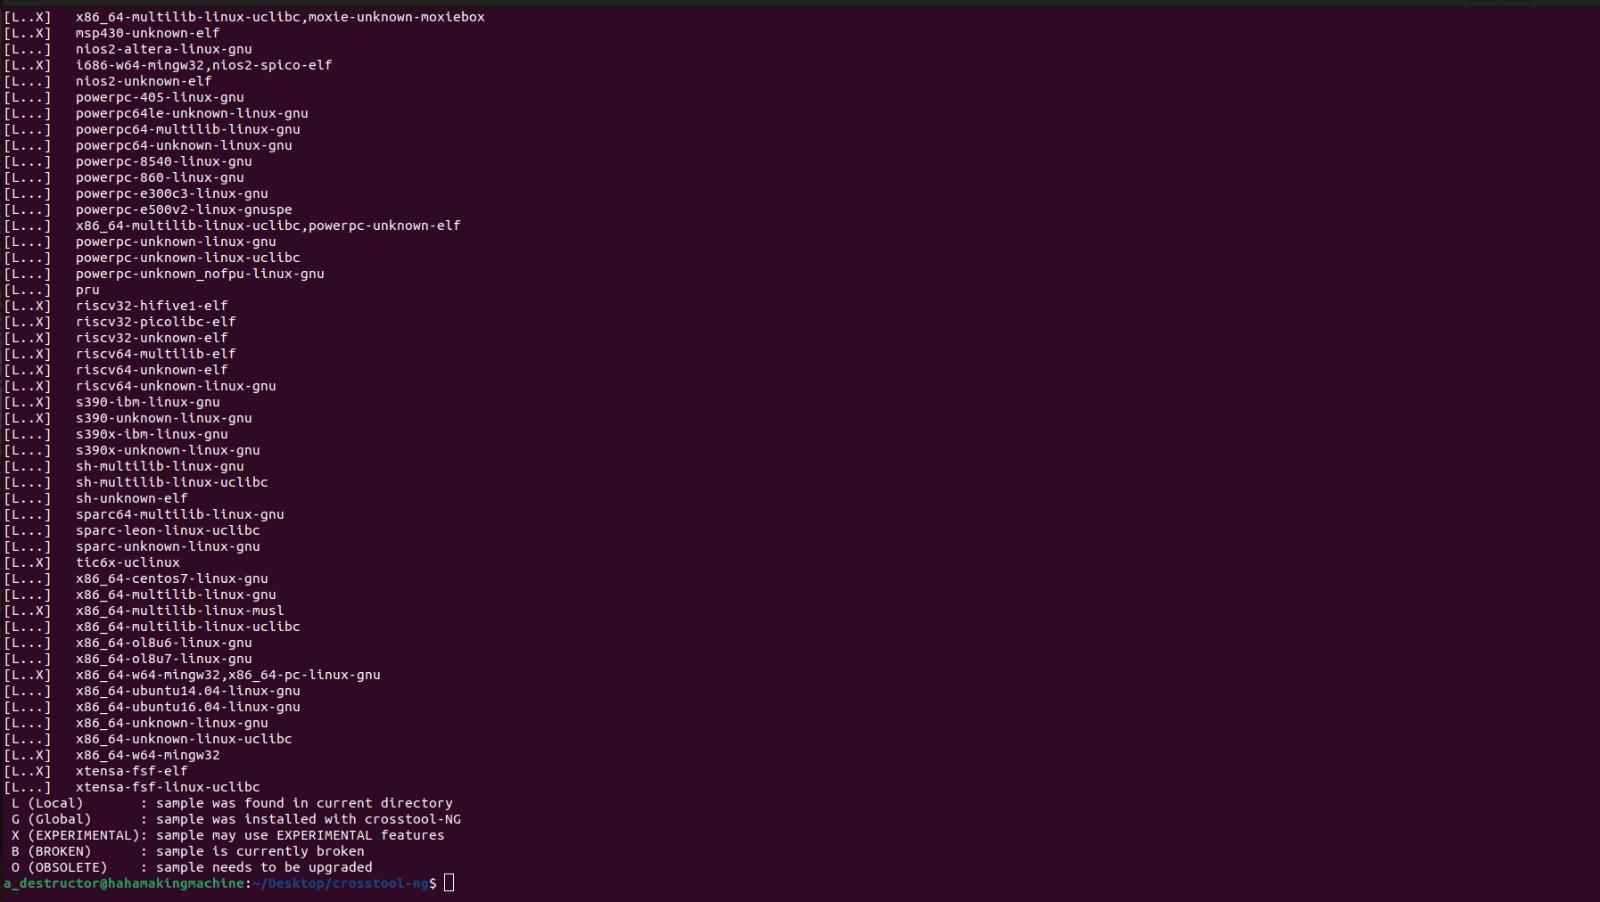
Crosstool-NG comes with a list of sample configurations for different hardware architectures to make the process easier. Display all the options and choose the one suitable for our target hardware.
./ct-ng list-samples -
The configuration made for Raspberry Pi 4 is
aarch64-rpi4-linux-gnu. You can display its details using the command./ct-ng show-aarch64-rpi4-linux-gnu
-
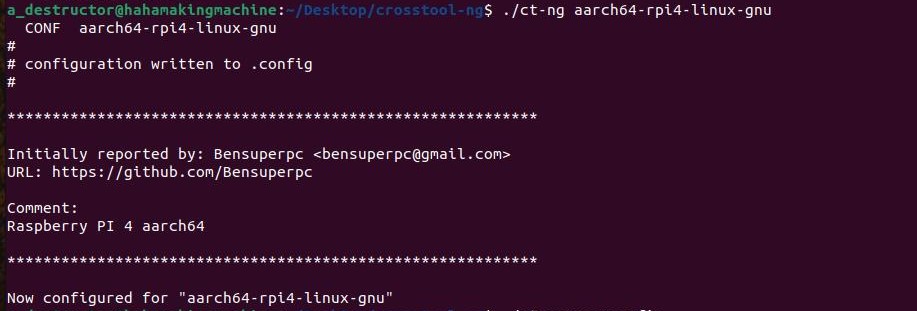
Now, select this target configuration.
./ct-ng aarch64-rpi4-linux-gnu -
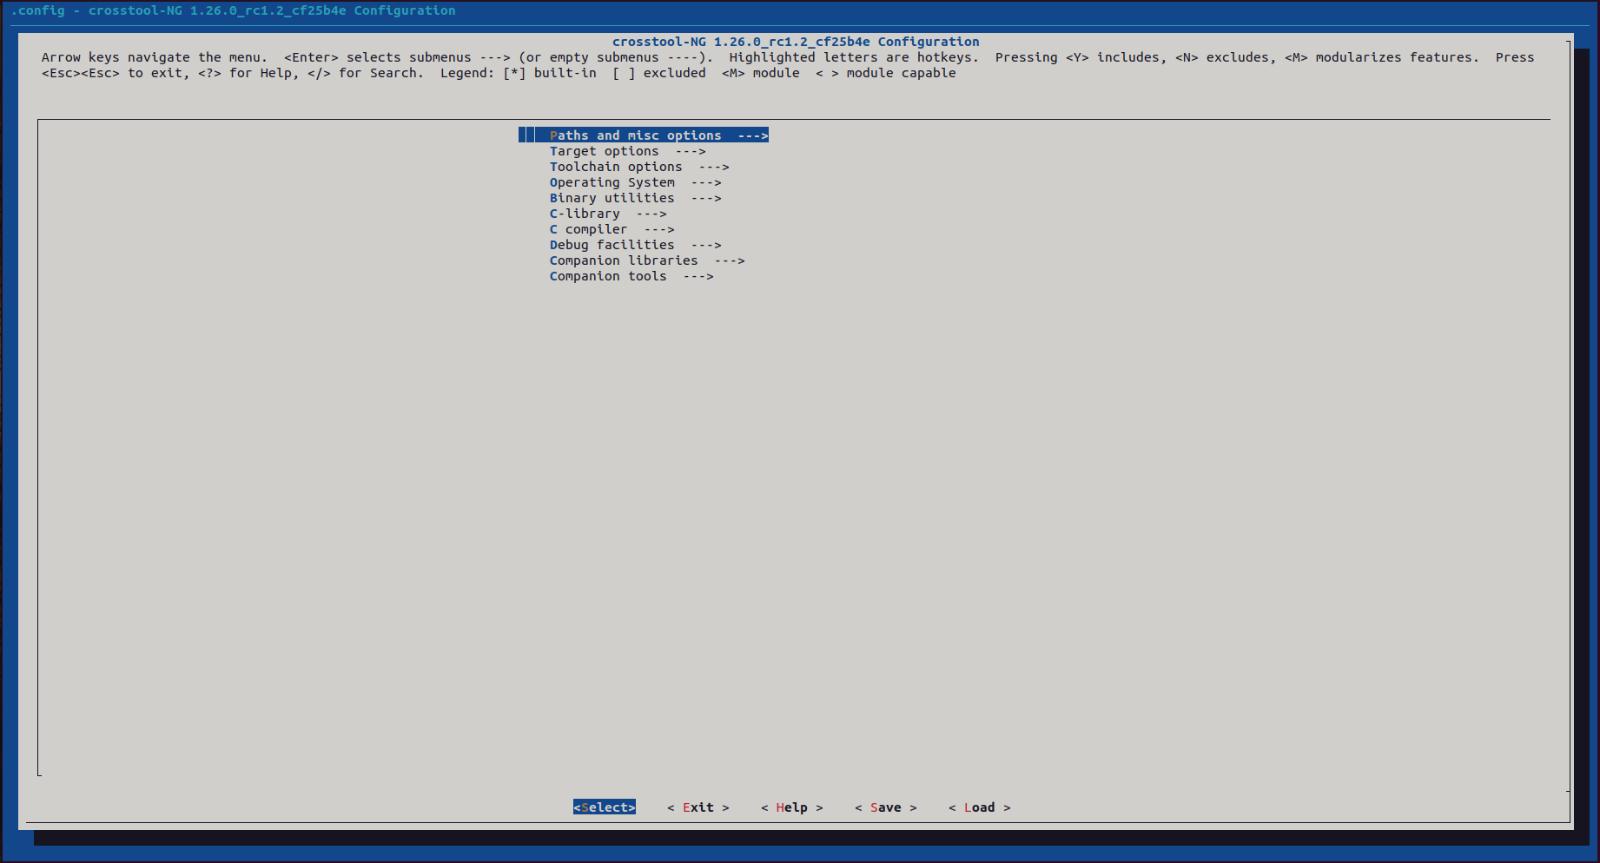
The next few steps are INCREDIBLY important. They start by opening the configuration menu.
./ct-ng menuconfig -
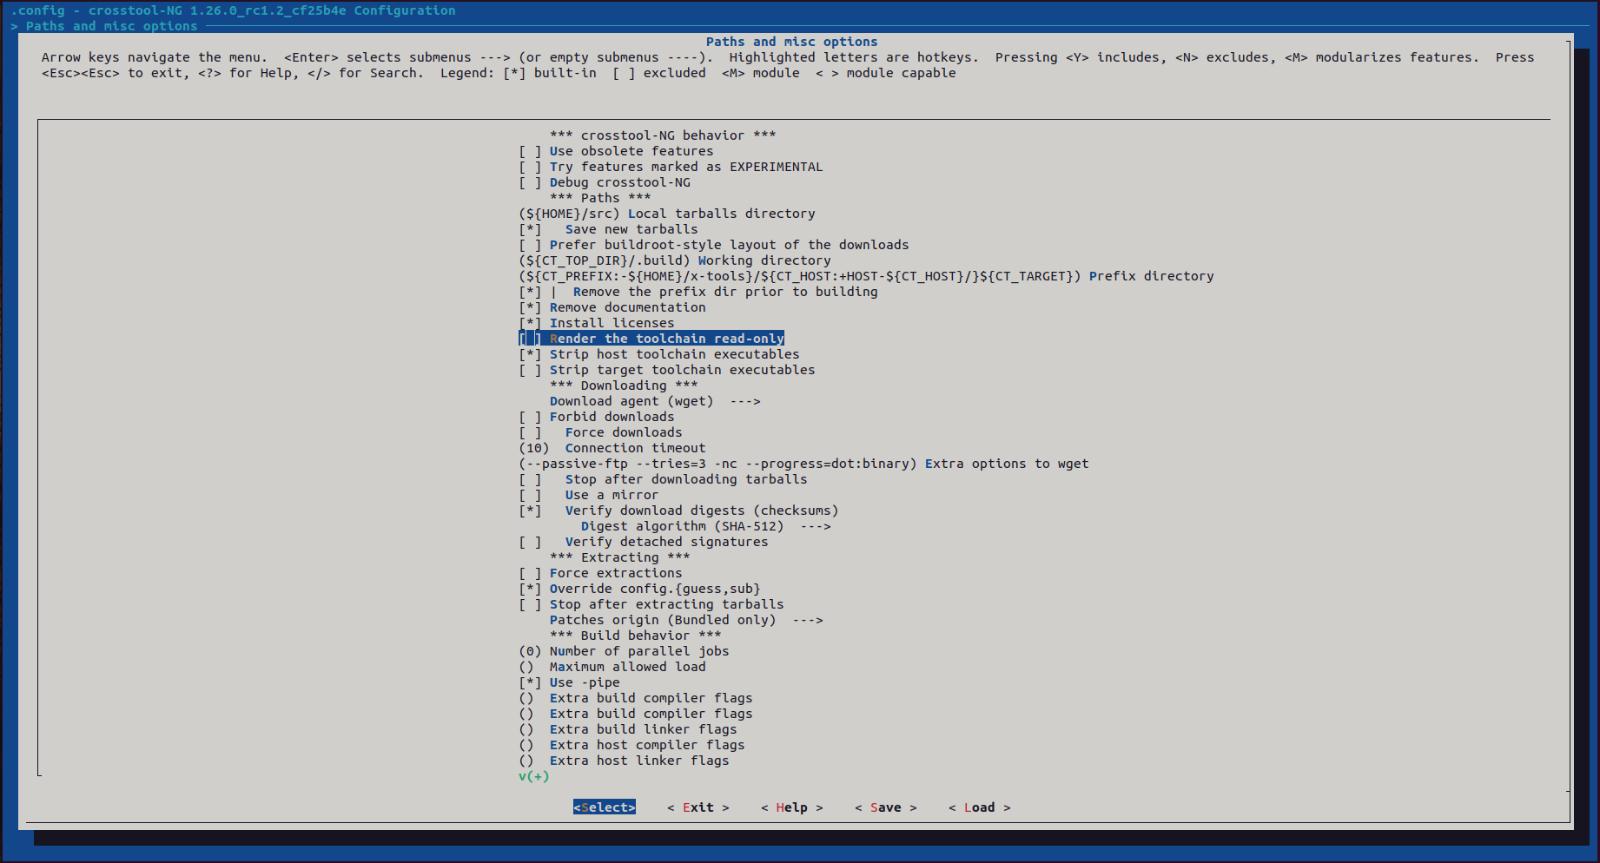
A step that is always the first thing to do is: Paths and Misc Options => Disable Render the Toolchain read-only
-
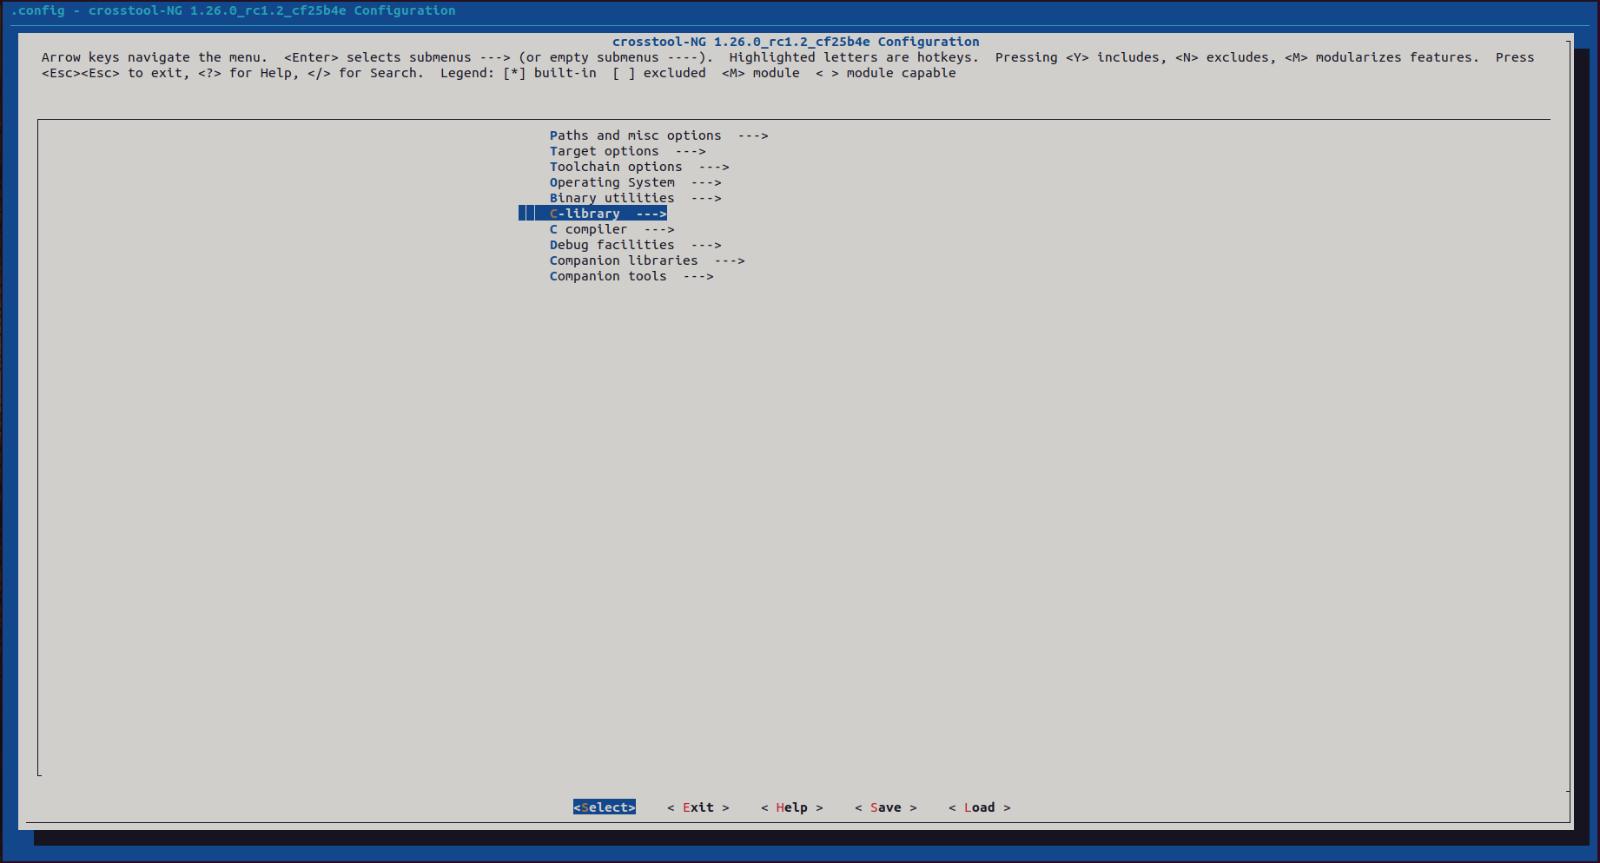
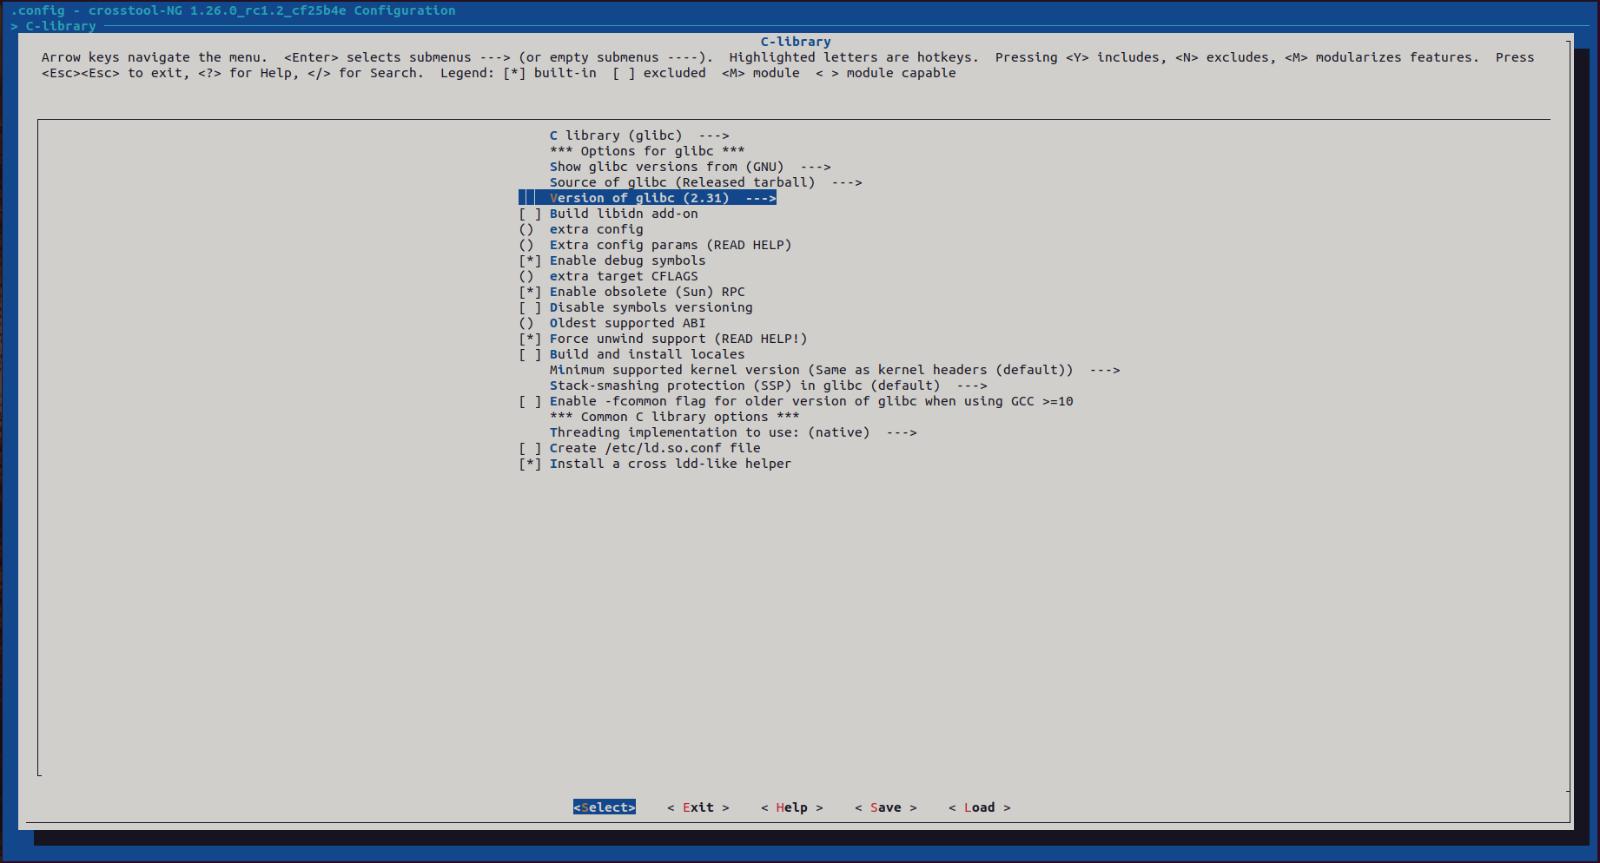
The next one can make or break your toolchain. Make sure to select a glibc version that is compatible with the system running on your target hardware: in my case, it is running Raspbian 11 with glibc version 2.31. Not doing this step costed me over 3 hours until I configured it myself. C-Library => Version of glibc => Choose 2.31
-
Now, the toolchain is read to be built. The building process took me between 22 and 23 minutes on a PC with the specs listed above. I ran it 3 times and the time varies by 20-40 seconds between builds.
./ct-ng build
The generated toolchain can be found in ~/x-tools/aarch64-rpi4-linux-gnu.
And finally, what everyone is waiting for: writing code and cross-compiling it.
-
In order to use the cross compiler, add its directory to your path.
PATH=~/x-tools/aarch64-rpi4-linux-gnu/bin:$PATH -
I wrote a simple C program and compiled it. The generated object file can be run on the Pi without issues.
aarch64-rpi4-linux-gnu-gcc test.c -o testrpi4_v3 -
The command
filecan be used to confirm that the object file has been cross compiled.
-
Now, to test it on my Pi. Notice that I use VNC because I am too lazy to buy a micro hdmi cable and I am screencasting it on my phone.
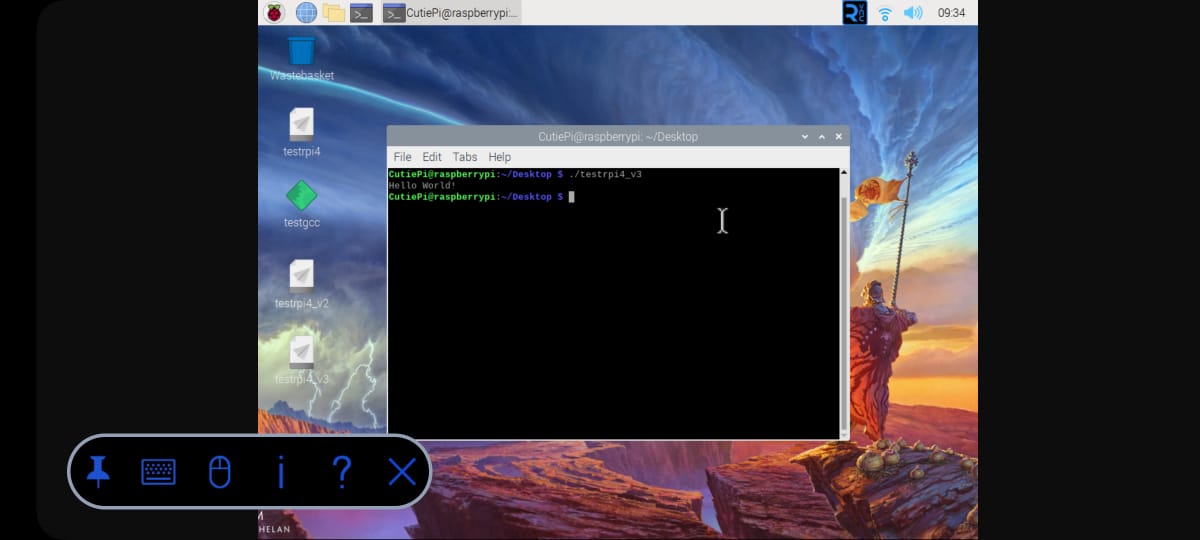
BONUS: Here is a quick test to compare the performance between the cross toolchain we have just created and the native toolchain on the Pi itself
-
I created a C program that calculates the nth element of a fibonacci series using recursion. For very high values of n, this program can be a huge load on any PC. I know it is not the best way to implement fibonacci series in general but it is a pretty good way to put the Pi under a good amount of load.
#include <stdio.h> int fibonacci(int n) { if (n <= 1) return 1; return fibonacci(n - 1) + fibonacci(n - 2); } int main(void) { int n = 50; printf("%d\n", n); return 0; } -
The bash command
timeis added before any command executed in this section to print the execution time. This will be pretty useful to compare the final result. -
On my Ubuntu PC, I cross compiled three different versions of fib: at n = 50, n = 60, and n = 69.

-
Next, I tried to compile all three files again but this time on the Pi itself.
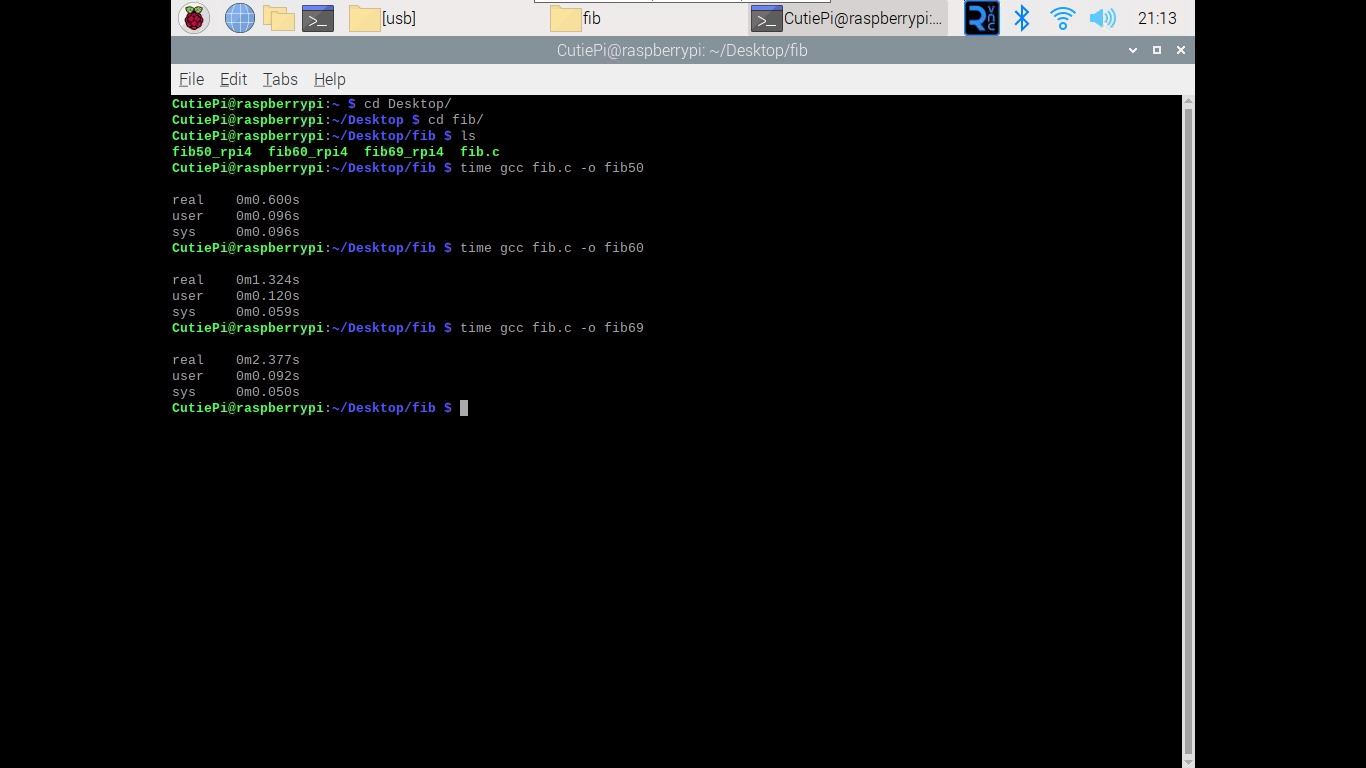
-
Finally, I ran both fib50 (natively-compiled) and fib50_rpi4 (cross-compiled).
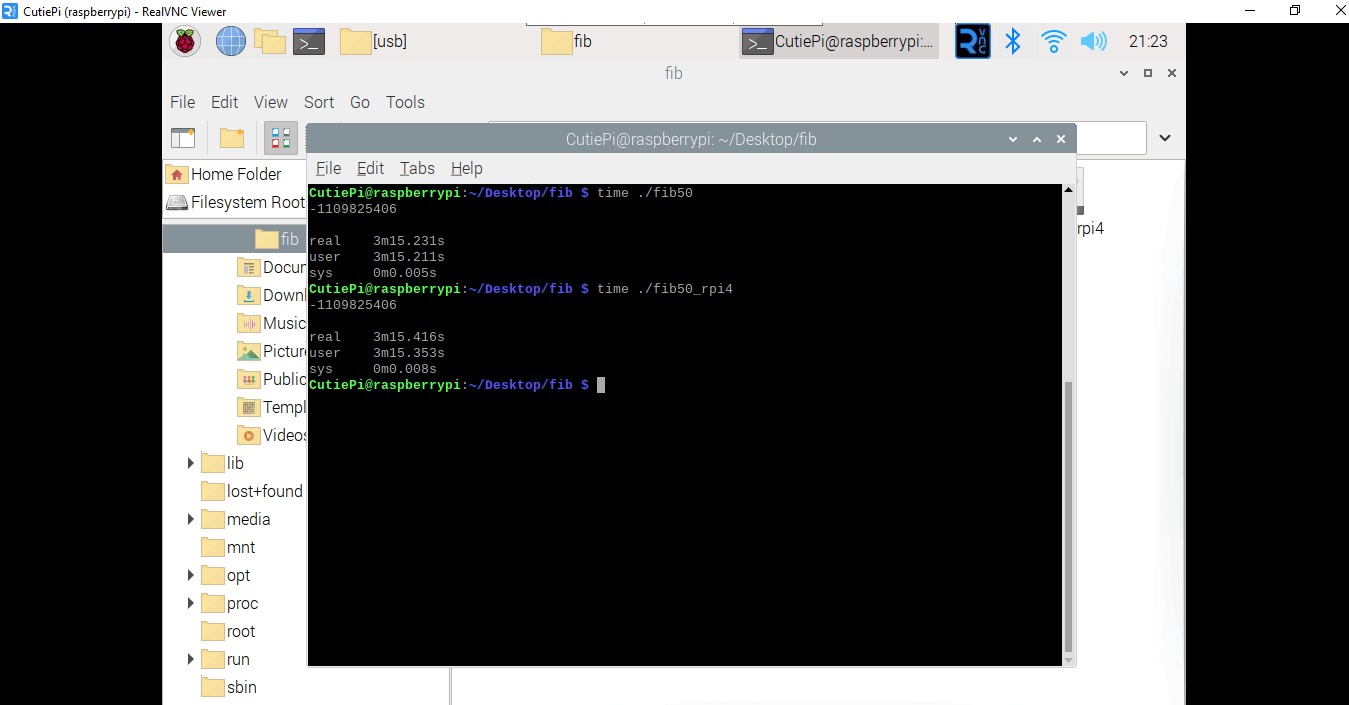
- Cross compilation will always be faster than native compilation if the cross toolchain runs on a significantly faster computer---which will almost always be the case.
- The execution time of an object file produced by cross compilation will almost have the same execution time of an object file produced by native compilation---one might argue that the difference is within the margin of error.
That's all folks!

