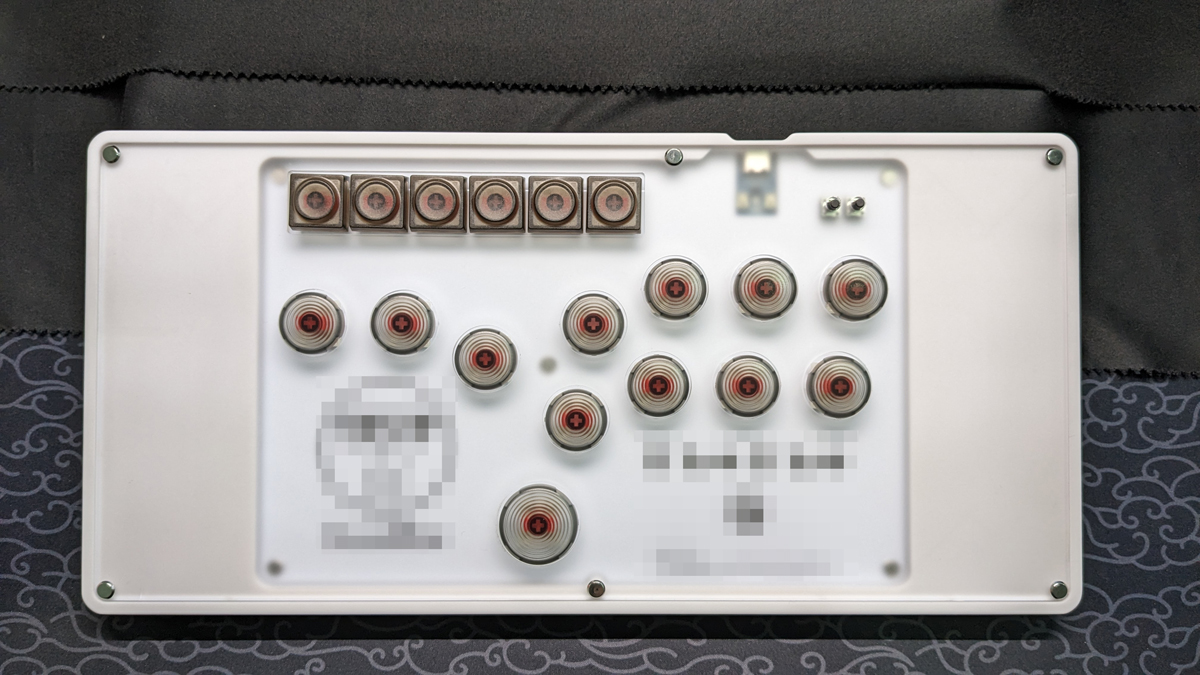
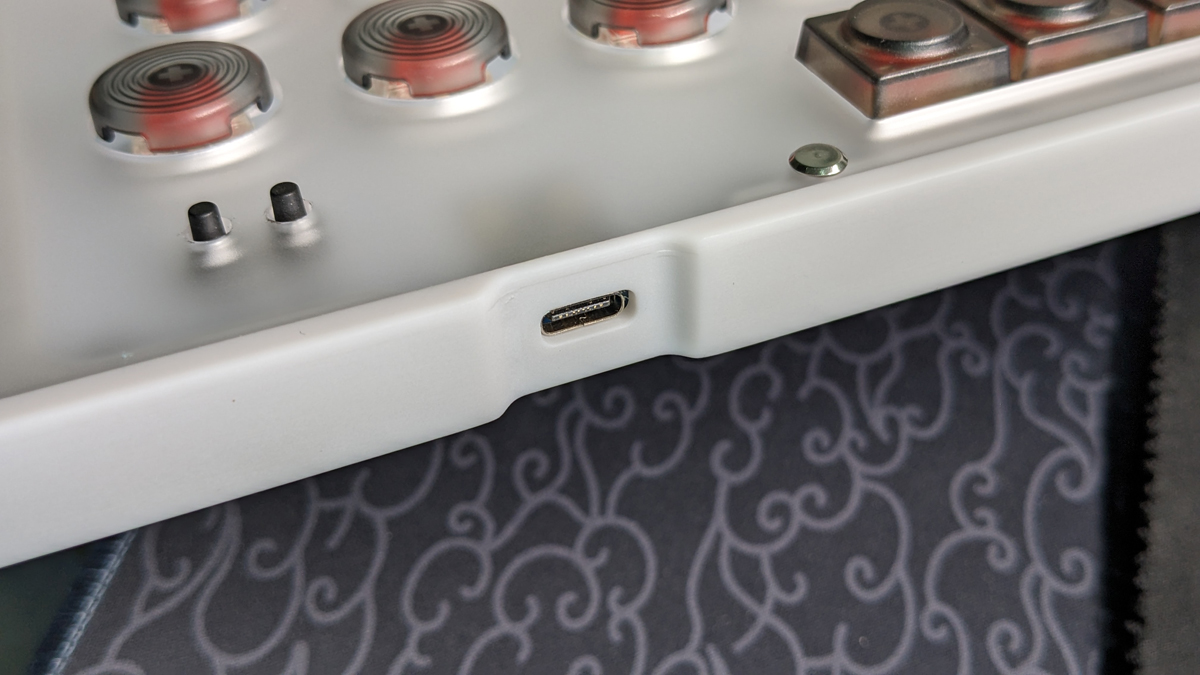
GuudBox uses GP2040-CE firmware with custom key maps and layouts, here's related links you may need:
GP2040-CE GitHub page | GP2040-CE documentation
Screwdrivers and soldering iron are necessary to build this device!
Screwdrivers and soldering iron are necessary to build this device!
Screwdrivers and soldering iron are necessary to build this device!
Parts you need to purchase. All of these should be available in China Mainland.
Make sure you can get these parts (or compatible ones) before building!
| Parts | Quantity | Shopping links for reference |
|---|---|---|
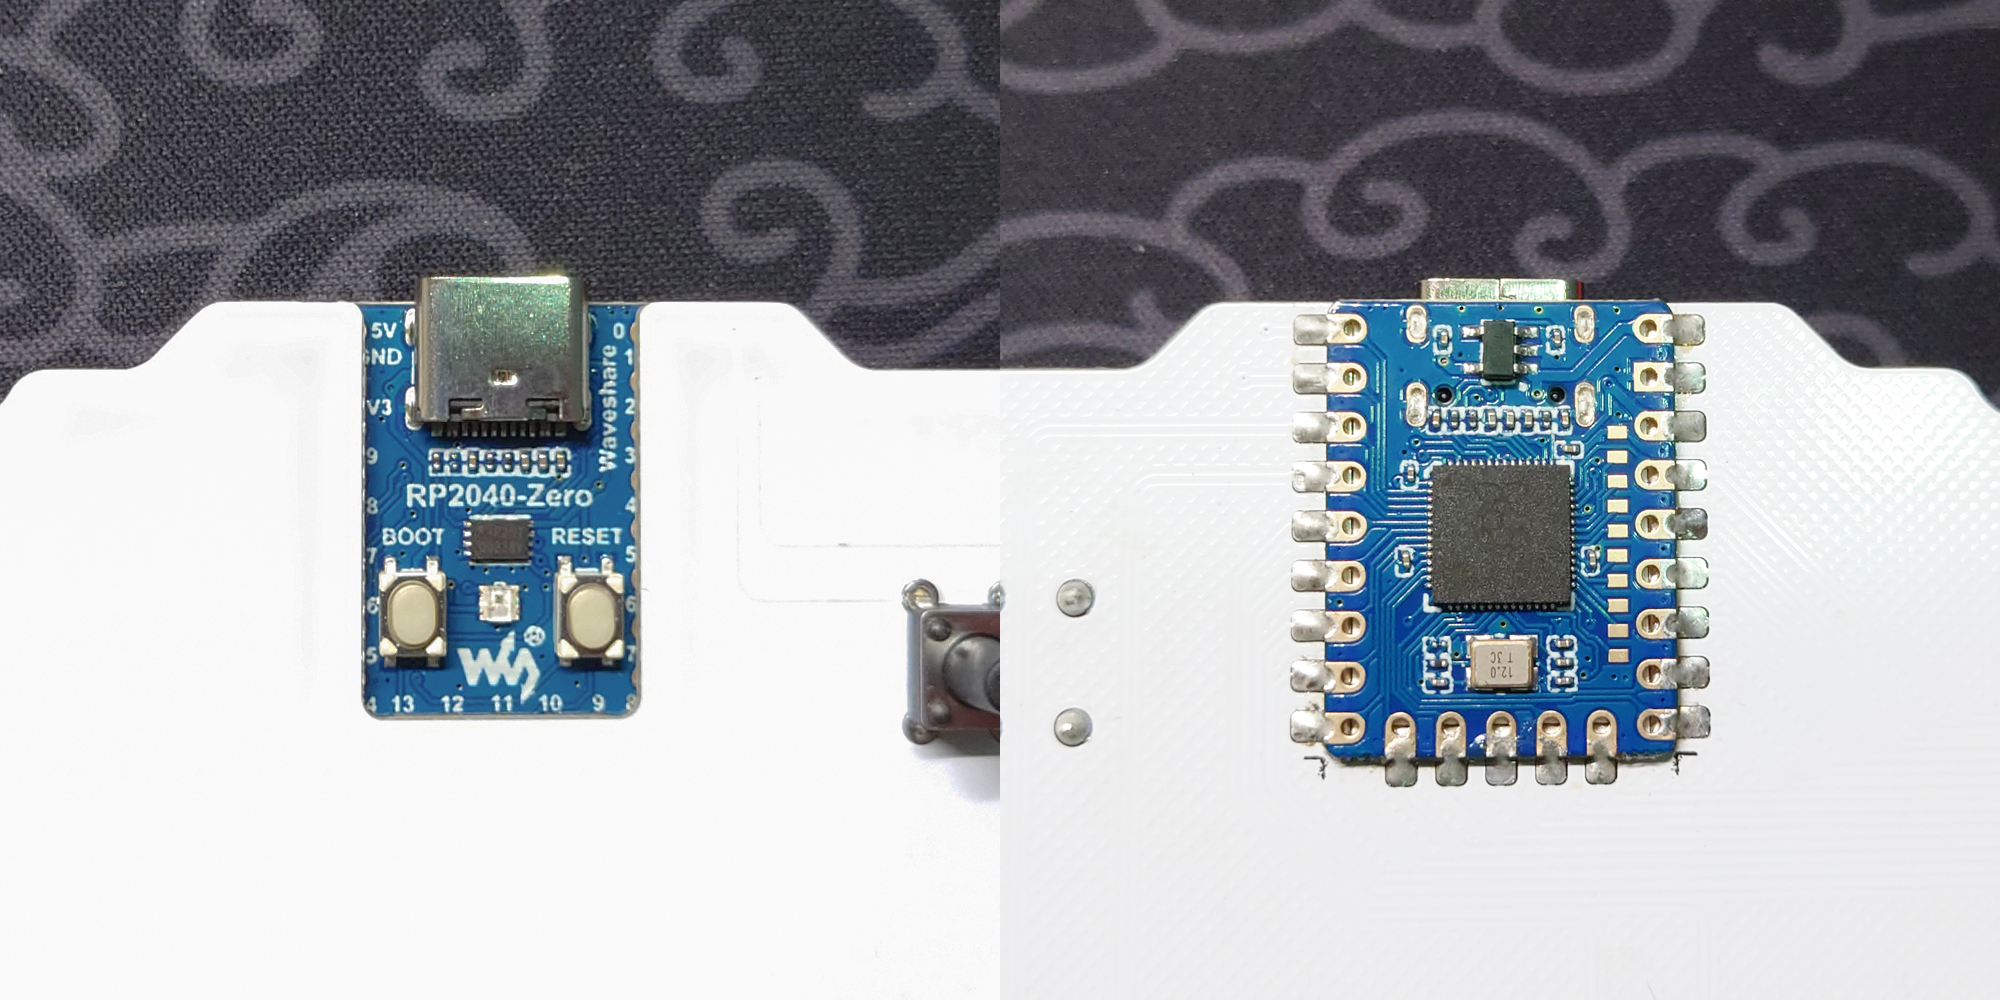
| Waveshare RP2040-Zero | 1 | |
| Gateron low profile switches v2.0 | 18 | |
| Gateron low profile hotswap connectors | 18 | |
| 21mm MX switch compatible round keycaps | 12 | PUNK WORKSHOP |
| 26mm MX switch compatible round keycaps | 1 | PUNK WORKSHOP |
| Standard MX switch keycaps | 6 | DEADLINE DOYS |
| 6x6x10mm push button switches | 2 | LCSC |
| M3*13 locking screws | 6 | Taobao |
| M3*5 locking screws | 5 | Taobao |
| 13x4mm round head silicone foot pads* | 6 | Taobao |
*: Thickness should be greater than 0.5mm.
| Parts | Quantity | Related files | Remarks |
|---|---|---|---|
| Controller PCB | 1 | Gerber_GuudBox.zip | 1.6mm thick |
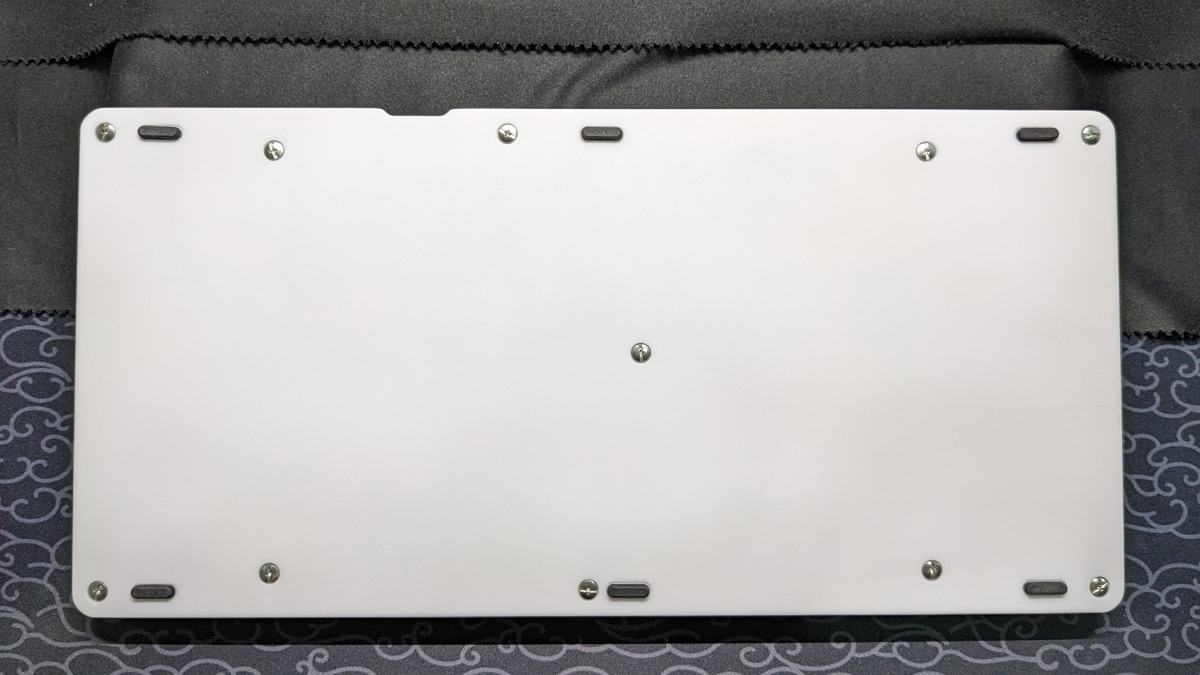
| CNC / 3D printed bottom case | 1 | Bottom Case.STEP (for CNC) / Bottom Case.STL (for 3D printing) | |
| CNC / laser cutted cover plate* | 1 | Cover Plate.STEP (for CNC) / Cover Plate.dxf (for laser cutting) | 3mm thick |
*: If you'd like to replace 21mm round keycaps with 26mm ones, use files in Alternative folder for cover plate.
The RP2040-Zero MCU board should be soldered on bottom side of the controller PCB with front side up. Make the position as accurate as possible to avoid conflicts with case.
- For CNC
| Parts | Quantity | Related files / links |
|---|---|---|
| CNC wrist rest | 1 | Wrist Rest_CNC_low_profile.STEP |
| 20x3mm round head silicone foot pads* | 4 | Taobao |
*: Thickness should be greater than 1mm.
- For 3D printing
| Parts | Quantity | Related files / links | Remarks |
|---|---|---|---|
| 3D printed wrist rest base part | 1 | Wrist Rest_3Dp_base_low_profile.STL | |
| Laser cutted cover plate | 1 | Wrist Rest_3Dp_cover.dxf | 3mm thick |
| 20x3mm round head silicone foot pads* | 8 | Taobao |
*: Thickness should be greater than 1mm.
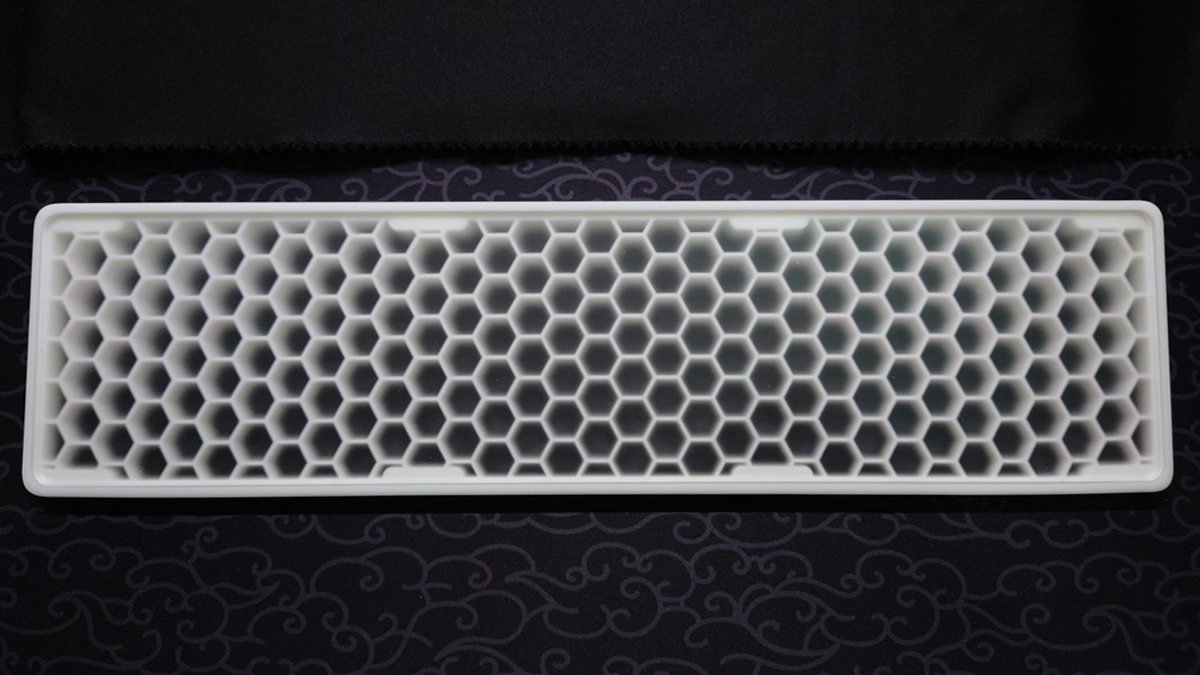
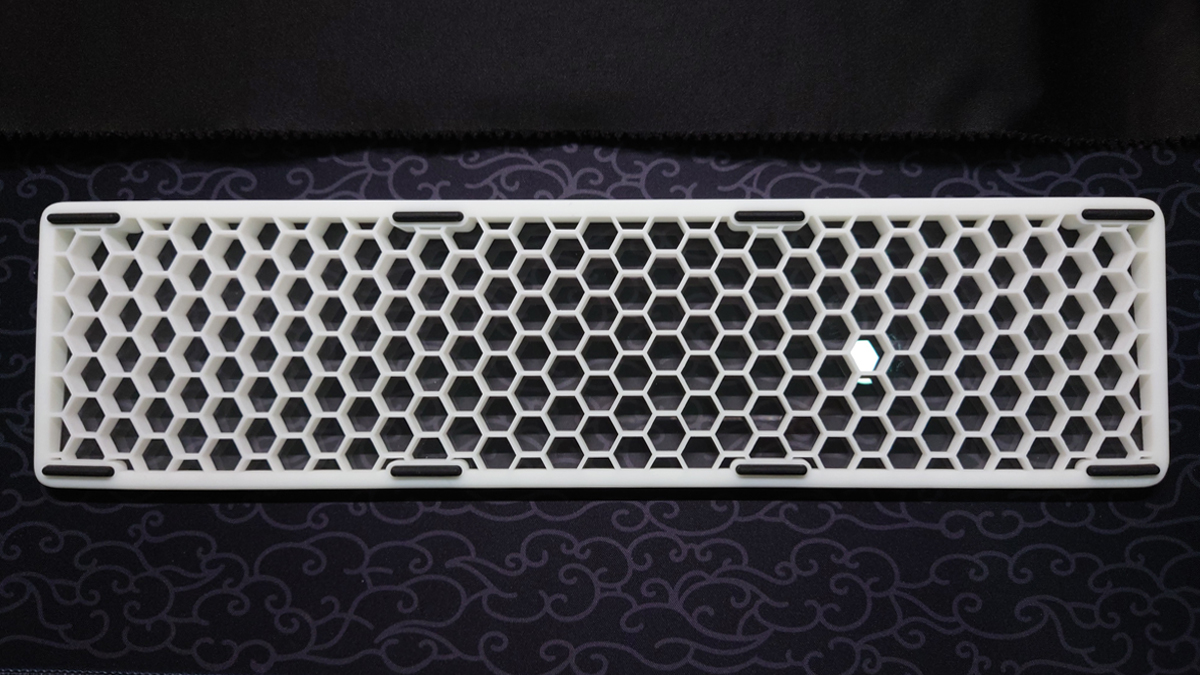
Here's a sample of 3D printed wrist rest:
Use files in Misc.
EasyEDA Pro is needed to edit .epro file.
Firmwares are modified and compiled in AkariiinMKII/GuudBox-GP2040-CE.
- Download the firmware (.uf2 file) in release page.
- Hold
BOOTbuttom on MCU board when plugging your controller into a PC. A new removable drive namedRPI-RP2should appear in your file explorer. - Drag and drop the firmware into the removable drive.
- Wait for the device to automatically disconnect.
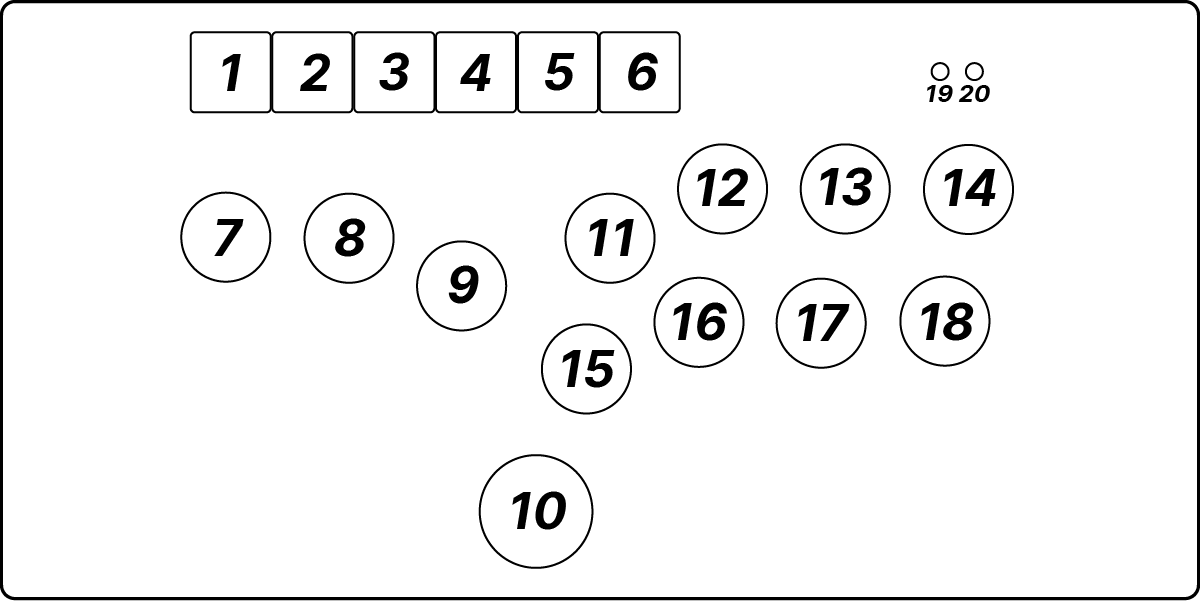
Default key map in firmware, you can change it in Web Configurator > Configuration > Pin Mapping.
| Position | GPIO Pin | GP2040-CE | XInput | Switch | PS4 | PS3 | DirectInput | Arcade |
|---|---|---|---|---|---|---|---|---|
| 1 | 14 | L3 | LS | LS | L3 | L3 | 11 | LS |
| 2 | 15 | R3 | RS | RS | R3 | R3 | 12 | RS |
| 3 | 26 | A1 | Guide | Home | PS | PS | 13 | Home |
| 4 | 27 | A2 | - | Capture | Touchpad | - | 14 | - |
| 5 | 28 | S1 | Back | Minus | Share | Select | 9 | Coin |
| 6 | 29 | S2 | Start | Plus | Options | Start | 10 | Start |
| 7 | 13 | LEFT | LEFT | LEFT | LEFT | LEFT | LEFT | LEFT |
| 8 | 12 | DOWN | DOWN | DOWN | DOWN | DOWN | DOWN | DOWN |
| 9 | 11 | RIGHT | RIGHT | RIGHT | RIGHT | RIGHT | RIGHT | RIGHT |
| 10 | 10 | UP | UP | UP | UP | UP | UP | UP |
| 11 | 8 | B3 | X | Y | Square | Square | 1 | P1 |
| 12 | 6 | B4 | Y | X | Triangle | Triangle | 4 | P2 |
| 13 | 4 | R1 | RB | R | R1 | R1 | 6 | P3 |
| 14 | 2 | L1 | LB | L | L1 | L1 | 5 | P4 |
| 15 | 9 | B1 | A | B | Cross | Cross | 2 | K1 |
| 16 | 7 | B2 | B | A | Circle | Circle | 3 | K2 |
| 17 | 5 | R2 | RT | ZR | R2 | R2 | 8 | K3 |
| 18 | 3 | L2 | LT | ZL | L2 | L2 | 7 | K4 |
| 19* | 0 | Fn | Fn | Fn | Fn | Fn | Fn | Fn |
| 20** | 1 | Turbo | Turbo | Turbo | Turbo | Turbo | Turbo | Turbo |
*: Disabled by default, enable the function in Web Configurator > Settings > Hotkey Settings before using.
**: Disabled by default, enable the function in Web Configurator > Configuration > Add-Ons Configuration > Turbo before using.
Hold S2 (position 6 in default key map) when plugging your controller into a PC, and then visit http://192.168.7.1 in a web browser to access the Web Configurator.
It is strongly recommended to read the documentation before using the configurator.
