The better way to sync your Directus schema and data between environments.
Sync chosen data such as
- Permissions
- Flows
- Dashboards
- Your own data
- Test data for CI/CD flows
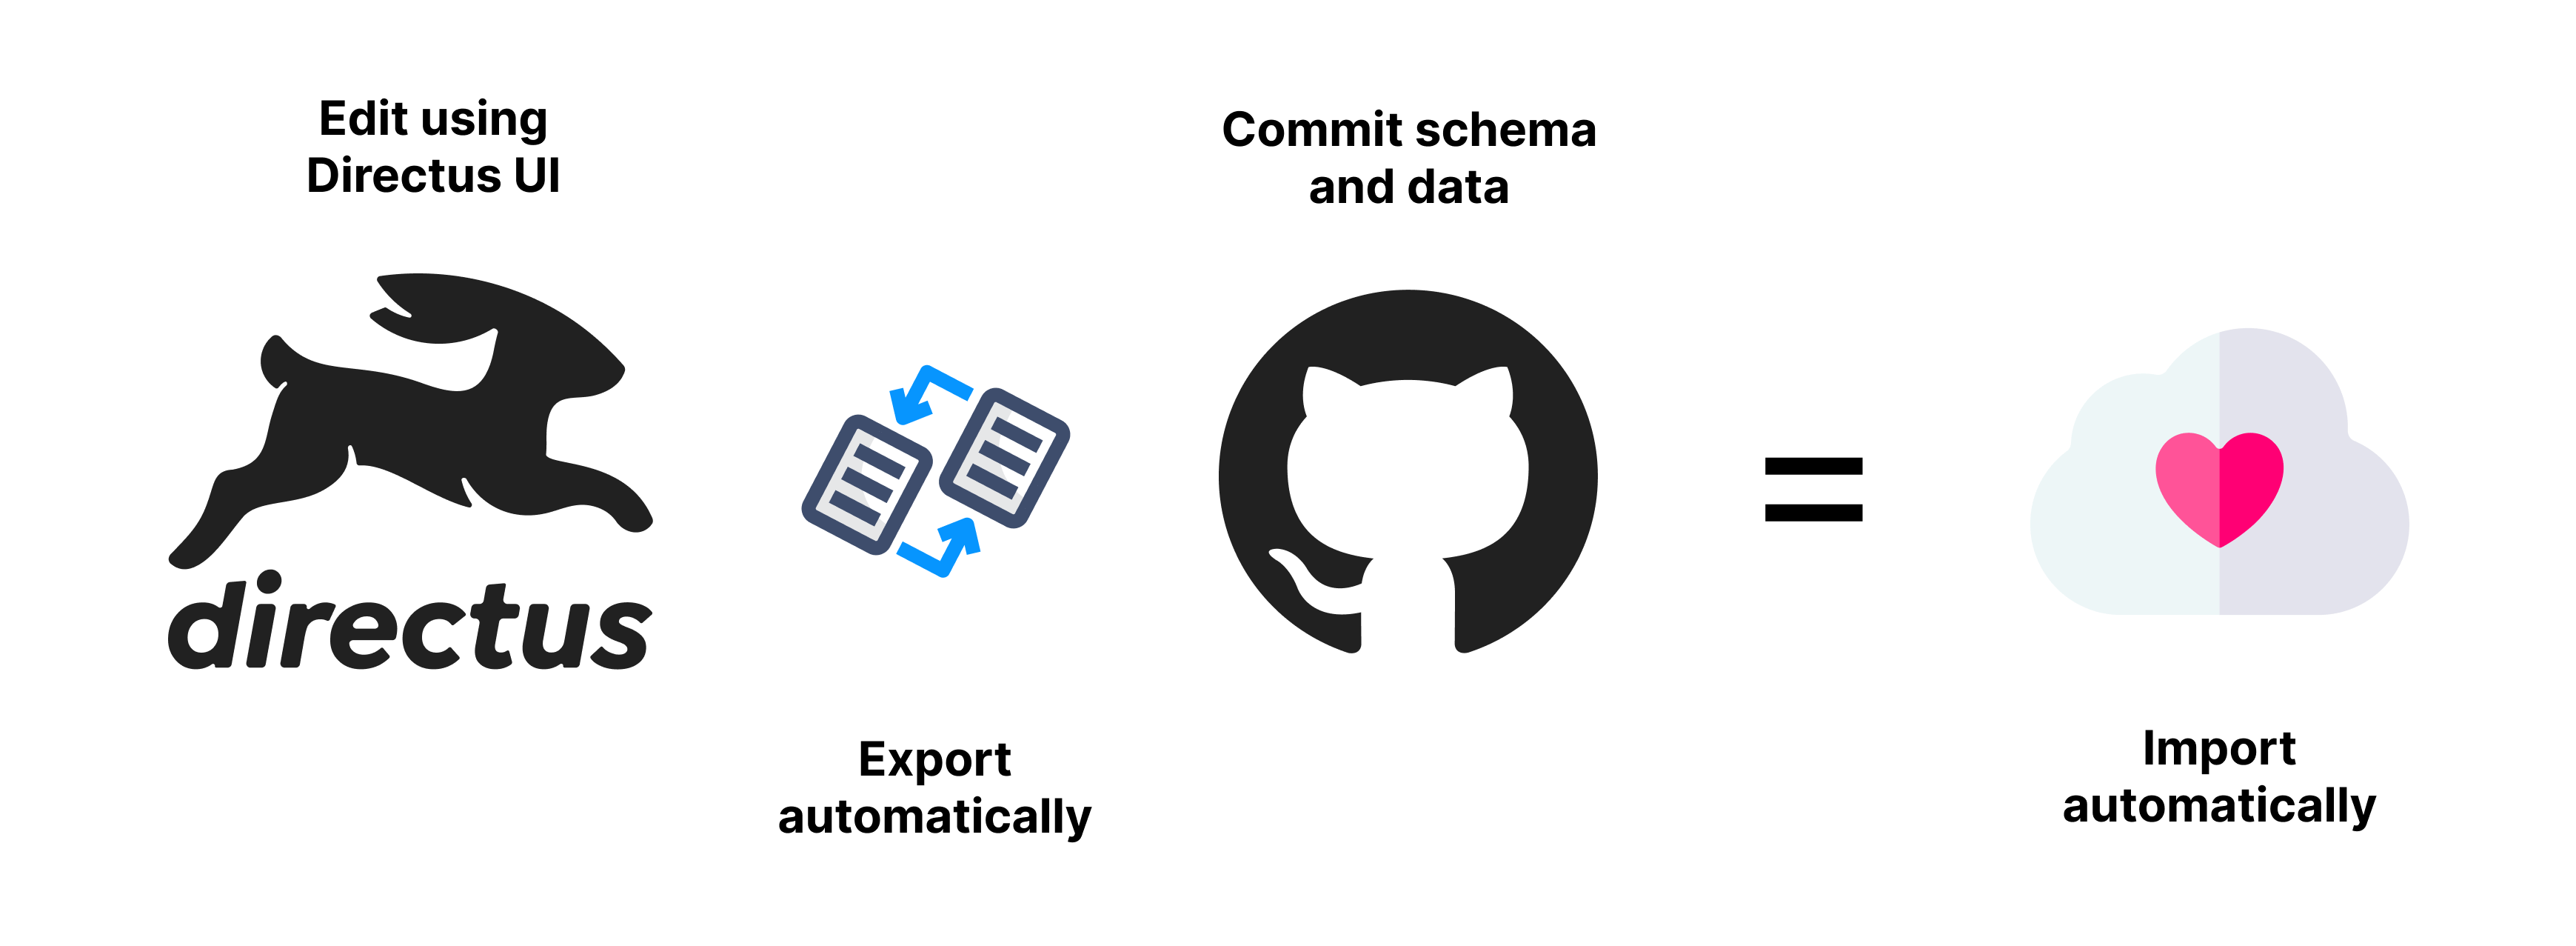
Automatically export and import both the schema and data when you make changes via Directus or in the json data files
Upon installing configure what data you wish to export from the DB and be able to commit to your repository. Then on the other environments you can import the schema and data automatically.
Auto Import the schema and data when Directus starts up. This is useful for production environments. Using a locking mechanism, only one instance of Directus will import the schema and data.
IMPORTANT Always be careful with what you export and commit to your repository.
npm install directus-extension-schema-sync- Then run
npx schema-sync installto install the extension's migration and config files - Run
npx directus database migrate:latestto run the migration that will add required columns to thedirectus_settingstable - Edit the
config.jsin the schema directory and add your collections you want to sync - Finally run
directus schema-sync exportto export the schema and data from the Directus API
In production it is advised to set SCHEMA_SYNC to IMPORT and in local development to BOTH.
If this is the first extension you are installing, then a new package.json file will be created in the extensions folder. In order for everything to work you need to add the following to the package.json file: "type": "module". This is because the extension uses ES6 modules.
If you don't already have a Dockerfile, you can use the following instructions to get started.
Update your Dockerfile to include the following:
RUN pnpm install directus-extension-schema-sync
COPY ./schema-sync ./schema-sync
COPY ./extensions ./extensionsOrder matters when importing and exporting. For example if you have a collection (A) with a relation to another collection (B), then ensure in the config that collection (B) comes first. This is so when we import, we first import B, then A. Deletions happen afterward in the reverse order.
You can create additional config files with the other config files, and set the name on the SCHEMA_SYNC_CONFIG env variable. For example to include a test data set used during testing in CI/CD. Additional config files need to export syncCustomCollections object like in the config.js file.
View the comments in the config.js file for more information.
Besides auto importing and exporting, you can also run the commands manually.
npx directus schema-sync [command]
| Command | Description |
|---|---|
export |
Export the schema and data from the Directus API |
import |
Import the schema and data to the Directus API |
hash |
Recalculate the hash for all the data files (already happens after export) |
| Variable | Description | Default |
|---|---|---|
SCHEMA_SYNC |
Set to automatically do IMPORT, EXPORT or BOTH | null |
SCHEMA_SYNC_CONFIG |
An additional config file to use in addition, eg. test_config.js |
null |
Contributions are welcome. Please open an issue or pull request.