-
Install Spring Boot CLI
-
Unzip/Untar it and add spring-1.5.7.RELEASE/bin to your path
spring init --artifactId=helloboot --groupId=com.example --dependencies=web,actuator --extractpackage com.example.helloboot;
import org.springframework.web.bind.annotation.GetMapping;
import org.springframework.web.bind.annotation.RestController;
/**
* Simple REST call that says from where its invoked from
*/
@RestController
public class HelloBootController {
@GetMapping("/whereami")
public String whereami() {
return String.format("Hello from %s", System.getenv().getOrDefault("HOSTNAME", "localhost"));
}
}./mvnw clean install spring-boot:runThe applicaiton can be accessed via browser like http://localhost:8080/whereami
(OR)
Simple curl curl http://localhost:8080/whereami ; echo ""
CRTL + C to stop the running application, if you have minishift running then do eval $(minishift docker-env) to setup required docker environment variables
./mvnw io.fabric8:fabric8-maven-plugin:3.5.30:setup (1)

./mvnw clean fabric8:deploy (2)-
Setup fabric8 maven plugin
-
Build and Deploy the application to Kubernetes
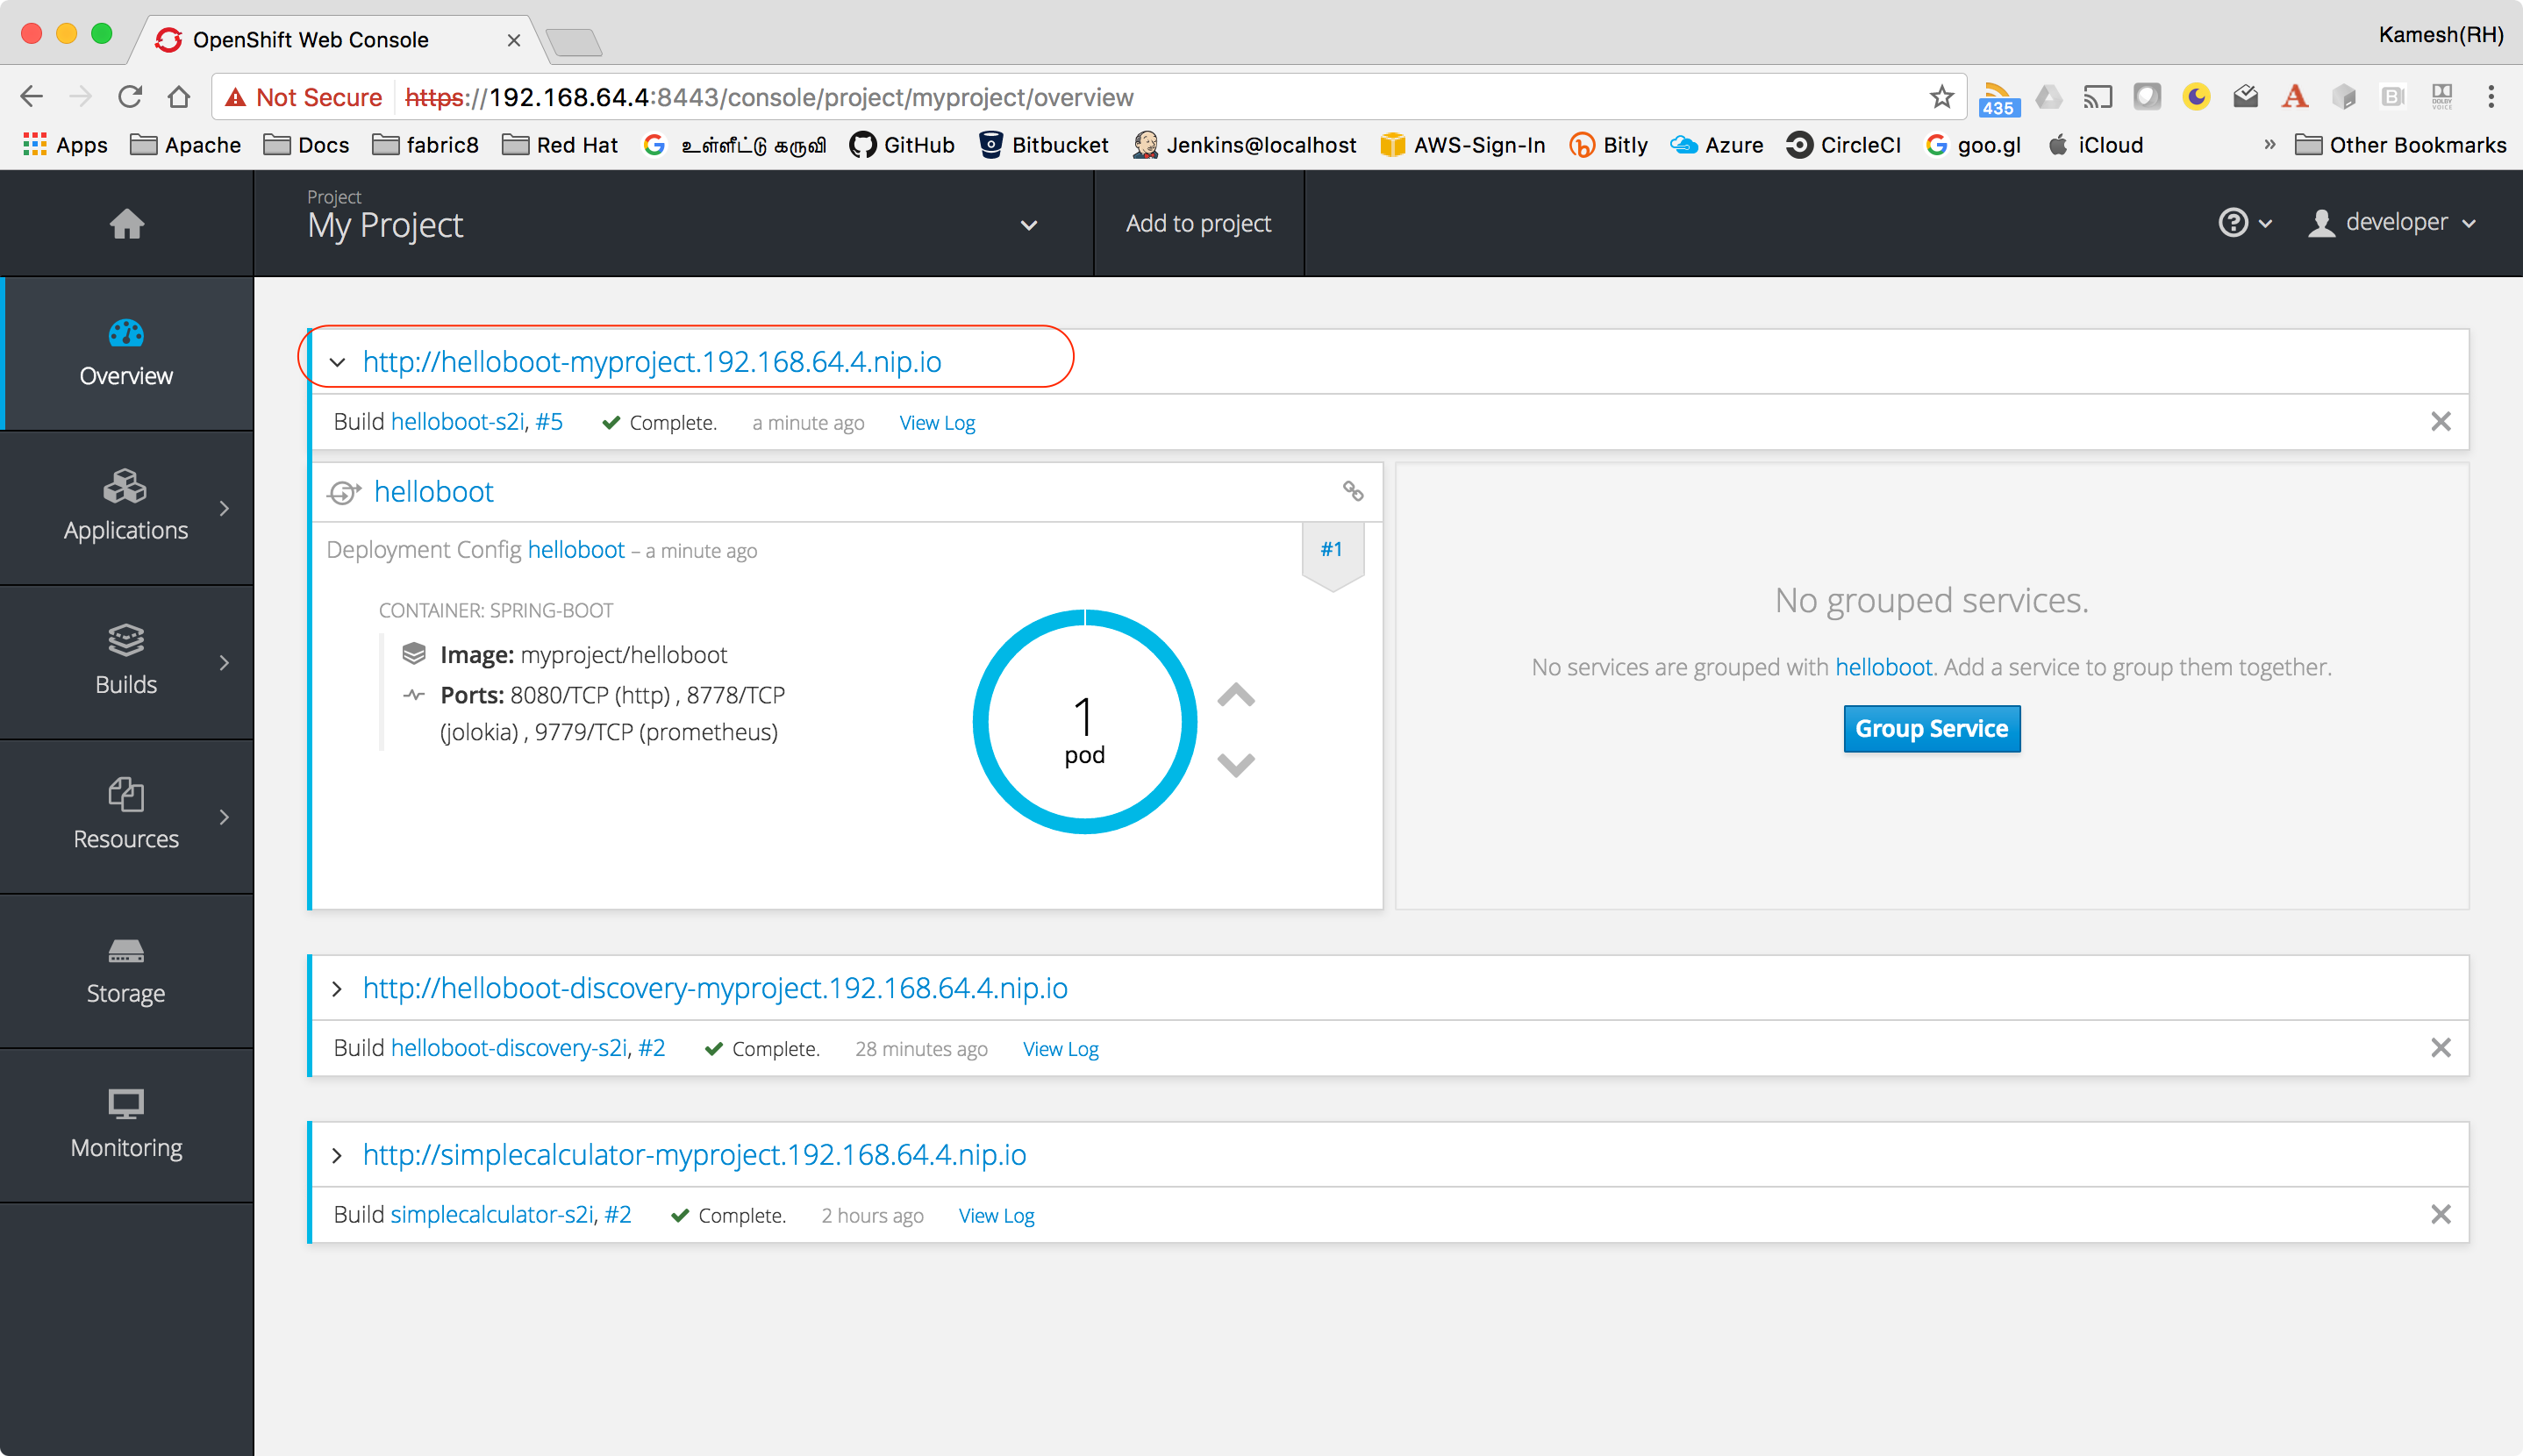
curl http://helloboot-myproject.$(minishift ip).nip.io/whereamiYou can view the URL from OpenShift console, and access the application via browser
message.prefix=Hello! (1)-
a simple prefix to the messages, we can then use this property for debug
package com.example.helloboot;

import org.springframework.web.bind.annotation.GetMapping;
import org.springframework.web.bind.annotation.RestController;

/**
 * Simple REST call that says from where its invoked from
 */
@RestController
public class HelloBootController {

    @GetMapping("/whereami")
    public String whereami(@Value("${message.prefix}") String prefix) { (1)
        return String.format("% from %s", prefix, System.getenv().getOrDefault("HOSTNAME", "localhost"));
    }
}-
Inject
prefixproperty fromapplication.properties
When we Deployed the application, the application will not be enabled for debug by default, to enable debug
we need to add an env variable JAVA_DEBUG_ENABLE to the deployment.
Copy and paste the following content to a file called deployment.yaml in $PROJECT_HOME/src/main/fabric8
[[source,yaml]
spec:
  template:
    containers:
      spec:
        - env:
          - name: JAVA_ENABLE_DEBUG (1)
            value: true
-
Sets the Environment variable to enable debugging
ReDeploy the application with JAVA_ENABLE_DEBUG enabled, once the application is deployed
successfully, run the following command
./mvw fabric8:debug (1)-
This will do port-forward the debug port from your Kubernetes/OpenShift pod to localhost. The default port of the debugger is
5005. The default debug port can be overridden usign the Java system propertyfabric8.debug.port
(e.g.)
./mvw fabric8:debug -Dfabric8.debug.port=6005Now you can connect to the Debugger with your favorite IDE
— END —
