Notes Sync Share is an Obsidian plugin that allows you to synchronize and share (publish) your notes to your own private service. With this plugin, you can easily sync your Obsidian notes to a self-hosted service and have full control over your data.
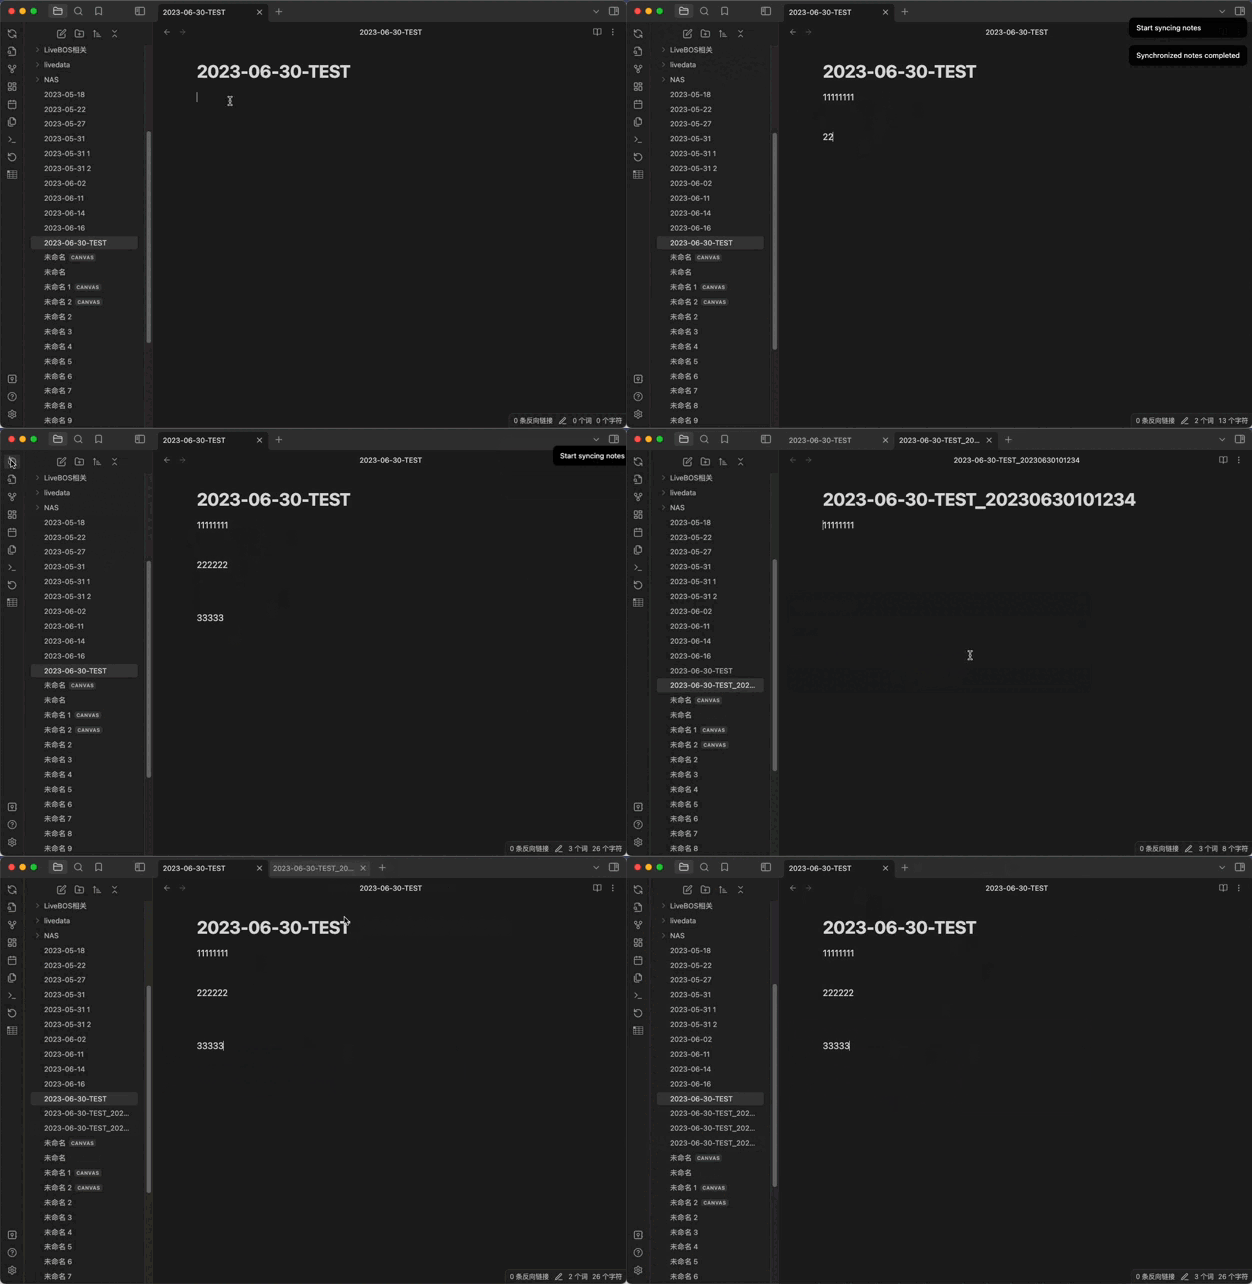
- Sync: Seamlessly sync your Obsidian notes to your private service. Your notes will always be up to date across multiple devices.
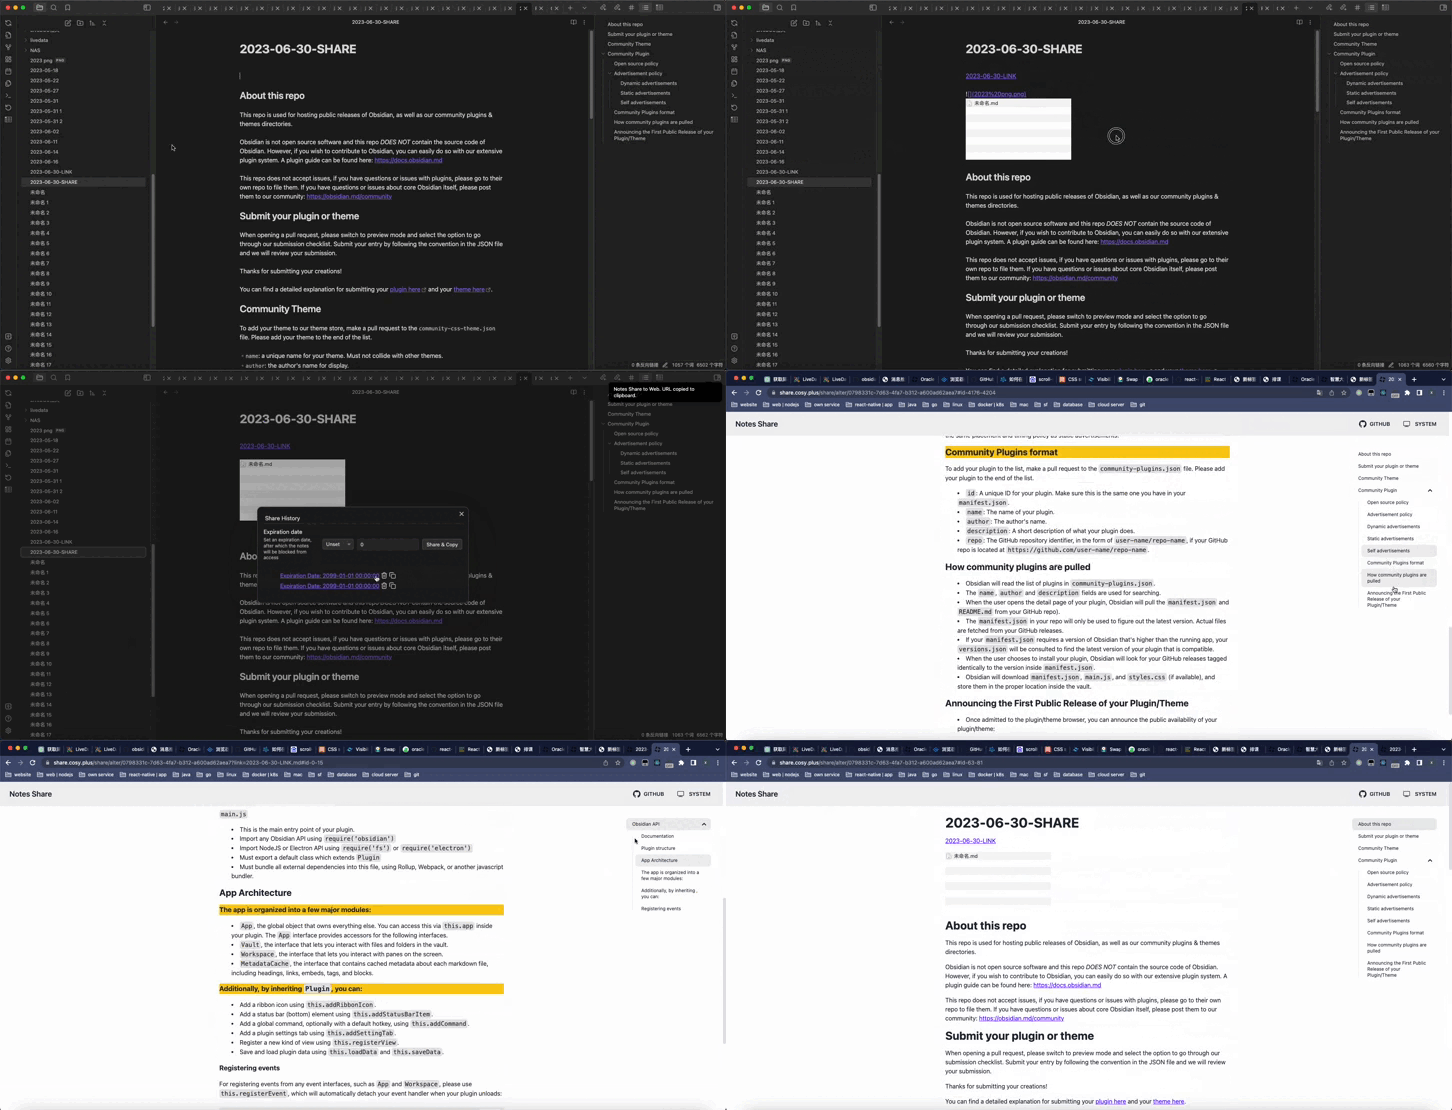
- Publish and Share: Easily publish and share selected notes to your private service. Share your knowledge with others or collaborate with teammates.
- Privacy and Control: Keep your notes secure and private. Your data is stored in your own self-hosted service, giving you full control over your information.
Note: Sync and share functions can be used independently, you can use only one of them, for example: just use the share function, and sync function using other obsidian plug-ins to complete is possible.
- Install the Notes Sync Share plugin in your Obsidian app.
- Deploy back-end services
- Configure the plugin settings with the URL and credentials of your private service.
- Choose the notes you want to sync or publish.
- Enjoy seamless synchronization and sharing of your notes.
Try the author's back-end service: https://share.alter.run, configure this address into your plugin.
Note: It is better to use your own deployed services for better privacy protection.
To quickly start the Obsidian Sync Share Server, execute the following command:
docker run -d \
--name obsidian-sync-share-server \
-p 80:8080 \
-v "/root/obsidian-sync-share-server/user_store:/app/user_store" \
alterzz/obsidian-sync-share-server
This command will start a container in the background, mapping port 80 on the host to port 8080 in the container, and mounting the /root/obsidian-sync-share-server/user_store directory on the host to the /app/user_store directory in the container.
docker run -d \
--name obsidian-sync-share-server \
-p 443:8080 \
-v "/root/obsidian-sync-share-server/user_store:/app/user_store" \
-v "/root/obsidian-sync-share-server/share.alter.run.jks:/app/cert.jks" \
-e server.ssl.key-store-type=JKS \
-e server.ssl.key-store=/app/cert.jks \
-e server.ssl.key-store-password=xxxx \
alterzz/obsidian-sync-share-server
This command allows you to specify additional parameters for configuring the server. Here's an explanation of each parameter:
- -p 443:8080: Maps port 443 on the host to port 8080 in the container. Modify the host port as needed.
- -v "/root/obsidian-sync-share-server/user_store:/app/user_store": Mounts the /root/obsidian-sync-share-server/user_store directory on the host to the /app/user_store directory in the container. Adjust the host directory path as required.
- -v "/root/obsidian-sync-share-server/share.alter.run.jks:/app/cert.jks": Mounts the share.alter.run.jks file on the host to the /app/cert.jks file in the container. Update the host file path accordingly.
- -e server.ssl.key-store-type=JKS: Sets the SSL key store type to JKS. Modify this if you are using a different type.
- -e server.ssl.key-store=/app/cert.jks: Specifies the location of the SSL key store file within the container. Adjust if necessary.
- -e server.ssl.key-store-password=xxxx: Sets the password for the SSL key store. Replace xxxx with the actual password.
limit memory
-e JAVA_OPTS=-Xmx512m
Modify the default branch name of git, which is master by default, The following example sets the default branch name to main
echo "[init] \n    defaultBranch = main" > ~/gitconfig_temp

docker cp ~/gitconfig_temp obsidian-sync-share-server:~/.gitconfig
Disable or allow automatic registration operations
# Creating a file named `registration_lock` and placing it in the same directory as the program will disable automatic registration.
docker exec obsidian-sync-share-server touch /app/registration_lock

# Deleting this file will allow automatic registration
docker exec obsidian-sync-share-server rm /app/registration_lock
Use your server ip or domain name to access your service, the port is the listening port configured in docker earlier
http://{your server ip}
or
https://{your server ip}
docker stop obsidian-sync-share-server
docker rm obsidian-sync-share-server

# rebuild
# ...

# view Log
docker logs obsidian-sync-share-serverplease visit the obsidian-sync-share-web.
please visit the obsidian-sync-share-server.
Please go to the plugin configuration page and configure the following configuration.
Note: Force push is used every time you sync
- Remote Git repository address
- Username and AccessToken
- Open the GitHub website and log in to your account.
- Click on your profile picture in the top right corner and select "Settings".
- In the left sidebar, choose "Developer settings".
- In the left sidebar, select "Personal access tokens".
- Click on "Generate new token".
- Enter a descriptive name in the "Note" field to remember the purpose of this access token.
- Select the desired permissions from the list (e.g., read repository, write repository, etc.).
- Click "Generate token" at the bottom of the page.
- Copy the generated access token.
- Open the GitLab website and log in to your account.
- Click on your profile picture in the top right corner and select "Settings".
- In the left sidebar, choose "Access Tokens".
- Enter a descriptive name in the "Name" field to remember the purpose of this access token.
- In the "Scopes" section, select the desired permissions (e.g., API, repositories, etc.).
- Click "Create personal access token" at the bottom of the page.
- Copy the generated access token.
Q: Delete files: /app/user_store/{username}/sync_lock can be unlocked manually. The above is the path for docker deployment. If it is deployed manually, please search for the file in the directory you specified manually.
If the problem occurs again after unlocking, it means there is a problem in your synchronization process. A common situation is that when using a reverse proxy (nginx), the uploaded file size exceeds the limit when using the default configuration. There may also be other problems, you can use docker logs obsidian-sync-share-server to view the error stack. If it is convenient, you can send it to me and I will analyze the specific problem.
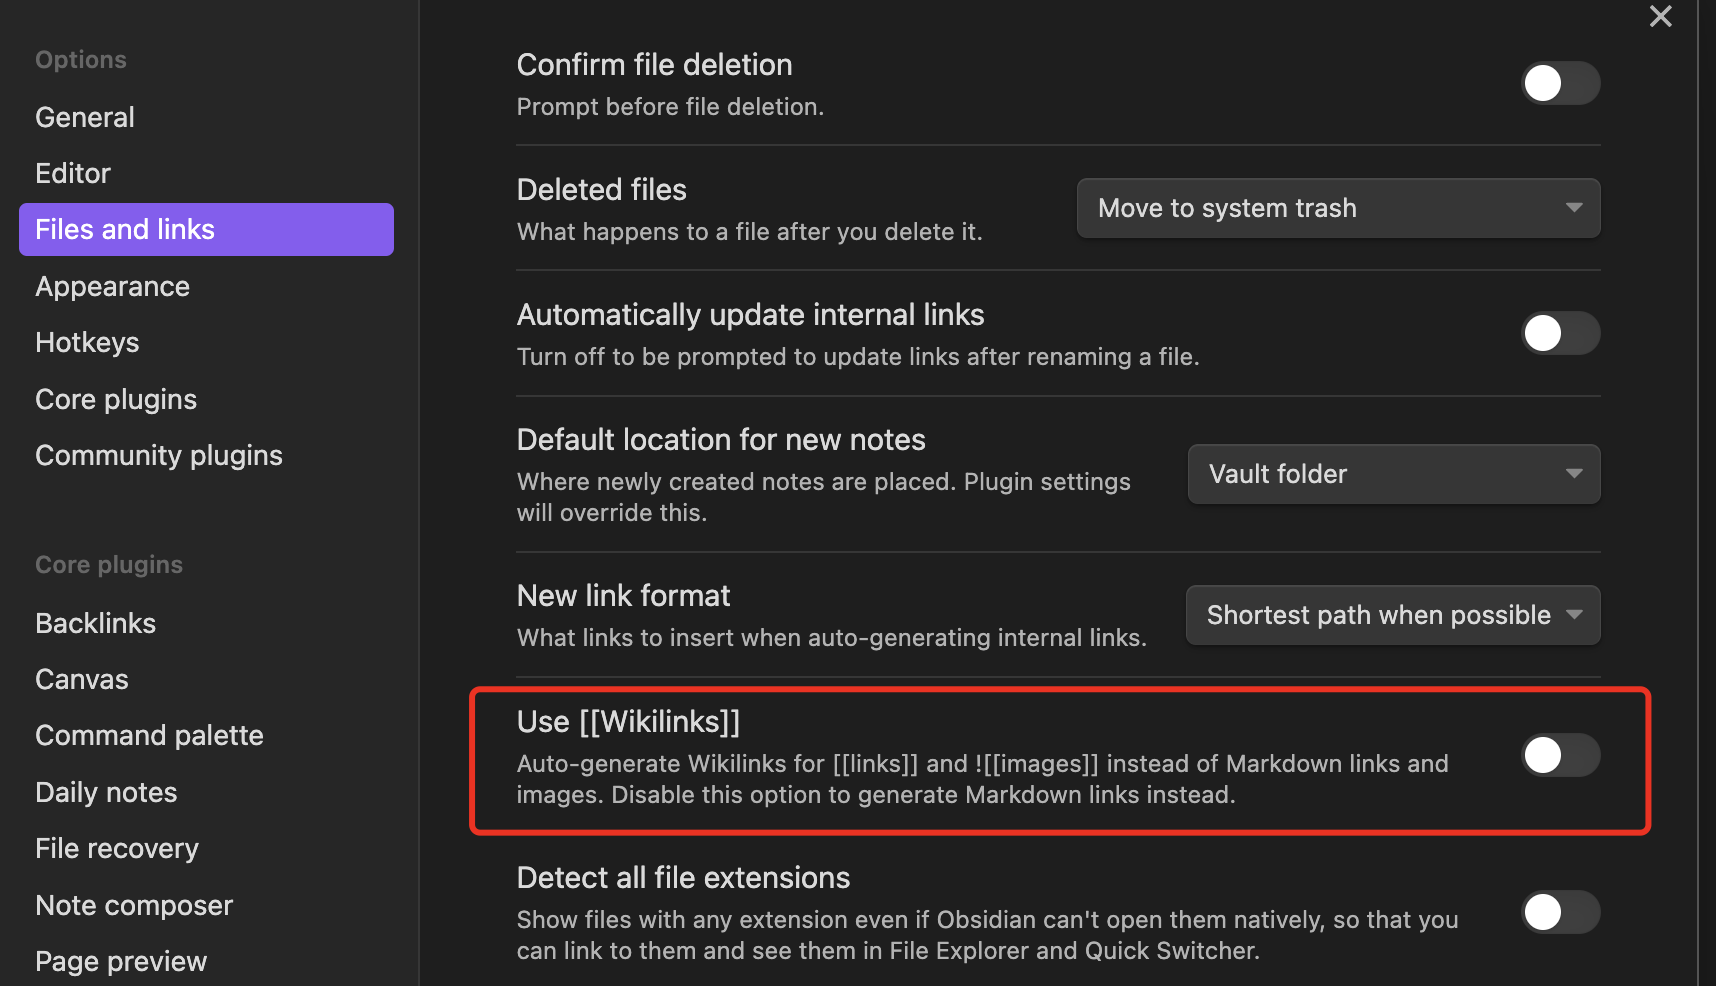
Q: Don't use wikilinks
If you encounter any issues, have suggestions, or would like to contribute to the development of Notes Sync Share, please visit the GitHub repository. Your feedback and contributions are highly appreciated.
This plugin is released under the MIT License.
Notes Sync Share is not affiliated with or endorsed by Obsidian or the Obsidian team. It is an independent plugin developed by Alt-er.


