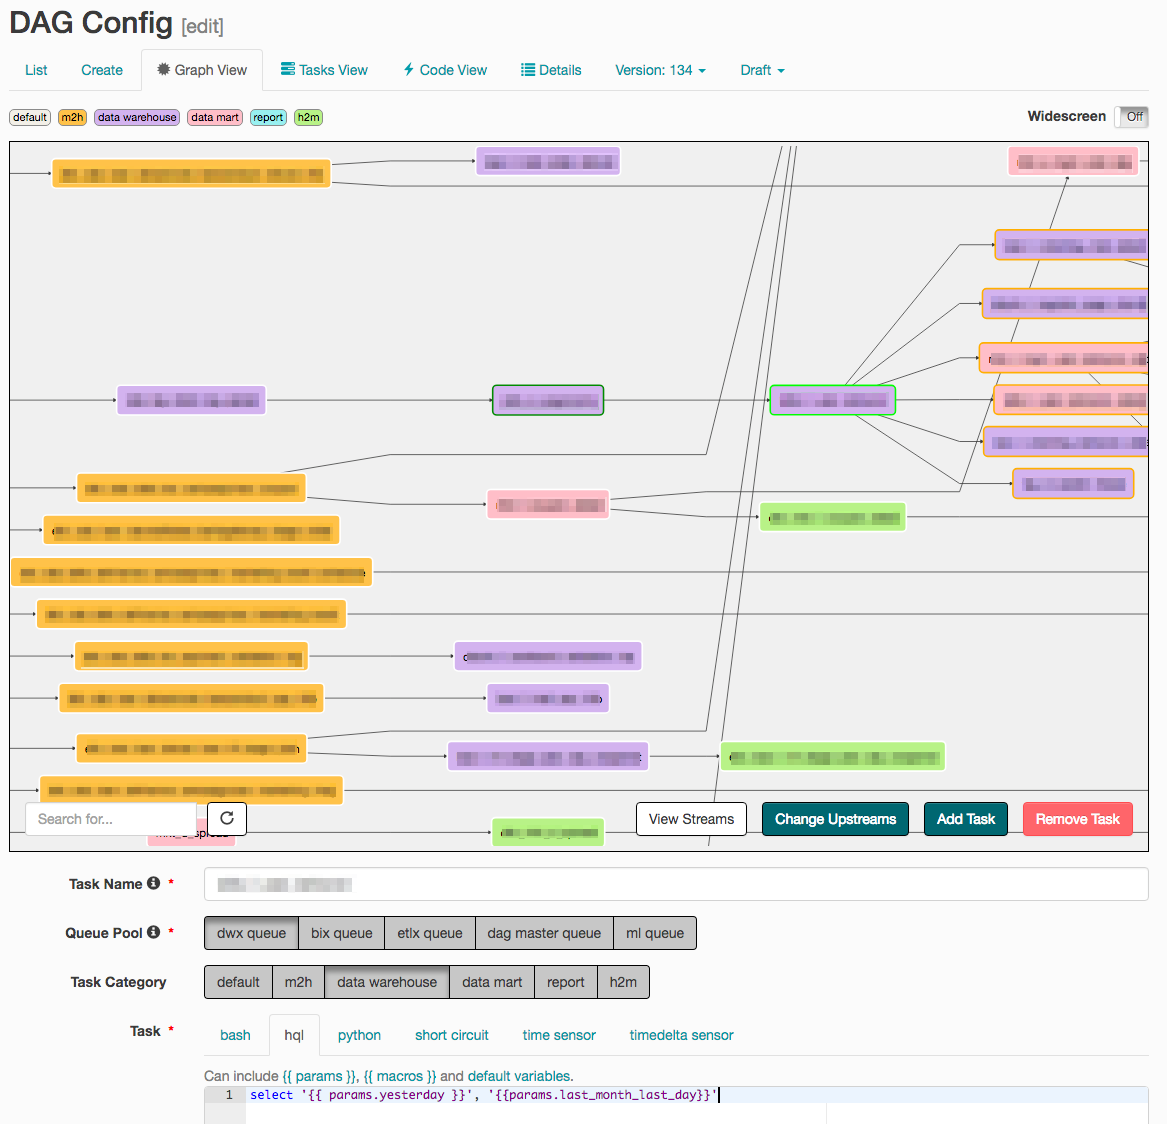
A plugin for Apache Airflow that create and manage your DAG with web UI.
The plugin also provide other custom features for your DAG.
Caution: You can only list and edit your DAG created by DAG Creation Manager.
- Airflow Versions
- 1.X
-
Create the plugins folder if it doesn't exist.
-
The location you should put it is usually at {AIRFLOW_HOME}/plugins. The specific location can be found in your airflow.cfg file:
plugins_folder = /home/{USER_NAME}/airflow/plugins
-
-
Download the code
-
ULR to Download From:
https://github.com/lattebank/airflow-dag-creation-manager-plugin/archive/master.zip
-
-
Unzip the file and move the contents of the plugins folder into your Airflow plugins directory
unzip airflow-dag-creation-manager-plugin-{RELEASE_VERSION_OR_BRANCH_NAME}.zip cp -r airflow-dag-creation-manager-plugin-{RELEASE_VERSION_OR_BRANCH_NAME}/plugins/* {AIRFLOW_PLUGINS_FOLDER} -
Append the following content to the end of the {AIRFLOW_HOME}/airflow.cfg file to give you control over execution:
[dag_creation_manager] # see https://github.com/d3/d3-3.x-api-reference/blob/master/SVG-Shapes.md#line_interpolate # DEFAULT: basis dag_creation_manager_line_interpolate = basis # Choices for queue and pool dag_creation_manager_queue_pool = your_queue_pool_name1:your_queue1|your_pool1,your_queue_pool_name2:your_queue2|your_pool2 # MR queue for queue pool dag_creation_manager_queue_pool_mr_queue = your_queue_pool_name1:your_mr_queue1,your_queue_pool_name2:your_mr_queue2 # Category for display dag_creation_manager_category = custom # Task category for display dag_creation_manager_task_category = custom_task:#ffba40 # Your email address to receive email # DEFAULT: #dag_creation_manager_default_email = your_email_address #dag_creation_manager_need_approver = False #dag_creation_manager_can_approve_self = True -
(Optional) Use dag creation manager password auth
-
Note: This is not required, You can use your own auth backends a. Under the [webserver] section, change the following configs:
  authenticate = True

  auth_backend = dcmp.auth.backends.password_auth
-
-
Upgrade database
python {AIRFLOW_PLUGINS_FOLDER}/dcmp/tools/upgradedb.py -
Restart the Airflow Web Server
Once you deploy the plugin and restart the web server, you can start to use the DAG Creation Manager. When you reload the Airflow Web Server page, you will see a link under the Admin tab called "DAG Creation Manager". Clicking on the link will navigate you to the following URL:
http://{AIRFLOW_HOST}:{AIRFLOW_PORT}/admin/dagcreationmanager/list
Now, you can create and manage your DAG in this web page. Enjoy!
