Layer is a VScode extension that helps in smart contract interaction right from the window of VScode. This is a core manager extension that can be used to activate and manage the other extensions present in its ecosystem.
Layer solidity is the first extension that can be activated and managed by Layer.
VisualStudio Marketplace - https://marketplace.visualstudio.com/items?itemName=Chaintown.layer-manager
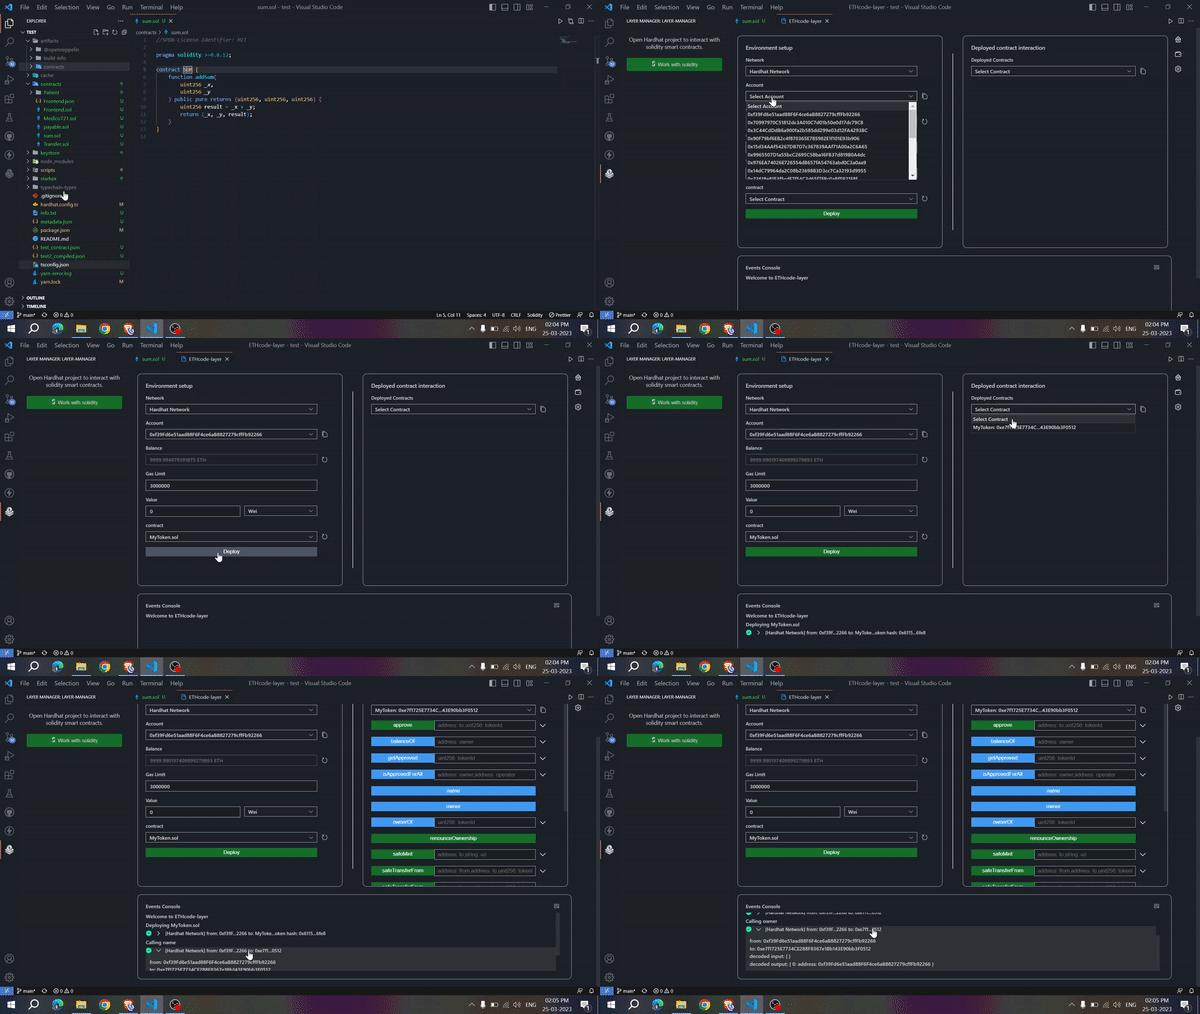
Layer is designed to provide easy to use interface for a smart contract developer to interact with a smart contract compiled in any framework quickly. To interact with the smart contracts written in solidity follow the below guide:
To interact with the smart contracts written in the solidity Layer use the Layer solidity extension. Currently, Layer solidity extension supports only Hardhat compiled contracts. Other framework support will be rolled out soon.
But for now, you can only interact with solidity smart contracts compiled using Hardhat using Layer solidity. To start interacting with smart contracts open your hardhat project and fellow the below steps:
-
Activate the extension: Activate the extension by clicking on the extension icon visible in the activity bar. ****
A button with the title
work with soliditywill be shown in the sidebar to activate the Layer solidity extension. Click on this button to start working with smart contracts written in solidity. -
Select Network: Select the Network on which you want to deploy the smart contract and execute the functions available in the smart contracts.
-
Select Ethereum address: This will help in signing the transactions while performing smart contract deployment and execution.
Unlock the account it will help in signing the transactions because all the accounts are password protected.
if no account is available follow this guide to create a new one before going forward.
-
Deploy compiled contract: All the compiled smart contracts that are present in the
artifacts/contractsfolder will be visible in the dropdown.if no complied contract is present then compile the contract using
npx hardhat compileand then click on the refresh button.Then select the smart contract that you want to deploy on the selected network. pass all the required constructor parameters if present.
click on deploy.
-
Select deployed contract: Select the deployed contract from the dropdown that is deployed on the selected network.
All the functions that are available in the smart contracts will be visible after selecting the contract. Just enter the required parameter in the input and click on the
functionNamebutton to execute the function.
Accounts are a very essential feature to sign and create transactions for smart contract deployment and execution. Layer accounts can be created in three ways:
-
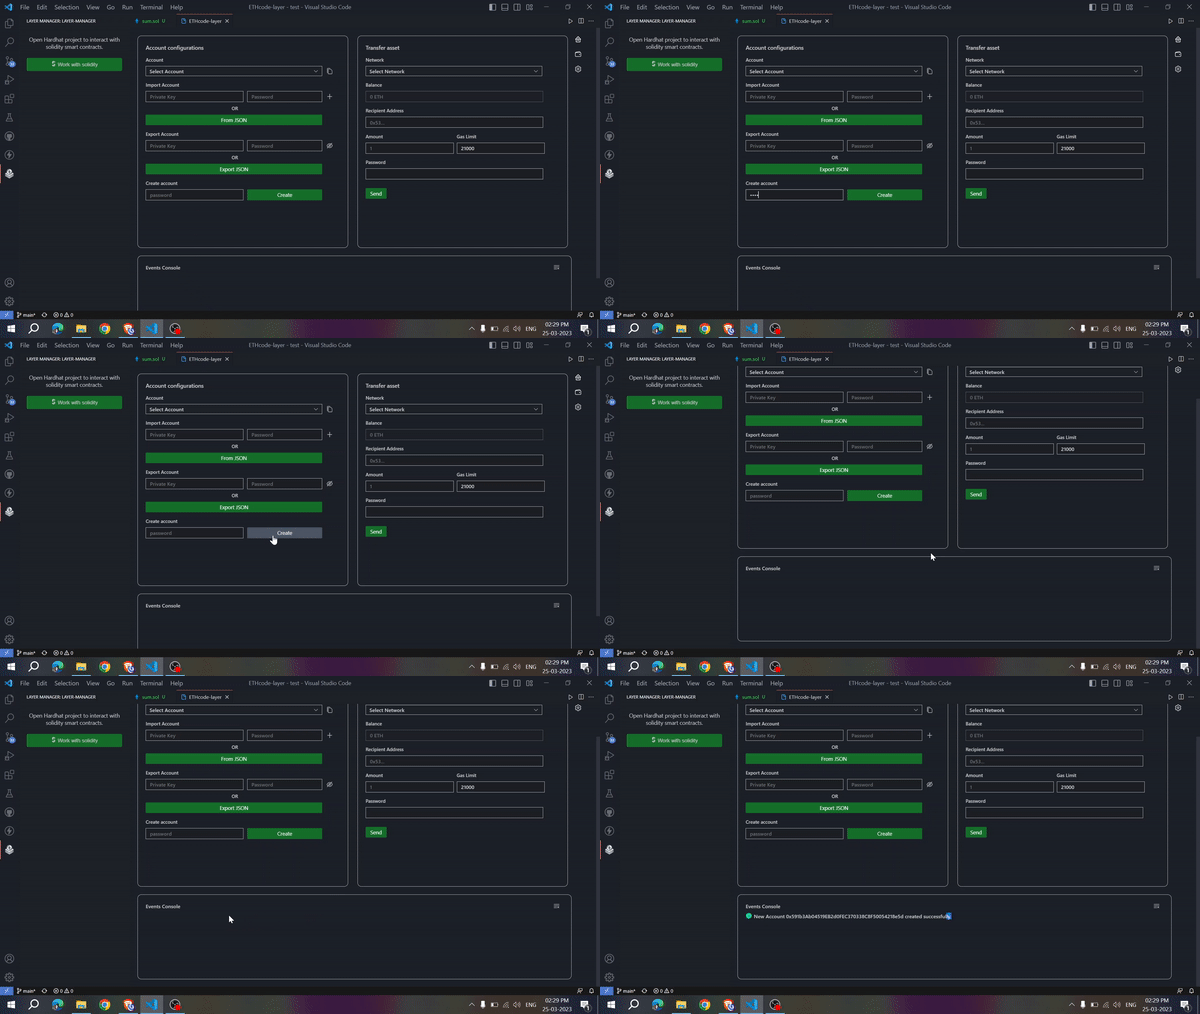
Create New Account: You can create a new account by just entering the password. This will make your account password protected to prevent transaction signing from bad actors.
Enter the password to create a new account in
create accountsection of the wallet page. After entering the password click on thecreatebutton. -
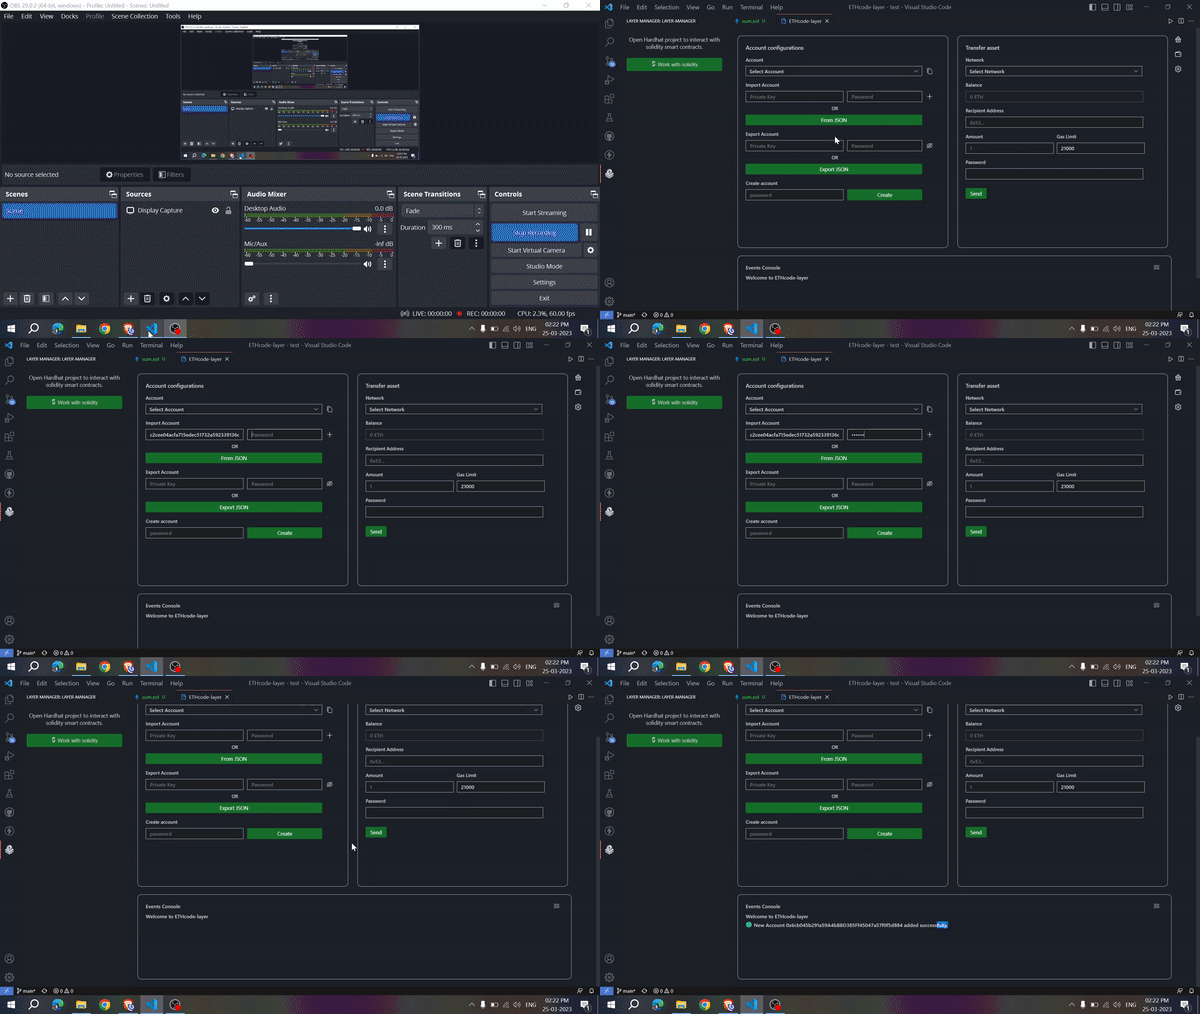
Import account using private key: Accounts that you use on other wallets like metamask can also be used in the extension to interact with the smart contracts. Accounts can be imported by just pasting the private key in the
import accountsection of the wallet page.After entering the private key you have to make your account password protected to prevent transaction signing from bad actors.
After entering the password click on the
+button to add the new account to the extension environment. -
Import using keystore file:
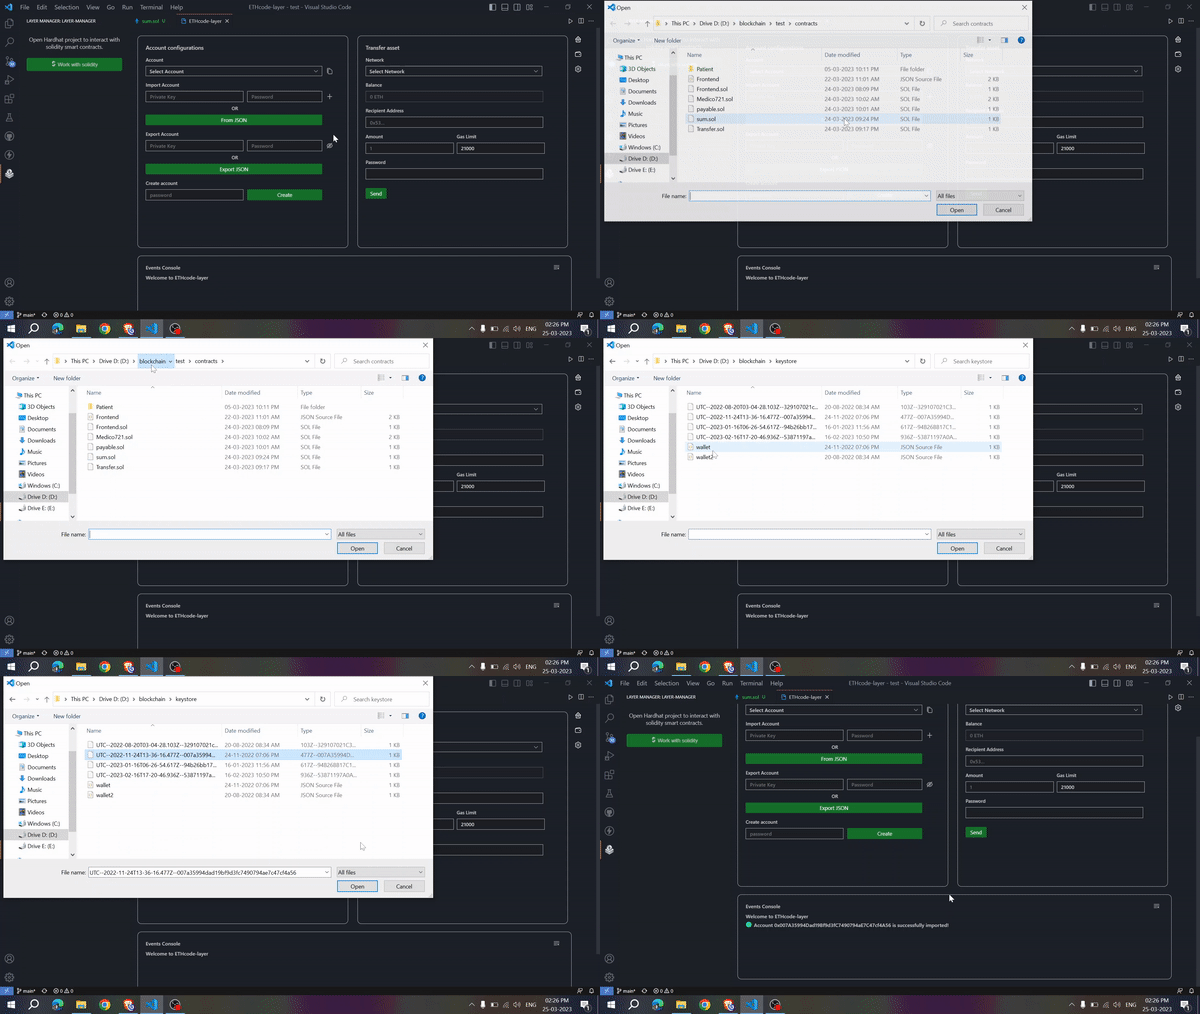
Layerfollows the account standard that is used by Geth. You can also import your account by using the Keystore file.To import an account that is available as keystore click on the
From JSONbutton in the import account section and select the keystore file.
Ethereum addresses that you are using on the Layer can also be exported. This will help in using the same account on other wallets too.
Accounts can be exported in two ways:
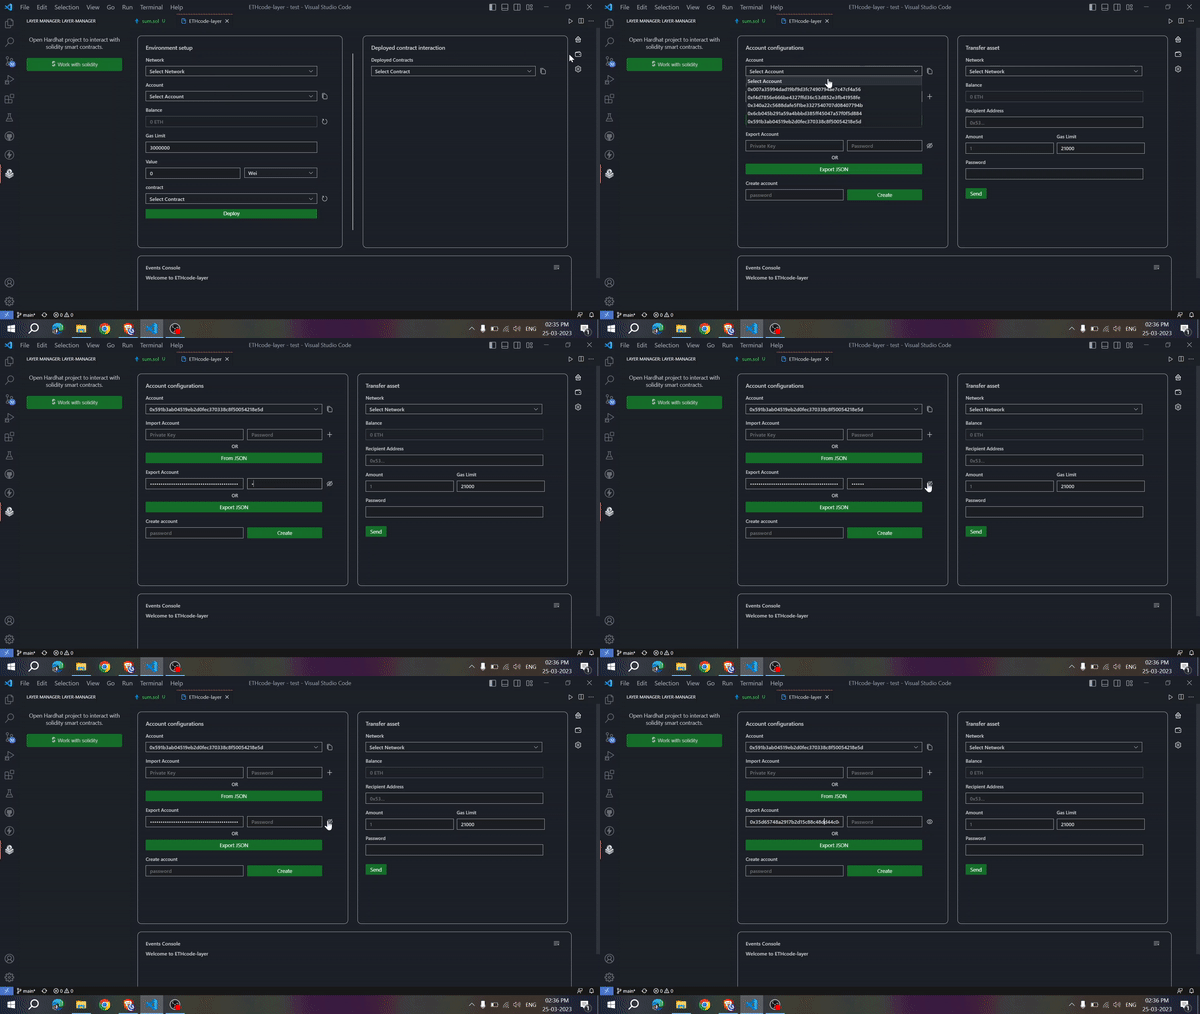
- Export private key: To export the account private key just select the account on the wallet page. ****After selecting the account just enter the account password in the
Export accountsection of the wallet then click on the button to see the private key.
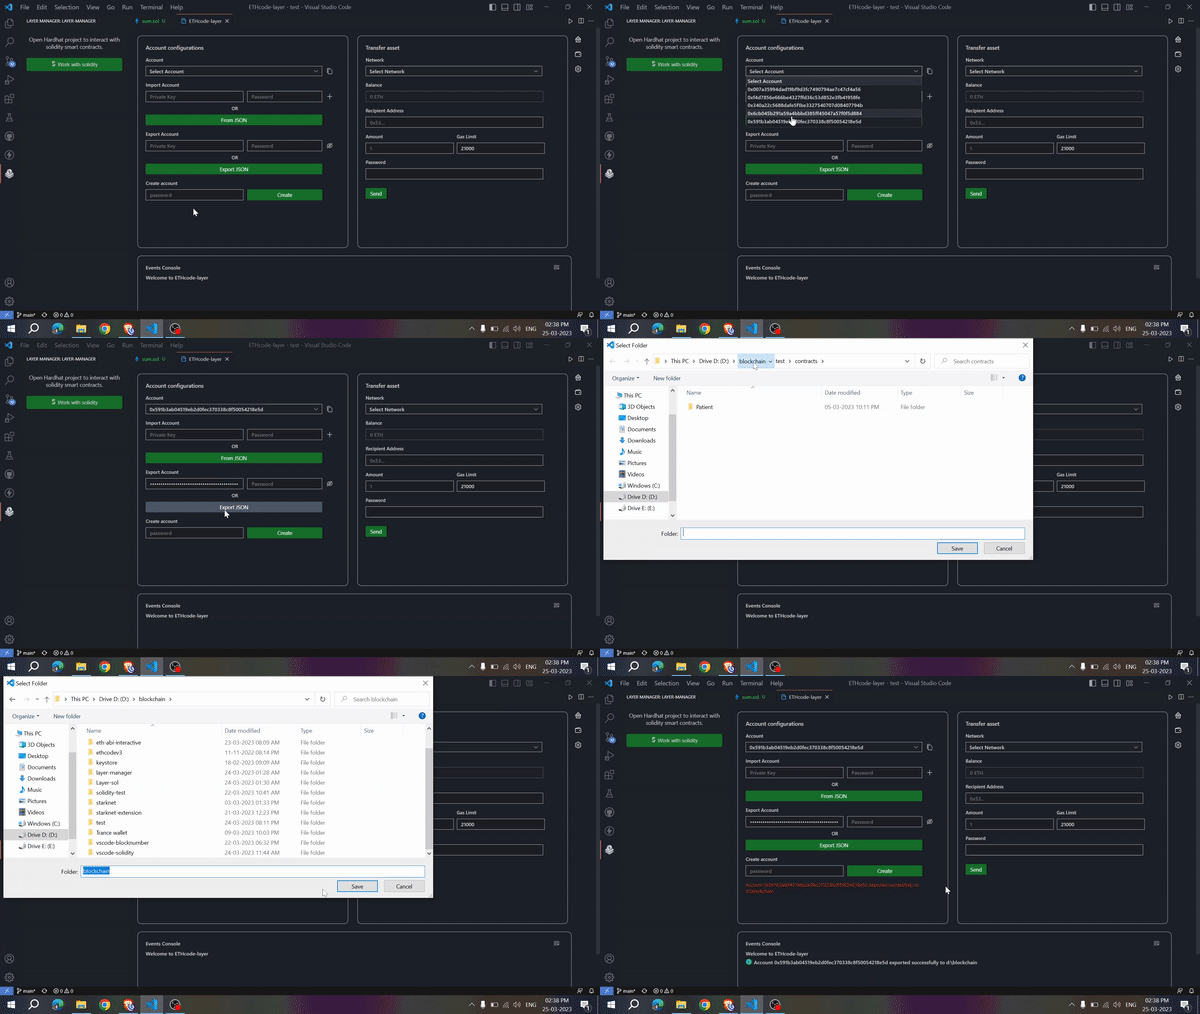
- Export Keystore file: To export the account in keystore format click on
Export JSONbutton and then select the directory in which you want to save the keystore file.
Layer provide default supports for Ethereum, Goerli testnet, Sepolia testnet, Polygon mainnet, Polygon Mumbai, Hardhat Network, Ganache Network networks.
But you can also add other networks to interact with smart contracts. To add other networks in the extension environment follow the below steps:
- Navigate to the settings page.
- Select
Add New Networkbutton on the left panel. - After clicking add the new network configurations like
Network name, rpc url, blockscanner url, chainId, token symbol, token decimalon the left panel. - click the
savebutton.
The new network will be added to the extension environment and you are fully prepared to interact with your solidity smart contract on the new network.
Note: You can also replace rpc url of default networks with your custom Infura or Alchemy rpc url to make contract interaction faster.
