This project illustrates using API Logic Server with Docker and docker-compose. The objective is to provide a simple way to explore using docker with API Logic Server on your local machine. These are not production procedures - they are designed for simple local machine operation.
This doc explains:
-
I. Creating the project - create the project from a docker database and run under the IDE
-
II. Running the project as an image - create and run an image
-
III. Running the project as a docker-compose - build, deploy and run
-
IV. Status, Open Issues (eg, not working on windows)
This presumes you have Python, and docker.
Stop the docker-compose container, if it is running.
Install the current (or preview) release. Use the ApiLogicServer command to verify the version > 9.1.33.
Follow this procedure to obtain the empty project from git:
# git clone https://github.com/ApiLogicServer/docker-compose-mysql-classicmodels.git
# cd docker-compose-mysql-classicmodels
Follow the directions in the readme.
Follow the steps below:
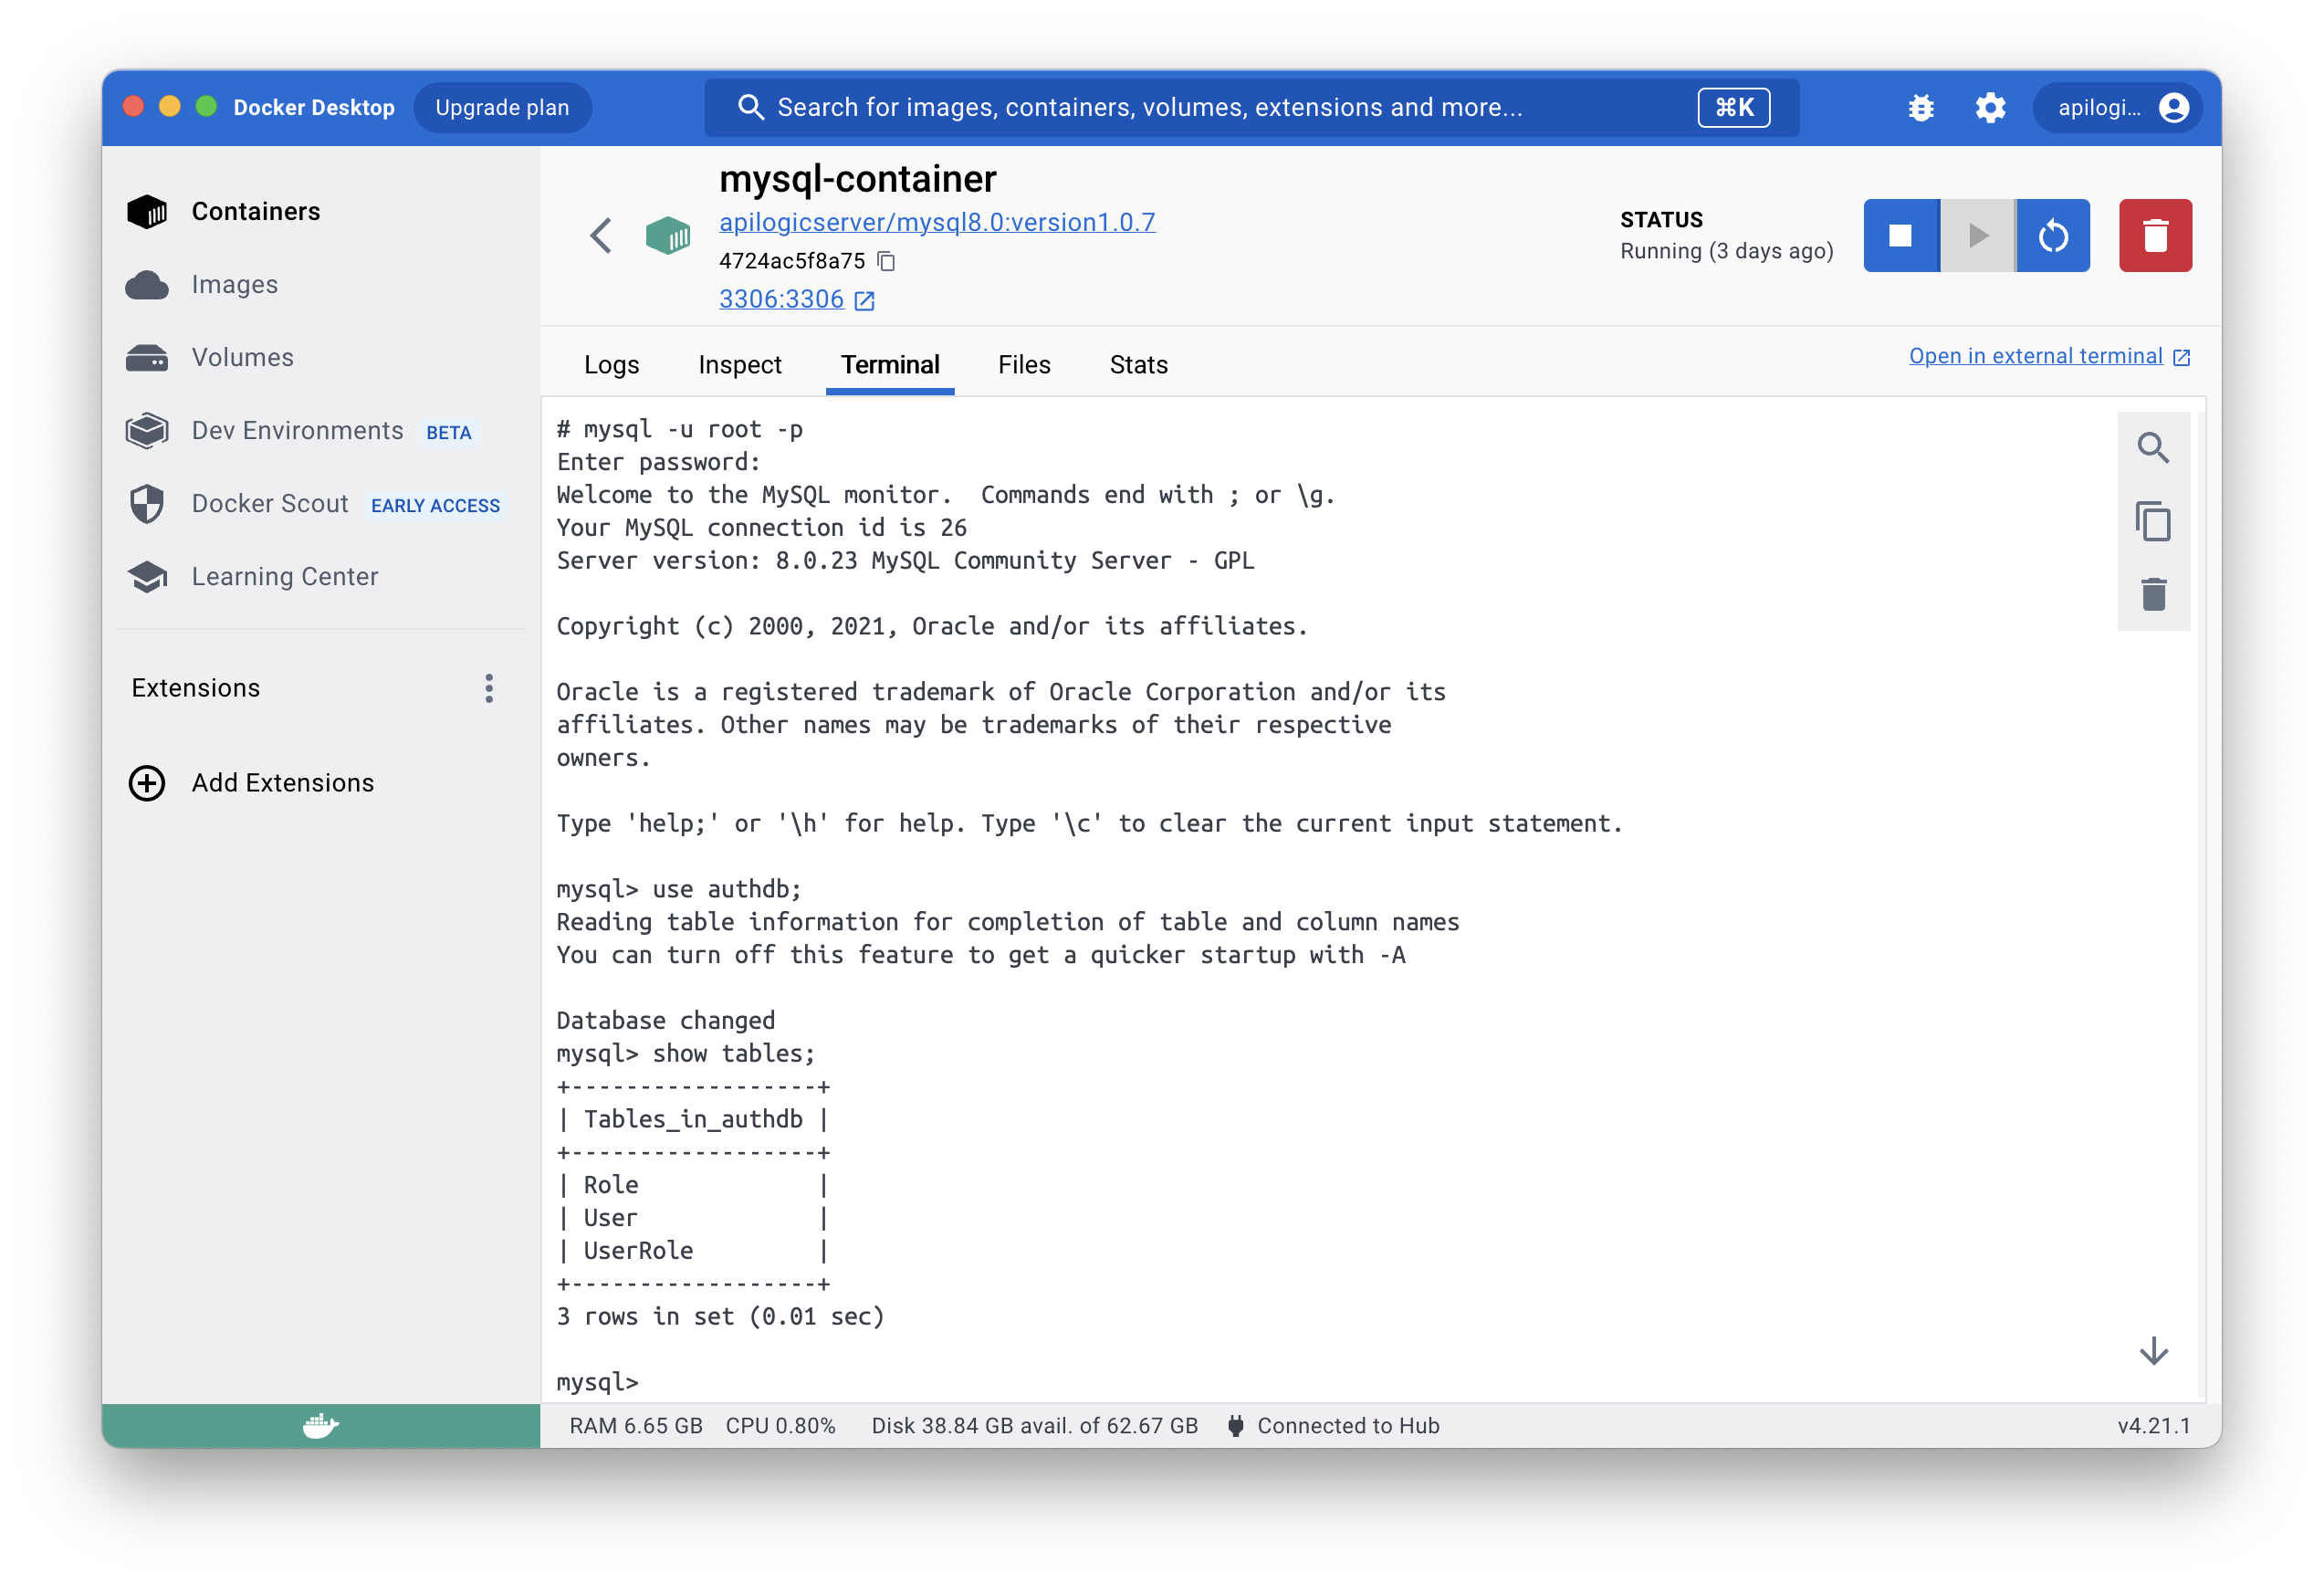
docker run --name mysql-container --net dev-network -p 3306:3306 -d -e MYSQL_ROOT_PASSWORD=p apilogicserver/mysql8.0:latestVerify it looks like this:
Create the project with API Logic Server:
ApiLogicServer create --project_name=. --db_url=mysql+pymysql://root:p@localhost:3306/classicmodels
The project should be ready to run without customization:
- Open the project in VSCode
-
Establish your (possibly preview) virtual environment
-
Press F5 to run the server
-
Run the Admin App, and Swagger. Verify that
customersreturns data.
Stop the server.
Open a new terminal window in VSCode:
The current terminal window has an old copy of the project root. If you try to run, you will see *No such file or directory". Just open another terminal window and repeat the command.
ApiLogicServer add-auth --project_name=. --db_url=mysql+pymysql://root:p@localhost:3306/authdbRe-run the project (F5), observe you need to login (admin, p).
First, stop the server.
For preview versions, verify
devops/docker-image/build_image.dockerfileis usingapilogicserver/api_logic_server_x(note the _x).
sh devops/docker-image/build_image.sh .
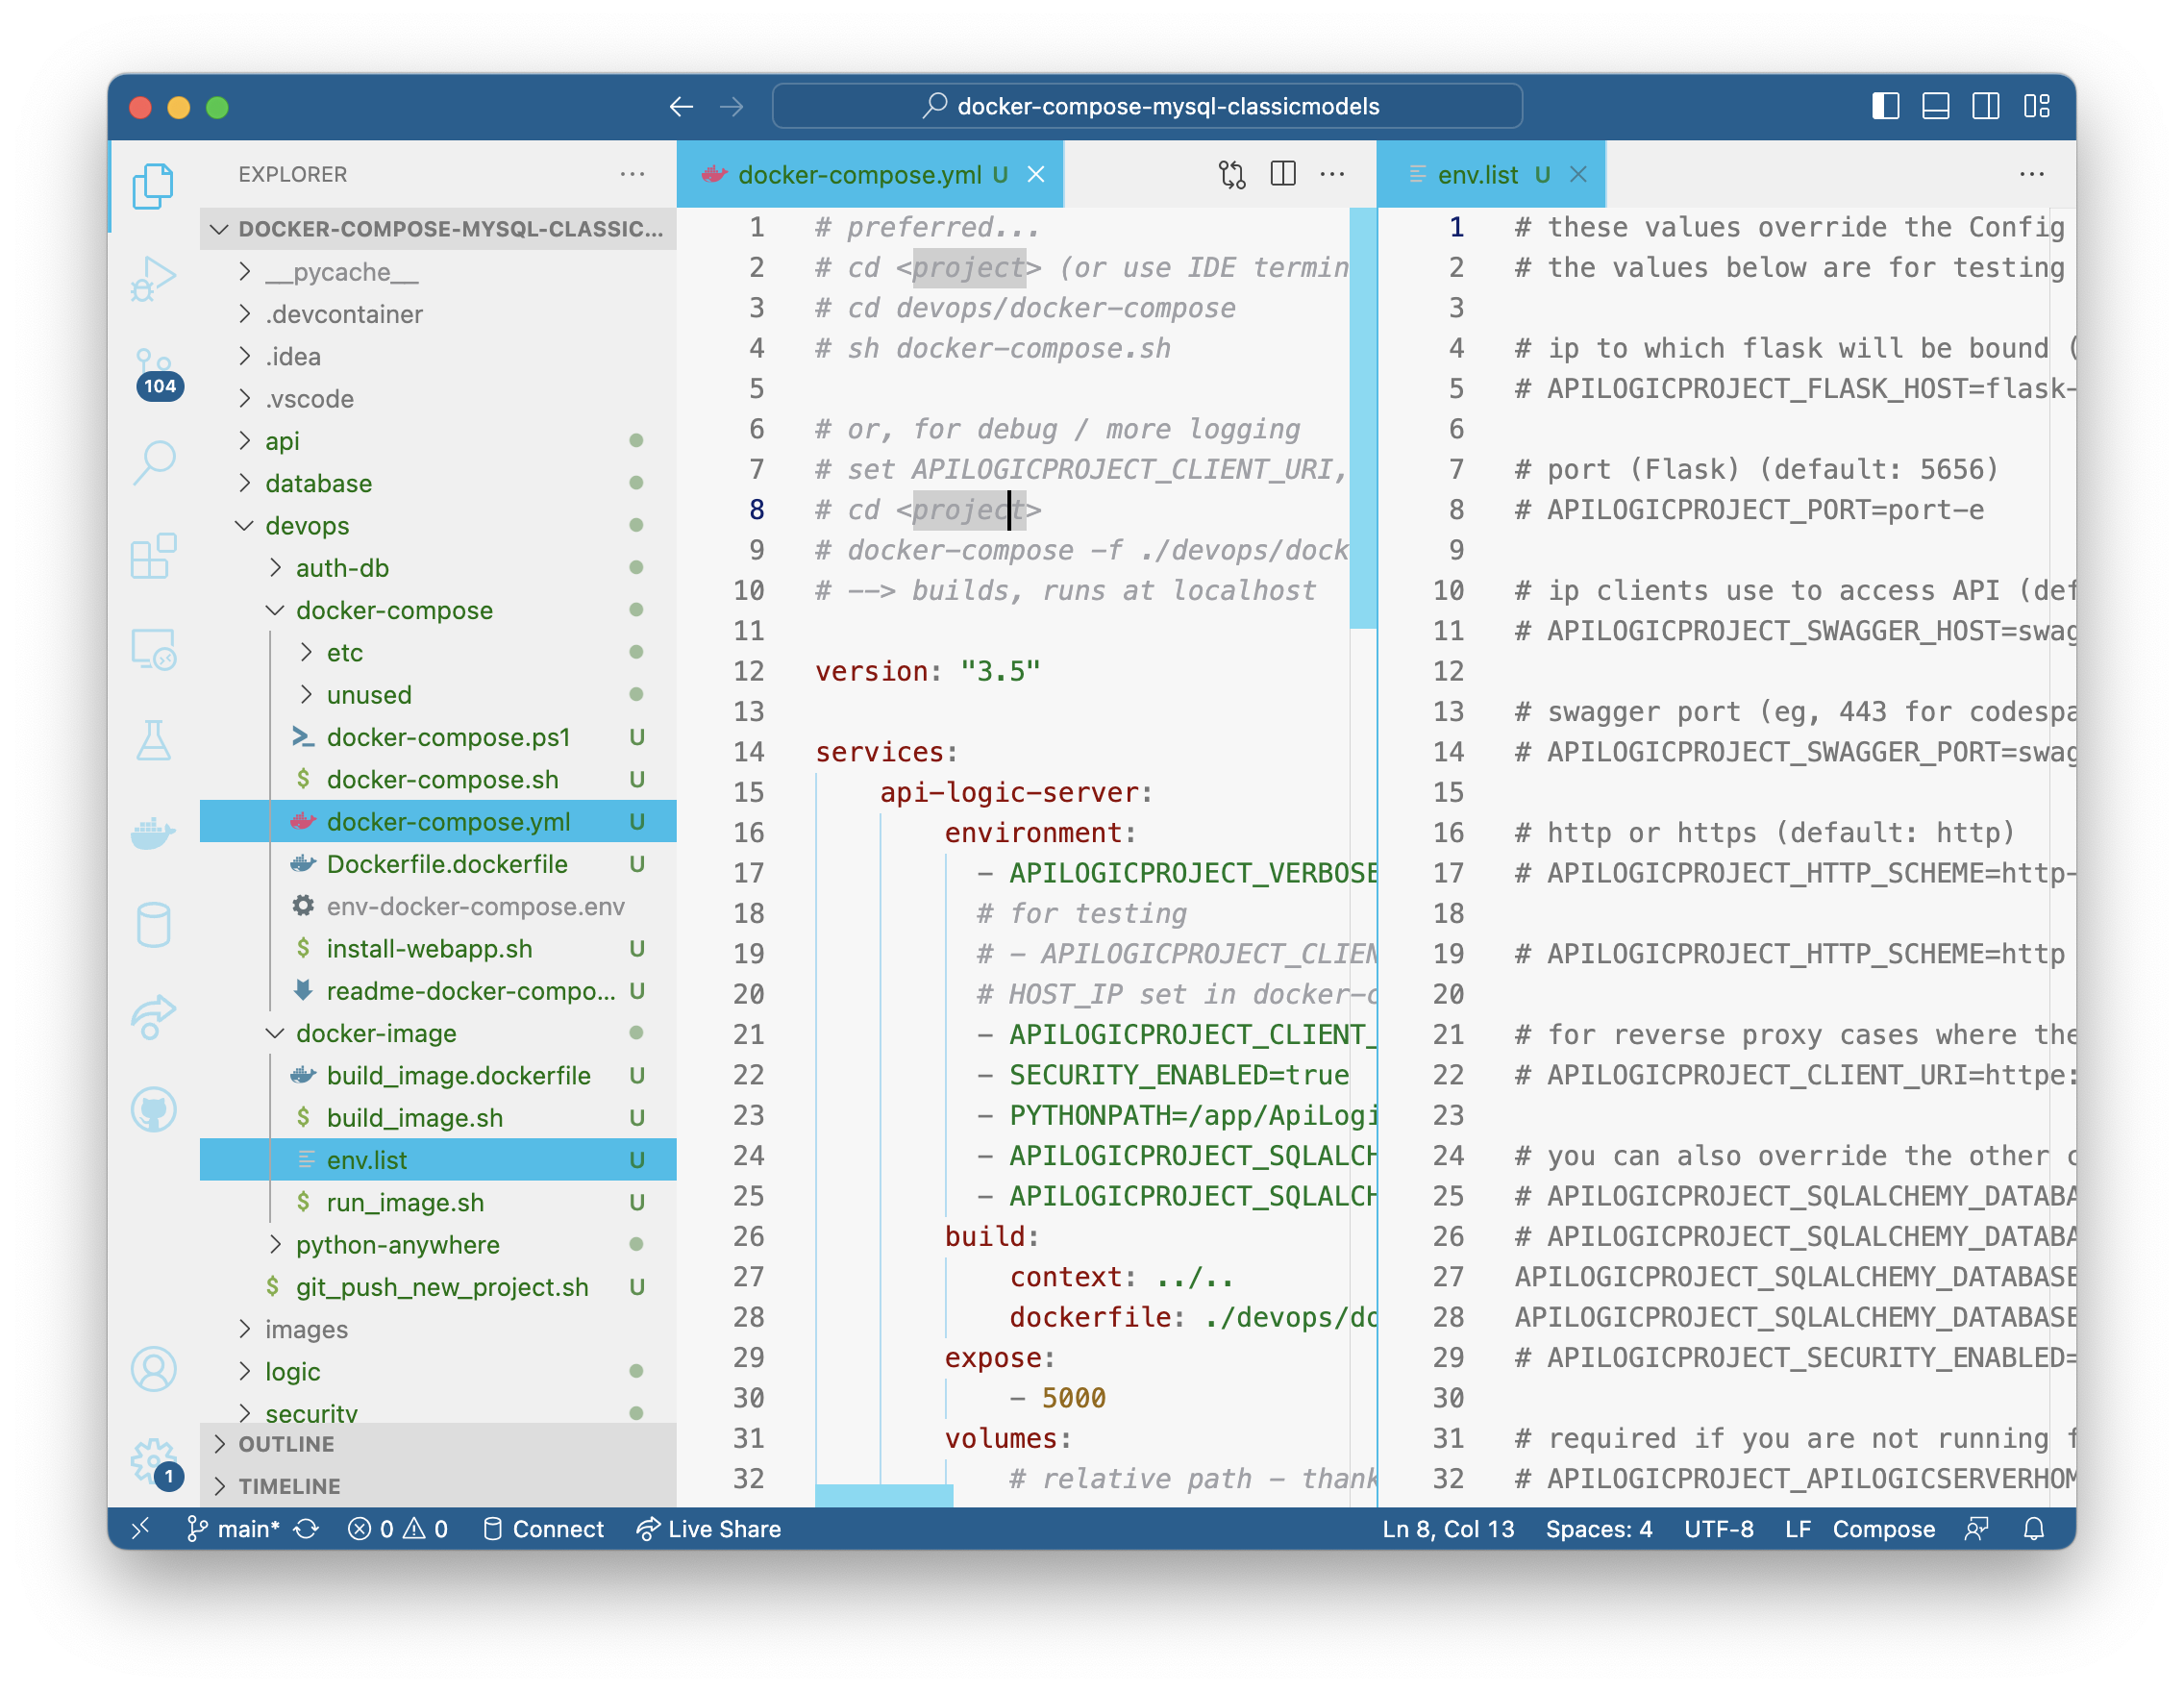
When run from a container, the database uri using localhost (from above) does not work. Confirm the following in devops/docker-image/env.list:
APILOGICPROJECT_SQLALCHEMY_DATABASE_URI=mysql+pymysql://root:p@mysql-container:3306/classicmodels
APILOGICPROJECT_SQLALCHEMY_DATABASE_URI_AUTHENTICATION=mysql+pymysql://root:p@mysql-container:3306/authdb
Use the pre-created command line script:
sh devops/docker-image/run_image.sh
Run the Admin App, and Swagger.
You can also run the Authentication Administration App to define users and roles (though not required).
This procedure build the image dynamically.
Alternatively, you can edit the devops/docker-compose/docker-compose.yml file to use the image built in the prior step.
Press ctl-C to stop the API Logic Project container.
The procedure below will spin up another database container. If the current database container is running, you will see port conflicts.
Stop the database container (e.g., using Docker Desktop).
The git project does not store these files, so you must obtain them:
sh devops/docker-compose/install-webapp.sh
Open devops/docker-image/docker-compose.yml, and observe:
    mysql-service:
        image: apilogicserver/mysql8.0:latest
        restart: always
        environment:
            # MYSQL_DATABASE: 'db'
            # So you don't have to use root, but you can if you like
            - MYSQL_USER=root
            # You can use whatever password you like
            - MYSQL_PASSWORD=p
            # Password for root access
            - MYSQL_ROOT_PASSWORD=p
        ports:
            # <Port exposed> : <MySQL Port running inside container>
            - '3306:3306'
        expose:
            # Opens port 3306 on the container
            - '3306'
The following will build, deploy and start the container stack locally:
# sh devops/docker-compose/docker-compose.sh # windows: .\docker-compose.ps
Then, in your browser, open localhost.
The shell script above simply obtains your IP address, and stores in in an env file for server.
Alternatively, you can enter your port into devops/docker-image/env-docker-compose.env.
Then, use the following to build, deploy and start the default container stack locally:
# docker-compose -f ./devops/docker-compose/docker-compose.yml --env-file ./devops/docker-compose/env-docker-compose.env up
Then, in your browser, open localhost.
The database contains authdb. To activate security, observe devops/docker-compose/docker-compose.yml:
-
Set
- SECURITY_ENABLED=true -
Under api-logic-server-environment, observe:
- APILOGICPROJECT_SQLALCHEMY_DATABASE_URI_AUTHENTICATION=mysql+pymysql://root:p@mysql-service:3306/authdb
Under construction
Steps to create:
az login
you will be redirected to a browser login page
and then you will see your account information in the CLI
az container create --resource-group <resource group name> --name postgresql-container --image apilogicserver/postgres:latest --dns-name-label postgresql-container --ports 5432 --environment-variables PGDATA=/pgdata POSTGRES_PASSWORD=paz container show --resource-group <resource group name> --name postgresql-container --query "{FQDN:ipAddress.fqdn,ProvisioningState:provisioningState}" --out table
az container create --resource-group <resource group name> --name <container name> --image <docker hub registry name>/<repository name>:<version> --dns-name-label <container name> --ports 5656 5002 --environment-variables SECURITY_ENABLED=True PYTHONPATH=/app/ApiLogicProject APILOGICPROJECT_SQLALCHEMY_DATABASE_URI=postgresql://postgres:p@postgresql-container.centralus.azurecontainer.io:5432/postgres APILOGICPROJECT_SQLALCHEMY_DATABASE_URI_AUTHENTICATION=postgresql://postgres:p@postgresql-container.centralus.azurecontainer.io:5432/authdb APILOGICPROJECT_SECURITY_ENABLED=TrueVerify:
az container show --resource-group <resource group name> --name <container name> --query "{FQDN:ipAddress.fqdn,ProvisioningState:provisioningState}" --out table
Works with API Logic Server > 9.1.33.

