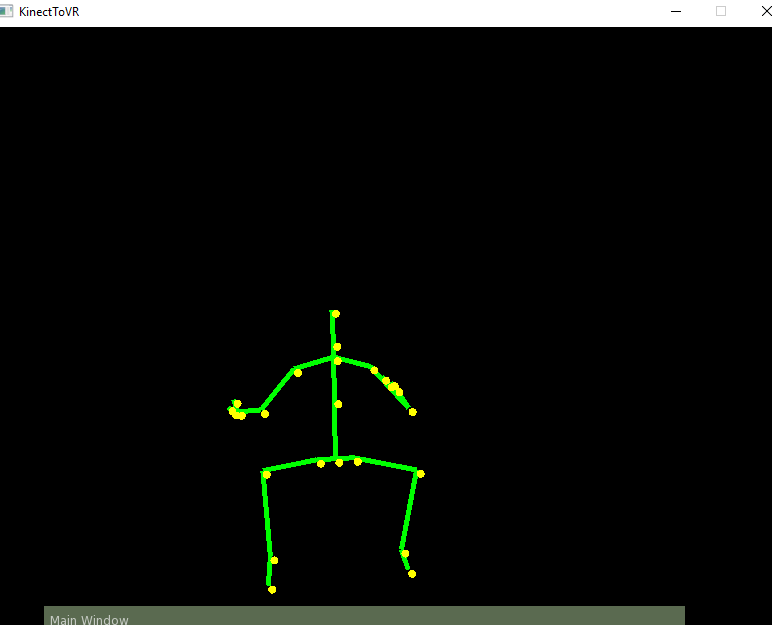
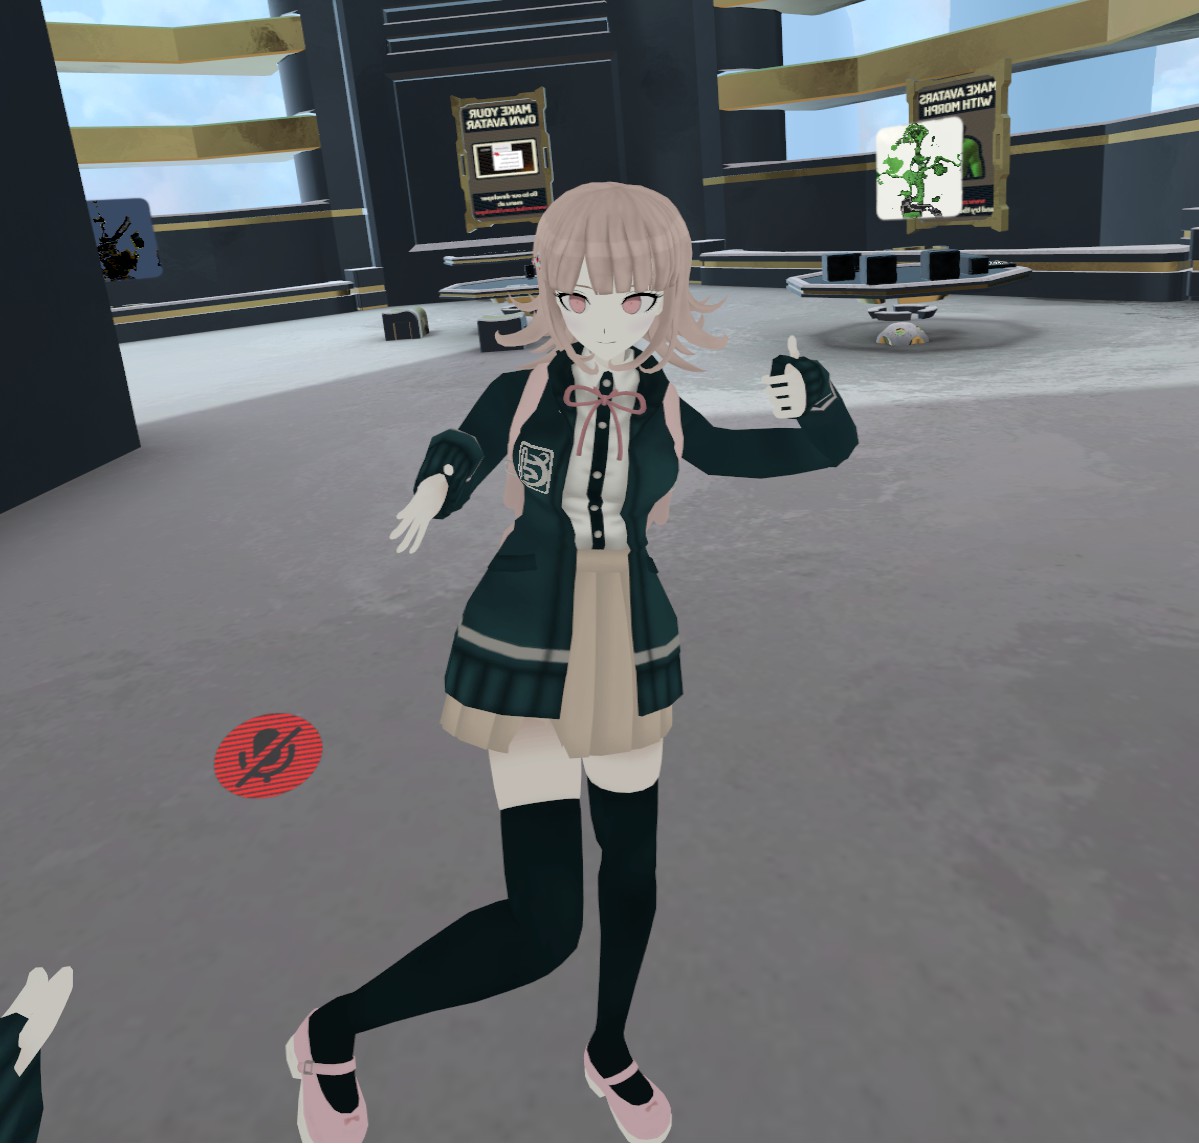
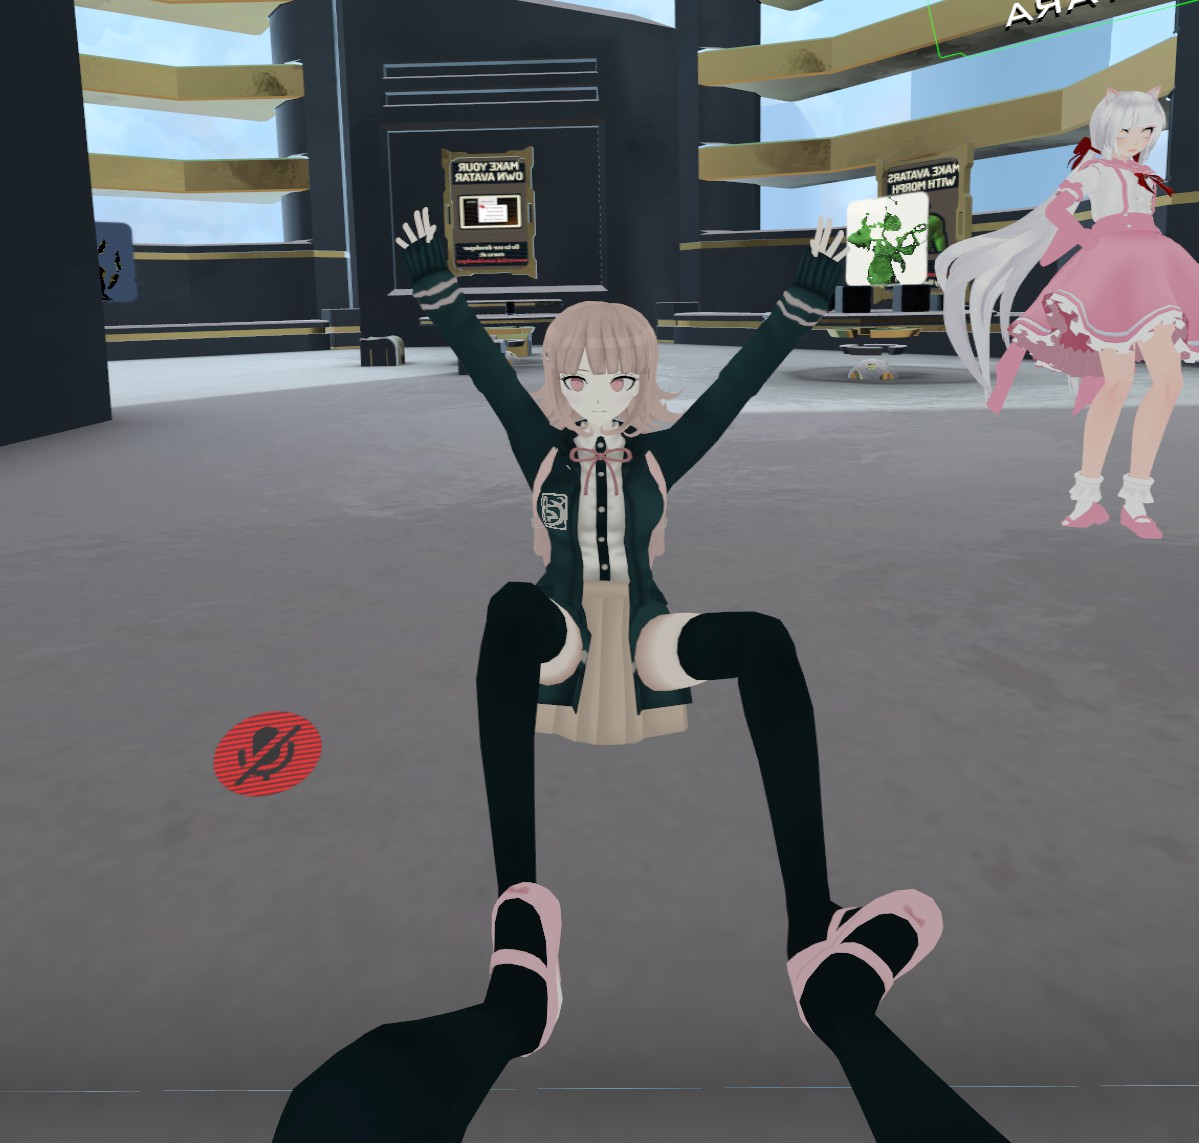
An open-source hook for VRInputEmulator to enable foot and hip tracking with the Kinect. It currently allows for the hips, left foot and right foot to be tracked with the skeletal positions from the Kinect. Their positions are updated to a virtual tracker from the OpenVR Input Emulator in order to translate it into VR games.
After much urging from others, I now have a donation jar here, and a paypal link here
If you'd prefer to donate to charity in my stead, I recommend Doctors Without Borders
For those who want video instructions go here
The Official Discord is here (Australian timezone, though)
If you're unfamiliar with github: Go here to download
There is no installation required by this project itself, however, it requires the Kinect Runtime from Microsoft, and the InputEmulator from matzman666.
| VR System | Xbox 360/V1 | Xbox One/V2 |
|---|---|---|
| Oculus Rift | Yes | Yes |
| HTC Vive | Yes | With Adjustment* |
| Windows MR | Yes | Yes |
* The Xbone sensor can't be facing directly into a base station, but it otherwise works flawlessly
SteamVR - NOT the beta branch, just the regular branch
IMPORTANT: If your Kinect is a 360/Xbone version, instead of a Windows version, then you will also need the corresponding SDK for it to detect it. As Microsoft prevents these from working outside of a 'development environment'.
For the Xbox 360 Kinect: The Kinect SDK v1.8
For the Xbox One Kinect: The Kinect SDK v2.0
The OpenVR InputEmulator .exe - (Latest tested version 1.3)
You can use the Xbox 360 Kinect with an adapter such as this one, or a regular Kinect for Windows.
-
Ensure that the runtime is installed, and the Kinect is plugged into your PC.
- If Windows won't detect it, you can try looking through Microsoft's troubleshooting here
-
Point your Kinect into your VR area
- I recommend turning on the Draw Skeleton checkbox while adjusting your sensor position, so that you can visualise where it's tracking. Remember to turn it off, as it may cause a little lag.
-
Open SteamVR with your headset plugged in, and install InputEmulator.
-
SteamVR Home blocks the trackers from appearing - you need to exit it so that you are in the Steam Grey void area to see them.
-
Run the corresponding process in the KinectToVR folder
-
Xbox 360 - KinectV1Process.exe
-
Xbox One - KinectV2Process.exe
-
-
Put on your headset and stand in front of the Kinect. The optimal distance Microsoft recommends is about 1.5-2.5m away.
-
You may see a bunch of trackers floating behind you! Don't worry, this means that the Kinect has detected your skeleton, but it's not at your current position.
- If the trackers are stuck at the center position without moving, your Kinect is not detecting you. Stand further back, or do a little crouch. (You only need to do this to get it to recognise you, not while its running)
-
Although the Kinect tries it's best to find your exact position, it's not always correct.
- You should see an arrow in the SteamVR space
- Back in the K2VR process you should see a checkbox saying 'Enable Kinect Position Calibration', click it.
- Use the thumbsticks/trackpad to move the arrow to where the Kinect is in real life.
- Press the trigger to confirm
-
The trackers may not fit your position still, so you need to adjust the rotation, follow the same process with the rotation checkbox.
Unfortunately, due to the limitations of the Kinect, it can only detect a skeleton head-on and it may jitter or get occluded fairly easily as it is only one sensor. This means that with tracking enabled, you're going to have to stand facing the Kinect, like the old-fashioned 2-sensor Oculus configuration. I can't really do anything about this limitation. But the Xbox One suffers a lot less from this than the Xbox 360.
I'd assume the majority of people that want full body tracking are going to be using it in VRChat, so here is a list of steps to get it to work.
- Make sure you've turned this program on, and the trackers are calibrated and set up in SteamVR.
- Make sure both controllers are connected before launching VRChat, as sometimes it may not detect them if they are turned on after the game has opened.
- While the game is loading, make sure you are facing your Kinect head-on, and keep your head facing that direction until the body spawns, if you wish to calibrate your last used avatar
- VRChat spawns the avatar facing the direction you're looking at the time, but you cannot adjust it after you have spawned. If you don't remember to do this: face the right direction, select a different avatar and switch back.
- If you want to use another avatar, once you are in the world, open the menu and go to 'Avatars'. Face forwards as in the previous step
- From here you can select an avatar for your character, then click change in the bottom left.
- Your character should be stuck in a T-Pose.
- Move your feet to match with the position of the characters feet, hips with the hips, and your controllers to each of their hands.
- When you are ready, hold down the trigger's and grips on both controllers and the tracking should be activated.
Full-body tracking is still fairly uncommon, and as such there's not much help or support if something goes wrong. Many character models may not work, or glitch out when full-body is activated.
If the joints are weird, try crouching a little bit during calibration of the avatar, or lower your player height. There are way too many variables for me to list here, but that's usually the problem, unless the Kinect is improperly calibrated - in which case you repeat the 'Enable' checkboxes and align the arrow until your feet move 1:1 in VR.
NOTE: Sometimes this process may not work, whether it be because VRChat didn't recognise the trackers, or just didn't activate the T-Pose, if this happens, close VRChat and SteamVR and begin the process again.
If your character's knees are bent but the tracking still works, then you can adjust the player height in the 'System' menu to compensate, usually this means make it smaller.
The Kinect for Xbox One causes interference with the Vive, so it's recommended to not have the Kinect facing into a lighthouse, or at the height of the Vive headset. This isn't as bad as it sounds - as the Xbone Kinect can track at a much shorter distance and more reliably than the X360.
Restart SteamVR, as far as I know I can't remove them from the panel, only disable them while its open.
-
Quit SteamVR
-
Use task manager to search for and kill VR Server background process
-
Restart SteamVR
If you wish to compile the project yourself, then you'll need:
The OpenVR InputEmulator .exe - (Latest tested version 1.3)
The OpenVR InputEmulator source - (Tested v1.3)
The InputEmulator requires the boost library to use their library, so boost is also required.
- Goto https://sourceforge.net/projects/boost/files/boost-binaries/1.63.0/
- Download Boost 1.63 Binaries (boost_1_63_0-msvc-14.0-64.exe)
- Install Boost into
OpenVR-InputEmulator/third-party/boost_1_63_0
The project was compiled in Visual Studio 2017.
To get the required headers for the InputEmulator, build the 'lib_vrinputemulator' project in 64-bit mode, and transfer the headers and .lib from:
(FILEPATH)OpenVR-InputEmulator-1.3\Release\lib\x64 -- Copy the contents
(FILEPATH)OpenVR-InputEmulator-1.3\Debug\lib\x64 -- Copy the contents

(FILEPATH)OpenVR-InputEmulator-1.3\lib_vrinputemulator\include\ -- Copy the contents
To here:
(FILEPATH)\SFMLProject\SFMLProject\InputEmulator
The OpenVR libraries and headers also need to be copied from their folder:
(FILEPATH)\openvr-master\bin\win64\Debug\ -- Copy the contents

(FILEPATH)\openvr-master\headers -- Copy the folder
And then pasted into the project folder:
(FILEPATH)\SFMLProject\SFMLProject\openvr\ -- paste the lib files and 'headers' folder here
The final contents of these two folders should look like this:
Boost also needs to be added to the directory
Copy boost_1_63_0\ to (PROJECTDIR)\SFMLProject\
SFML and sfGUI need to be in this project folder too:
	SFML-2.4.2 -> (PROJECTDIR)\SFMLProject\SFML-2.4.2\
	and
	Copy libs from sfgui-0.3.2-vs2017-64\lib
	AND the include folder from sfgui-0.3.2-vs2017-64
	to (PROJECTDIR)\SFMLProject\sfGui
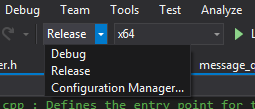
The project is meant to be built for 64bit computers only, so if you're using Visual Studio to compile, then near the top left of the screen change the mode to 'Release' or 'Debug', and set the 'solution platforms' to 'x64'.
The compiled .exe will need to have the dll's for the dependencies included in it's output folder for it to work.
These include:
openal32.dll -- found at \SFML-2.4.2\extlibs\bin\x64

openvr_api64.dll -- found at \openvr-master\bin\win64\

sfgui.dll

-- All below found in \SFML-2.4.2\lib\Release\

sfml-audio-2.dll

sfml-graphics-2.dll

sfml-system-2.dll

sfml-window-2.dll
We use SemVer for versioning. For the versions available, see the tags on this repository.
- sharkyh20 - Initial work - sharkyh20
This project is licensed under the GPL v3 License - see the LICENSE.md file for details
- matzman666 - for the VR InputEmulator that makes this possible
- zecbmo - for his SkyrimVR project that helped me to understand VR inputs, and provided a code base
- Omnifinity - for his project showing how to get HMD positions, and matrix math
- Tons of stackoverflow posts and steam community pages that helped me learn how to glue this together
This was my first actual project and I've had a lot of 'fun' and fun getting it to work. I'm still learning C++ and programming concepts, so I feel that this has helped a great deal where reading from a book really can't. Thank you for being patient enough to read this all the way to the end and I hope my code is not too atrocious.
As always, feedback is appreciated so that I can learn and improve my skills.
Thanks, and have fun in VR!


