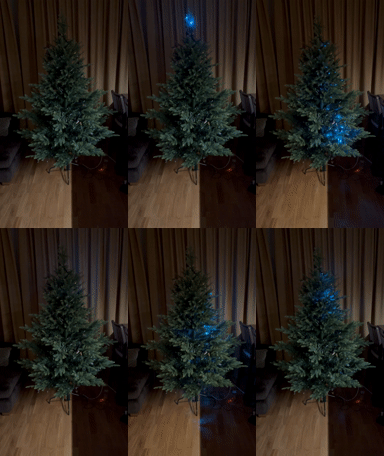
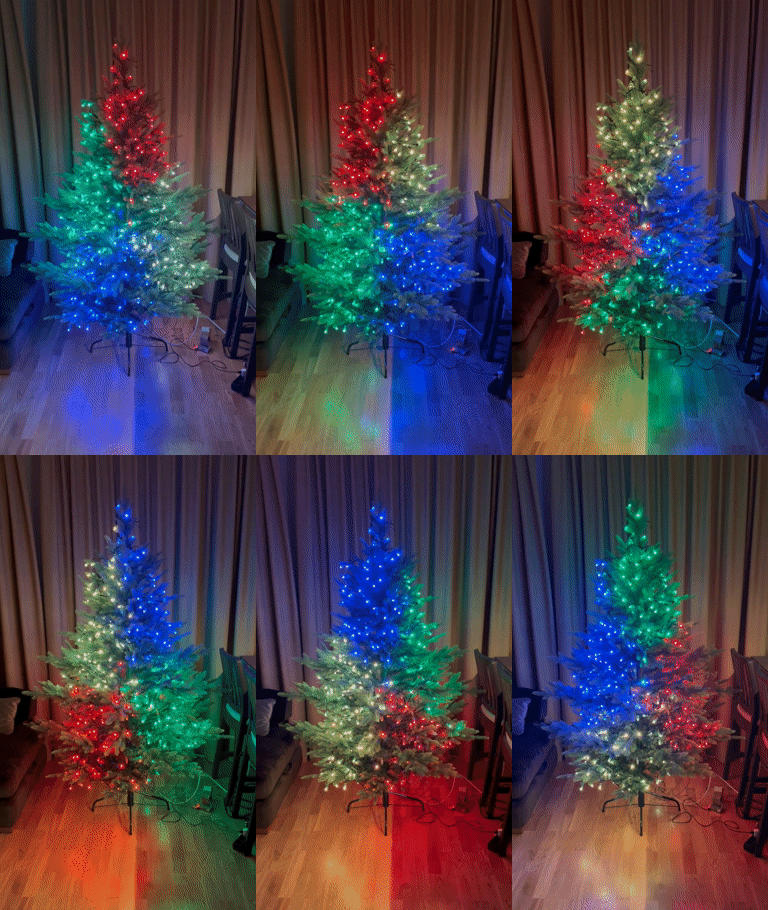
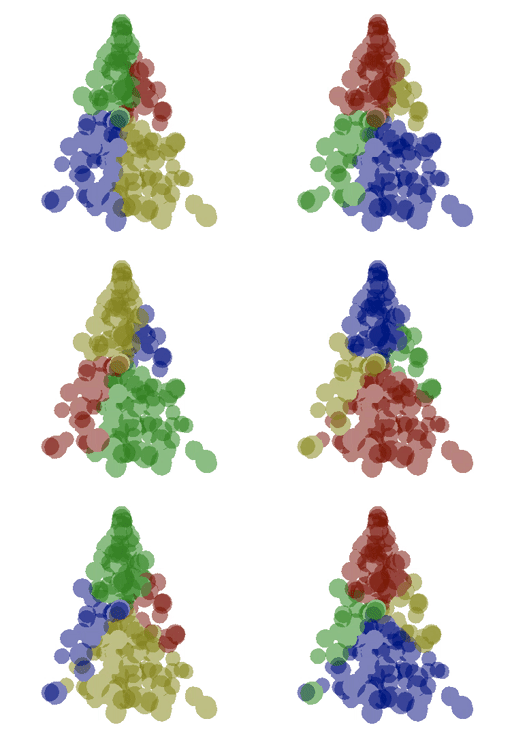
This is a project implementing controllable Christmas lights. Inspired by Matt Parker (https://www.youtube.com/watch?v=TvlpIojusBE), this repo includes code to measure the 3D coordinates of the addressable RGB LED Christmas lights and to display various effects using the calculated coordinates.
In this repo, you can find code that allows you to:
- capture and calculate the 3D coordinates of each LED
- run effect simulations - this way, even before you hook up the lights, you can start developing effects in advance
- run the actual effects using a Raspberry Pi
- Setup
- 3D Coordinate capturing/calculation
- Writing Effects
- Simulating Effects
- Running Effects
- Intended Workflow
The project uses Poetry for dependency management. The dependencies are split into three groups:
camera- dependencies related to capturing the LEDs and saving them as frames for later post-processingcalculations- dependencies related to computing the 3D LED coordinates from the captured images, as well as running effect simulationsrpi- dependencies related to displaying the effects using the Raspberry Pi ('prod' usage)
To install a specific dependency group run poetry install --with <group>. For example, to install the dependencies for capturing the LEDs
as frames, run poetry install --with camera
Note that on the Raspberry Pi you might need to install the dependencies with sudo, which means that Poetry might not be usable on the Pi
(this happened to me). For this, you can use the requirements.txt file under christmas_tree/rpi to install the Raspberry Pi
dependencies.
A global settings module can be found at christmas_tree.common.settings - update the number LEDs and the (local) IP of your
Raspberry Pi inside there.
See my wiring in the image below. What's important is to not power the LEDs from the Raspberry Pi but to have a dedicated power supply. Also, I had to power the LED chain in multiple places for the LED brightness/color not to fall off too much due to internal resistance.
I used the D21 GPIO pin for the LED data channel, if that does not work for you try the other pins.
To display effects on the Christmas tree, we need to compute/approximate the 3D coordinates of each LED. The idea is that we can capture an image for each LED lit up in isolation - in my case of 500 LEDs this will generate 500 images. However, capturing the images from one direction means that some LEDs will be obstructed (not visible), also, the depth dimension is lost.
To get a better approximation of the coordinates we repeat the image capturing from multiple angles. If, for each LED, we
capture the LED from N different angles, and measure where in each frame the LED appears, we can approximate the LED's
x, y and z coordinates with:
here,
What worked in my case is setting up the camera (laptop) in one place and adding four markers around the base of the Christmas tree in 90 degree increments. This way you can capture the LEDs from 8 positions (N, W, S, E, NW, SW, SE, NE) by rotating the tree.
Effects are Python functions decorated with an @effect decorator. The decorator accepts an optional effect name (for displaying in the web UI).
The effect functions should accept two parameters - pixels and coords. The pixels arguments is the neopixel.NeoPixel object and holds the RGB values of every LED - i-th LED's color is pixels[i]. coords are the coordinates of the LEDs as a dict - the i-th LED's x, y, z coordinates are coords[i].
Here is an example effect which creates a sphere expanding and shrinking continuously.
@effect(name="Expanding/shrinking sphere")
def expanding_ball(pixels, coords):
    color = np.random.randint(0, 256, 3)
    start = time.time()
    while True:
        t = time.time() - start
        radius = np.abs(np.sin(t))

        for i in coords:
            x, y, z = coords[i]
            if x**2 + y**2 + z**2 <= radius**2:
                pixels[i] = tuple(color)
            else:
                pixels[i] = (0, 0, 0)

        pixels.show()
time.sleep(0.01)Due to implementation reasons, effects that don't have an infinite loop running, should have a blocking call inside them. See examples, e.g. christmas_tree.common.effects.ua_flag.
Effect simulation can be useful if you don't have the Christmas lights set up yet but want to start working on the effects. This repo provides a way to simulate the effects by utilizing Three.js bindings for Python under-the-hood. Long story short, effects written for the simulated lights can be used as-is with the real Christmas lights. The logic will stay the same and you won't have to do any refactoring when moving from the simulated to the real tree.
See an example here: https://github.com/Asa-Nisi-Masa/christmas-tree/blob/master/christmas_tree/calculations/simulation.ipynb
Effects can be run from a script with, for example:
import board
import neopixel

from christmas_tree.common.effects.colored_wave import colored_wave
from christmas_tree.common.utils import load_coordinates

pixels = neopixel.NeoPixel(board.D21, 50, auto_write=False, pixel_order=neopixel.RGB, brightness=0.2)

coords = load_coordinates("coordinates.csv")

pixels.fill((0, 0, 0))
pixels.show()

colored_wave(pixels, coords)
or by making requests to a web server. A Flask server is included which allows you to select one or more effect to be displayed. If one effect is selected, it will run indefinitely. If multiple effects are selected, they will be cycled-through indefinitely, with each of them being shown for some duration (see Running the server below).
With the Christmas lights on the tree and camera set up, calibrate/tilt the camera so that the center of the frame aligns with the center of the tree:
poetry run python3 -m christmas_tree.camera.calibrateStart the server on your Raspberry Pi with
sudo python3 -m christmas_tree.rpi.serverand update the Pi's local network URL in the christmas_tree.camera.capture_frames module.
When ready, turn off the lights and capture the first set of images for the angle of 0 degrees (using your laptop/webcam driver):
poetry run python3 -m christmas_tree.camera.capture_frames 0Rotate the tree by X degrees (from the initial orientation) and repeat the same:
poetry run python3 -m christmas_tree.camera.capture_frames XRepeat the process for multiple angles.
Calculate the coordinates from the frames captured with
poetry run python3 -m christmas_tree.calculations.compute_coordsThe script will inform you if there are any LEDs whose positions could not be determined. If that happens, play around
with the parameters at the top of the script. The script will generate a coordinates.csv file at the root of the repo.
On your Raspberry Pi, run
sudo python3 -m christmas_tree.rpi.serverthen visit http://0.0.0.0:5000/ on your local computer, select the effects you want to be shown and click Submit.


