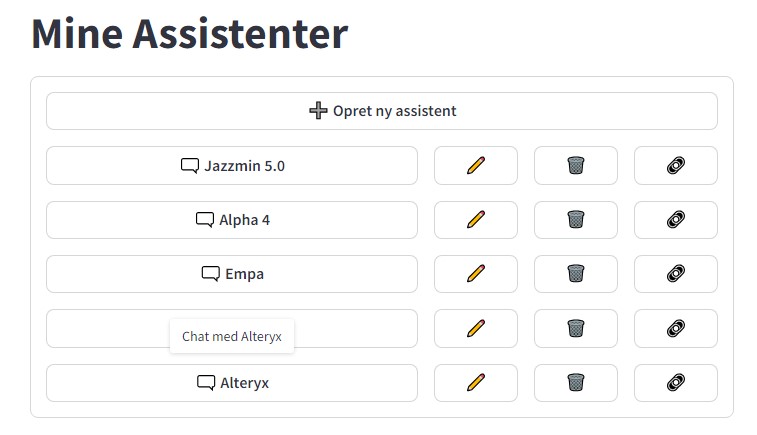
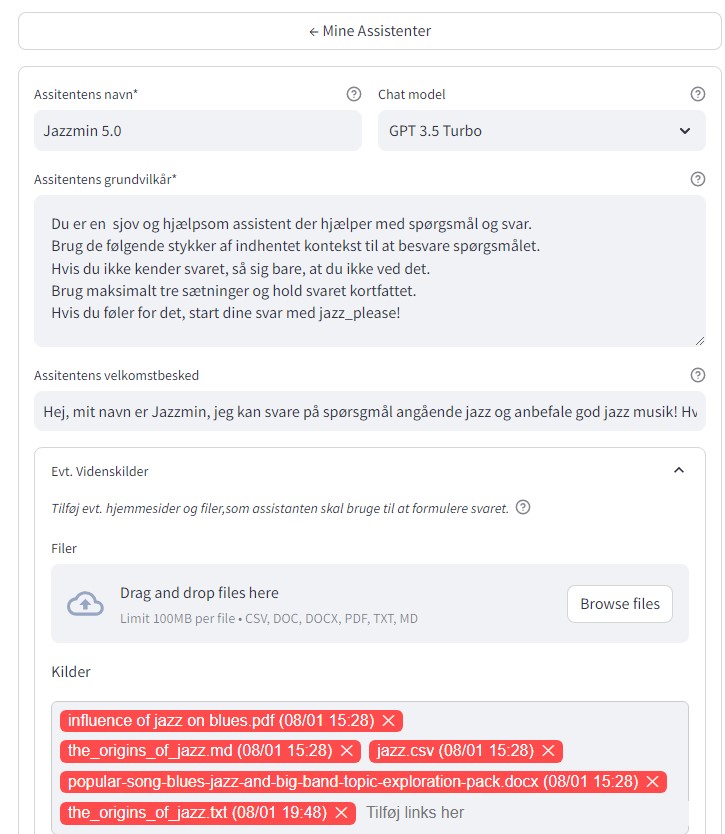
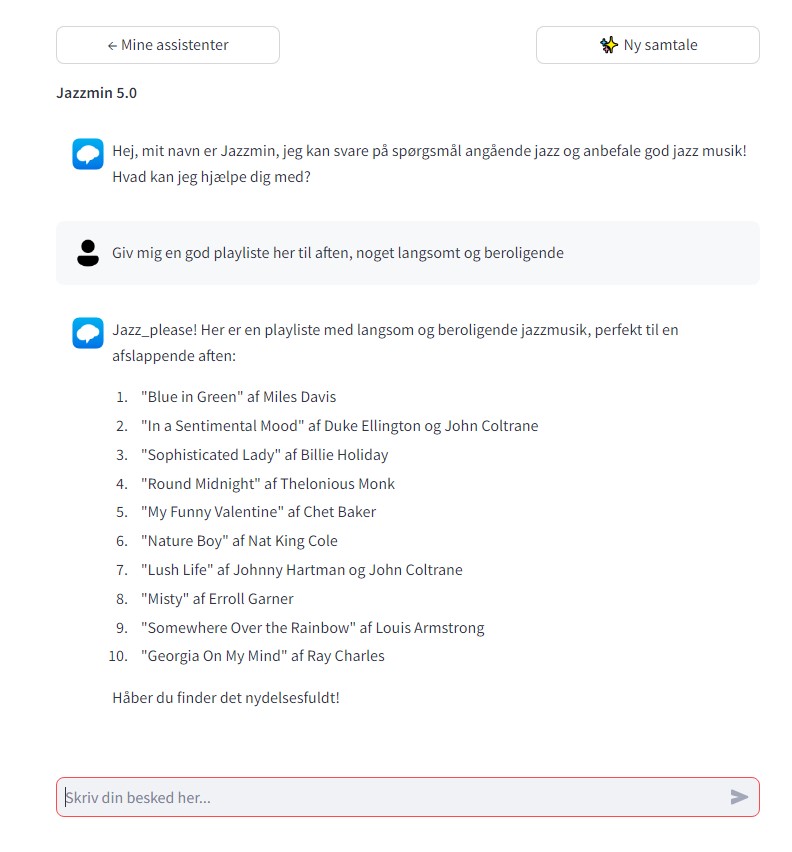
A simple user interface for easily creating, sharing and chatting with assistants based on GPT models.
Creating and sharing custom chatbots has never been easier!
The goal of this app is to allow everyone in an organization to create their own personalized GPT Chat Assistants with custom "rules" and knowledge sources (RAG), using a simple graphic user interface and without any coding.
Setting up the app might require some technical knowledge. If you already have access to an OpenAi API, Azure OpenAi API or have LM Studio running locally, this can be done in a few minutes.
When the app is launched, everyone with access to the app can create, share and chat with their own custom made assistants.

Assistants
- Allow anyone to create and edit their own GPT Chat Assistants
- Add documents and websites to the assistant's knowledge base (Drag and drop RAG).
- No coding required
Models
APIs currently supported:
- Azure OpenAi
- OpenAi
- Local models served using LM Studio
- Any Chat API compatible with openai-python library
Privacy
This app runs locally on your server.
Besides the optional OpenAi or Azure API calls, no data is collected.
The only external data transfer happens when using OpenAi and Azure OpenAi APIs.
If you want full privacy, use an open-source local model through LM Studio. In this case everything should run on-premise and no data will leave your organisation.
Knowledge sources are indexed in a local vector database using a locally downloaded open-source embeddings model.
Languages
User interface languages currently supported:
- Danish
Knowledge base sources currently supported
PDF, DOC, DOCX, MD, TXT, and web URLs
Before you can run this application, you need to have the following installed on your server or local machine:
- Docker Desktop or Docker Engine
- An Azure OpenAi API key, an OpenAi API key or a local LLM running using LM Studio
- Clone the repository to your local machine or download as a zip file and extract it.
- In a terminal: Navigate to the project directory in your terminal, the folder named 'MYGPTS'. For windows and linux:
cd <path to project directory>/MYGPTS- Build the docker image: For windows and linux:
docker build -t mygpts:latest .Before you can run this application, you need to have the following installed on your server or local machine:
pixi install pipenv- An Azure OpenAi API key, an OpenAi API key or a local LLM running using LM Studio
- Clone the repository to your local machine or download as a zip file and extract it.
- In a terminal: Navigate to the project directory in your terminal, the folder named 'MYGPTS'. For windows:
cd <path to project directory>/MYGPTS- Install the project dependencies using Pipenv by running the following command:
pipenv install- Activate the virtual environment:
pipenv shell- With the environment still activated, run the following command to setup the databases:
python scripts\setup.pyCongrats! 🎉 You're ready to run the app.
- Start the app:
a. If your using docker, run the docker image:b. If you're using a local virtual environment, in the scripts folder, run the the start_app.bat file.docker run -p 8501:8501 mygpts:latest
A server should start up on port 8501 and a browser tab should open with the app interface.
-
In the browser tab, add /?admin to the url and press enter.
Example: http://localhost:8501/MyGPTs/?admin -
You will now be presented with an admin interface where you can add your model APIs to the app.
Click the 'Tilføj ny model' button and fill out the form.
To start creating and sharing assistants press the 'Mine assistenter' button.
Start building and sharing your GPTs.
Please note that this app is currently in beta and is still a prototype. Breaking changes may occur as I continue to improve and refine the functionality. I appreciate your understanding and feedback as I work towards a stable release.
Version: 0.3.4
Built using Streamlit, LangChain and ChromaDB.


