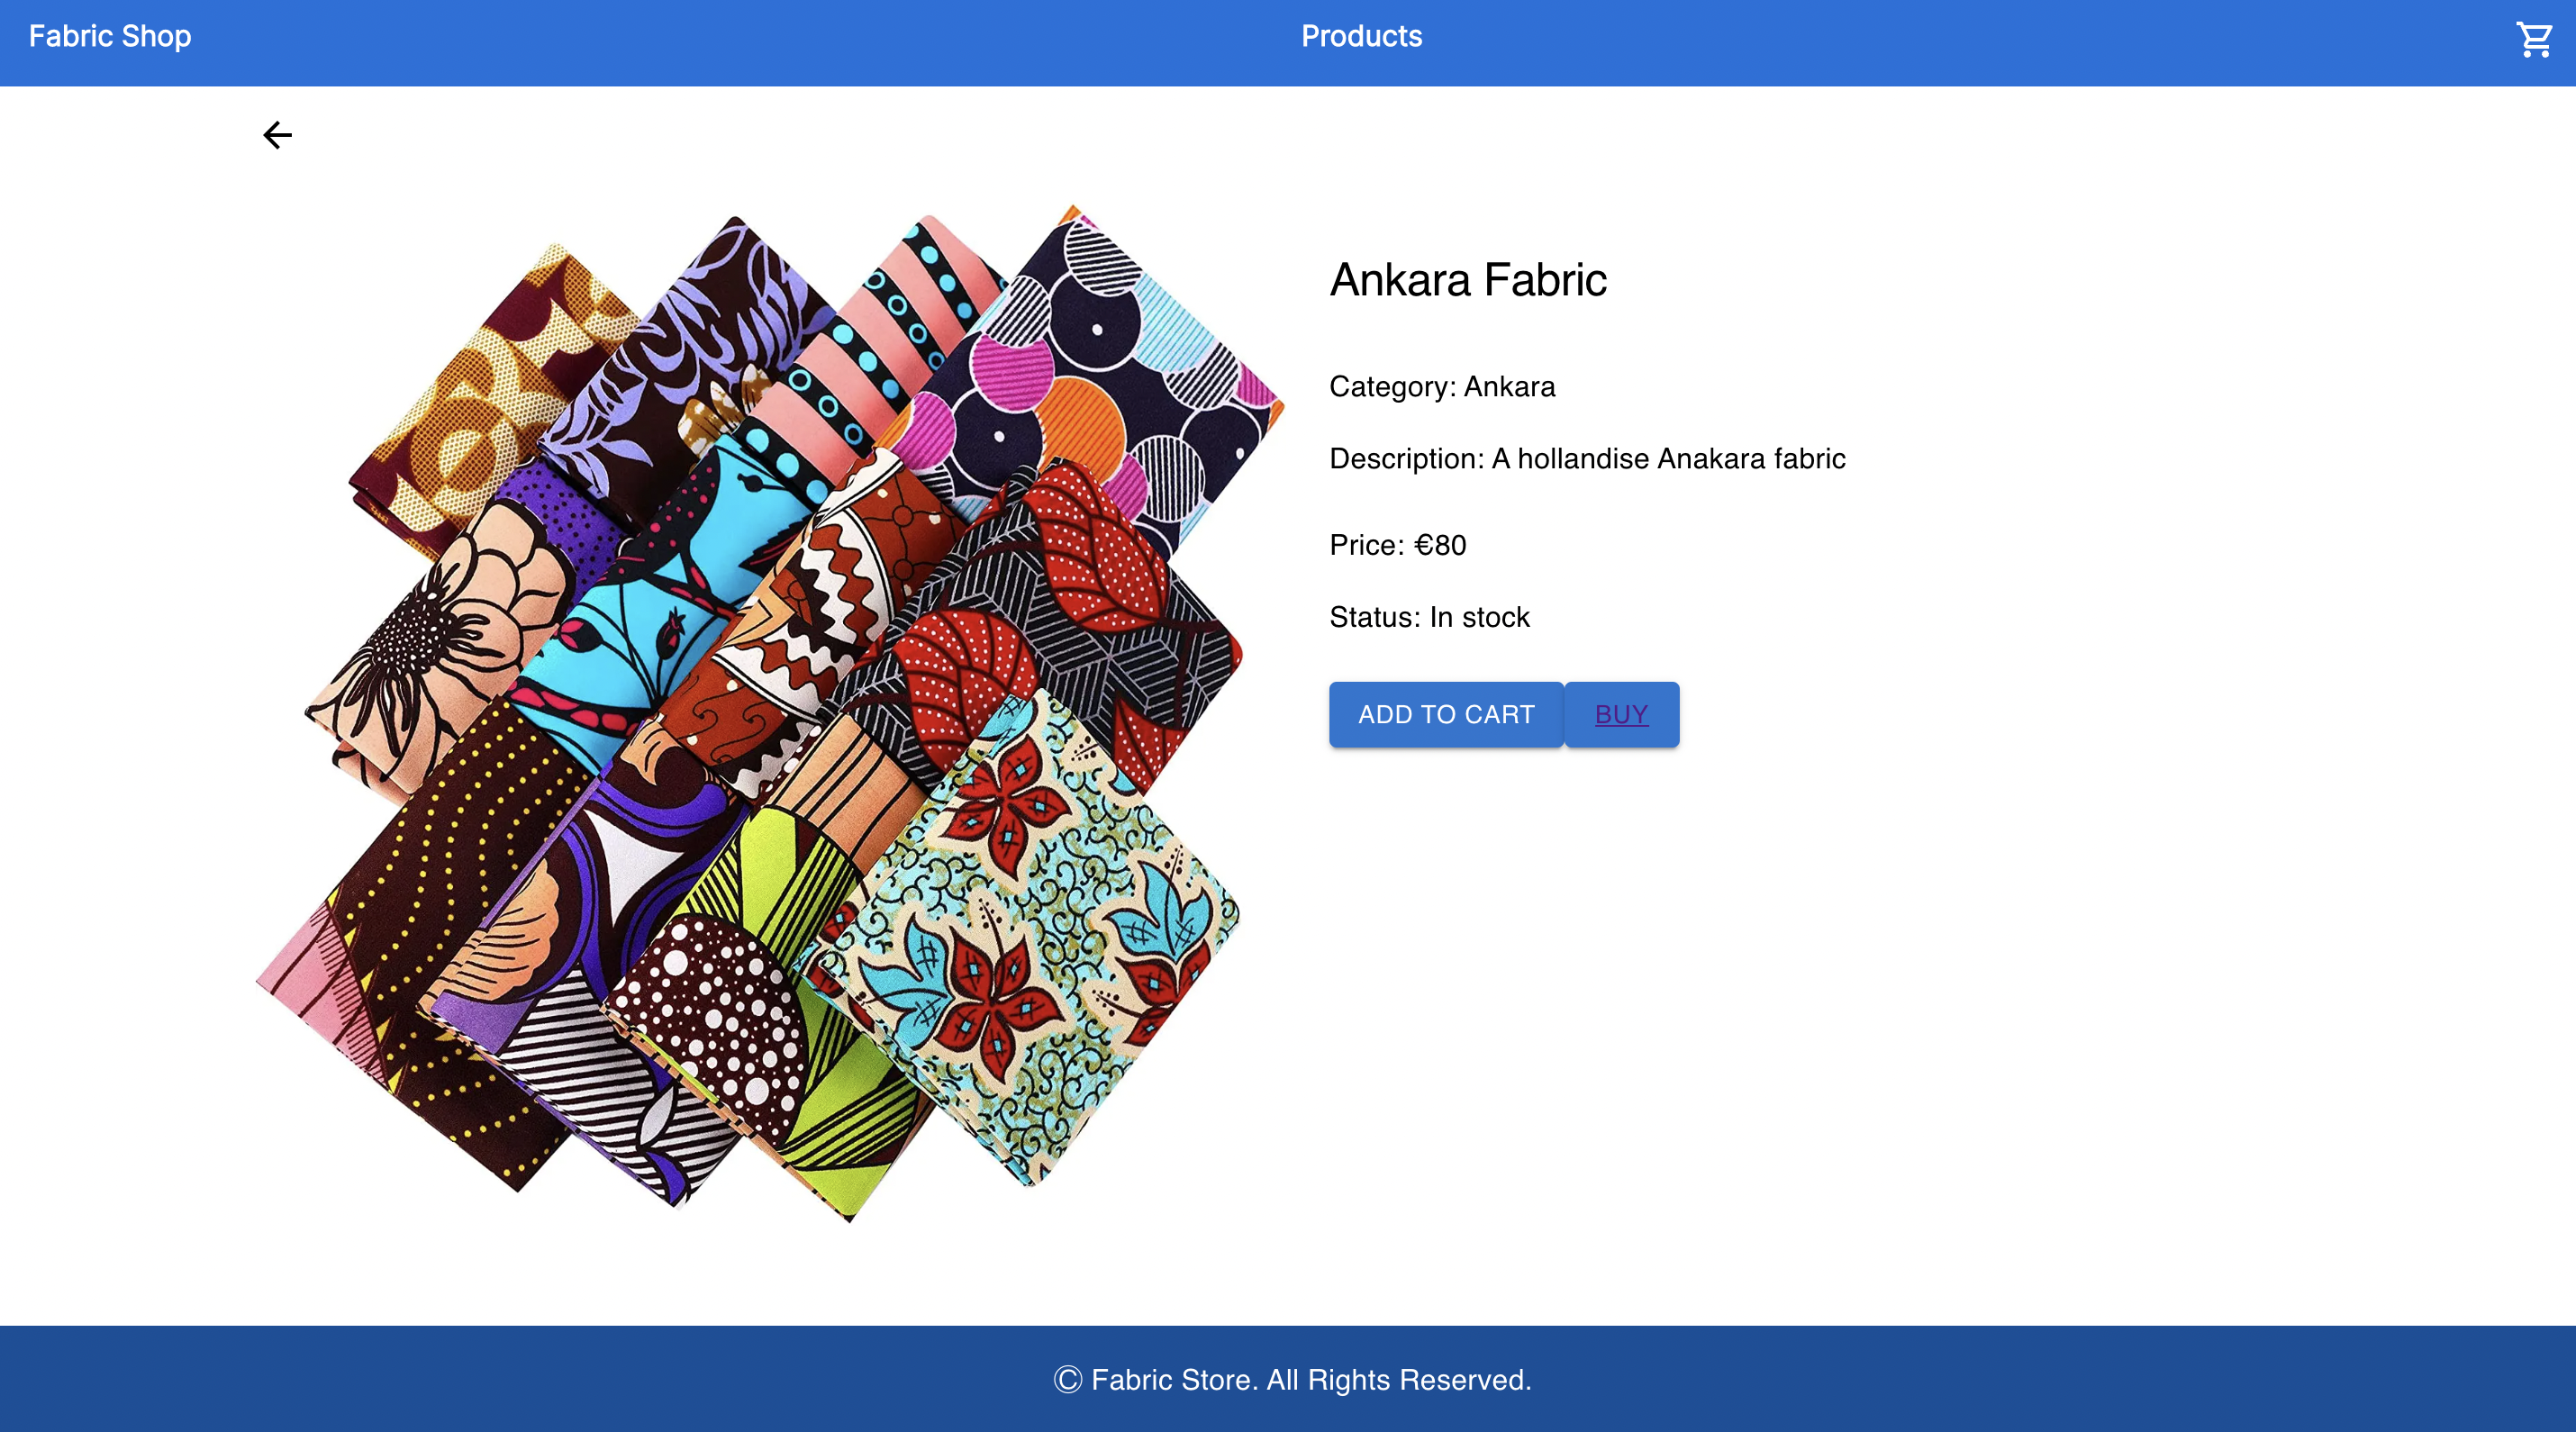
The fabric store offers an assortment of different fabrics from around the world, 100% eco-friendly and ethically sourced.
this is a full-stack application using cookies. it is only a simulation of an online webstore, while including all proper functions:
- a landing page of the fabric shop
- A product page with all the available fabric listed
- the user can browse through the different product-pages and add a selected amount of fabrics to the cart
- the amount of fabrics in the cart is always visible in the header
- on the cart page, the user can change or remove the fabrics from the cart
- the user can find the total on the checkout page and fill out all the shipping infos
this is a desktop version btw - please look at it on a screen width bigger than 1240 px!
Client: Next.js, React, TypeScript, Jest, Playwright, styled Components, Material UI
Server: Node.js, PostgreSQL
To run this project locally, the following steps are needed:
-
Clone this repo on your local machine and connect to your GitHub account
-
Download and install PostgreSQL (if not installed yet).
-
Create a User and a Database for the project.
-
Create a copy of the
.env.exampleon the root of the project and modify it with your credentials. The file should include these four environment variables:
- PGHOST=localhost
- PGDATABASE=<nameOfYourDatabase>
- PGUSERNAME=<nameOfYourUsername>
- PGPASSWORD=<nameOfYourPassword>
- Rename this file to .env .
- On the command Line go to the project directory and install the required dependencies with:
yarn- Install the dotenv-cli globally with:
yarn global add dotenv-cli- Run the migrations for your local database with:
yarn migrate up- Start the server with:
yarn devThe following instructions can be used to deploy the application online using Heroku:
- Create a repository with your version of the app.
- Sign up on Heroku: https://signup.heroku.com/ and create an account
- Create a new App with your preferred name
- Choose a name and select your region
- On "deployment method", go to "Connect to GitHub" and select your repository
- Click on the "Enable Automatic Deploys" button
- Go back to the Overview tab and click on "Configure Add-On". Search for "Postgres" and select "Heroku Postgres" from the results
- Trigger the deployment by pushing into your github repository


