Render Wt Pt Proj
Code to project 3D keypoints on a model to 2D keypoints on a render of the object. This can be further broken down into two steps:
-
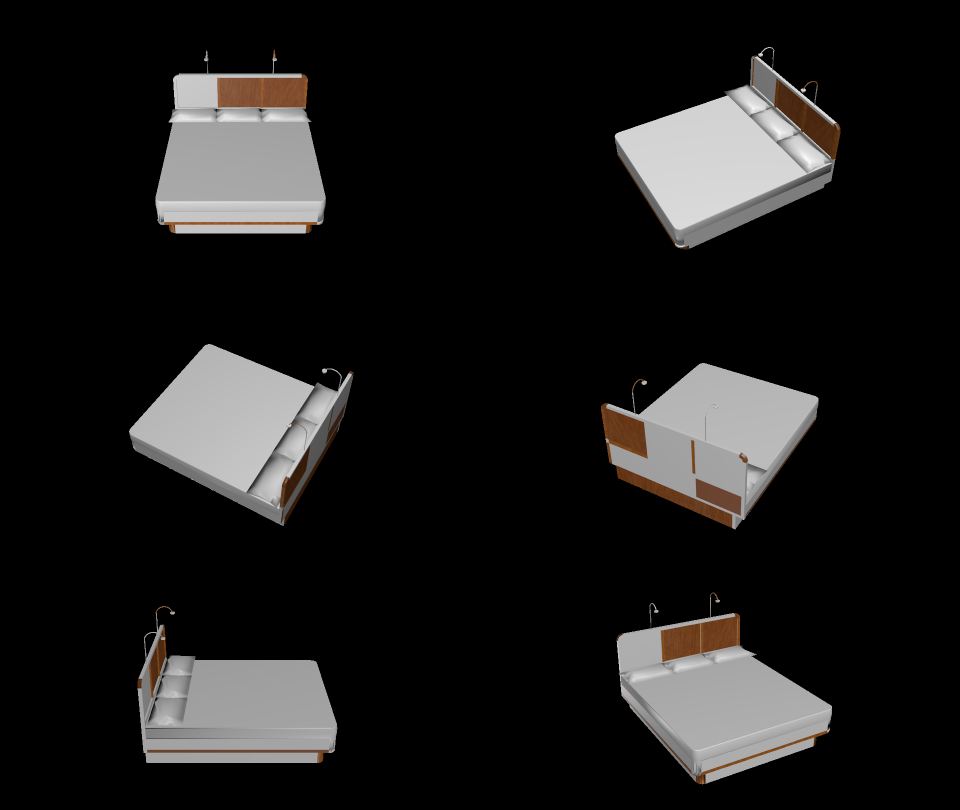
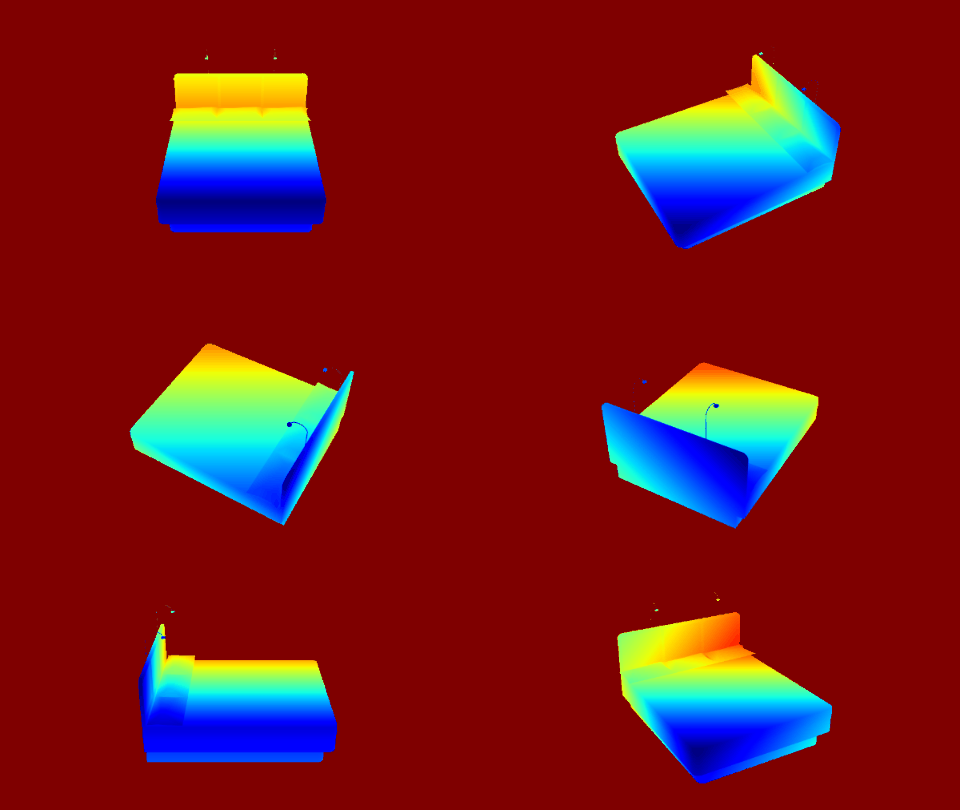
Rendering the 3D object with a given pose with depth map.
-
Projecting the 3D keypoints to 2D keypoints and pruning of points based on depth.
-
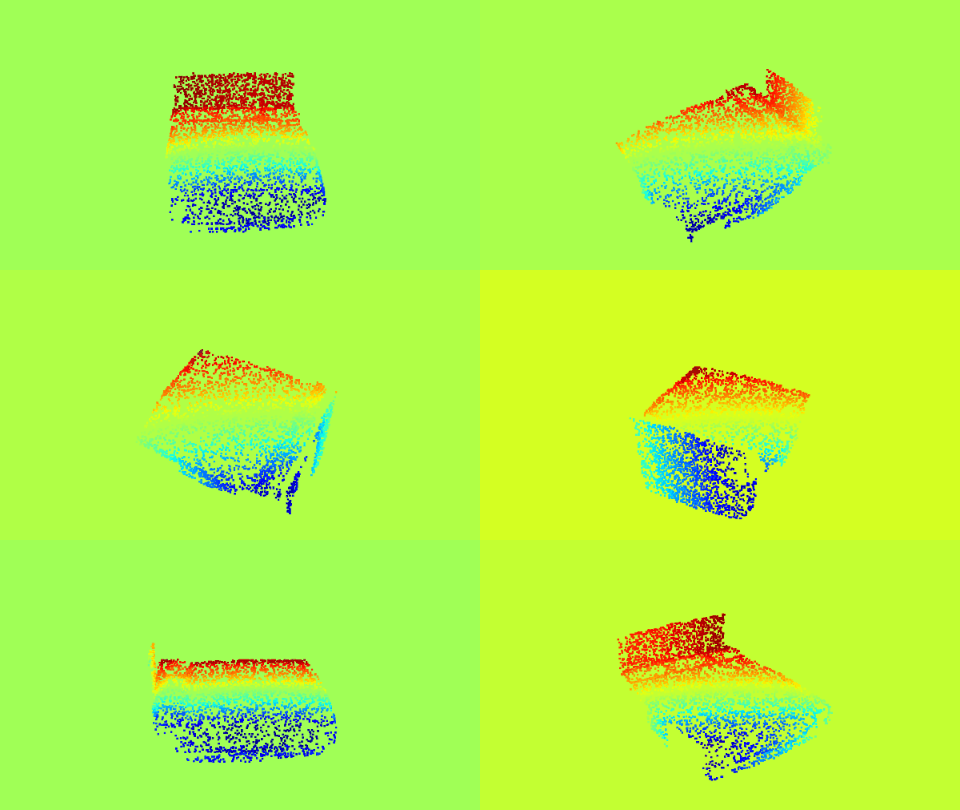
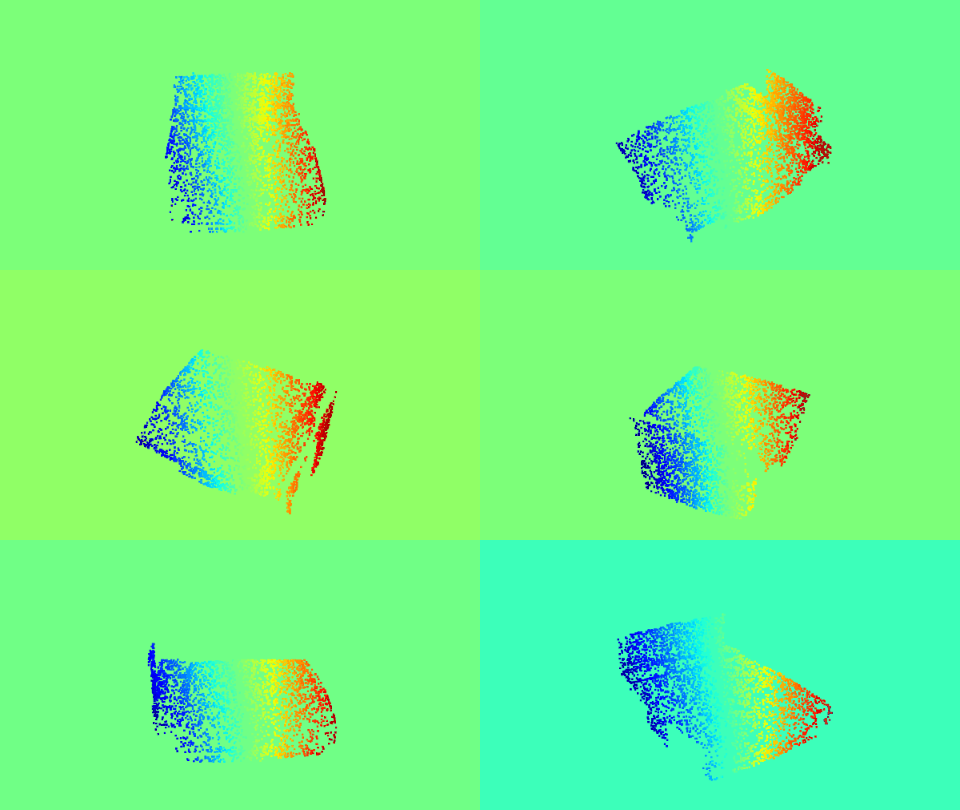
Example Utility of this: Computing proxy Optical-FLow maps for 3D models.
Example Reel:
| Render | Depth Map |
|---|---|
 |
 |
| Optical Flow horizontal | Optical Flow Vertical |
|---|---|
 |
 |
The Proxy Optical Flow maps.
Necessary Installations
This project uses blender for the rendering. Python libraries such as trimesh and OpenEXR are also used. You can install them using:
pip install OpenEXR trimesh
1: Render with depth
The render can be run by using the run_render.py script with blender.
blender blank.blend --background --python run_render.py <shape-file> <azimuth> <elevation> <tilt> <distance>
# example
blender blank.blend --background --python run_render.py 02818832/42e4e91343b44d77c3bd24f986301745/model.obj 45 45 0 3
This will save the render in the file called temp.png and the depth as an exr file in z_map/temp0001.exr
2: Projecting the 3D keypoints
Now, we can project the 3D keypoints to 2D pixel locations based on the blender camera parameters. First get the blender camera's intrinsic matrix using the get_camera_params.py file:
blender blank.blend --background --python get_camera_params.py
From this, the blender camera's intrinsic matrix can be added to variables.py file. The default intrinsic matrix is already added.
Now, run_proj.py can be used to project the 3D keypoints to 2D projection based on the project parameters.
python run_proj.py --shape_file --file <shape-file> --azimuth <azimuth> --elevation <elevation> --tilt <tilt> --distance <distance>
# example
python run_proj.py --shape_file --file  02818832/42e4e91343b44d77c3bd24f986301745/model.obj --azimuth 45 --elevation 45 --tilt 0 --distance 3
This will save the file temp.npy with the 2D projected points. Additional options, like depth-based pruning, have been provided in the file. Kindly look into the code for such options.
3: Example Utility: proxy Optical-Flow maps
There can be multiple applications of the 2D projection of 3D keypoints. One of the applications can be generating proxy Optical-flow maps. We sample random 10000 points on the 3D object, and compare the 3D projections of these points between angles (a,e,t) and (a+10,e+10,t). This can act as the proxy Optical-flow if the object is rotated by 10 azimuth and elevation, when it is rendered at angle (a,e,t).
For getting the proxy Optical-FLow maps, use get_of.py file. This will run the render command, and the projection commands, given the view parameters. It can be used as shown below:
python get_of.py --shape_file <shape-file> --azimuth <azimuth> --elevation <elevation> --tilt <tilt> --distance <distance>
# example
python get_of.py --shape_file  02818832/42e4e91343b44d77c3bd24f986301745/model.obj --azimuth 45 --elevation 45 --tilt 0 --distance 2
But Why?
I was using this in my research work, and felt that this might be a good,generalizable tool that others can use as well!
Acknowledgements
I would like to thank:
-
creators of RenderForCNN
-
creators of Blender
-
rfabbri for answering questions at Blender Stackexchange.