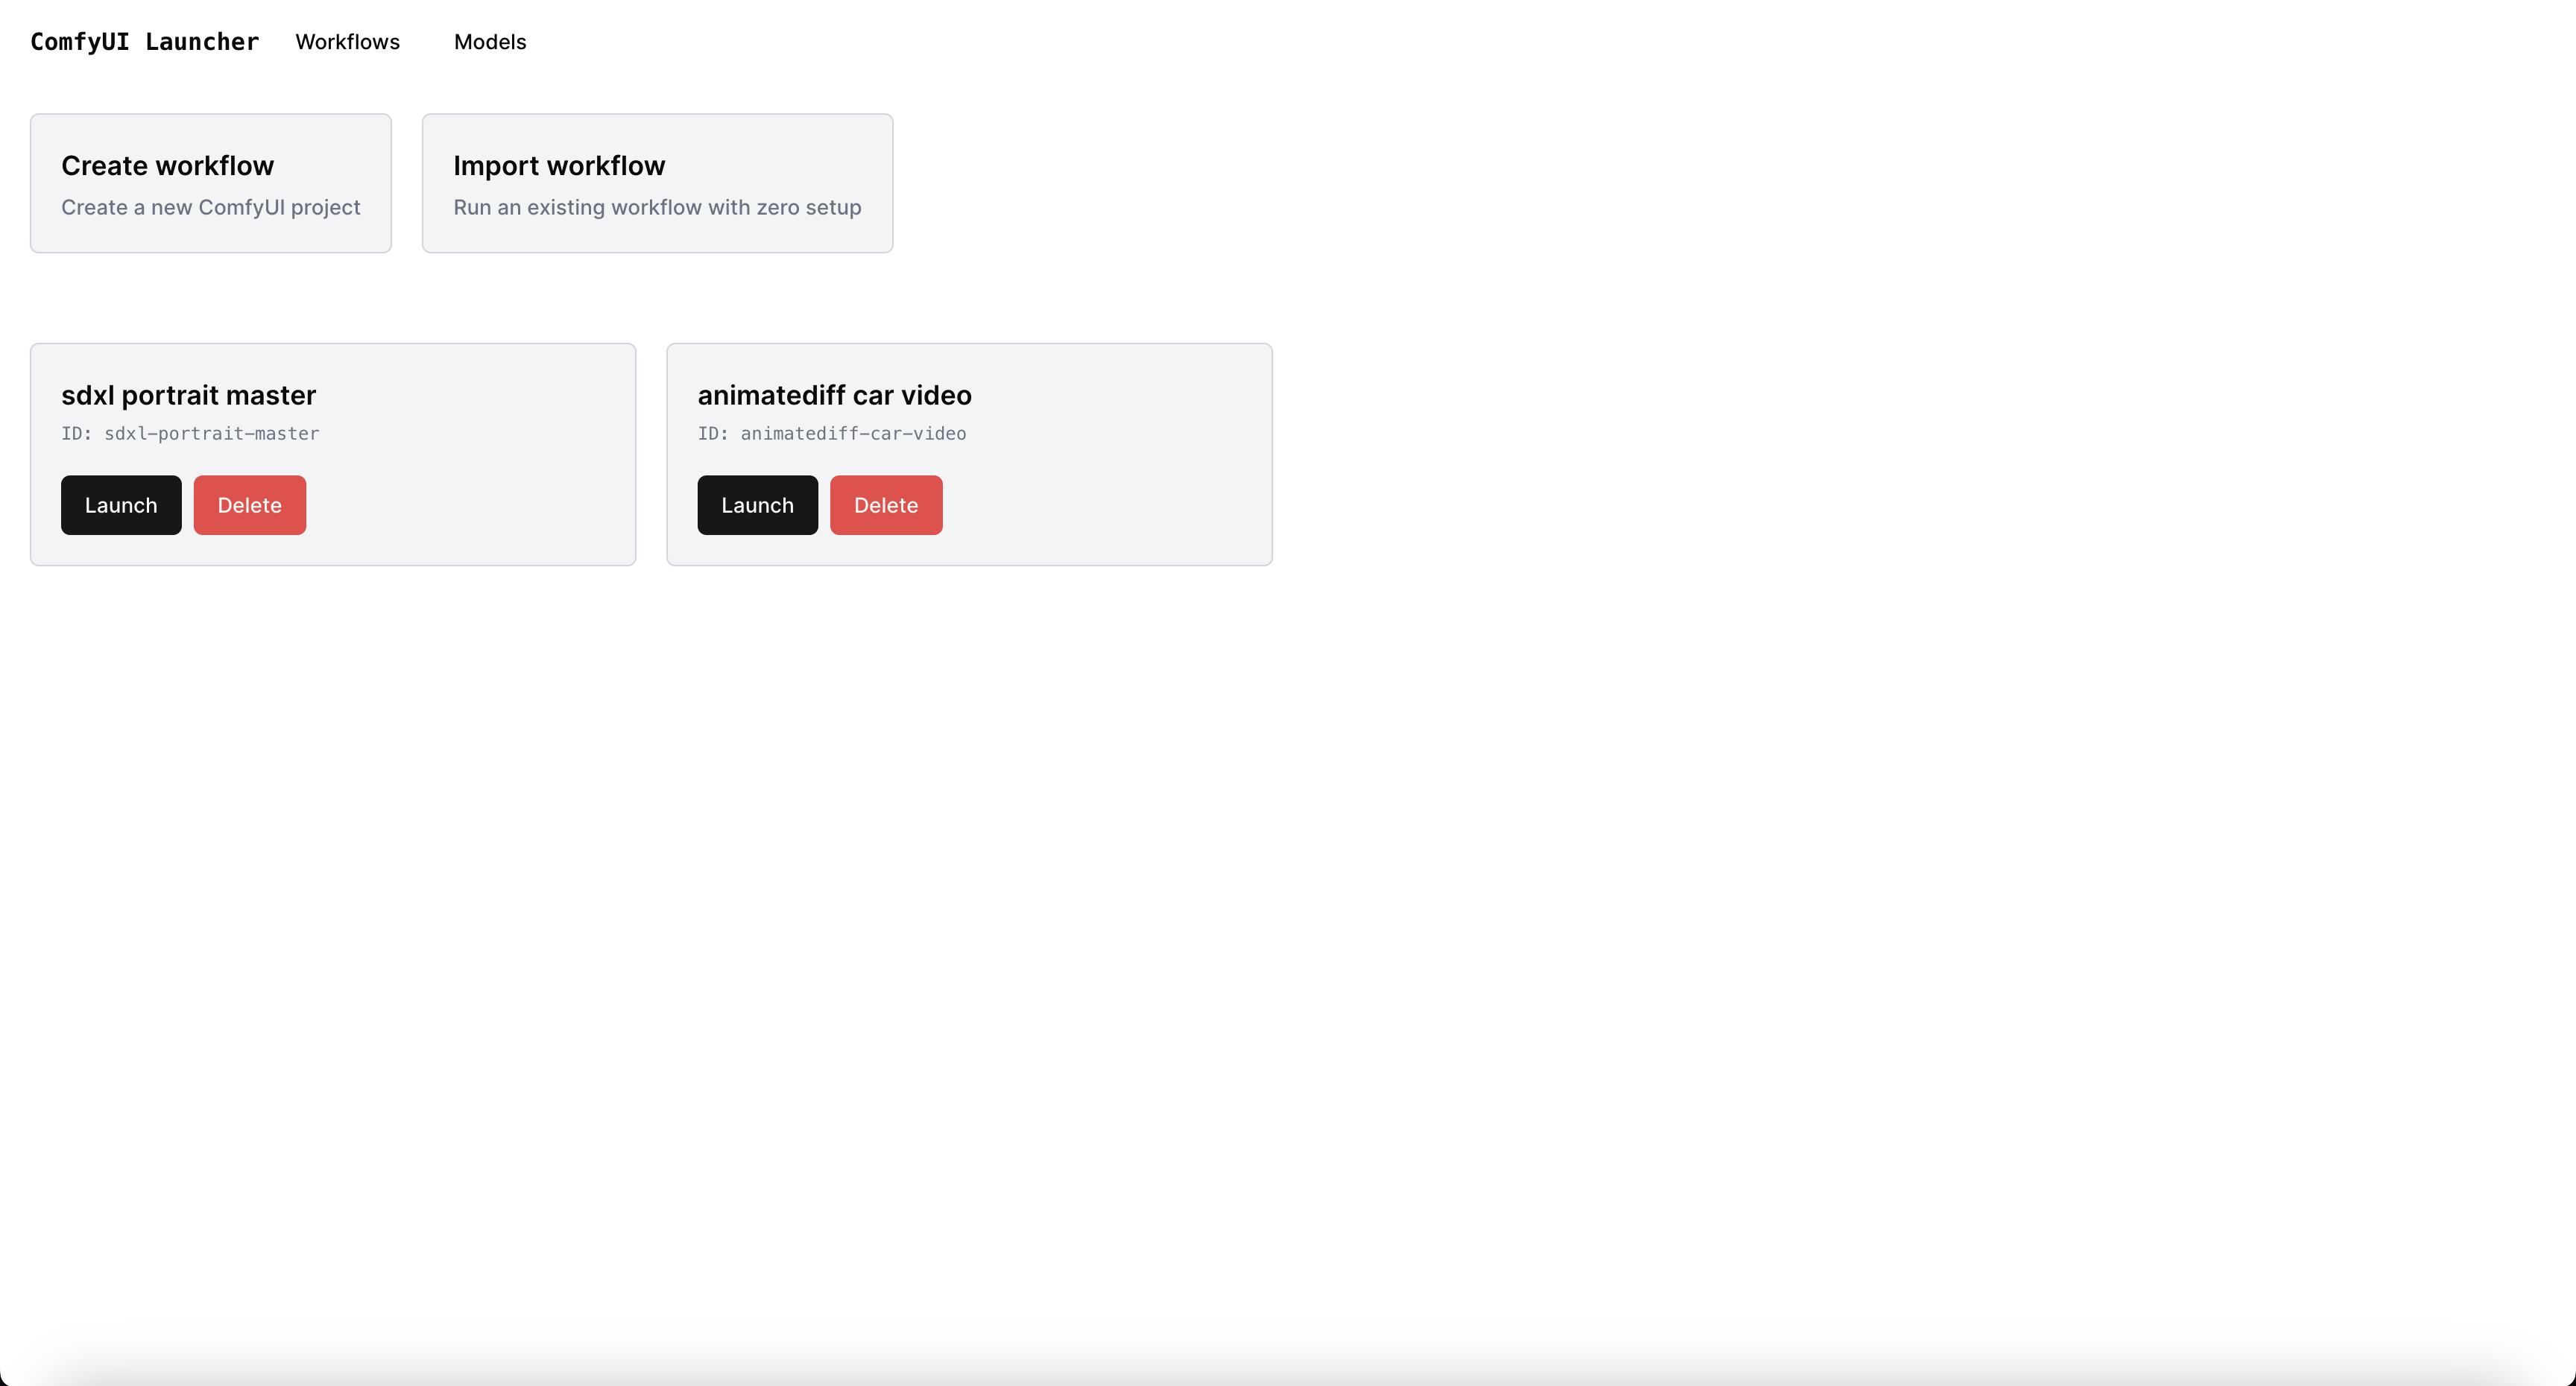
Run any ComfyUI workflow w/ ZERO setup.
Need help? Join our Discord!
Runs anywhere:
- Automatically installs custom nodes, missing model files, etc.
- Workflows exported by this tool can be run by anyone with ZERO setup
- Work on multiple ComfyUI workflows at the same time
- Each workflow runs in its own isolated environment
- Prevents your workflows from suddenly breaking when updating custom nodes, ComfyUI, etc.
Running a workflow json file w/ no setup
ComfyUI.Launcher.Import.Demo.-.short.-.v1.mp4
- Docker (w/ GPU support) or Python 3
- Python 3
docker run \
--gpus all \ # remove this line if you don't have a GPU or if you're on MacOS
--rm \
--name comfyui_launcher \
-p 4000-4100:4000-4100 \
-v $(pwd)/comfyui_launcher_models:/app/server/models \
-v $(pwd)/comfyui_launcher_projects:/app/server/projects \
-it thecooltechguy/comfyui_launcher
docker run ^
--gpus all ^ # remove this line if you don't have a GPU
--rm ^
--name comfyui_launcher ^
-p 4000-4100:4000-4100 ^
-v %cd%/comfyui_launcher_models:/app/server/models ^
-v %cd%/comfyui_launcher_projects:/app/server/projects ^
-it thecooltechguy/comfyui_launcher
Open http://localhost:4000 in your browser
Works for Windows (WSL - Windows Subsystem for Linux), Linux, & macOS
git clone https://github.com/ComfyWorkflows/comfyui-launcher
cd comfyui-launcher/
./run.sh
Open http://localhost:4000 in your browser
If you're facing issues w/ the installation, please make a post in the bugs forum on our discord
docker pull thecooltechguy/comfyui_launcher
git pull
If you're running ComfyUI Launcher behind a reverse proxy or in an environment where you can only expose a single port to access the Launcher and its workflow projects, you can run the Launcher with PROXY_MODE=true (only available for Docker).
docker run \
--gpus all \ # remove this line if you don't have a GPU or if you're on MacOS
--rm \
--name comfyui_launcher \
-p 4000:80 \
-v $(pwd)/comfyui_launcher_models:/app/server/models \
-v $(pwd)/comfyui_launcher_projects:/app/server/projects \
-e PROXY_MODE=true \
-it thecooltechguy/comfyui_launcher
Once the container is running, all you need to do is expose port 80 to the outside world. This will allow you to access the Launcher and its workflow projects from a single port.
Currently, PROXY_MODE=true only works with Docker, since NGINX is used within the container.
If you're running the Launcher manually, you'll need to set up a reverse proxy yourself (see the nginx.conf file for an example).
When starting the ComfyUI Launcher, you can set the MODELS_DIR environment variable to the path of your existing ComfyUI models folder. This will allow you to use the models you've already downloaded. By default, they're stored in ./server/models
When starting the ComfyUI Launcher, you can set the PROJECTS_DIR environment variable to the path of the folder you'd like to use to store your projects. By default, they're stored in ./server/projects
If you find our work useful for you, we'd appreciate any donations! Thank you!
- Native Windows support (w/o requiring WSL)
- Better way to manage your workflows locally
- Run workflows w/ Cloud GPUs
- Backup your projects to the cloud
- Run ComfyUI Launcher in the cloud
- ComfyUI Manager (https://github.com/ltdrdata/ComfyUI-Manager/)
- Used to auto-detect & install custom nodes


