This Repo provides a simple example of a Twitch Extension.
The Example EBS is written in NodeJS
This Twitch Extension primarilly demonstrates the following
- Theme Switching based on the Twitch Theme toggle
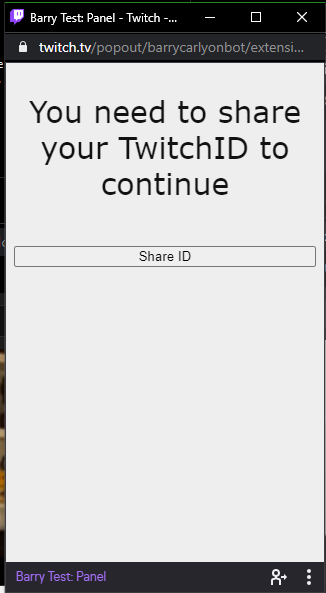
- Prompting a user to Share their Twitch ID with the Extenion
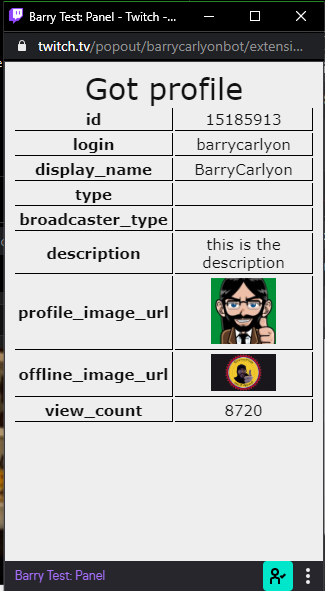
- Making a call to a EBS and display the result
A Twitch Extension Back end is also known as an "EBS" or "Extension Backend Service"
- Generating an App Access Token for the EBS to use
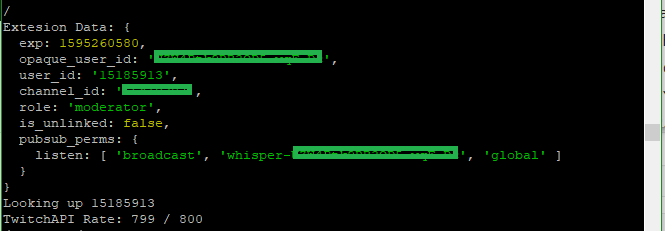
- Parsing a JWT Token that was passed up from the front end
- Calling the Twitch API from the EBS
Note: this EBS expects node.js 18 as it utilises fetch built into node.js 18
So without SSL on your frontend/EBS browsers will usually block access on mixed content grounds.
This covers how to get started if you don't already have an extension setup.
If you already do you can just use your existing hosting/test solution and use the existing Extension. And follow from step 12 for the relevant keys/IDs/secrets
- Visit the Twitch Dev Console to create a new extension. Link
- Give it a Name, you cannot use "Extension," "Twitch," or "Glitch". Hit Continue
- Select the Panel checkbox, leave the reset as is. Hit Create
- Select
Capabilitiesat the top - Select
Yes, I would like my extension to request an identity link.andSave Changes - Select
Asset Hostingat the top - Change
Panel Viewer Pathtoindex.html - Change the
Panel Heightto 500 andSave Changes - Top right hit
Extension Settings - In the ebs folder copy
config_sample.jsontoconfig.json - Change the port as need
- Copy the clientID from this page, it's at the top, into the
""ofclient_idinconfig.json - Under
Twitch API Client SecretClick onGenerate Secret - Hit OK
- Copy the now shown Client Secret into the
""ofclient_secretinconfig.json - Under "Extension Secrets" on the page hit the "show" button
- Copy the now shown key (including any = on the end) into the
""ofextension_secretinconfig.json - Run by
cdto your ebs folder and run the commands npm installnode .- In extension copy
config_sample.jstoconfig.js - Change the
https://theURLtoMyEBSto the URL of your now running EBS
For easy "what key goes where" see this image.
FINALLY
Install the Extension to your channel and test it.
These instructions do not cover SSL termination, which is the only gotcha here.
You can use something like NGROK for testing.
You'd need two tunnels, one for your frontend and one for your backend (or if you know what you are doing just the one). And to adjust the Extension Console settings (and config.json's) as needed.
Personally I use NGINX to SSL Terminate, and a reverse SSL tunnel to get traffic from my production server to my local machine.
The EBS for this server, generates an App Access Token at Boot, but doesn't test it/renew it. So if you use this code for a production EBS it'll probably stop working after 60 days. The EBS is for short demonstrations of the code flow.
If you are testing this example in Hosted Test or above, you'll need to add your EBS URL to the CSP fields, specifically the Allowlist for URL Fetching Domains
You can find those at -> Dev Console -> Manage an Extension -> Manage a Version -> Capabilties
See also the Documentation on Content Restrictions


