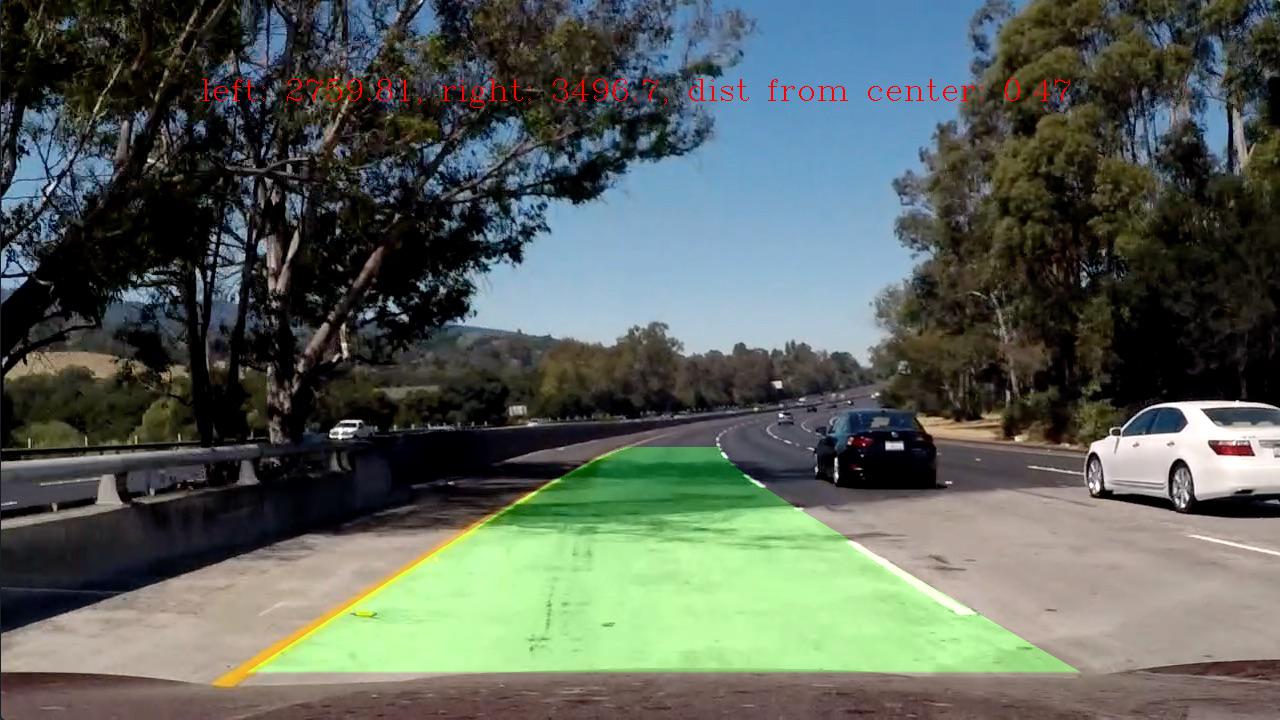
Given a video of a car driving in its lane, the program identifies the lane and draws it onto the image. Output video is output.mp4
Steps:
- Calibrate the camera
- Undistort images
- Apply binary thresholds to identify lane lines
- Transform perspective to birds-eye-view
- Detect left/right lane pixels and determine curvature
- Warp the detected lane back onto the original image
###1. Calibrate the camera
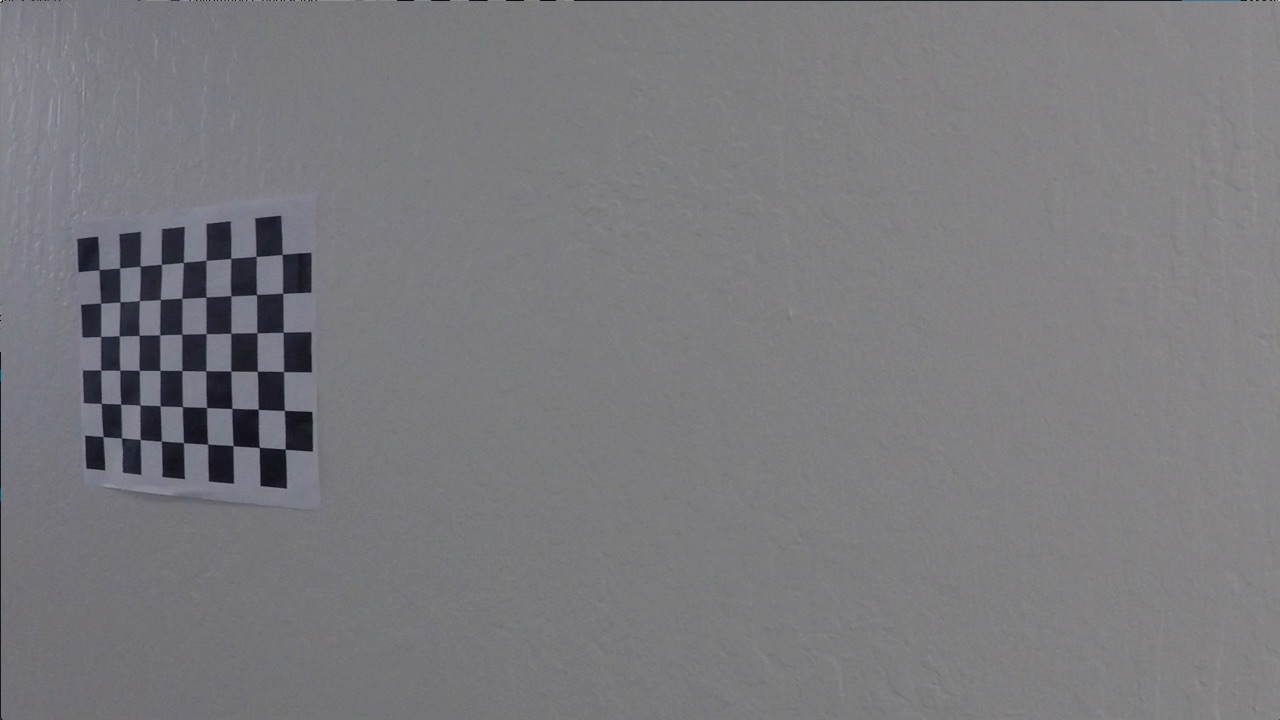
calibrate.py: the camera is calibrated using opencv functions with 20 chessboard images from different angles and distances. calibrate_cam() looks for the 9x6 inner corners in each image and stores them in an array. An example chessboard image:
###2. Undistort images
Given these corners, the distortion matrix and distances are calculated using opencv and used to undistort images taken from this camera. undist() applies the undistortion.
An example image before undistortion:

And after undistortion (notice how the edge of the top right bush changed):
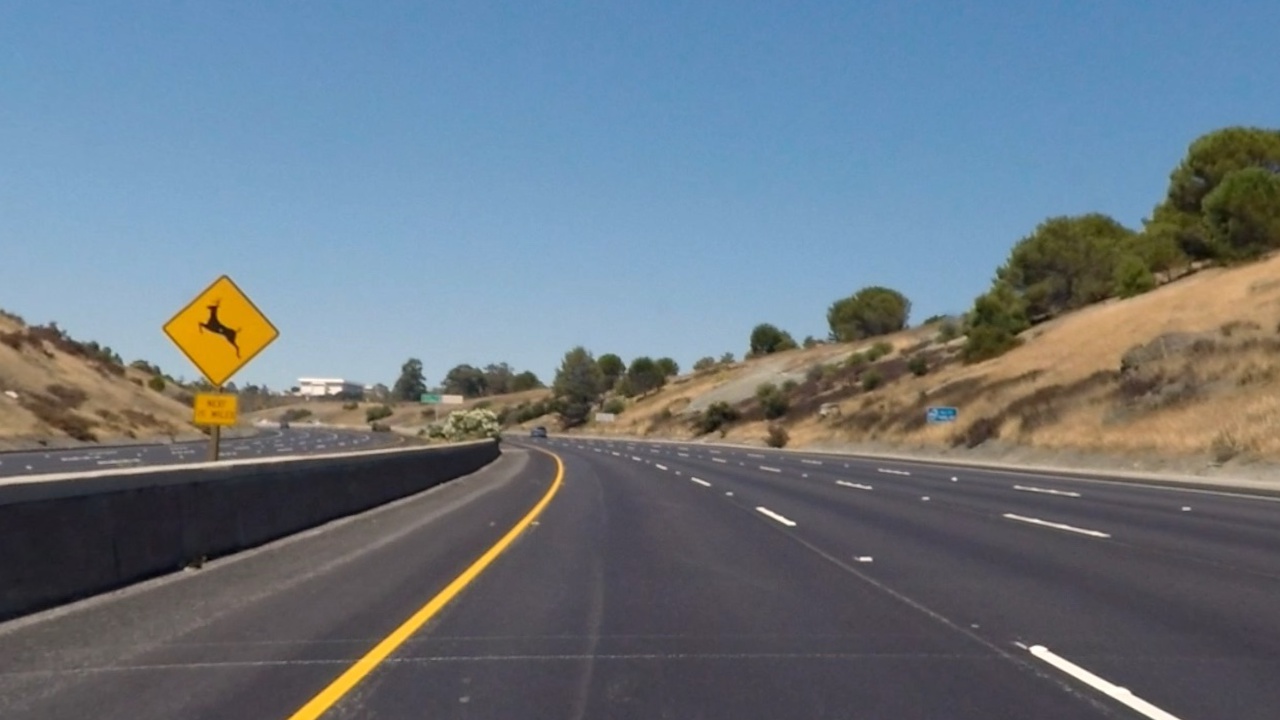
###3. Apply binary thresholds to identify lane lines
threshold_helpers.py contains the fucntions for applying binary thresholds detect the lane lines.
- abs_sobel_thresh(): calculates the threshold along either x (mostly vertical) or y (mostly horizontal) orients, given passed in thersholds (upper and lower bounds) and kernel values (which determines smoothness). The red color spectrum was found to give the best thresholds via guess and test.
- hls_thresh(): uses the saturation channel of the hls color spectrum as a binary threshold.
- hsv_thresh(): uses the v channel of the hsv color sepecturm for binary thresholding.
- mag_thresh(): creates a magnitude threshold based on the combined values of the sobel in x and y directions. (not used)
- dir_thresh(): sets a directional threshold for given bounds between 0 (horizontal) and pi/2 (vertical). (not used)
- combo_thresh(): sets a pixel to 1 if it is found in either the x and y thresholds or if it is found in the magnitude, direction, and hls thresholds.
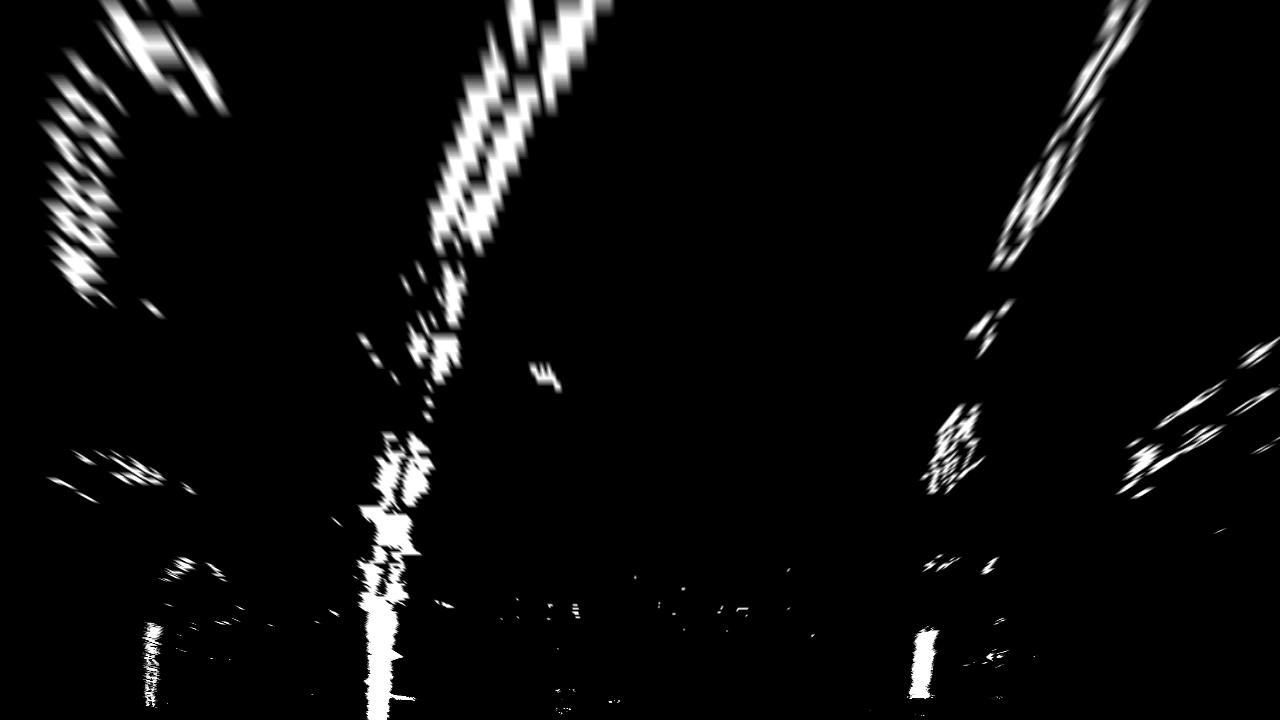
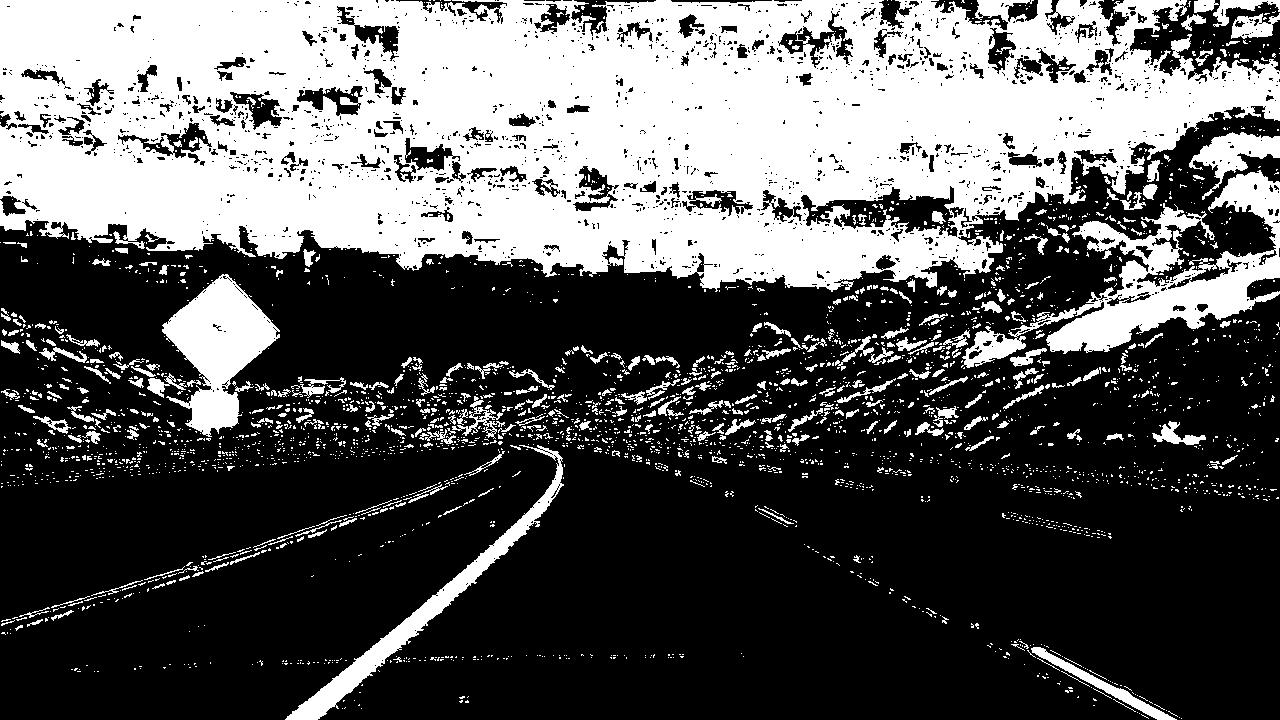
The parameters were tuned by viewing each of the 6 thresholds independently and combined and looking for which combinations maximized lane pixels while also minimizing noise. Ultimately, a combination of (hls and hsv) or (x and y) provided the best results. I've visualized the image below.
After all thresholds are applied:
###4. Transform perspective to birds-eye-view
draw_lane.py contains the code for transforming perspective.
change_perspective(): takes a road image and maps it to the birds eye view. A transformation matrix, M, is calculated between the src points (4 corners of a straight lane) and the destination points (a rectangle/birds eye view of the lane). cv2.warpPerspective then maps the previous image to the birds eye view.
The src points are based proportionally on the size of the image, and were determined by picking 4 points on an image of the straight lane.
After changing perspective, the left and right lines should appear parallel since they should curve the same amount at any point in the lane.
Credit to the Udacity lecture on programmatically finding good points for the warp.
###5. Detect left/right lane pixels and determine curvature
draw_lane.py contains the code for deteching l/r lane pixels.
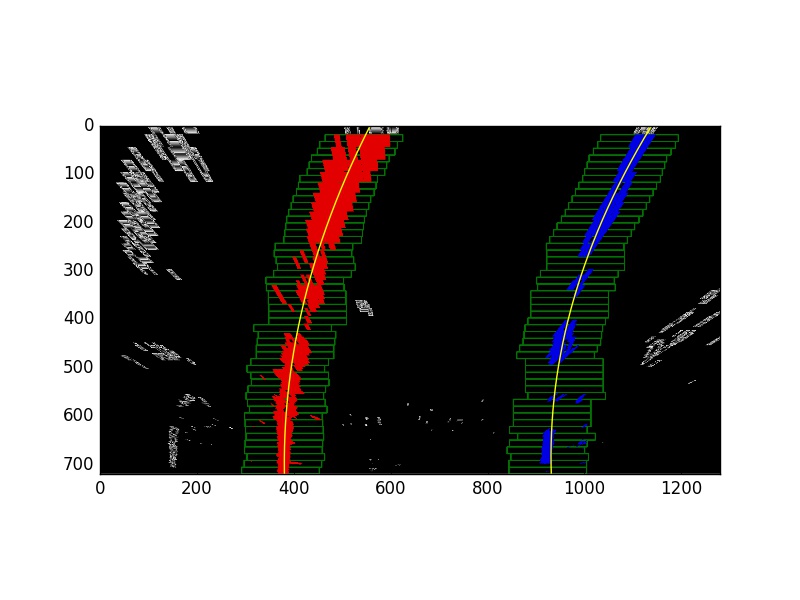
lr_curvature(): takes the warped and thresholded image and extracts the locations of the pixels in it. Using sliding windows, the lane-related pixels are extracted and a second order polynomial fit to the left and right lanes.
Finally, it converts from pixel space to meter space and calculates the left and right curve radius.
class Lane(): keeps track of the left and right values, curvatures, and text for the image. Several checks are applied on the data before accepting it is a new lane: the curves most be similar in magnitude, and the right lane must have enough pixels in the right region of the screen. Otherwise, the previous lane values are used.
Example sliding windows, corresponding left(red) and right(blue) pixels, and best fit lines(yellow):
###6. Warp detected lane back onto the original image
draw_lane.py also puts all the pieces together.
draw_on_road(): Given the calculated lines of best fit, the x and y values are converted to points and filled in green.
The inverse perspective transform of the original birds eye transform is used to warp the images back to the original image.
process_image(): Puts all the steps above together.
An example end-product:
-
To determine the right thresholding, I experimented with gray color images and the red color channel since it can recognize both white and yellow lines. Messing with the parameters, I determined that the red color channel worked best, and that combing the hls_threshold with the dir and mag took out the shadow noise in the hls_threshold function.
-
To determine the best spots for the conversion from image space to pixel space, I first played around with different hard-coded corners for the lanes. Eventually, I used proportional locations in the image because they returned more parallel lines.
-
After developing my convolutional neural network for maintaining lanes, I knew to visualize my images at each step of the process to avoid stupid mistakes. Given the large number of helper methods for this problem, I also had to make decisions about how to best modularize the code. I decided that the camera calibration functions could stand on their own, as could all of the thresholding functions, allowing the main draw_lane.py to call the necessary helpers in process_image.
-
This model shows a few hiccups with shadows and line markings. I could improve it by averaging several past lane curvatures. Additionally, instead of sliding windows I could use convolutions to determine which pixels are part of the left and right lanes. Finally, this has not been tested with night-time or rainy condition videos, and those may blur the lines to the point where the current model would not work well.
Thank you to Udacity for selecting me for the nanodegree and helping me meet other self-driving car programmers.
