Welcome to People.SSW ! All SSW Profiles have been automatically migrated from our previous iteration (hosted on SharePoint) and therefore might not be optimized. Please, feel free to fix typos and styling mistakes.
These markdown files are used by our Gatsby static site generator to generate https://people.ssw.com.au/
Gatsby generator project: https://github.com/SSWConsulting/people.ssw.com.au/
- Find your folder from the root
- Navigate to [Firstname]-[Lastname].md
- Make your changes
Hint: you can use https://github.com/adam-p/markdown-here/wiki/Markdown-Cheatsheet if you are not familiar with Markdown
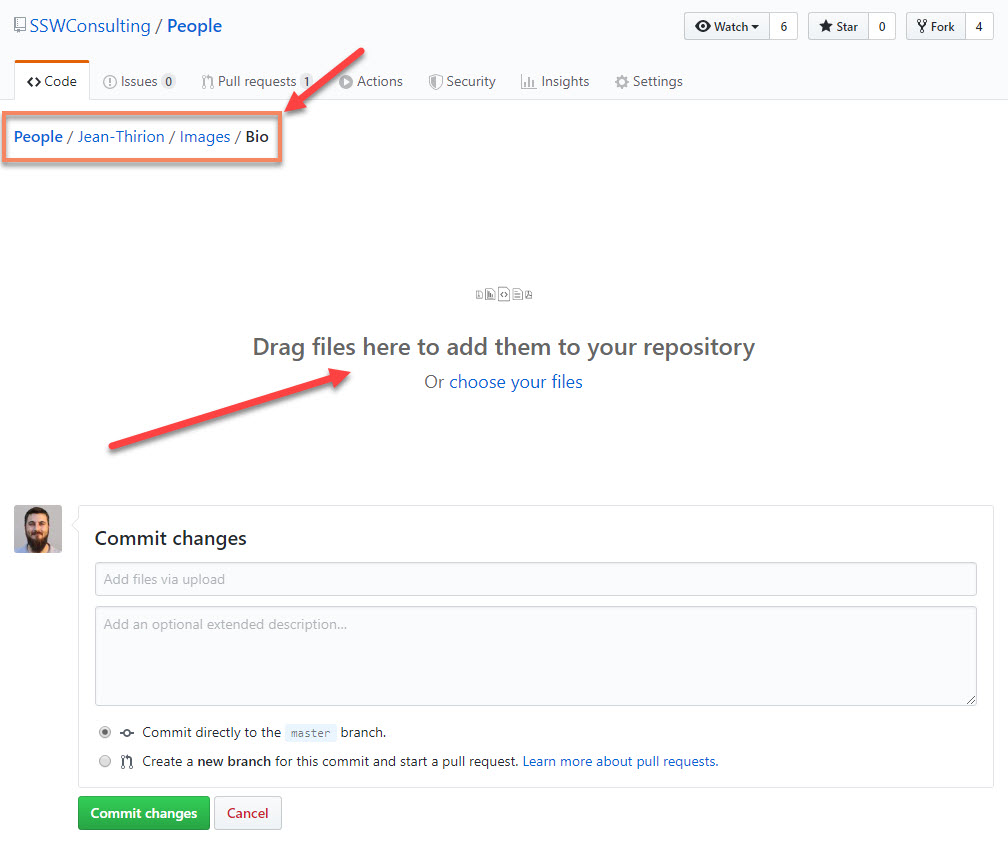
- Navigate to your profile folder
- Navigate to /People/[Firstname]-[Lastname]/Images/Bio
- Reference the images in your Bio using

Our Markdown processor uses custom Markups to extend markdown capabilities on image styling. Images added to your profile can be defined as :
- "Badge" - inline fixed 135px maximum width
- "Small" - fixed 200px maximum width
- "Medium" - fixed 400px maximum width
- "Large" - no maximum width
To assign one those predefined styles to an image, use the following syntax:
[[Custom_Style_Code]]
| 
Example:
[[imgBadge]]
| 
Available styles:
| Style name | Code | Inline | Image max-width |
|---|---|---|---|
| Badge | imgBadge | true | 135px |
| Small | imgSm | false | 200px |
| Medium | imgMd | false | 400px |
| Large | imgLg | false | none |
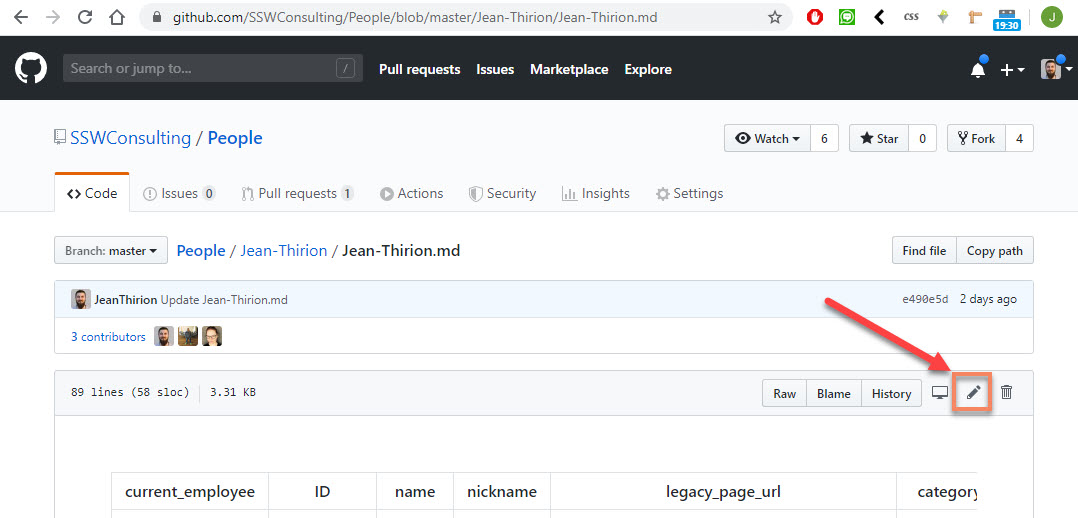
- Navigate to your markdown profile
- Click "Edit"
 Figure: Enabling edit mode in GitHub
- Make your changes
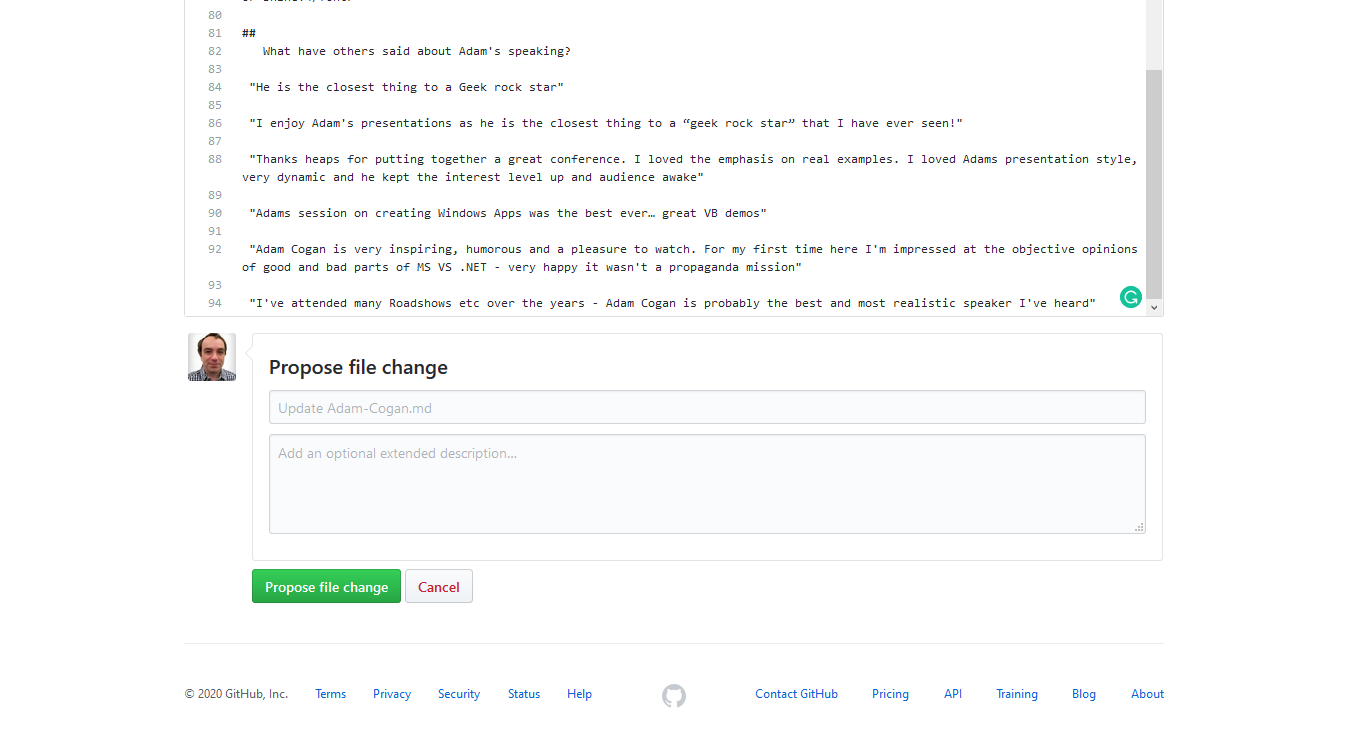
- Click "Propose File Change"
Important: Please add a description for your changes so reviewers have context when approving your changes
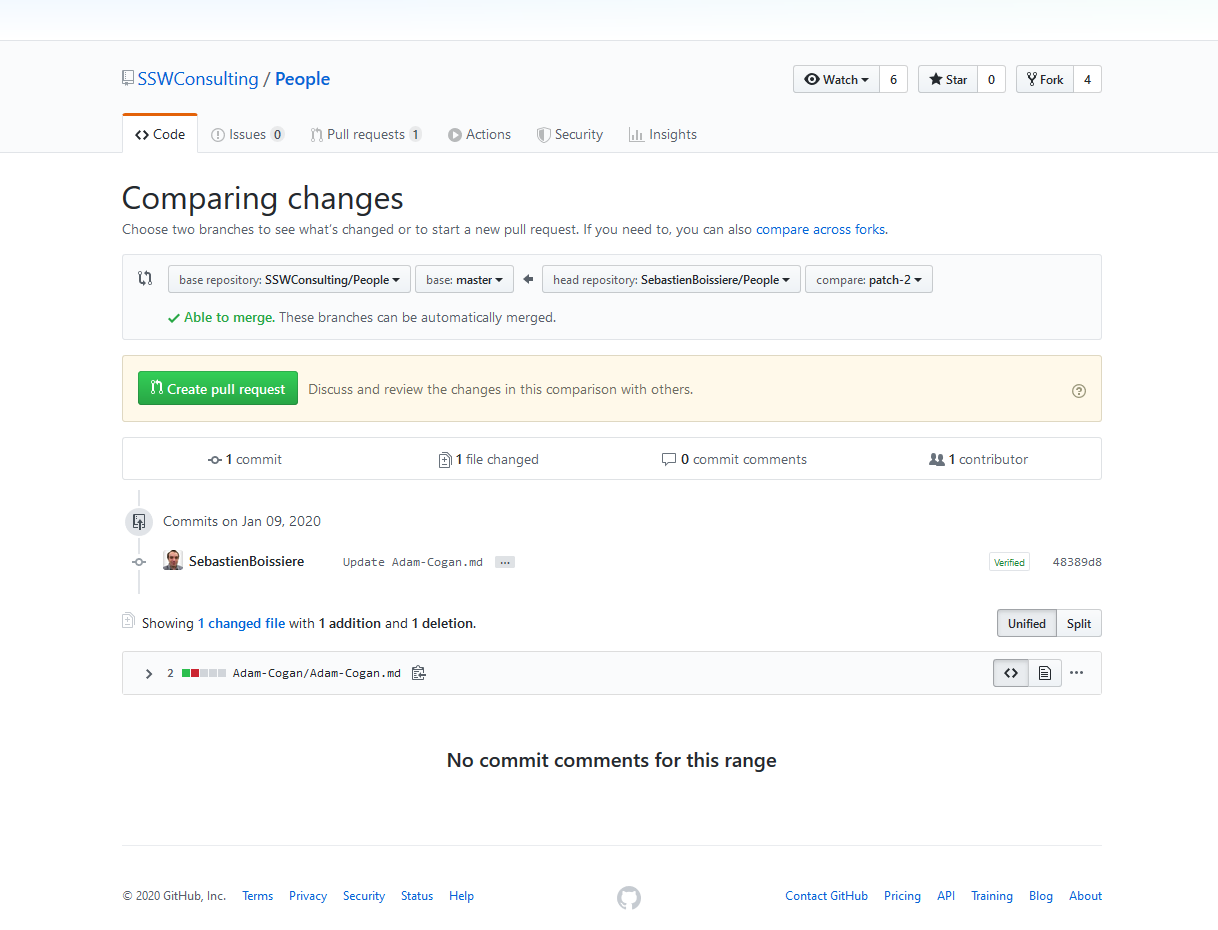
- Click "Create Pull Request"


