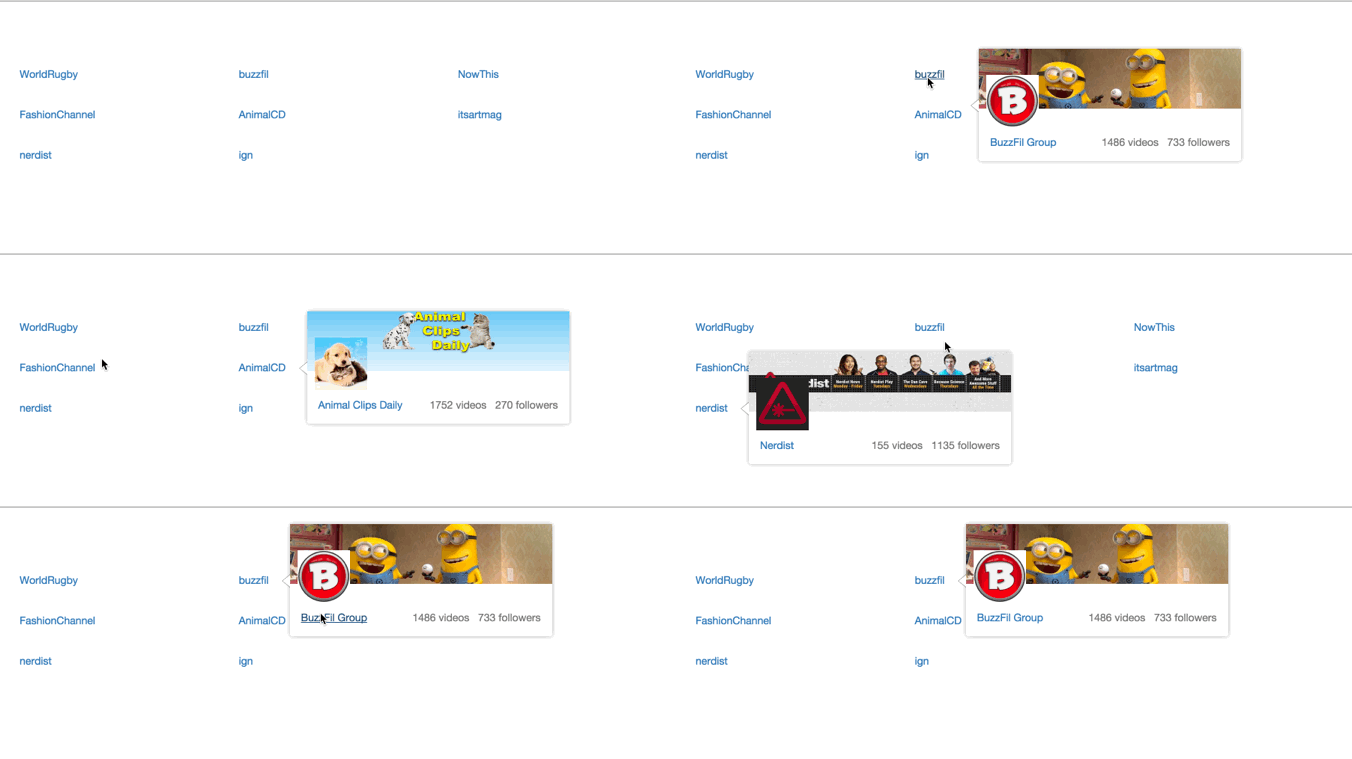
Awesome tooltips.
$ npm install react-portal-tooltipWarning The versions 2.x on npm are compatible with React 16. Corresponding versions for older versions of React:
# For react v15
$ npm install react-portal-tooltip@1

# For react 0.14
$ npm install react-portal-tooltip@0.14

# For react 0.13
$ npm install react-portal-tooltip@0.13http://romainberger.github.io/react-portal-tooltip/
import React from 'react'
import ToolTip from 'react-portal-tooltip'

class MyComponent extends React.Component {
    state = {
        isTooltipActive: false
    }
    showTooltip() {
        this.setState({isTooltipActive: true})
    }
    hideTooltip() {
        this.setState({isTooltipActive: false})
    }
    render() {
        return (
            <div>
                <p id="text" onMouseEnter={this.showTooltip.bind(this)} onMouseLeave={this.hideTooltip.bind(this)}>This is a cool component</p>
                <ToolTip active={this.state.isTooltipActive} position="top" arrow="center" parent="#text">
                    <div>
                        <p>This is the content of the tooltip</p>
                        <img src="image.png"/>
                    </div>
                </ToolTip>
            </div>
        )
    }
}active: boolean, the tooltip will be visible if trueposition: top, right, bottom or left. Default to rightarrow: center, right, left, top or bottom (depending on the position prop). No arrow when the prop is not sepecifiedalign: the alignment of the whole tooltip relative to theparentelement. possible values : center, right, left. Default to center.tooltipTimeout: timeout for the tooltip fade out in milliseconds. Default to 500parent: the tooltip will be placed next to this element. Can be the id of the parent or the ref (see example below)group: string, necessary if you want several independent tooltipsstyle: object, allows customizing the tooltip. Checkout the example for details.useHoverbool, default to true. If true, the tooltip will stay visible when hovered.
You can use an id or a ref to reference the parent:
<div id="hoverMe" onMouseEnter={this.showTooltip} onMouseLeave={this.hideTooltip}>
    Hover me!!!
</div>
<ToolTip active={this.state.isTooltipActive} position="top" arrow="center" parent="#hoverMe">
    <div>
        <p>This is the content of the tooltip</p>
    </div>
</ToolTip><div ref={(element) => { this.element = element }} onMouseEnter={this.showTooltip} onMouseLeave={this.hideTooltip}>
Hover me!!!
</div>
<ToolTip active={this.state.isTooltipActive} position="top" arrow="center" parent={this.element}>
<div>
<p>This is the content of the tooltip</p>
</div>
</ToolTip>If you only use the Tooltip for mouse enter / mouse leave, you may not want to handle the state yourself for all elements. In this case, you can use the stateful version which will do it for you:
Import the stateful version:
import { StatefulToolTip } from "react-portal-tooltip"Then create your parent and give it as a prop to the Tooltip:
const button = <span>Hover me to display the tooltip</span>

return (
  <StatefulToolTip parent={ button }>
    Stateful Tooltip content here!
  </StatefulToolTip>
)
StatefulToolTip takes the same props as ToolTip, plus a className prop that will be applied to the root element wrapping the parent (see the example).
# clone
$ git clone git@github.com:romainberger/react-portal-tooltip.git

# install the dependencies
$ npm install

# go to the example folder, then install more dependencies
$ cd example && npm install

# start the development server with hot reloading
$ npm start

# to build run this command from the root directory
$ npm buildMIT


