note: This project was started with love by Trecia, Daniel and Paul. We were all new to Next 13 and Typescript. If you find any bugs or improvements feel free to create an issue. Thank you all for your support and participation.
- Clone the repository locally:
  git clone https://github.com/strapi/nextjs-corporate-starter.git
    or
gh repo clone strapi/nextjs-corporate-starter- CD into
backenddirectory and run the following command to install all the dependencies:
yarn- Next Set up your
.envfile. You can use use the.env.examplefile as reference:
HOST=localhost
PORT=1337
APP_KEYS="toBeModified1,toBeModified2"
API_TOKEN_SALT=tobemodified
ADMIN_JWT_SECRET=tobemodified
JWT_SECRET=tobemodified
TRANSFER_TOKEN_SALT=tobemodified- Start Your Project by running the following command:
  yarn build
  yarn develop
You will be prompted to create your first admin user.
Great. You now have your project running. Let's add some data.
We are going to use our DEITS feature which will alow to easily import data into your project.
You can learn more about it in our documentation. <-- need link to docs -->
In the root of our project we have our seed-data.tar.gz file. We will use it to seed our data.
-
Open up your terminal and make sure you are still in you
backendfolder. -
Run the following command to seed your data:
yarn strapi import -f ../seed-data.tar.gzThis will import your data locally. Log back into your admin panel to see the newly imported data.
CD into your frontend directory and run the yarn to instal all of your dependencies.
Next we need to create our .env file and paste in the following.
NEXT_PUBLIC_STRAPI_API_TOKEN=tobemodified
NEXT_PUBLIC_STRAPI_FORM_SUBMISSION_TOKEN=tobemodified
NEXT_PUBLIC_STRAPI_URL=http://localhost:1337
NEXT_PUBLIC_PAGE_LIMIT=6
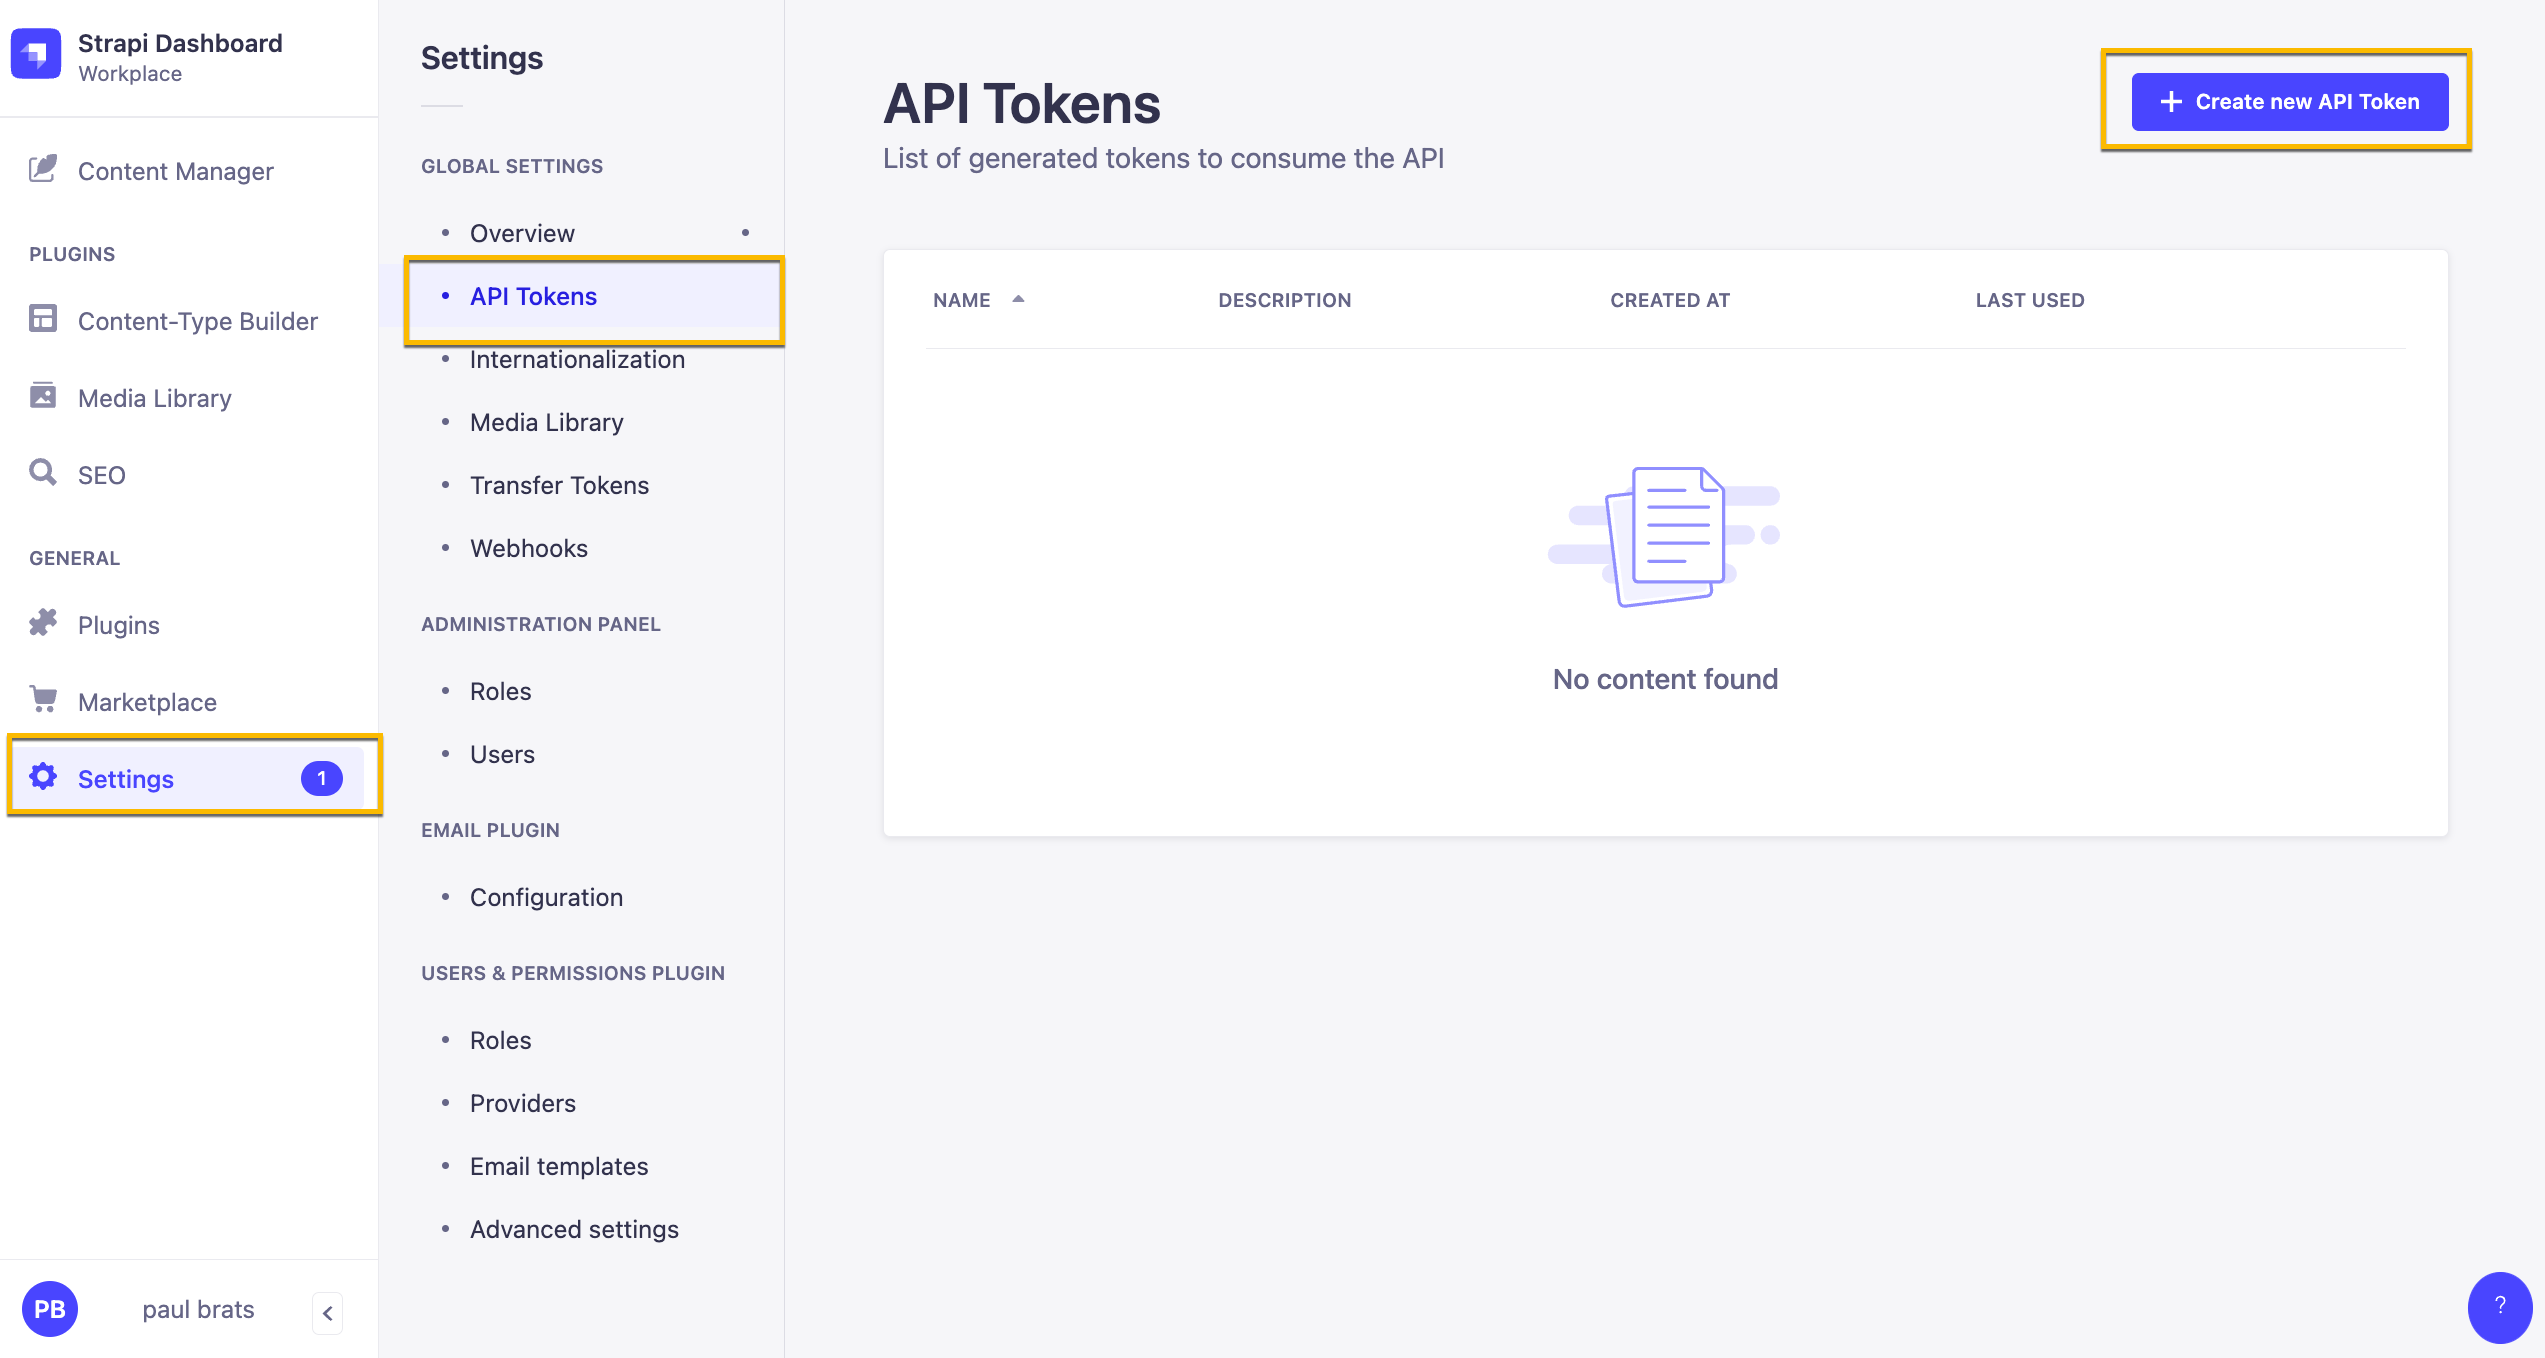
Before starting our Next JS app we need to go inside our Strapi Admin and create two tokens that we will be using for form submission and displaying our content.
Inside your Strapi Admin Panel navigate to Settings -> API Tokens and click on the Create new API Token.
Here are our Token Settings
Name: Public API Token Content Description: Access to public content. Token duration: Unlimited Token type: Custom
In Permissions lets give the following access.
| Content | Permissions |
|---|---|
| Article | find and findOne |
| Author | find and findOne |
| Category | find and findOne |
| Global | find |
| Page | find and findOne |
| Product-feature | find and findOne |
Once you have your token add it to your NEXT_PUBLIC_STRAPI_API_TOKEN variable name in the .env file.
Also create a token that will allow us to submit our form.
Name: Public API Form Submit Description: Form Submission. Token duration: Unlimited Token type: Custom
In Permissions lets give the following access.
| Content | Permissions |
|---|---|
| Lead-Form-Submission | create |
Add your token to your NEXT_PUBLIC_STRAPI_FORM_SUBMISSION_TOKEN variable name in the .env file.
Once your environment variables are set you can start your frontend application by running yarn dev.
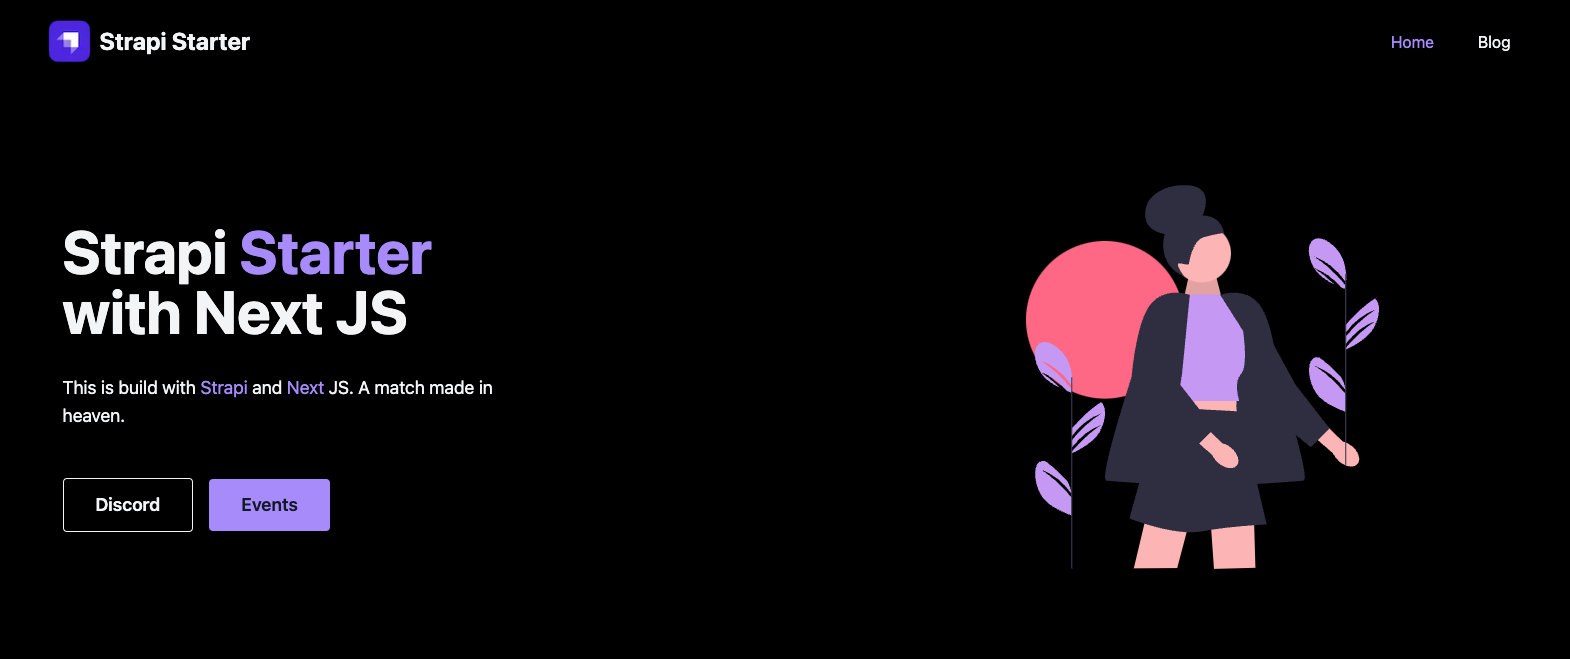
You should now see your Next JS frontend.
We can also start both projects with one command using the concurrently package.
You can find the setting inside the package.json file inside the root folder.
{
  "scripts": {

    "frontend": "yarn dev --prefix ../frontend/",
    "backend": "yarn dev --prefix ../backend/",
    "clear": "cd frontend/.next && rm -rf cache",
    "dev": "concurrently \"yarn clear\" \"cd frontend && yarn dev\" \"cd backend && yarn develop\""
  },
  "dependencies": {
    "concurrently": "^7.6.0"
  }
}
Inside your root folder run yarn to install the dependencies and you can start both apps by running yarn dev.
Hope you find this starter useful, it is a bare-bone example to help you get started quickly.
Would love to hear what you will build using it.
If you find bugs or have suggestions feel free to create issues.
Thank you and stay awesome.


