This repository contains source code related to the publication "Deep learning-based quantification of NAFLD/NASH progression in human liver biopsies", Heinemann et al., Scientific Reports, 2022 https://www.nature.com/articles/s41598-022-23905-3.
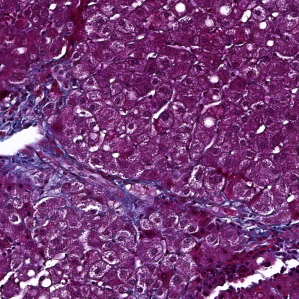
The method analyzes microscopy images of human liver biopsies stained in Masson' Trichrome or Goldner stain. As result the four features of the pathologist-based Kleiner score (Statosis, Ballooning, Inflammation and Fibrosis) are generated. The features are in the identical numerical range as the pathologist score (e.g. 0-4 for fibrosis) but on a continuous scale.
The method presented here is experimental and for research only. It is not approved for diagnostic use.
The code in the repository was tested under Python 3.64 with a NVidia GTX1080 GPU with 11GB. Packages' versions are listed in the requirements.txt.
Download data from: https://osf.io/8e7hd/
Create a folder structure as below. Unzip in the identical folders as in the osf repo.
├── model                  # Pretrained TF / Keras models
├── ANN                    # Optional data to train ANNs from features X
├── CNN                    # Training data for CNNs
    ├── steatosis
    ├── inflammation
    ├── ballooning
    ├── fibrosis
    ├── result
ground_truth.csv           # Table with pathologist scores
├── data                   # Data to analyze (not provided)
... # (This repo)- Create tiles of your whole slide scans
- Small tiles: 299px² at 0.44 µm/px
- Big tiles: 299px² at 1.32 µm/px
Nomenclature: id_x_y.png. Where x and y are the locations on the whole slide scan and id is a slide id.
Example: 114_10_19.png
- Store the tiles to be analyzed under ./data/.
The structure should be as follows (assuming you work on project_X):
├── data                 # All projects should be here
    ├── project_X        # Folder of project_X
        ├── tiles
            ├──tiles     # Tiles are here
        ├── tiles_big
├──tiles # Big tiles are here-
Edit classify_Kleiner_score_ANN.yaml to specify the location of the training data and the model files
-
Run python:
python classify_Kleiner_score_ANN.py -c classify_Kleiner_score_ANN.yaml
This will generate results as csv files (per tile and score and per slide).
Edit train_CNN.py
python train.py -c train_CNN.yaml
This is available as jupyter notebook.
Run the following script and go though step by step.
This will fit the ANNs (one ANN for each of the four scores).
ANN_score_regression.ipynb
The result are the following pairs per score (make sure not to overwrite the original ones during tests):
- ANN weights file, e.g. HS_Liver_steatosis_model_IN_V1.2_ANN.h5
- Scaler files, e.g. HS_Liver_steatosis_model_IN_V1.2.scaler for feature normalization.
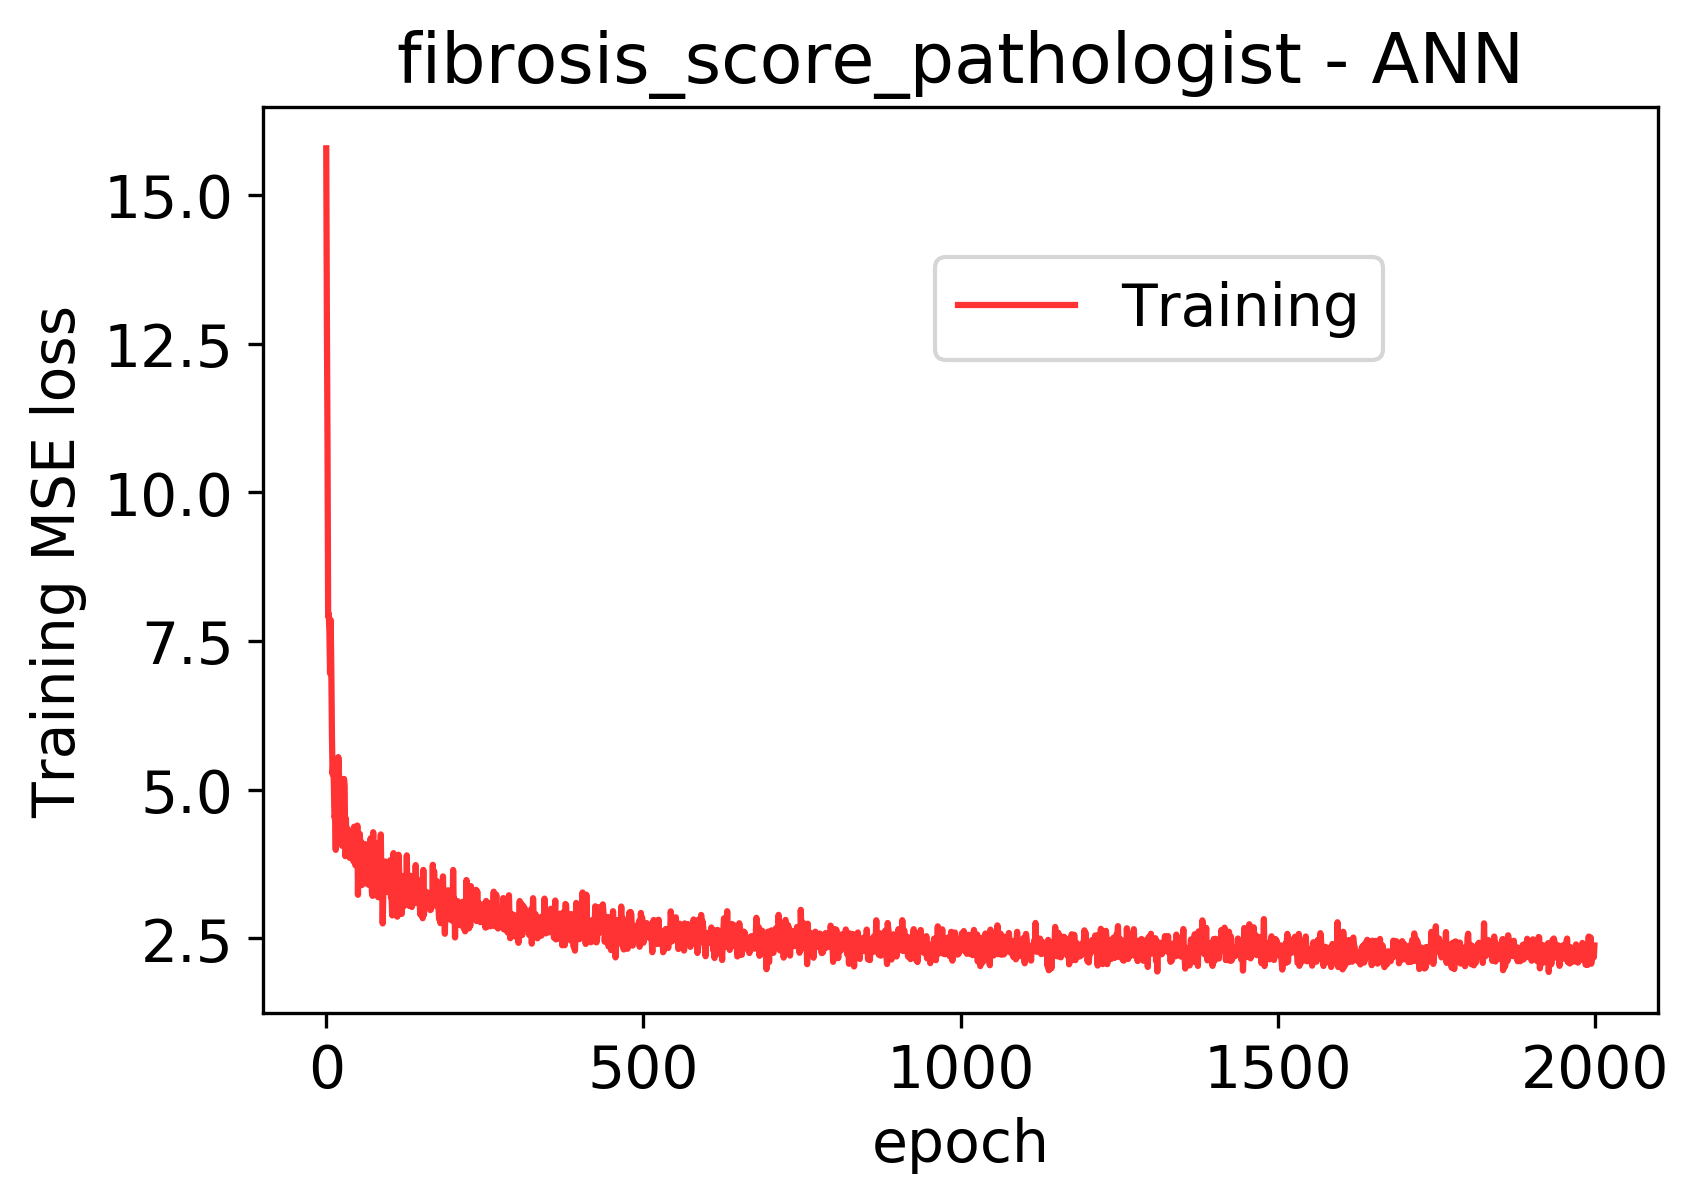
Example learning curve for fibrosis (here: on all train data):
And example fit to the fibrosis data (4x cv)


