This repository holds a sample terminal script for interacting with the British Museum's RDF endpoint to retrieve images and then using OpenCV, recognise faces within the images. These are then cropped and stored in a directory on your machine.
This is a very simple example and pulls busts (100 of them) from the British Museum collection and uses them to create image montages. Within the folder are all the files pulled from the example script.
This example script uses a very simple SPARQL query to retrieve 100 British Museum records of busts, where an image exists. The query is now stored in the SPARQL directory as a text file. Take note of the format with curly braces doubled up.
PREFIX skos: <http://www.w3.org/2004/02/skos/core#>
PREFIX crm: <http://erlangen-crm.org/current/>
PREFIX fts: <http://www.ontotext.com/owlim/fts#>
PREFIX bmo: <http://collection.britishmuseum.org/id/ontology/>
SELECT DISTINCT ?image
WHERE {
  ?object bmo:PX_object_type ?object_type .
  ?object_type skos:prefLabel "bust" .
  ?object bmo:PX_has_main_representation ?image .
} LIMIT 100
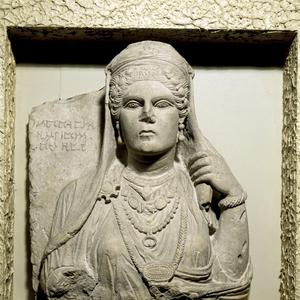
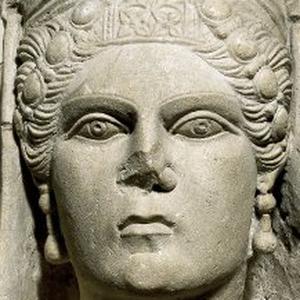
An example detected face can be shown below:
Original image
Detected face
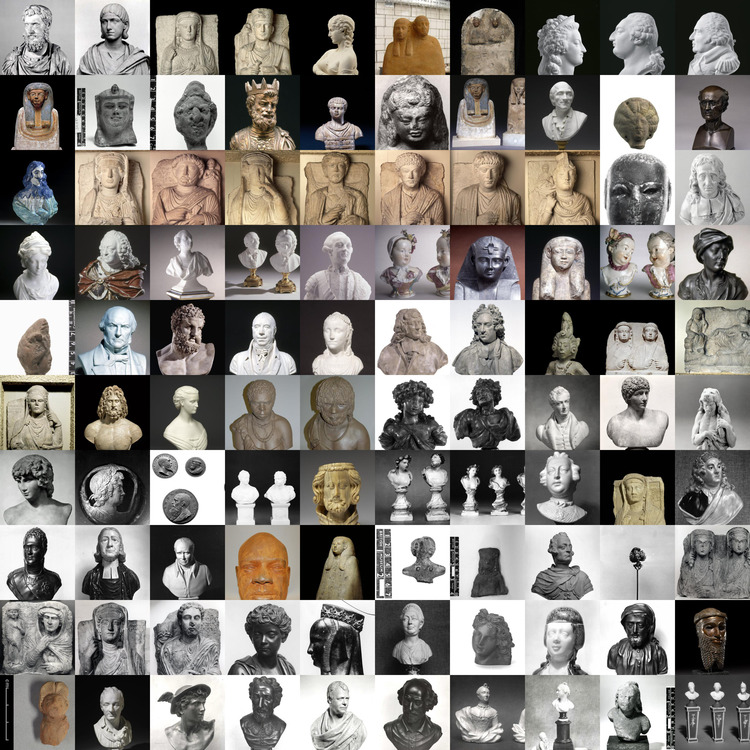
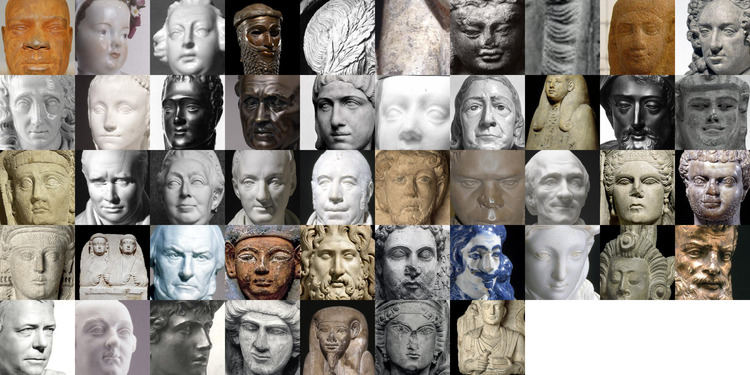
There are also two montages created at the end of this script:
All images originally pulled from RDF:
All faces identified within the original images:
Clone this folder to your computer:
$ git clone https://github.com/BritishMuseumDH/britishMuseumFacesDetection.git
Change to the directory:
$ cd britishMuseumFacesDetection
Install the requirements (I recommend doing this in a virtual environment):
$ pip install -r requirements.txt
Now run the script (for example):
$ python britishMuseumFaces.py -p . -d bmimages -f facesDetected -r bmimagesResized -m montages -s 200 -o 'bmImages' -t 'default' -q "bust"
There are several arguments that you use for this script:
Mandatory:
- Path: -p or --path
- Download directory: -d or --directory
- Faces directory: -f or --faces
- Resize directory: -r or --resized
- Montages directory: -m or --montages
Optional
- Size of cropped image: -s or --size (default 300)
- Output file: -o or --output (default bmImages)
- SPARQL template to use: -t or --template (default.txt is used)
- The query to use: -q or --query (default "bust")
- The endpoint to use: -e or --endpoint (default http://collection.britishmuseum.org/sparql)
This should run and output any error messages to your terminal. Within the script, progress is printed into your terminal window. You should see the following messages when running for the first time:
- Your sparql query reads as: {query string}
- Image {filename} downloaded Multiple times
- Image path written to file Multiple times
- {filename} resized Multiple times
- Detecting faces in {filename} Multiple times
- Found {number of} faces within the image Multiple times
- Written cropped face {filename} Multiple times
- Written highlighted face {filename} Multiple times
- The time taken to process face detection was: --- {x} seconds ---
- {Total number of } faces were identified in total
- The dimensions of the montage are {XbyY}
- Now creating image montage of all retrieved images
- Now resizing image montage of all retrieved images
- Now creating image montage of all faces detected in images
- Now resizing image montage of all faces detected in images
- Facial detection complete
MIT for script. CC-BY-NC-SA for all image content, copyright the Trustees of the British Museum.
- Daniel Pett, The British Museum @portableant
- Harrison Pim, The British Museum @harrisonpim
- Ben O'Steen, The British Library @benosteen
- Richard Wareham, Cambridge University @rjw57
- Matthew Vincent, Rekrei @neshmi
- PEP 8
- Face matching
- Use of apis as well as SPARQL


