The application purpose is to count the number of adopted dogs in the particular dog shelter within a working day.
The application takes the number of the dog adoptions provided to it and generate the report, which can be used later to review the dog shelter activities within the last 24 hours. The report says how many dogs were adopted in the dog shelter per the dog breed.
The application is a simple batch program. It reads the sequential dataset (input) and produces the output sequential dataset (report) as a result. The application written in the plain COBOL language.
Note You can run it in any OS (Mac, Windows or Linux).
- You have to have Npm and NodeJs installed.
- You can use
node -vto verify the NodeJs installation in the system. - You can use
npm -vto verify the Npm installation in the system.
- You can use
- You have to have Java installed locally.
- You have to have Zowe CLI v1 installed locally with a list of required CLI plugins:
- Zowe CLI:
npm install -g @zowe/cli@6.40.2. - You have to disable to Secure Credential Store in the Zowe CLI:
zowe config reset CredentialManager(just for the simplicity of the use case). - Zowe Endevor CLI Plugin:
zowe plugins install @broadcom/endevor-for-zowe-cli@6.5.0. - Zowe Bridge for Git CLI Plugin:
zowe plugins install @broadcom/endevor-bridge-for-git-for-zowe-cli@2.4.1. Note: we need Zowe CLI with the plugins to be able to communicate with the mainframe and build the source code.
- Zowe CLI:
- You have to have a VSCode IDE installed locally or it's alternative in the browser. Note: you can have some other IDE instead, but the Broadcom can offer you the full development experience in the VSCode only for now.
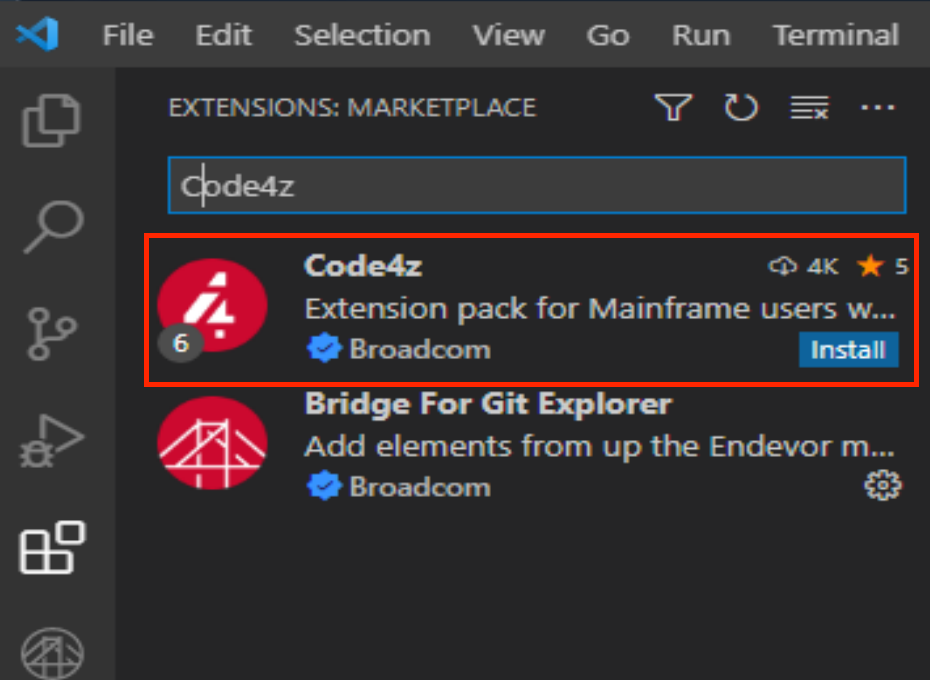
- You have to have a Code4z extensions pack installed in the VSCode.
Note: you can also install it in the VSCode interface using this guide.


- Please, use this repository and the
mainbranch for the latest source code.
Note: Make sure, that you have a Git installed.
- Once you have the repository cloned to your system, please, execute the VSCode task
DOGGOS: installin it. It is required to get the local project dependencies to be fetched. It may take 1-2 minutes to complete, so please, be patient :) - Run the VSCode task:
DOGGOS: configureto configure the test environment.
Note: The project installation requires XCode to be installed on the MacOs as an additional prerequisite.
- Issue the CTRL+SHIFT+P/CMD+SHIFT+P to open a VSCode Command Palette.
- Choose the
Tasks: Run taskoption from the list. - Use the tasks starting with the
DOGGOSprefix.
- The source code lives in the GSECONF/DOGGOS folder.
- The tests live in the test/doggos folder.
Please, use the Endevor Bridge for Git Zowe CLI plugin for this purpose. It will get your source code from the GSECONF/DOGGOS folder and build it in the isolated environment on the mainframe. Everything will be cleaned up automatically afterwards, the other developers won't be affected.
Note: There is already a backend setup for the build on the mainframe side.
- You need to use the VSCode task:
DOGGOS: create endevor service profilefirst, to create an Endevor service profile. Note: this profile helps us to connect to the Endevor backend environment. You only need to run this task once, the profile will be saved in the file system. - You can use the VSCode task:
DOGGOS: build the source codeto build the source code. - Review the task output and the listings in the output directory.
Note: the building process may end up with no generation. It means that there were no changes in the source code, in that case, try to add some comment into it and rebuild it, just to trigger the build.
Please, use Zowe Explorer VSCode extension for this purpose.
Note: There is already a backend setup for the run on the mainframe side.
- Build the program source code successfully using the guide above.
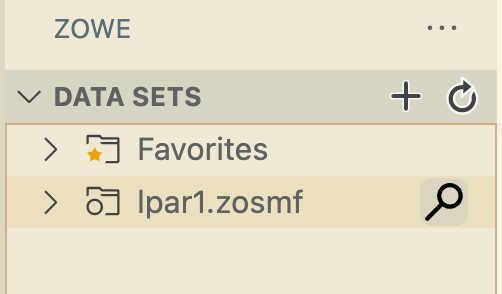
- Open Zowe VSCode extension interface: reveal the left column of the VSCode interface and find the big and bold letter Z in there.

- Search for the datasets in the lpar1.zosmf Data Sets profile folder.
- Navigate to the lpar1.zosmf node and click into it.
- Please, use
<USERID>.DOGGOS.*pattern to search for the datasets.
- Expand the
<USERID>.DOGGOS.JCLdataset and Right click on theRUNDOGSitem.- Select
Submit JCLoption. 
- Click into the JobID item in the left bottom corner in the pop notification to see the job results.
- You can click on the job item several times, until the job will be completed.

- Select


Note: If you want to run the updated source code, please, rebuild the program using the guide above and submit the JCL again.
Please, use Jest VSCode extension for this purpose.
Note: There is already a backend setup for the tests on the mainframe side.
- Build the program source code successfully using the guide above.
- Open the test file in the VSCode editor and review the test cases if needed.
- Run the tests using the VSCode task:
DOGGOS: run tests.
Note: There is already a backend setup for the tests on the mainframe side.
- Modify the test input file.
- Run the VSCode task:
DOGGOS: upload fileto upload the newer version and test the source code with it.
Please, use Debugger for Mainframe VSCode extension for this purpose.
Note: There is already a backend setup for the debug on the mainframe side.
- Build the program source code successfully using the guide above.
- Run the VSCode task:
DOGGOS: Update Debugger UserID. - Press F5 to start the debugger session.
- Enter the mainframe password for your username in the popup window.
- Wait a bit for the debugger to be executed and follow the program flow using this guide.