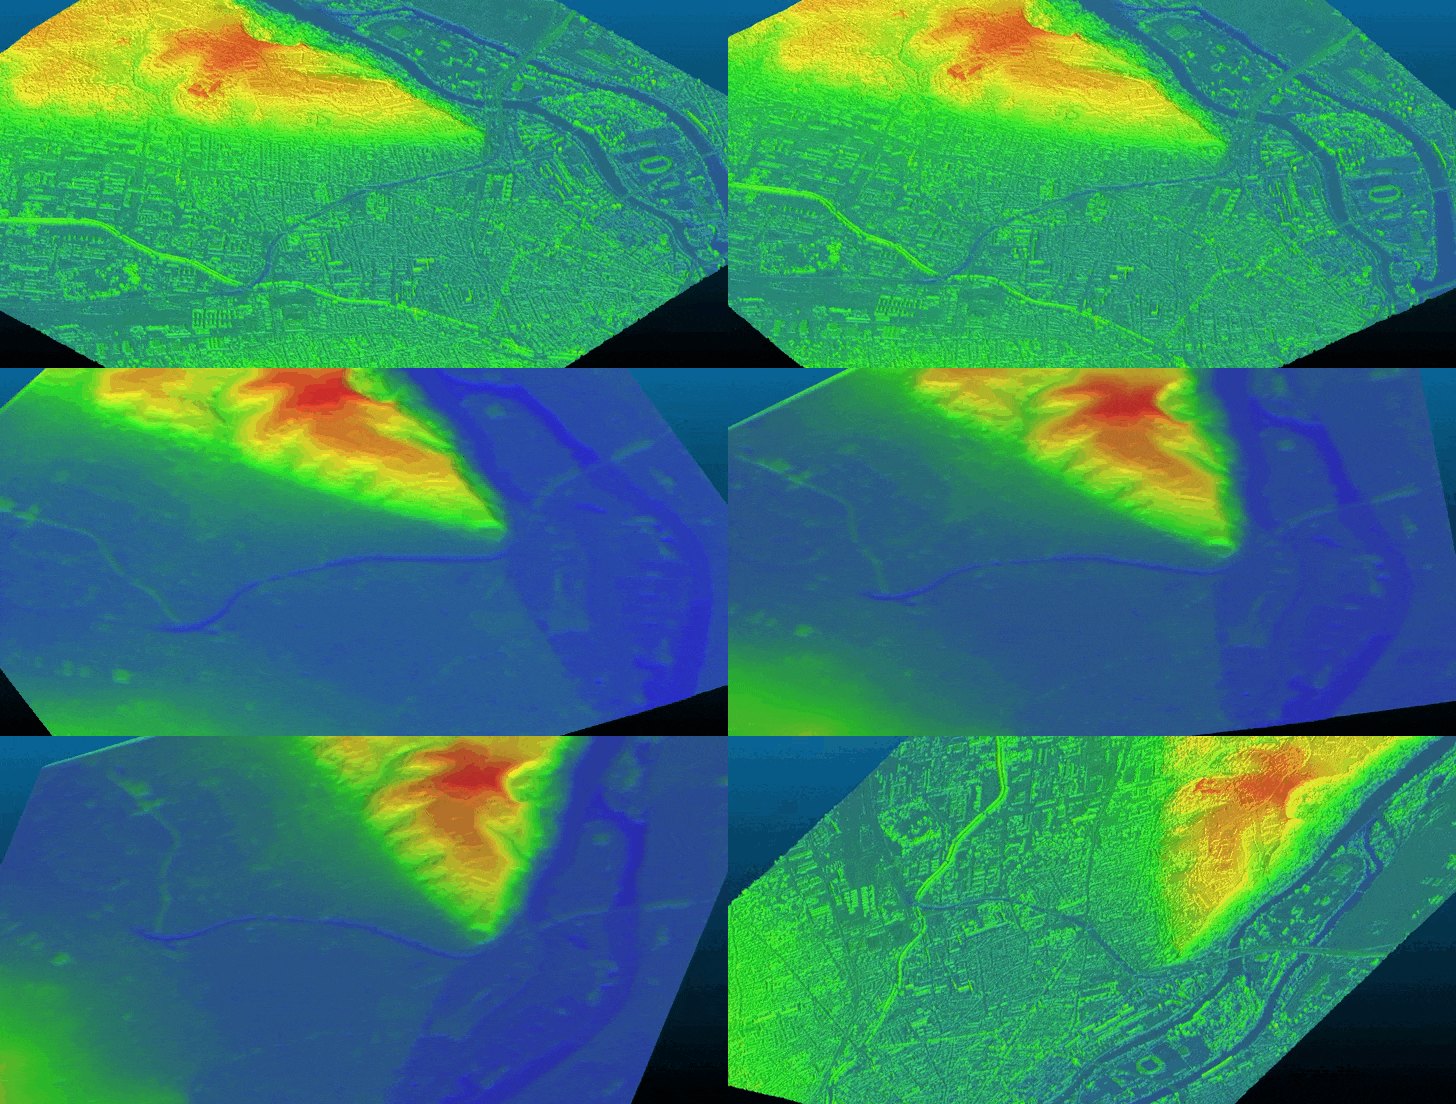
Bulldozer is designed as a pipeline that aims to extract a Digital Terrain Model (DTM) from a Digital Surface Model (DSM). It supports both noisy satellite DSM and high-quality LiDAR DSM.
You can install Bulldozer by running the following command:
pip install bulldozer-dtmOr you can clone the github repository and use the Makefile:
# Clone the project
git clone https://github.com/CNES/bulldozer.git
cd bulldozer/

# Create the virtual environment and install required depencies
make install

# Activate the virtual env
source bulldozer_venv/bin/activateThere are different ways to launch Bulldozer:
- Using the CLI (Command Line Interface) - Run the folowing command line after updating the parameters
input_dsm.tifandoutput_dir:
bulldozer -dsm input_dsm.tif -out output_dirYou can also add optional parameters such as -dhm, please refer to the helper (bulldozer -h) command to see all the options.
✅ Done! Your DTM is available in the output_dir.
- Using the Python API - You can directly provide the input parameters to the
dsm_to_dtmfunction:
from bulldozer.pipeline.bulldozer_pipeline import dsm_to_dtm

dsm_to_dtm(dsm_path="input_dsm.tif", output_dir="output_dir")
✅ Done! Your DTM is available in the output_dir.
- Using a configuration file (CLI) - Based on provided configuration file templates, you can run the following command line:
bulldozer conf/configuration_template.yaml✅ Done! Your DTM is available in the directory defined in the configuration file.
Bulldozer is licensed under Apache License v2.0. Please refer to the LICENSE file for more details.
If you use Bulldozer in your research, please cite the following paper:
@article{bulldozer2023,
  title={Bulldozer, a free open source scalable software for DTM extraction},
  author={Dimitri, Lallement and Pierre, Lassalle and Yannick, Ott},
  journal = {The International Archives of the Photogrammetry, Remote Sensing and Spatial Information Sciences},
  volume = {XLVIII-4/W7-2023},
  year = {2023},
  pages = {89--94},
  url = {https://isprs-archives.copernicus.org/articles/XLVIII-4-W7-2023/89/2023/},
  doi = {10.5194/isprs-archives-XLVIII-4-W7-2023-89-2023}
}


