OpenProtein
A PyTorch framework for tertiary protein structure prediction.
Getting started
To run this project, you will need pipenv: https://pipenv-fork.readthedocs.io/en/latest/install.html
After you have installed pipenv, simply git clone this repository, install dependencies using pipenv install and then type pipenv run python __main__.py in the terminal to run the sample experiment:
$ pipenv run python __main__.py
------------------------
--- OpenProtein v0.1 ---
------------------------
Live plot deactivated, see output folder for plot.
Starting pre-processing of raw data...
Preprocessed file for testing.txt already exists.
force_pre_processing_overwrite flag set to True, overwriting old file...
Processing raw data file testing.txt
Wrote output to 81 proteins to data/preprocessed/testing.txt.hdf5
Completed pre-processing.
2018-09-27 19:27:34: Train loss: -781787.696391812
2018-09-27 19:27:35: Loss time: 1.8300042152404785 Grad time: 0.5147676467895508
...
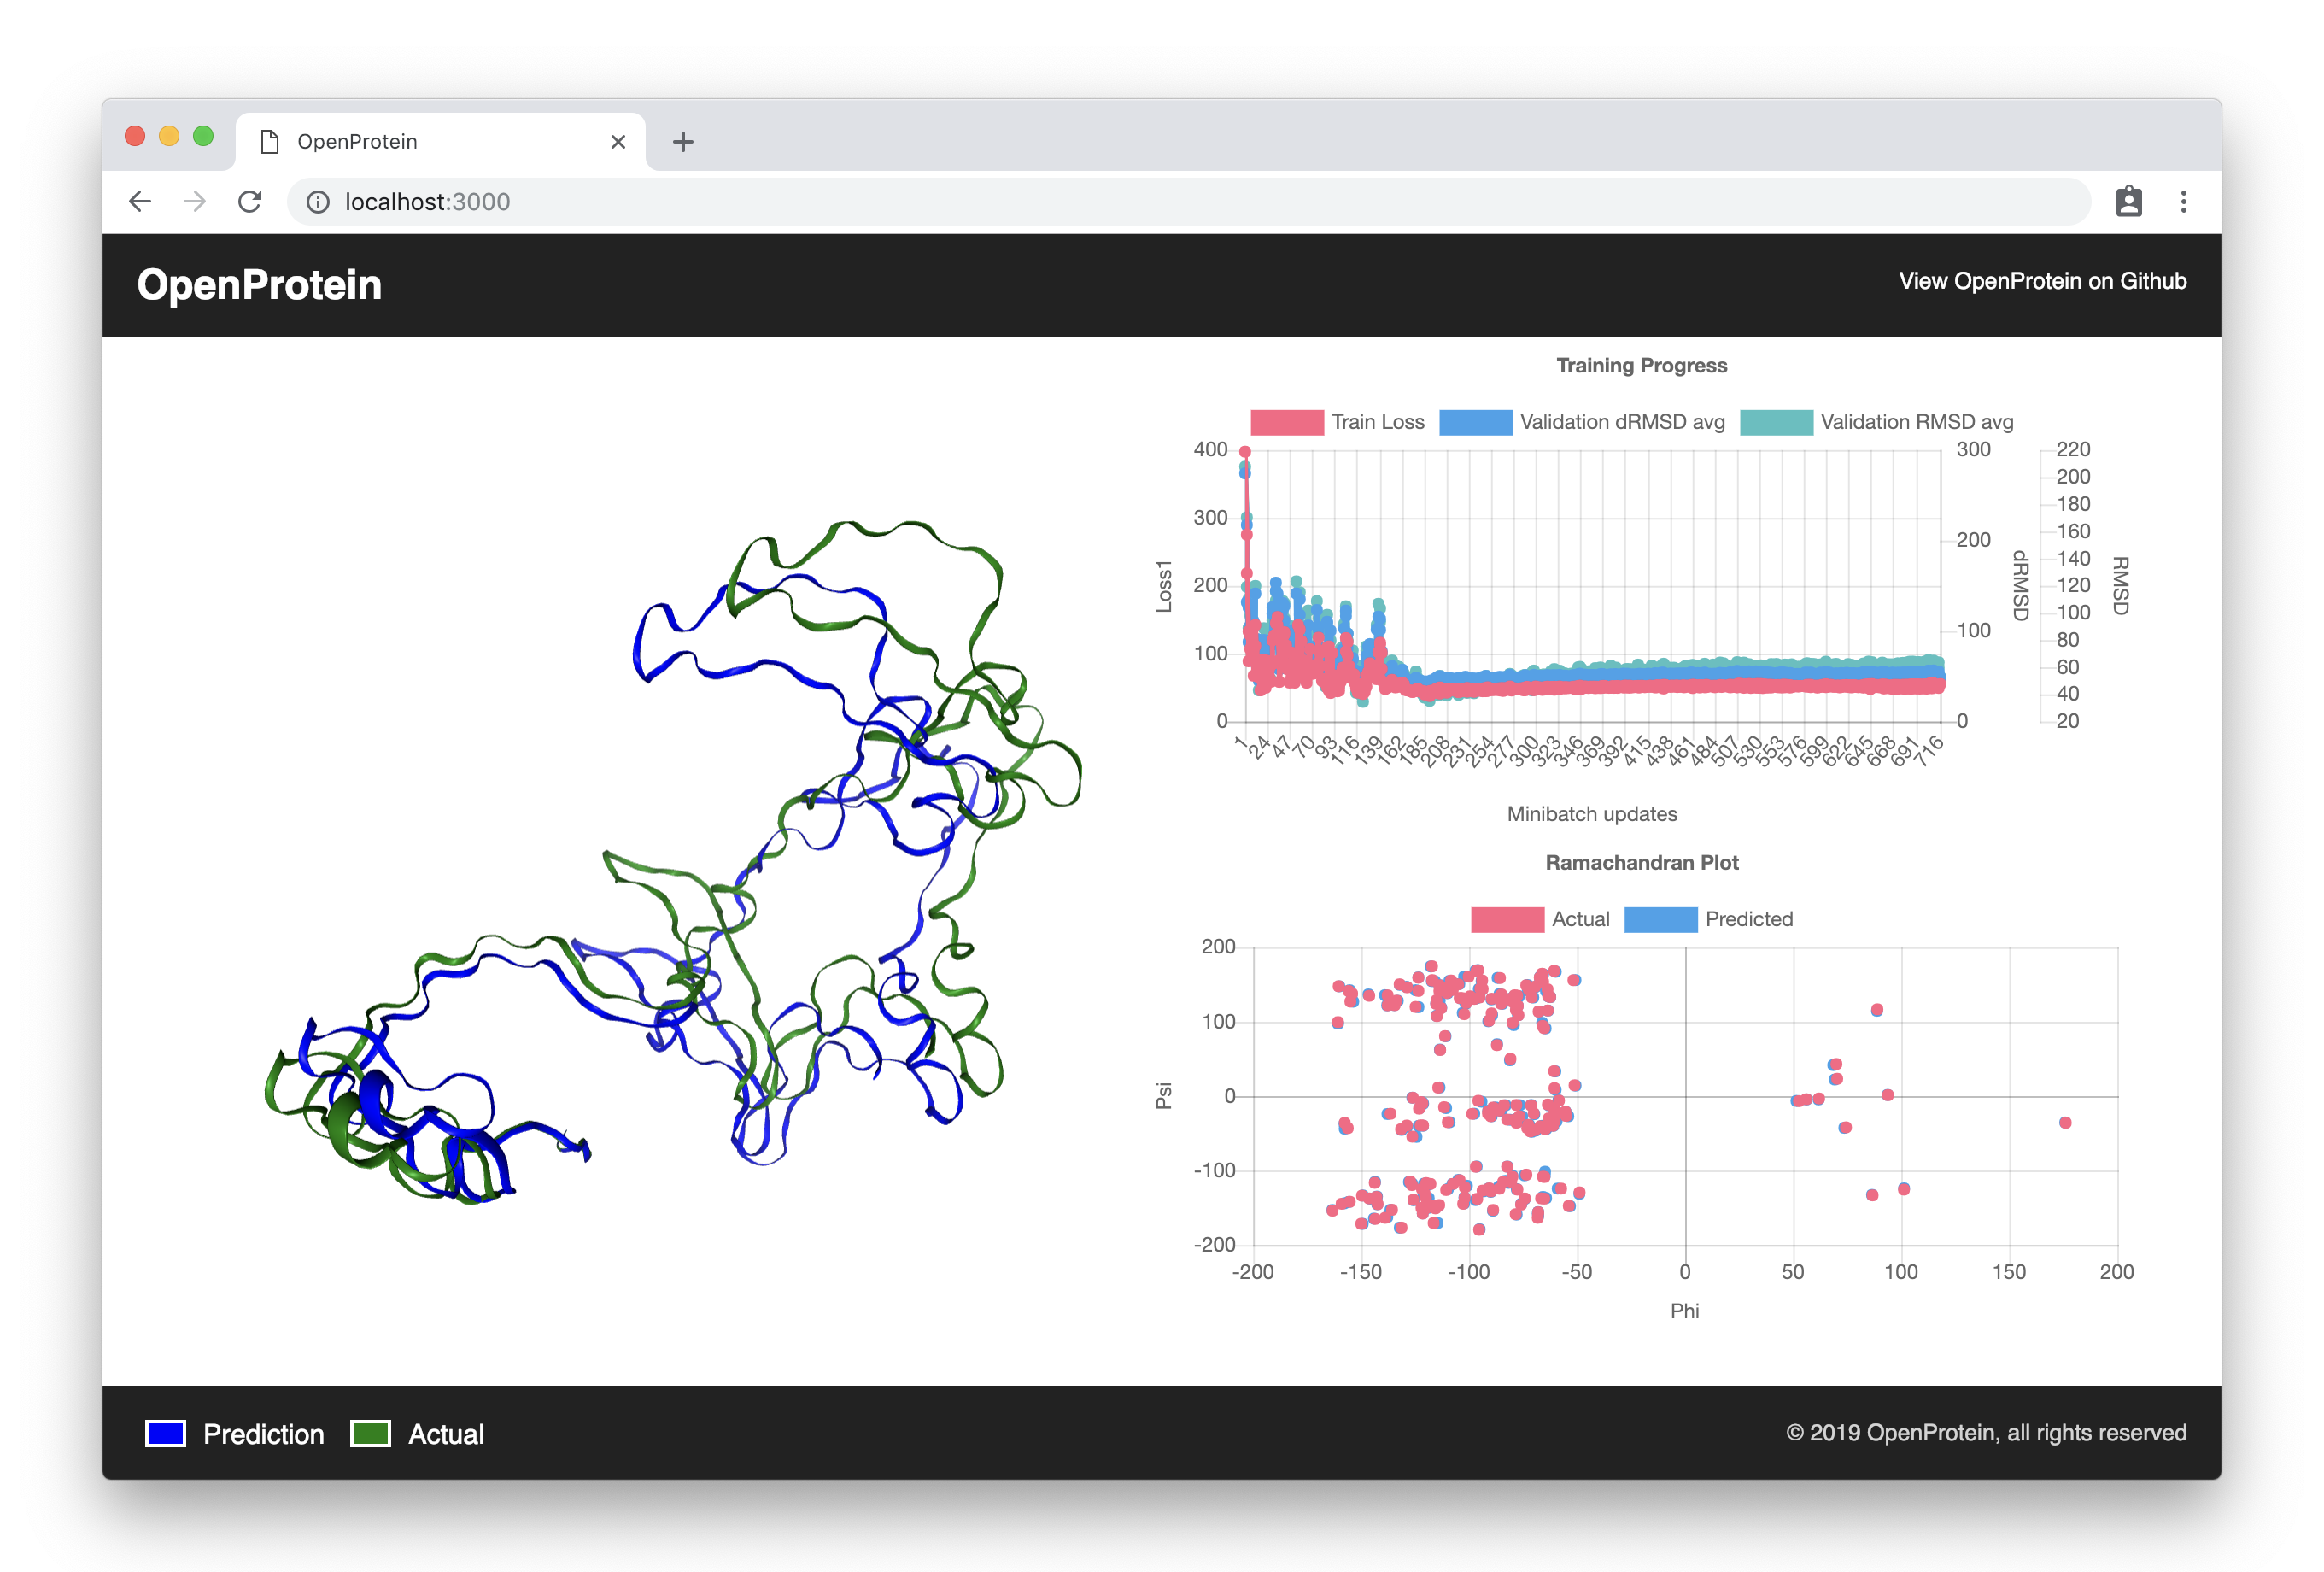
You can view a live dashboard of the model's performance by navigating to https://biolib.com/openprotein. You can customize this dashboard by forking https://github.com/biolib/openprotein-dashboard.
Developing a Predictive Model
See models.py for examples of how to create your own model.
To run pylint on every commit, run git config core.hooksPath git-hooks.
Using a Predictive Model
See prediction.py for examples of how to use pre-trained models.
Memory Usage
OpenProtein includes a preprocessing tool (preprocessing.py) which will transform the standard ProteinNet format into a hdf5 file and save it in data/preprocessed/. This is done in a memory-efficient way (line-by-line).
The OpenProtein PyTorch data loader is memory optimized too - when reading the hdf5 file it will only load the samples needed for each minibatch into memory.
License
Please see the LICENSE file in the root directory.
