This project contains the source code of my personal website, developed with Hugo (using the Hugo Profile theme) and deployed using GitHub Pages.
The following sections explain in detail how this website was developed and deployed (completely free of charge).
Follow the instructions on GitHub Pages.
After that, you should be able to browse your website at https://username.github.io,
which should show a simple Hello World message.
If your username contains uppercase characters, you can put them in lowercase in the project name if you want.
Copy the ones in this project. Commit them afterwards.
Follow the instructions on Install Hugo.
Test the Hugo installation with the following command:
hugo helpThe output you see in your console should be similar to the following:
hugo is the main command, used to build your Hugo site.

Hugo is a Fast and Flexible Static Site Generator
built with love by spf13 and friends in Go.

...
Now we will configure a GitHub Action to pull the source code content from the main branch, build it,
and then commit the generated content to the gh-pages branch.
We will follow the instructions on the Hugo Host on GitHub documentation.
This is a clean setup as your Hugo files are stored in one branch and your generated files are published into a separate branch.
Copy the file .github/workflows/gh-pages.yml from the current repo, and paste it in your repo in the same path.
This file contains the code for our new GitHub Action.
Commit the changes and push them.
This will launch the execution of the following 2 GitHub Actions:
github pages: The one you have just added, that will take the code from themainbranch, build it using Hugo, and push it to thegh-pagesbranch.pages-build-deployment: The one that was automatically added by GitHub when you created the GitHub Pages repo. It will pull the content from thegh-pagesbranch (after configuring it in step 5), compress it to a tar file, upload the artifact, and deploy it to GitHub Pages.
After pushing the .github/workflows/gh-pages.yml file, the gh-pages branch will be created,
but the github pages GitHub Action will fail, because we still haven't uploaded the Hugo project source code.
We will do this later. We follow this order to let the GitHub Action create the gh-pages branch without the need
to specify a source branch for it.
By default, GitHub Pages uses the following branch structure:
- The
gh-pagesbranch is used to store the source code - The
mainbranch is used to store the website generated files, which are deployed to GitHub Pages
The new GitHub Action we have added swaps the purpose of these 2 branches:
- The
mainbranch will be used to store the source code - The
gh-pagesbranch will be used to store the website generated files
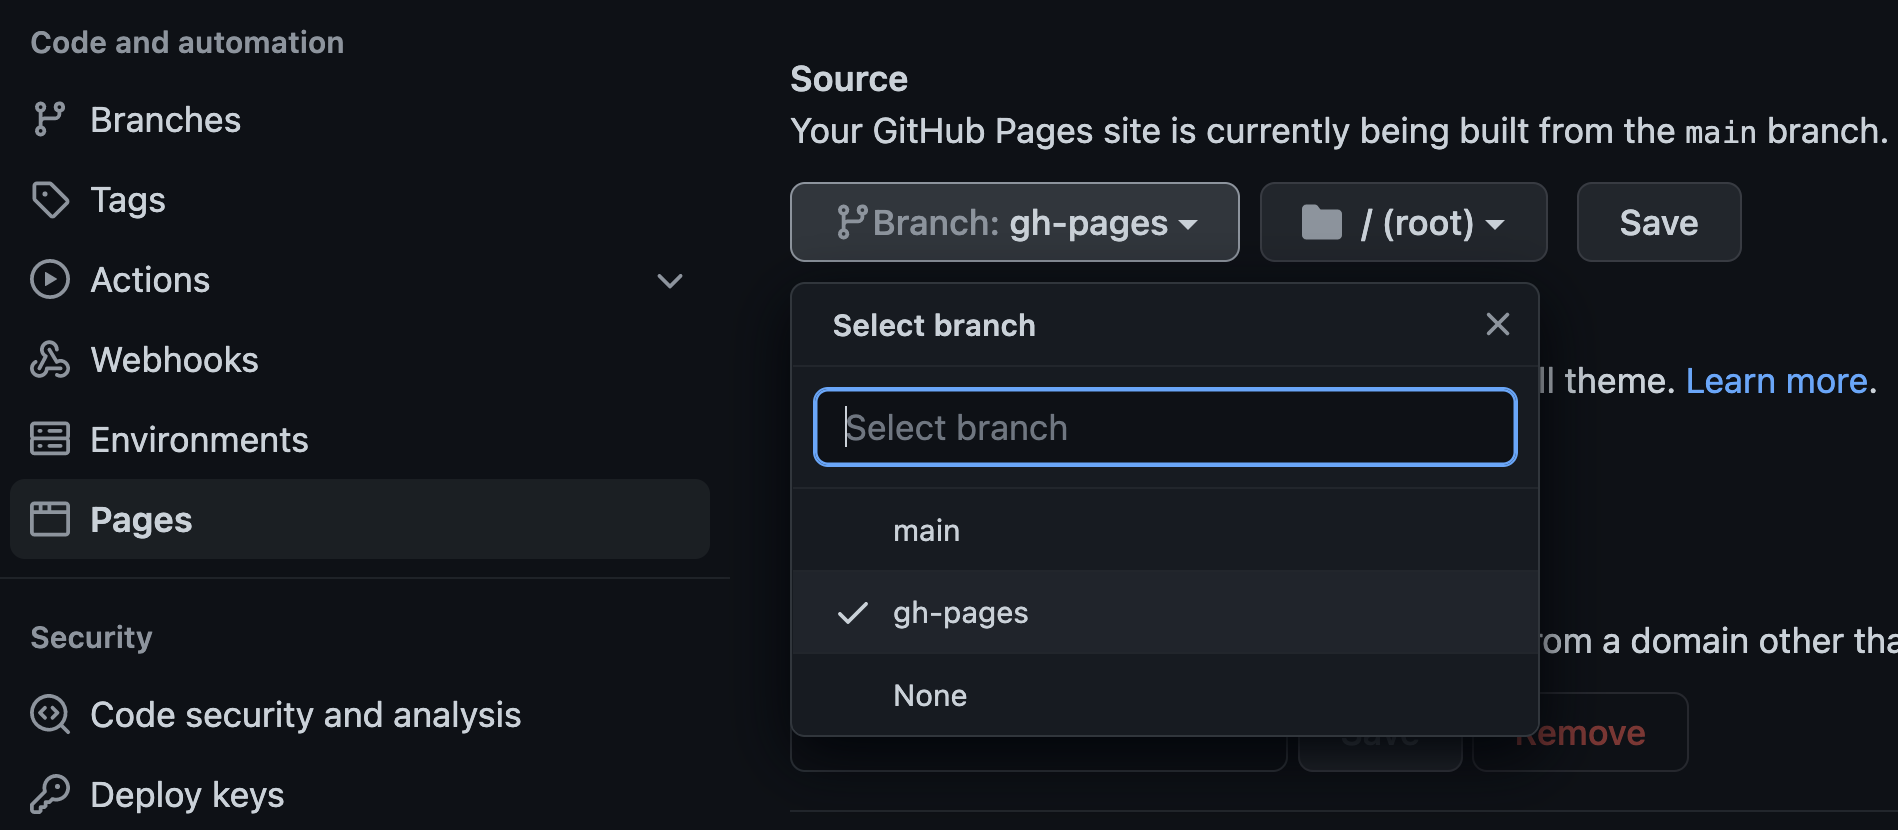
Therefore, we need to tell GitHub Pages to deploy the code inside the gh-pages branch instead of using the main branch.
To change this setting, go to Settings > Pages, change the source branch to gh-pages and click Save.
Execute the following commands on a terminal:
cd <project-folder>
hugo new site . -f=yaml --force
git submodule add https://github.com/gurusabarish/hugo-profile.git themes/hugo-profile
This will create the Hugo project structure inside your repo, and add the Hugo Profile theme as a Git submodule.
In order to do that, you need to:
- Modify the
config.yamlfile (you can use the one in this repo or the official example as reference) - Load content to the
staticfolderfav.png: favicon iconimages/hero.pngorimages/hero.svg: profile picture- Make sure the
params.hero.imagevalue insideconfig.yamluses the same extension as the file you loaded (.png,.svg, ...)
- Make sure the
To preview your website locally, execute the following commands on a terminal:
cd <project-folder>
hugo server -D
You can access the website in your browser at http://localhost:1313/.
All changes made to the website source code will be dynamically updated in the browser.
However, for some changes you might need to force refresh your web browser to clear cached content such as images
(something like Ctrl-R on Windows or Cmd-Shift-R on Mac usually works).
First, remove the index.html file you created in step 1, because you won't need it anymore.
After that, commit all the changes made to the source code and push them.
This will launch the execution of the 2 GitHub Actions as explained above, but this time none of them will fail, and our website will be deployed to our GitHub Pages url.
After both actions have finished, we should be able to browse our website at https://username.github.io.
With our Continuous Deployment pipeline already set up, we can make changes to the website source code and deploy them
by simply pushing the changes to the main branch.
Happy coding! :)
