Implementing SRGAN - an Generative Adversarial Network model to produce high resolution photos. In this repository we have reproduced the SRGAN Paper - Which can be used on low resolution images to make them high resolution images. The link to the paper can be found here: SRGAN
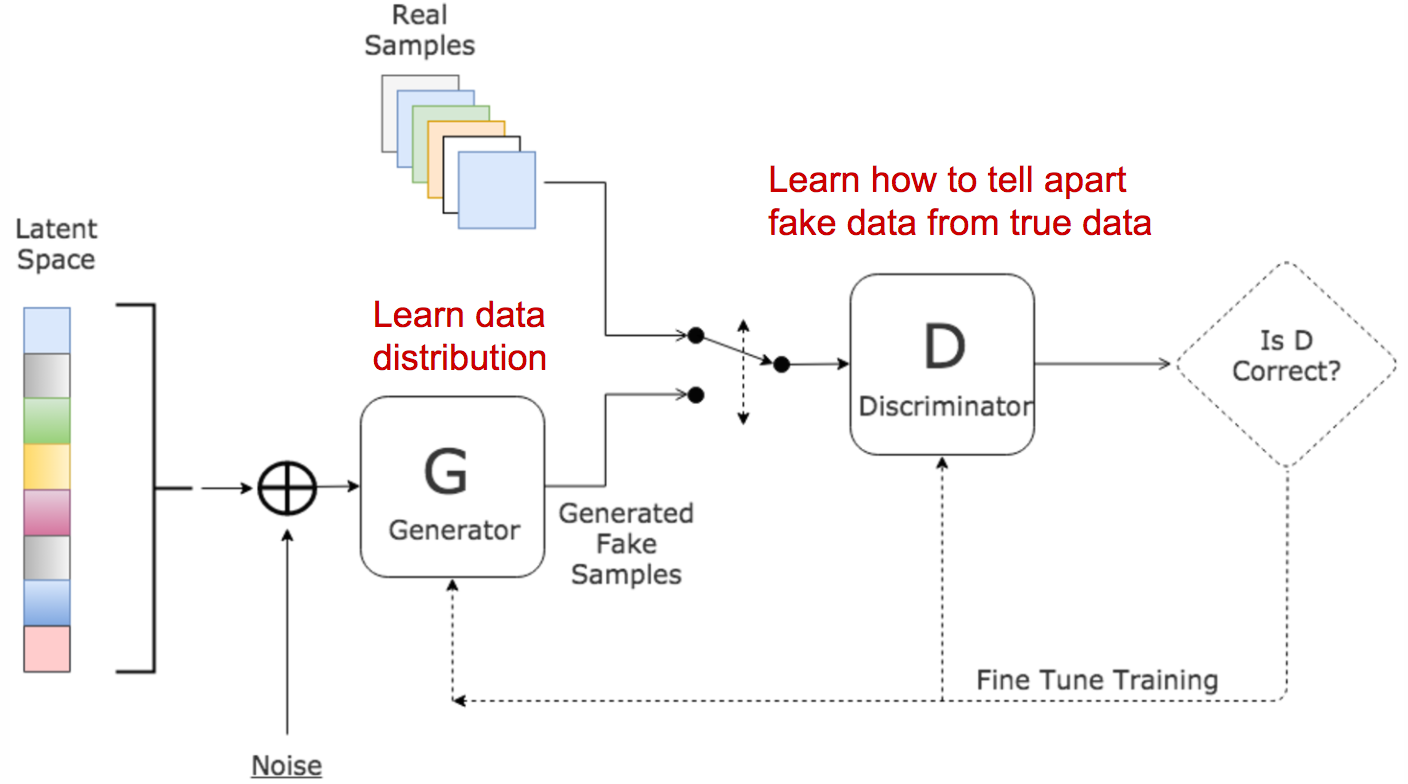
The model is assembled from two components Discriminator and Generator. Discriminator - Responsible to distinguish between generated photos and real photos. Generator - Generate high resolution images from low resolution images.
components list:
- 7 Convolution blocks Each block with the same number of filters
- PReLU with ( α = 0.2 ) is used as activation layer
- 2 PixelShuffler layers for upsampling - PixelShuffler is feature map upscaling
- Skip connections are used to achieve faster convergence
components list:
- 16 Residual blocks Each block with increasing number of filters
- LeakyReLU with ( α = 0.2 ) is used as activation layer
- 2 Dense layers
!wget http://data.vision.ee.ethz.ch/cvl/DIV2K/DIV2K_train_HR.zip
You can run this in two ways:
- Using terminal
- Running the Notebook
If you decided the first choice follow the next steps: 0. you first need to download the data from this link
- run this line from the terminal:
python3 init.py --mode train --dir-path <path to your images folder> - use
--helpto see all the available commands:python3 init.py --help
- Create loader which doesn't hold the images in memory.
- Add a link to pre-trained model.


