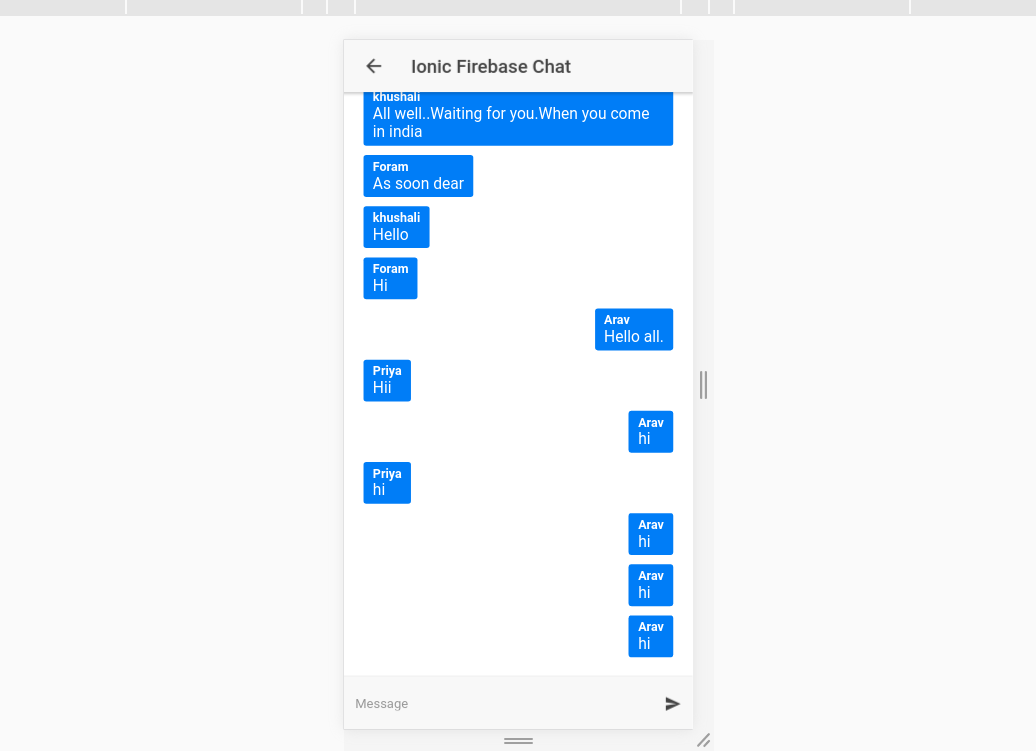
Ionic Firebase Chat is a sample chat widget powered by Firebase.
- Ionic Framework (v3)
- Firebase 3 (we’re not going to use AngularFire)
These instructions will get you a copy of the project up and running on your local machine for development and testing purposes. See deployment for notes on how to deploy the project on a live system. What things you need to install the software and how to install them
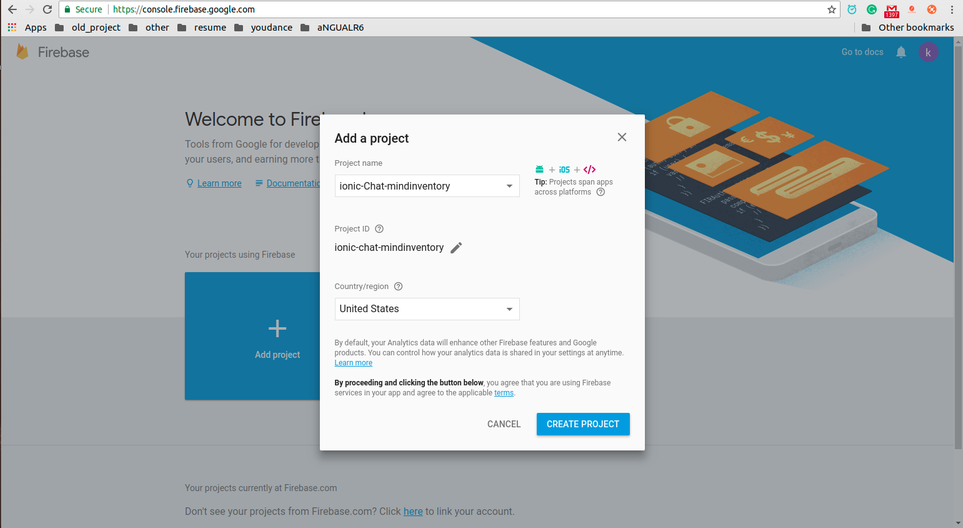
First, we need to create new project in firebase
Login with your Firebase (https://firebase.google.com) & create new project
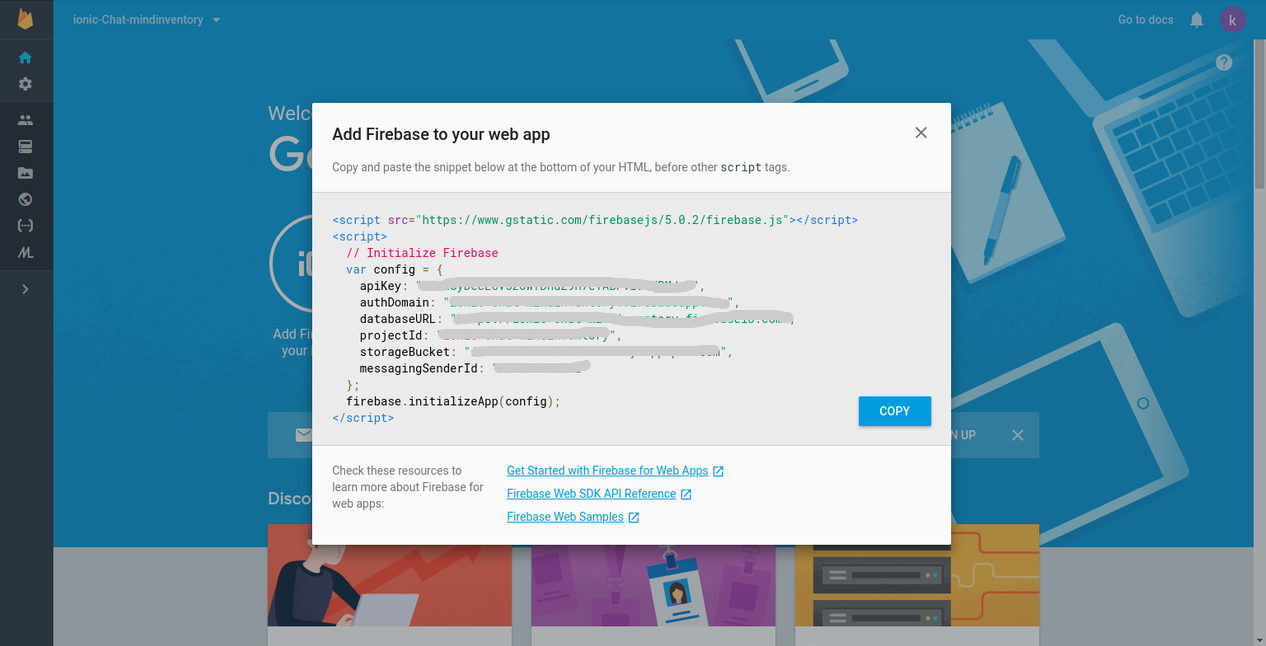
Click “add firebase to your web app” & get keys
Once we created project from firebase, we can set up new Ionic project for our chat application
ionic start --v2 ionicfirechat blankcd ionicfirechationic platform add android
ionic platform add ios
Add firebase node_modules to your project
npm install firebase --saveimport firebase in app.component.ts
import * as firebase from 'firebase';Add configuration to app.component.ts; Replace with your Firebase Configuration
let config = {
 apiKey: 'YOUR_APIKEY',
 authDomain: 'YOUR_AUTH_DOMAIN',
 databaseURL: 'YOUR_DATABASE_URL',
 projectId: 'YOUR_PROJECT_ID',
 storageBucket: 'YOUR_STORAGE_BUCKET',
 };
firebase.initializeApp(config);
Creating UI for chat (home.html)
<ion-header>
  <ion-navbar>
    <ion-title>chat</ion-title>
  </ion-navbar>
</ion-header>


<ion-content padding>
  <div id="chatMessage">
    <div class="message" *ngFor="let message of messages">
      <div [class]="message.userName == user ? 'innerMessage messageRight' : 'innerMessage messageLeft'">
        <div class="userName">{{ message.userName}}</div>
        <div class="msg">{{ message.message}}</div>
      </div>
    </div>
  </div>
</ion-content>

<ion-footer>
  <ion-toolbar>
    <ion-input type="text" name="message" placeholder="Message" [(ngModel)]="message"></ion-input>
    <ion-buttons end>
      <button ion-button icon-right color="royal" (click)="sendMessage()">
        <ion-icon name="md-send"></ion-icon>
      </button>
    </ion-buttons>
  </ion-toolbar>
</ion-footer>
 you need to open the src/app/app.module.ts file and replace below code with your configuration settings:
Sending Messages to Firebase When user clicks send button we need to call send() to insert messages into firebase & clear existing messages
sendMessage(){
    this.db.list('/chat').push({
      userName: this.user,
      message: this.message
    }).then(() => {
      this.message = ''
    })
  }
Reading Messages from Firebase When user created new message, we need to display inside
 this.db.list('/chat/').valueChanges().subscribe(data => {
      this.messages = data
});Run below command line for automated tests of this system
$ionic serveCoverFlow is MIT-licensed
We’d be really happy if you sent us links to your projects where you use our component. Just send an email to sales@mindinventory.com And do let us know if you have any questions or suggestion regarding our work.

