- Identify the three essential pillars of front-end web programming
- Cause a change to given code so that DOM updating effect is seen
- Cause a change to given code so that server-side behavior is stubbed in
- Cause a change to given code so that event listening has an effect
Knowing what web programming is and how its elements work together conceptually is an essential first step, but in order to help orient our upcoming lessons, let's see it in action. In this lesson we've provided you a simple social media application called "Simple Liker." You'll see several posts which can be "liked" by clicking on the heart...well, they could be if the critical code hadn't been commented out. This lesson will guide you in uncommenting the critical code so that you restore the "like" functionality. In subsequent lessons, you'll learn the skills needed to create the pieces that you'll stitch together in this lesson.
Although this code-along is structured as a lab, you don't need to do anything to get the tests passing. In fact, if you run the one test, you should see that it's already passing. Instead, you just need to follow along with the instructions and pay attention to how the different parts of the code are working together to create the desired functionality.
We've introduced our three essential pillars of front-end web programming:
- Manipulating the Document Object Model (DOM)
- Recognizing JS events
- Communicating with the server
We also described the interaction that we want to make: "favoriting" an item on social media to turn an empty heart to red. Now, let's pull it all together and see how it works by walking through some code.
Meet our app, Simple Liker! It demos the favoriting action we've talked about and alerts you to what is happening at each step of the process. When all is working as it should, the action looks like this:
Go ahead and open up index.html in your browser. To do this, first go to your
terminal and make sure you're in the directory where this README lives. If
you're on a Mac, run open index.html and if you're using Windows, run
explorer.exe index.html. If that doesn't work, you can open the file directly
from Chrome. Choose Open file... from the File menu, navigate to the
directory where this README is located, and open the file.
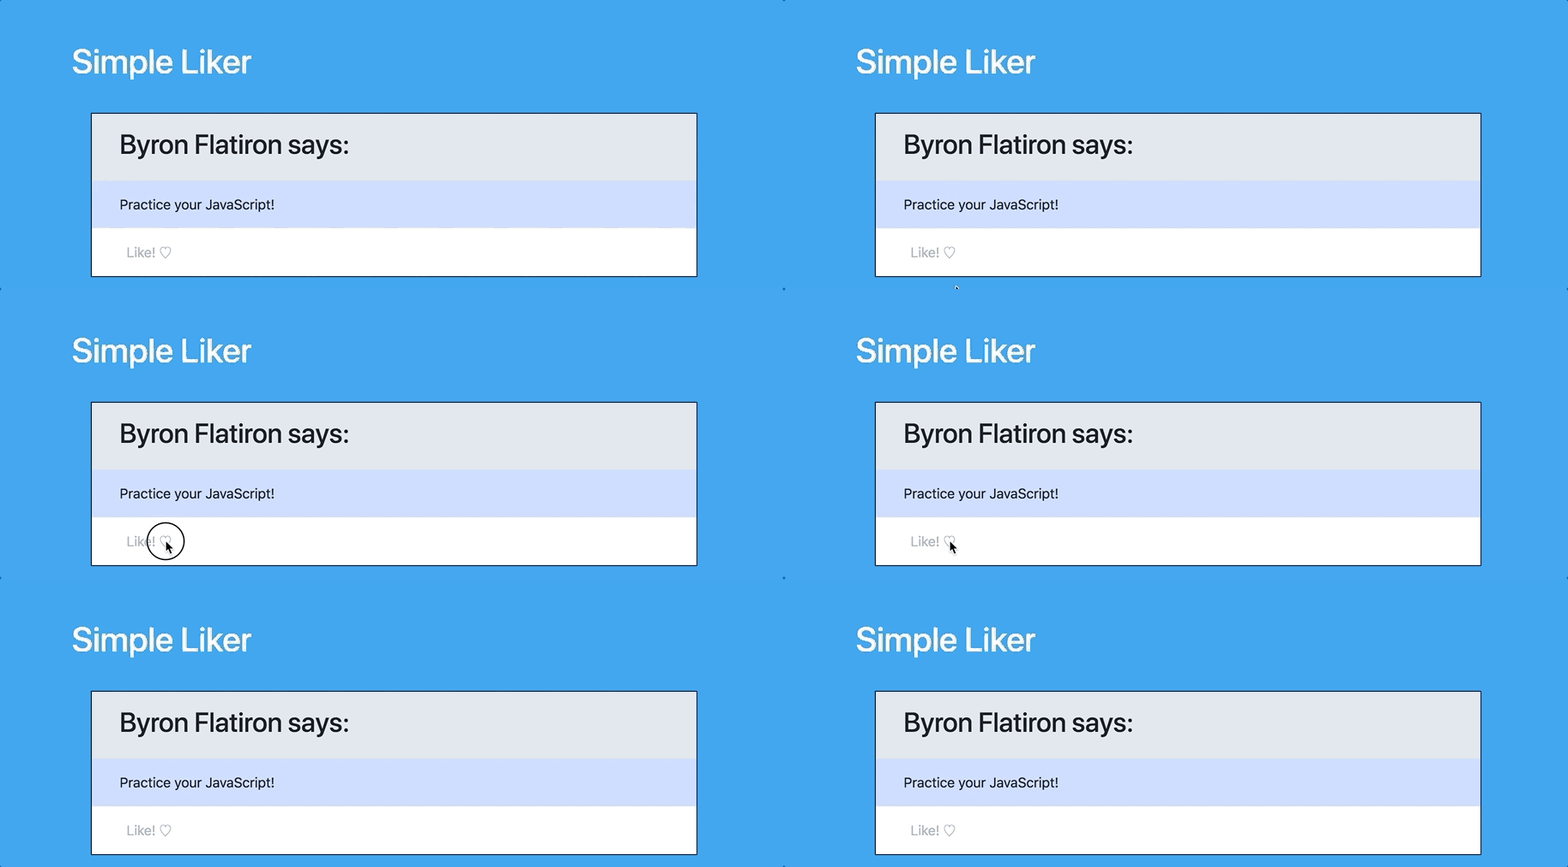
If you try clicking one of the "Like" buttons on the page, your experience will look something like this:
... which is, nothing happens. That's because we haven't switched on the working code yet. We're going to go through, step by step, find the code that makes each step work, and demo it to see how it looks in the browser.
Open up your demo.js file and take a look at everything there. Find the
comments that begin with "Step 1." Follow the instructions there to un-comment
the code that locates the page element we want — in this case, the heart.
Once you uncomment the line of code and refresh the page, you can use the console to verify that the articleHearts variable contains a nodeList with five elements.
Next, in your demo.js file, find the comments describing Step 2, which sets up
the mock server communication (our third pillar):
Once you've uncommented out the code and refreshed the page, try clicking one of the "Like" buttons again. You'll see that it's still not working. That's because we've uncommented the code that mocks our communication with the server, but we haven't yet told JavaScript to listen for the "click" event.
Find Step 3 in the commented code. It's time to bring in the second pillar, events:
We've activated all the parts of our code that stitch together the three pillars of front-end web programming. Let's go back to your browser and see what Simple Liker looks like in action. You should now be able to like and unlike each post.
We're starting to see how the pieces work together now! Which means we're ready to dive into the individual pillars and learn more about how each one functions. We'll start by reviewing how to manipulate the DOM.


