unity-connection-apis-python-samples
Overview
Sample scripts demonstrating usage of Cisco Unity Connection APIs with Python
https://developer.cisco.com/site/unity-connection/overview/
Tested environments
- Ubuntu 21.10
- Python 3.9.7
- Unity Connection 11.5 / 12.5 / 14
This project was developed/tested using Visual Studio Code
Available samples
-
cuni_notification_logger.py- Demonstrates creating a subscription for mailbox event updates using the CUNI SOAP notification service -
cupi_add_user.py- Creates / deletes a test user -
cumi_send_message.py- Executes the following sequence:- Creates a test user
- Sets the user's password
- Performs a user address lookup
- Sends a message with audio file attachment
- Deletes all messages in the user's inbox
- Deletes the user
-
cupi_add_update_user_notificationdevice.py- Creates a test user then updates details for the user's default SMTP notification device.
Getting started
-
Install Python 3
(On Windows, choose the option to add to PATH environment variable)
-
Clone this repository:
git clone https://www.github.com/CiscoDevNet/unity-connection-apis-python-samples
-
Create a Python virtual environment:
python3 -m venv venv source venv/bin/activate -
Dependency Installation:
pip install -r requirements.txt
-
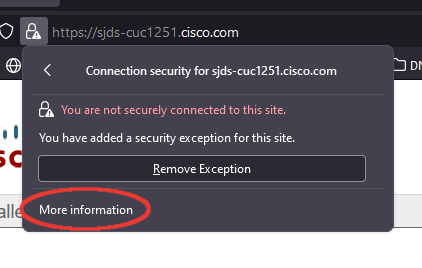
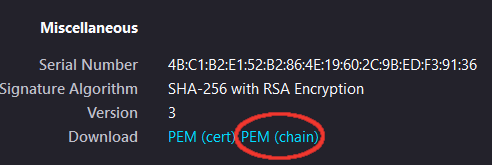
[Optional] To enable using a secure HTTPS connection with Unity Connection APIs, you may need to download the CUC
tomcatcertificate (as a PEM chain) and place it in the root directory of this project.You can use openssl to retrieve it from the command line:
openssl s_client -showcerts -connect cuc_hostname:443 < /dev/null 2>/dev/null | openssl x509 -outform pem > tomcat.pemOr via a web browser by navigating to the CUC host and clicking on the security icon in the address bar:
-
Rename the
.env.examplefile to.env, and edit to specify your CUC details. Note:APP_USERmust be an administrator: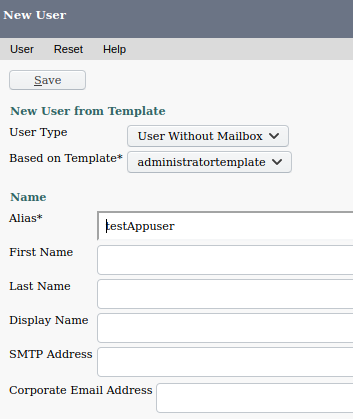
-
If using VS Code, simply open the Run tab, select the desired sample and click the green 'run' arrow.
Otherwise, from the terminal you can launch most samples like:
python cupi_add_user.pyFor Flask-based apps (currently only
cuni_notification_logger.py) use this format:FLASK_APP=cuni_notification_logger.py python -m flask run --host=0.0.0.0 --port=5000


Note: check the comments in individual sample apps for any special additional configs
Hints
-
Samples based on Python [Flask(https://flask.palletsprojects.com/en/2.0.x/)] are launched using the lightweight built-in development web server. For production, applications should always be deployed to a proper WSGI web server
-
Creating and using a requests Session object allows setting global request parameters like
auth/verify/etc. In addition, Session implements CUC APIJSESSIONIDcookies (to bypass expensive per-request backend authentication checks), as well as HTTP 1.1 persistent connections (to keep network latency and networking CPU usage lower).