The goal of this project is to transform a Raspberry Pi Zero W into a camera system that is accessible remotely.
This software allows you to control many Raspberry Pi Zero W from a single master Pi. Once you've sent a command to the master Pi, the slaves will do the same.
The start and stop command will be duplicated on all the Pi. The picture command will only work for the master Pi.
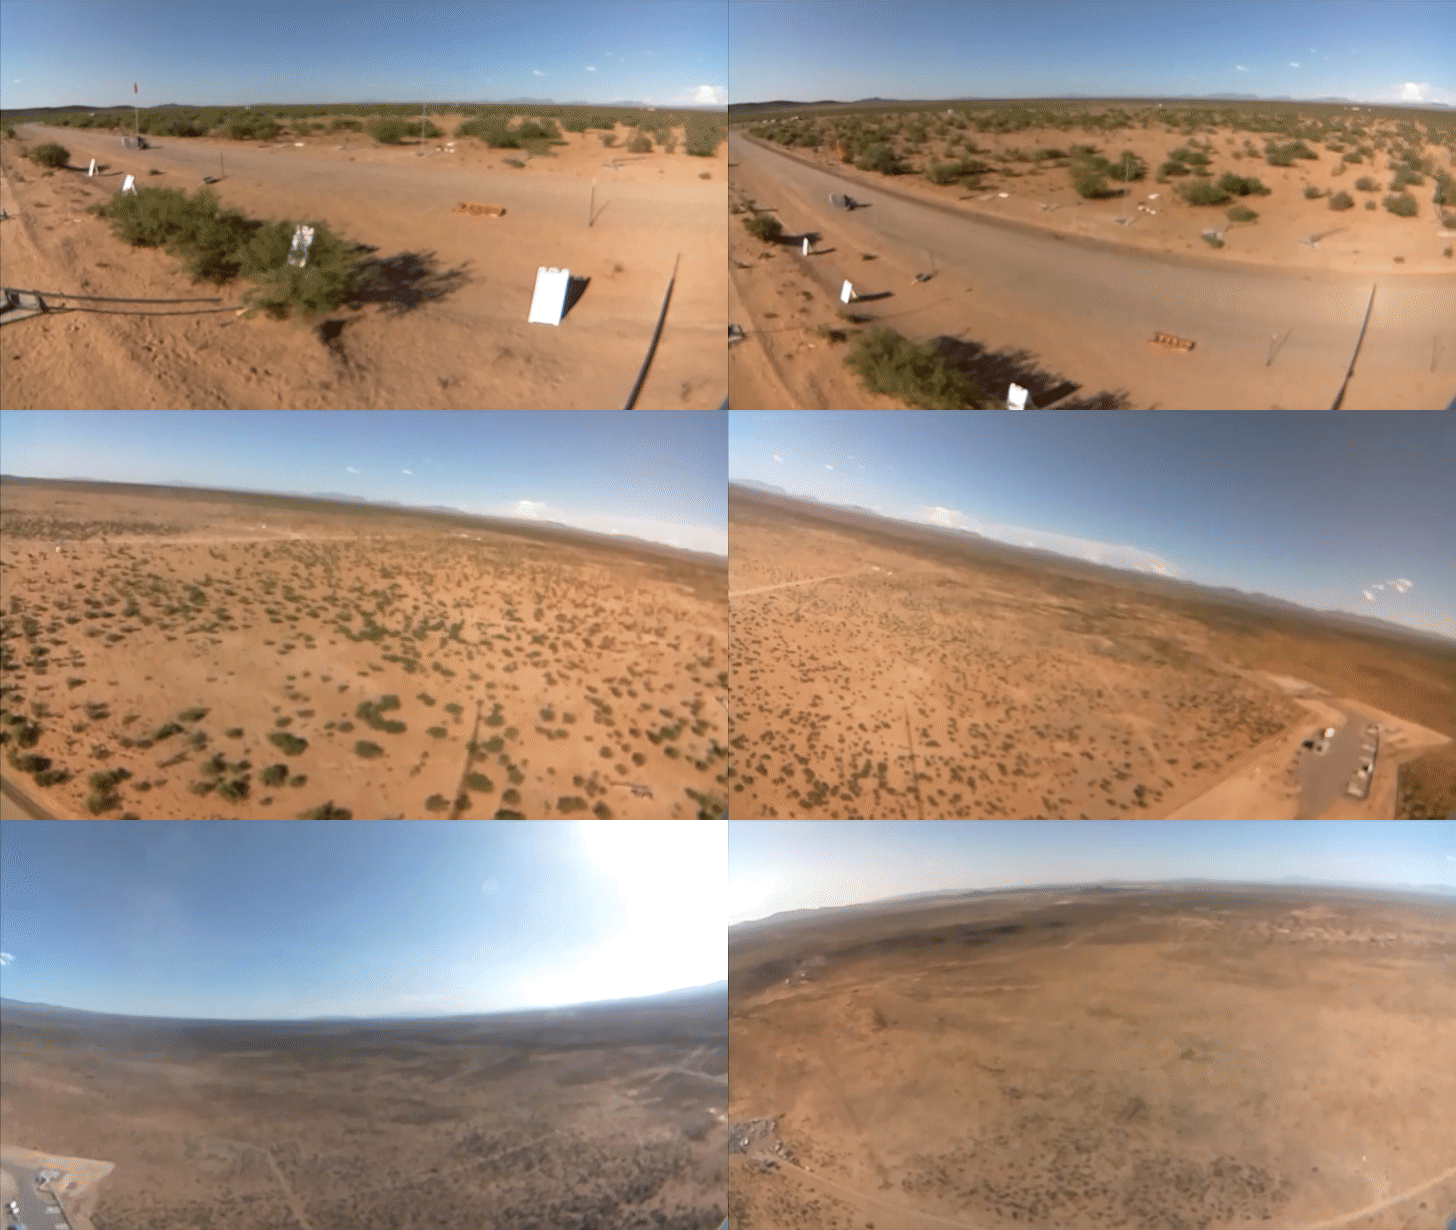
This project have been build for two student clubs in Montréal in order to record the flight of a rocket. We needed to be able to control when to start the recording and to syncronize four cameras.
Here's the result:
- You will need to flash the SD card with Raspbian Strech Lite.
- Run the script
./rocket-cam/configure_boot.shfrom the boot directory.- Usage:
bash [PATH TO INSTALL]/rocket-cam/configure_boot.sh - This will configure the Pi Zero W to work with OTG modes see this for more details.
- This will also enable SSH.
- Usage:
- Put the SD card inside the Pi.
- Power the Pi via a USB cable from your computer and wait ~60-90 seconds for the Pi to boot.
- Make sure your computer connects to the wired connection.
- You might have to configure your IPV4 configuration to "Shared with other computers".
- run
ip norarp -nto find the Pi's IP address. - run
ssh pi@[IP]orssh pi@raspberrypi.localthe password should beraspberry. - Now you should be connected to a Bash shell on the Pi. Run
sudo bash ./rocket-cam/configure_pi.sh [password] [slave or master] [hostname] [SSID]. - Reboot the Pi.
- You are done!
Once installed, power up the Raspberry Pi and wait ~30-60 seconds. You should see in your Wi-Fi a new connection with the SSID you chose while installing it.
Connect to that Wi-Fi and you should be able to access http://10.0.0.1.
PS: This software was tested with 2018-04-18-raspbian-stretch-lite.
