Welcome to Blossom Haven, where beauty blooms in every petal! We're a floral haven dedicated to crafting unforgettable experiences through exquisite arrangements and impeccable service. Based in London, UK, we bring the charm of fresh flowers to your doorstep.
The site allows users:
- Browse a wide selection of stunning floral arrangements for every occasion
- To easily place orders for delivery.
- To create and manage user profiles for a personalized experience.
- To read and leave reviews on our products and services.
- To follow us on social media for the latest updates and inspirations.
- And more!
| Features |
|---|
| Navbar |
| Index |
| Register |
| Sign in/out |
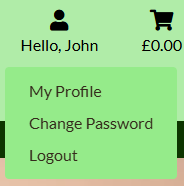
| Profiles |
| Reviews |
| Products List |
| Products Details |
| Add & Edit Products |
| Facebook Page |
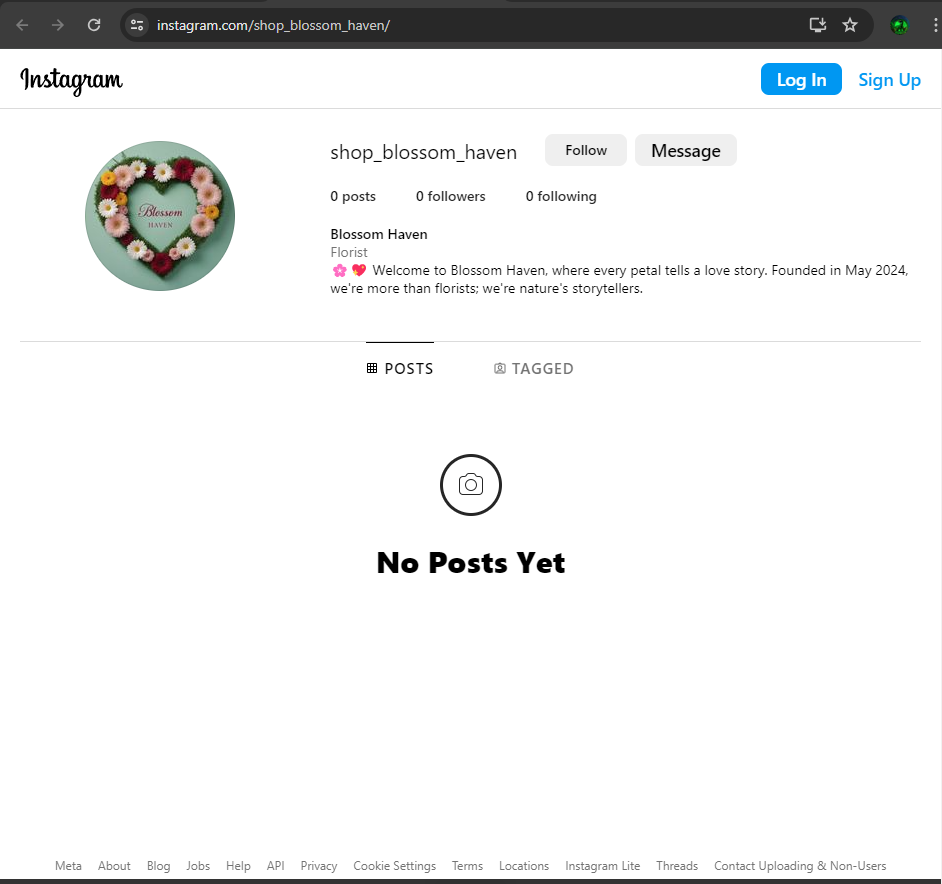
| Instagram Page |
| Footer |
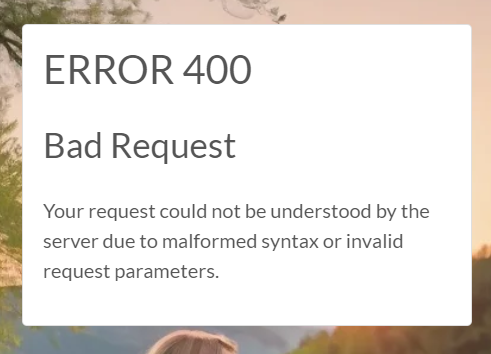
| Error Pages |
| Django Admin |
| Testing |
|---|
| Manual Testing |
| Bugs & Issues Encounterd |
| Validation Testing |
|---|
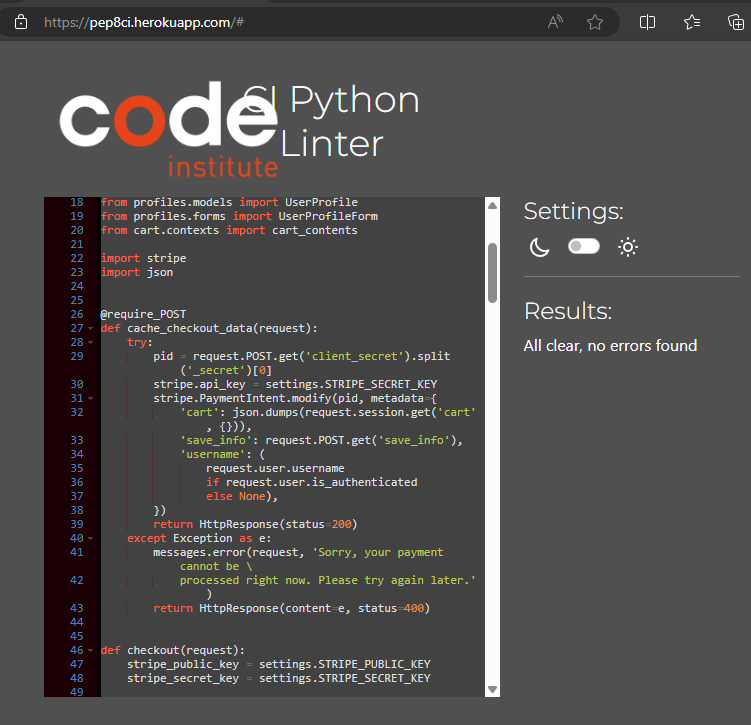
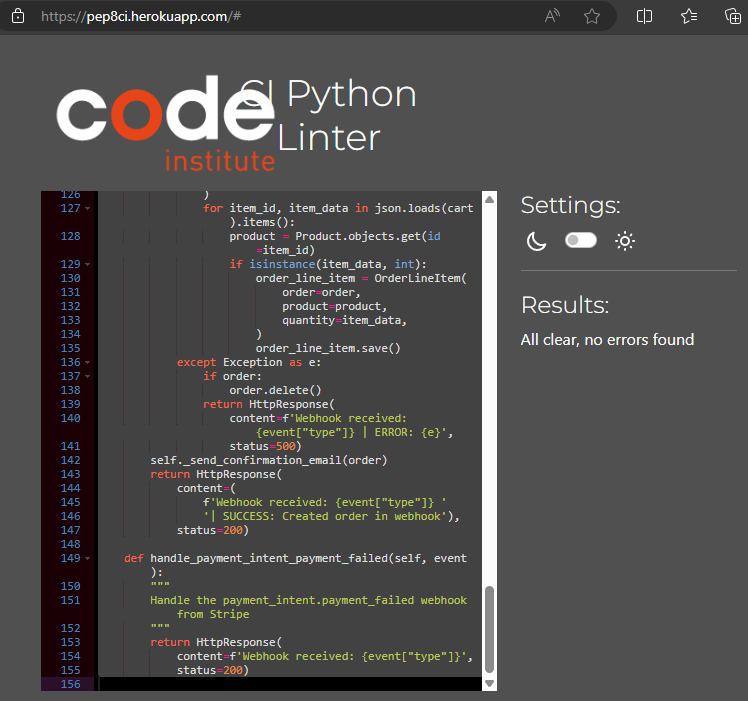
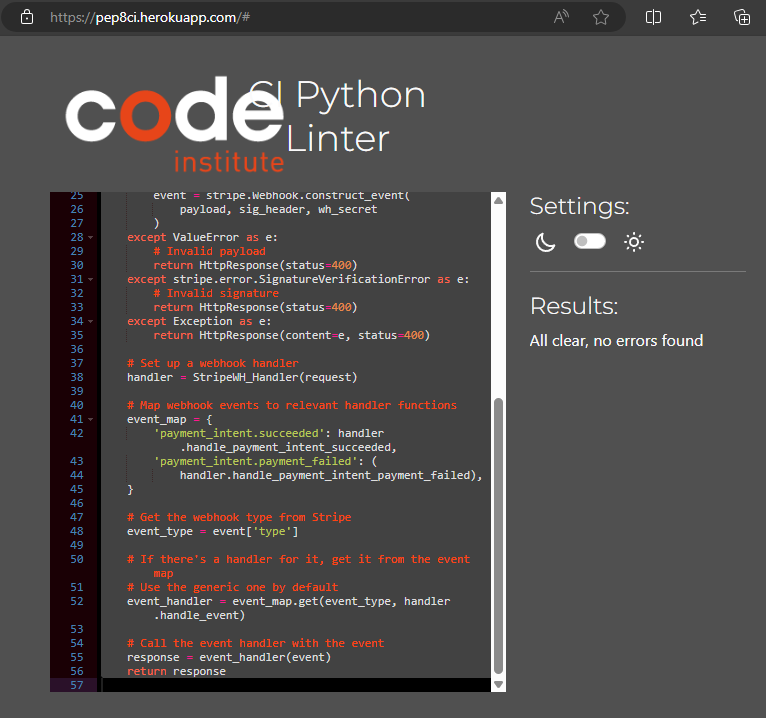
| Python |
| JavaScript |
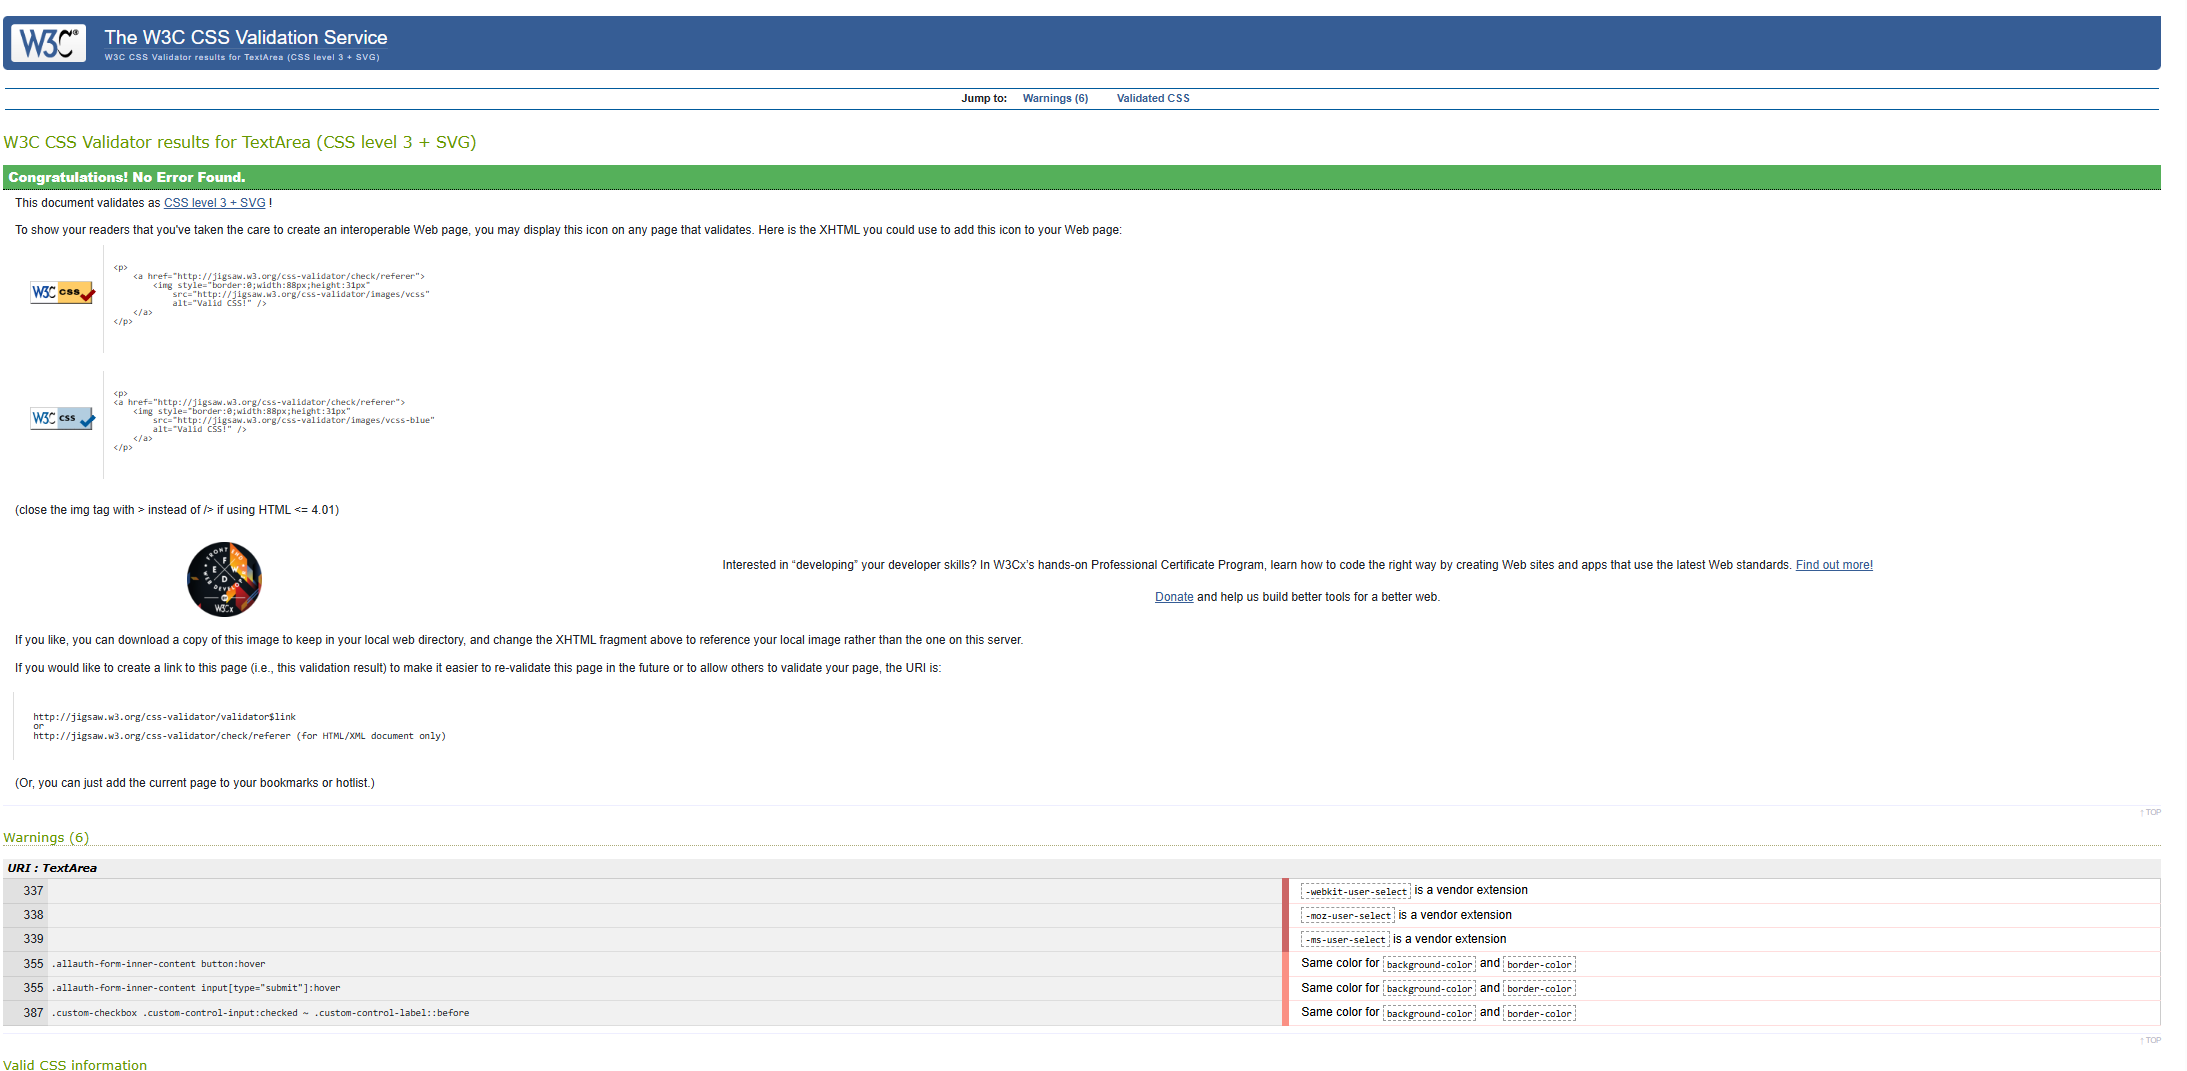
| CSS |
| HTML |
| Contrast |
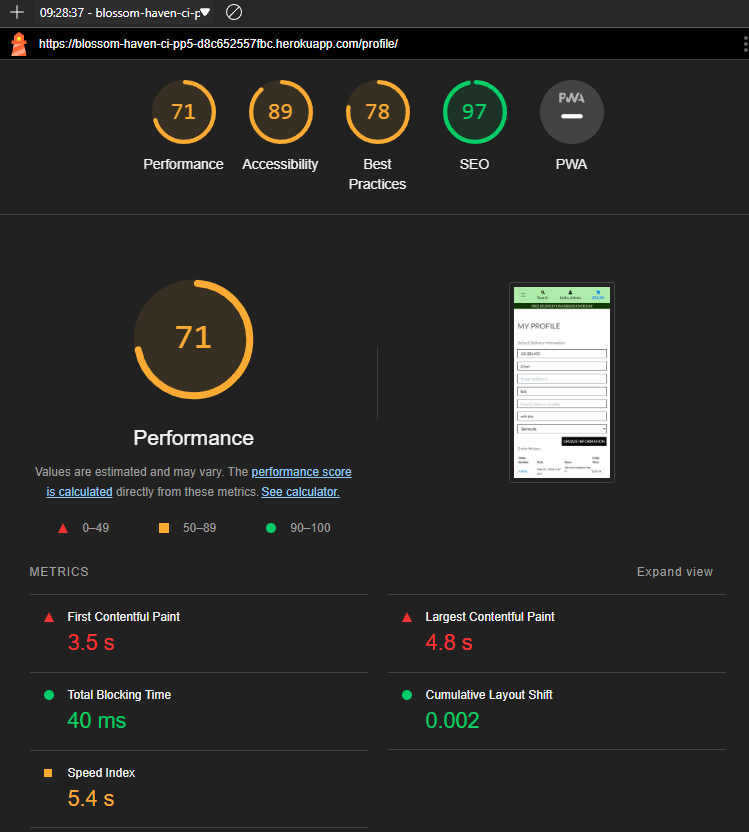
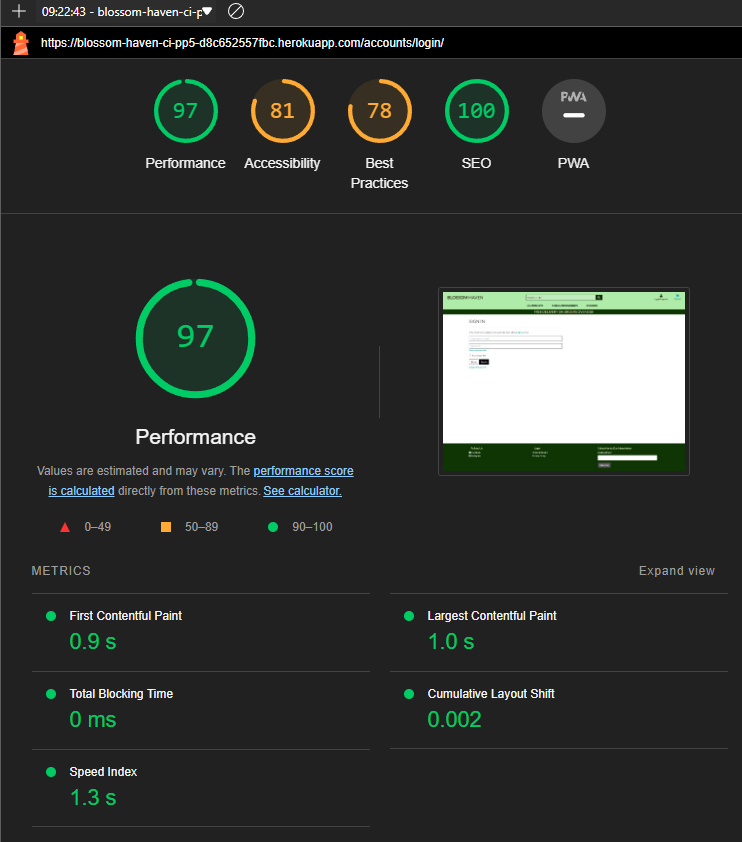
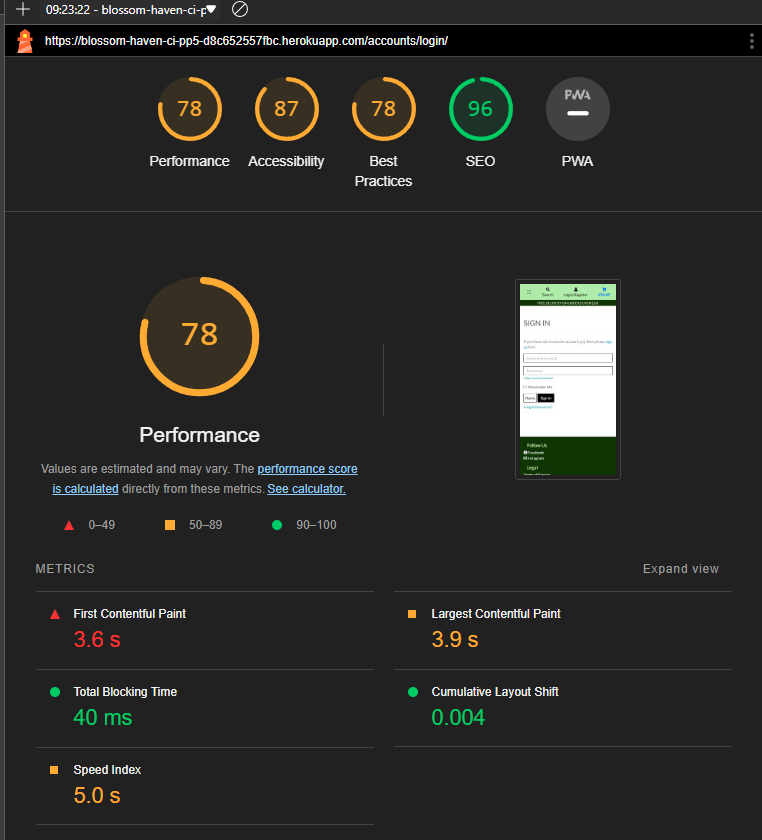
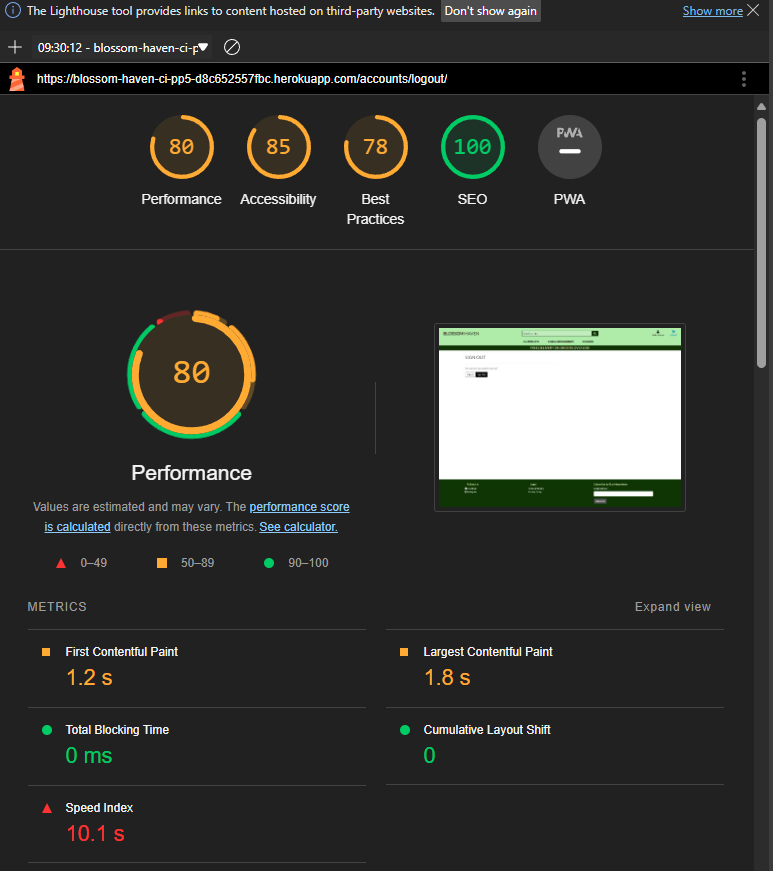
| Lighthouse |
|---|
| Index LH |
| Products LH |
| Reviews LH |
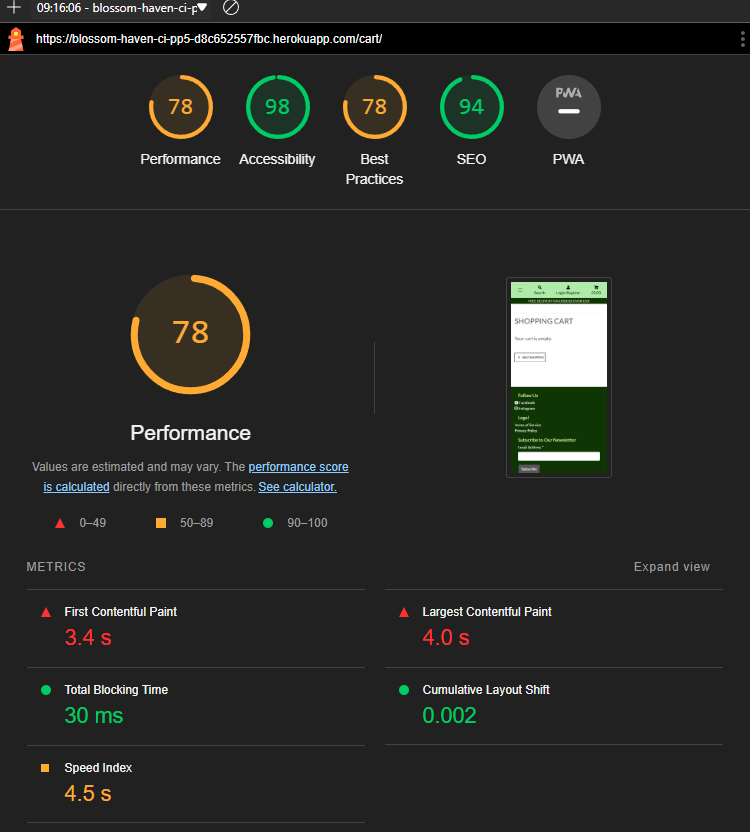
| Cart LH |
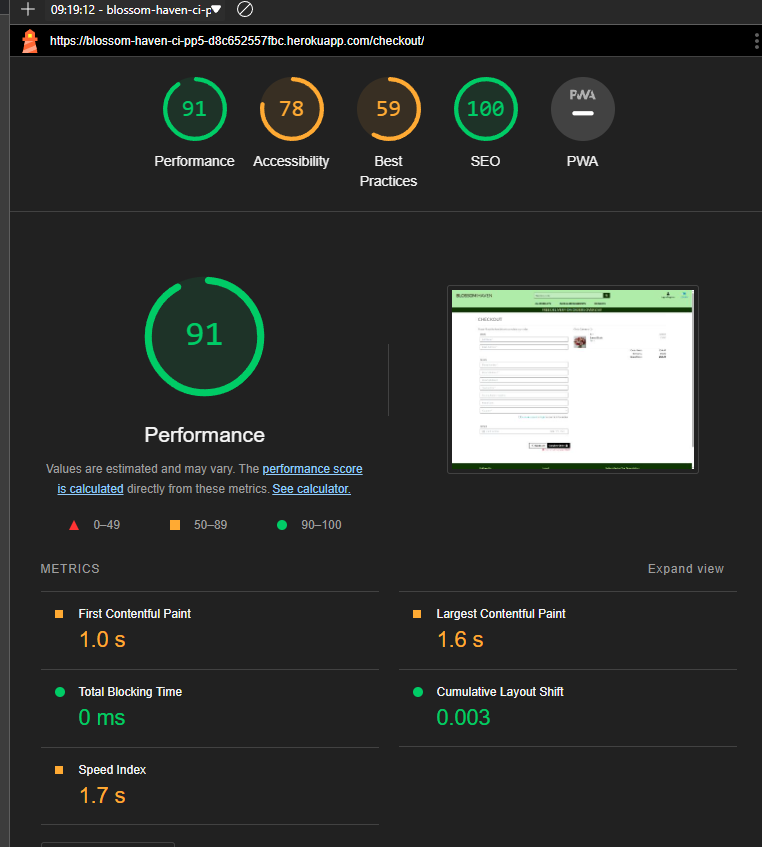
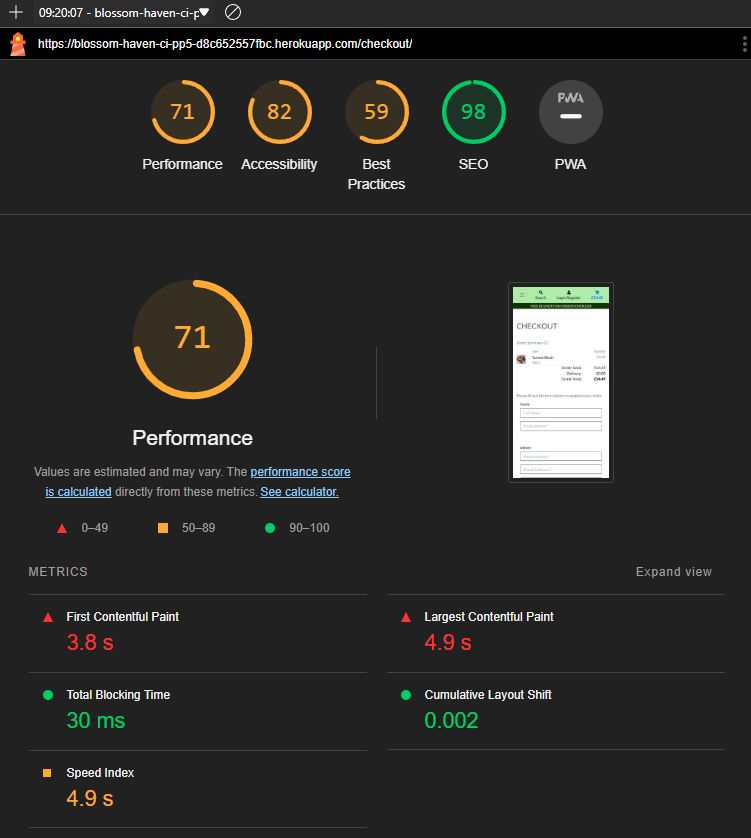
| Checkout LH |
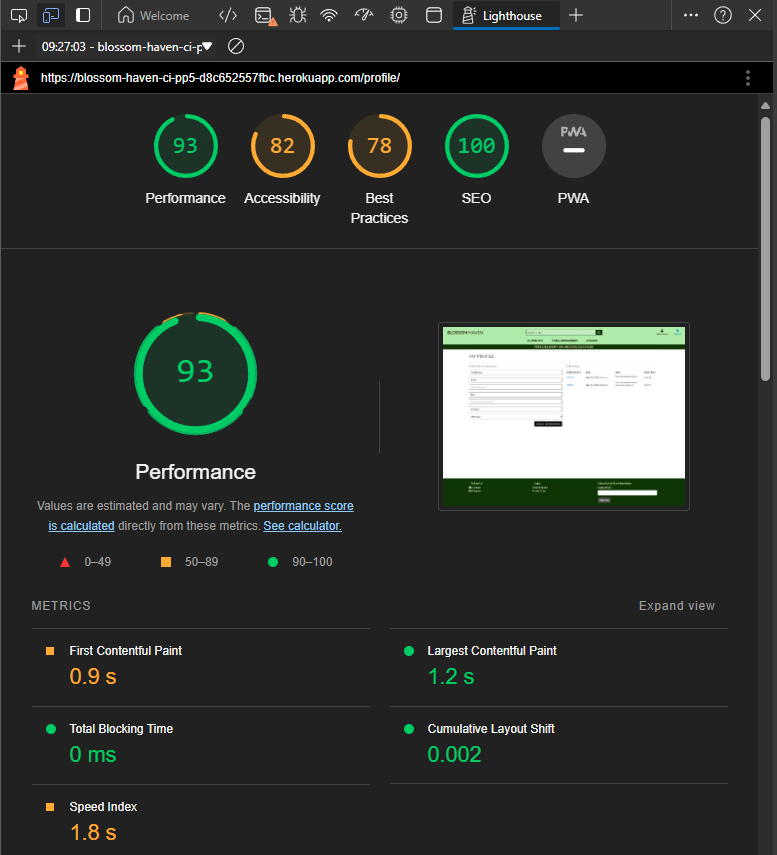
| Profiles LH |
| Django Alltuh LH |
| Setup |
|---|
| Database |
| Cloudinary |
| Deployment |
| Email Setup |
| More |
|---|
| Wireframes |
| Credits |
| Future Features |
- User stories were stored in "Burger Blast User Stories" project of my git hub. I was a little delayed in moving them around to completion so times are a bit off although stucture of sprints were followed throughout development.
** Sprint One**
| User Stories | Needed for MVP | Completed |
|---|---|---|
| As a user, I can visit the website and see a homepage with navigation to different sections. | Yes | Yes |
| As a user I can browse different arrangements of flowers | Yes | Yes |
| As a user I can view details of a specific flower bouquet so that I can make informed buying decisions. | Yes | Yes |
** Sprint Two**
| User Stories | Needed for MVP | Completed |
|---|---|---|
| As a user I can add items to my shopping cart so that I can purchase them later. | Yes | Yes |
| As a user I can view my shopping cart so that proceeded to check out or edit my order | Yes | Yes |
| As a User or Admin I can provide my shipping and payment information to complete the purchase. | Yes | Yes |
Sprint Three
| User Stories | Needed for MVP | Completed |
|---|---|---|
| As an Admin, when I add, or edit a product to where it has no product image it will show a default no image | Yes | Yes |
| As a User, when a product has no image I want to see a default no image so that I know there are no images available for this product | Yes | Yes |
| As a Admin I can view and edit existing products so that it updates and users can see the changes | Yes | Yes |
| As a admin I can Add products so that users can see and purchase them | Yes | Yes |
| As a Admin I can Login to admin panel so that I can view admin panel | Yes | Yes |
Sprint Four
| User Stories | Needed for MVP | Completed |
|---|---|---|
| As a user, I want to see if products are available before adding them to the cart. | Yes | Yes |
| As an admin, I want to manage the inventory of flowers to ensure availability. | Yes | Yes |
Sprint Five
| User Stories | Needed for MVP | Completed |
|---|---|---|
| As a Admin, I want to be able to delete inappropriate reviews to maintain integrity of the site. | No | Yes |
| As a User, I want to see all reviews and be able to leave a review on products I have purchased so that myself and other users can make educated purchases. | No | Yes |
| As an Admin, I want to manage the availability and pricing of add-on items so that they can only be added if they are in stock. | No | Yes |
| As a user, I want to add additional items to compliment my purchase. | No | Yes |
Sprint Six
| User Stories | Needed for MVP | Completed |
|---|---|---|
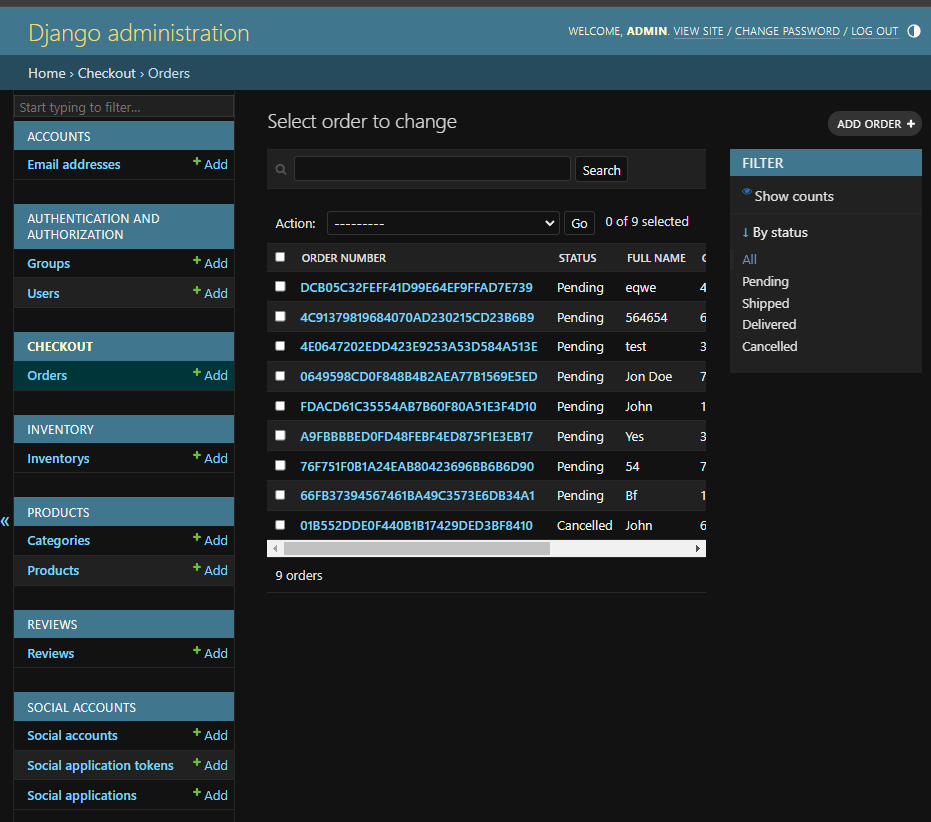
| As an admin, I want to view a summary of orders and manage order statuses so that I can ensure the smooth operation and get the jump on any issues that arise. | Yes | Yes |
| As a user, I want to create an account to track my orders and save my shipping information for future purchases. | Yes | Yes |
Sprint Seven
| User Story or Action | Needed for MVP | Completed |
|---|---|---|
| As a User or Admin, when i visit the site there is a footer with links to social media and any other relevant footer links. So that I can follow them accordingly. | Yes | Yes |
| robots.txt file. and sitemap.xm | Yes | Yes |
| Newsletter Signup | Yes | Yes |
| Create Products in live database | Yes | Yes |
| HTML SEO | Yes | Yes |
| Instagram page | No | Yes |
| Facebook Bussiness page | Yes | Yes |
(MVP = Minimal Viable Product)
Sprint Eight
- Create Engaging Content
- Post high-quality images of your floral arrangements regularly.
- Share behind-the-scenes content to show the process of creating your arrangements.
- Post customer testimonials and user-generated content.
- Use Facebook Stories to share daily updates and limited-time offers.
- Leverage Facebook Groups
- Join local community groups and participate in discussions, subtly promoting your business when relevant.
- Run Contests and Giveaways
- Host contests where participants need to like, share, and comment on your posts for a chance to win a free floral arrangement.
- Engage with Your Audience
- Respond promptly to comments and messages.
- Ask questions in your posts to encourage interaction.
- Host live Q&A sessions to engage directly with your audience.
- Optimize Instagram Profile
- Ensure bio clearly describes your business and includes a link to your website.
- Use a consistent profile picture (logo) for brand recognition.
- Create Visually Appealing Content
- Post high-quality photos and videos of your floral arrangements.
- Use Instagram Stories to share daily updates and behind-the-scenes content.
- Use Instagram Reels to showcase quick tutorials, floral arrangement ideas, or customer stories.
- Use Hashtags Strategically
- Use a mix of popular and niche hashtags to increase your reach. Examples include #Florist, #FlowerDelivery, #LondonFlorist, #BlossomHaven, etc.
- Create a branded hashtag (#BlossomHaven) and encourage customers to use it when they post their own photos.
- Engage with Your Community
- Like and comment on posts from users who use your hashtags or tag you.
- Follow relevant accounts and engage with their content.
- Host Instagram Live sessions for real-time interaction with your audience.
- Run Contests and Giveaways
- Similar to Facebook, host Instagram contests where participants need to follow your account, like your post, and tag friends to enter.
Search Engine Optimization (SEO)
- Keyword Research
- Identify relevant keywords that potential customers are using to search for florists and floral arrangements in London. Use tools like Google Keyword Planner, Ahrefs, or Ubersuggest.
- On-Page SEO
- Optimize your website’s content with the identified keywords, ensuring they appear in titles, headers, meta descriptions, and throughout your content.
- Ensure your website is mobile-friendly and has a fast loading speed.
- Content Marketing
- Start a blog on your website where you can post articles related to flowers, floral arrangements, care tips, and occasion-specific floral advice.
- Create high-quality, informative content that answers common questions and solves problems for your audience.
- Local SEO
- Create a Google My Business profile and keep it updated with your latest information, including business hours, address, and contact details.
- Encourage satisfied customers to leave positive reviews on your Google My Business profile and other review sites.
- Backlink Building
- Reach out to local bloggers and websites to write guest posts or get featured.
- Partner with local businesses for cross-promotion and backlinks.
- Social Signals
- Ensure that your social media activity links back to your website. Share your blog posts, promotions, and important updates on your social media profiles to drive traffic and improve your search engine rankings.
Other
If have the £££ look into paid marketing stradegies to get a broader reach look for a good ROI by investigating the target market and plan accordingly.
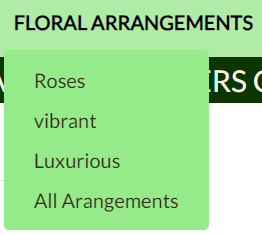
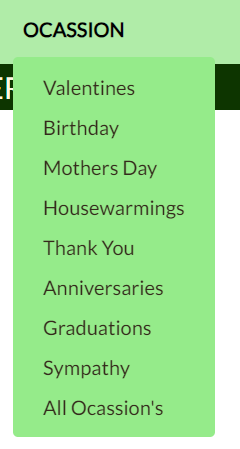
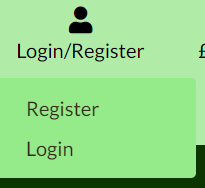
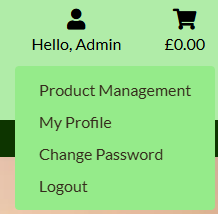
- Allows users to navigate the site
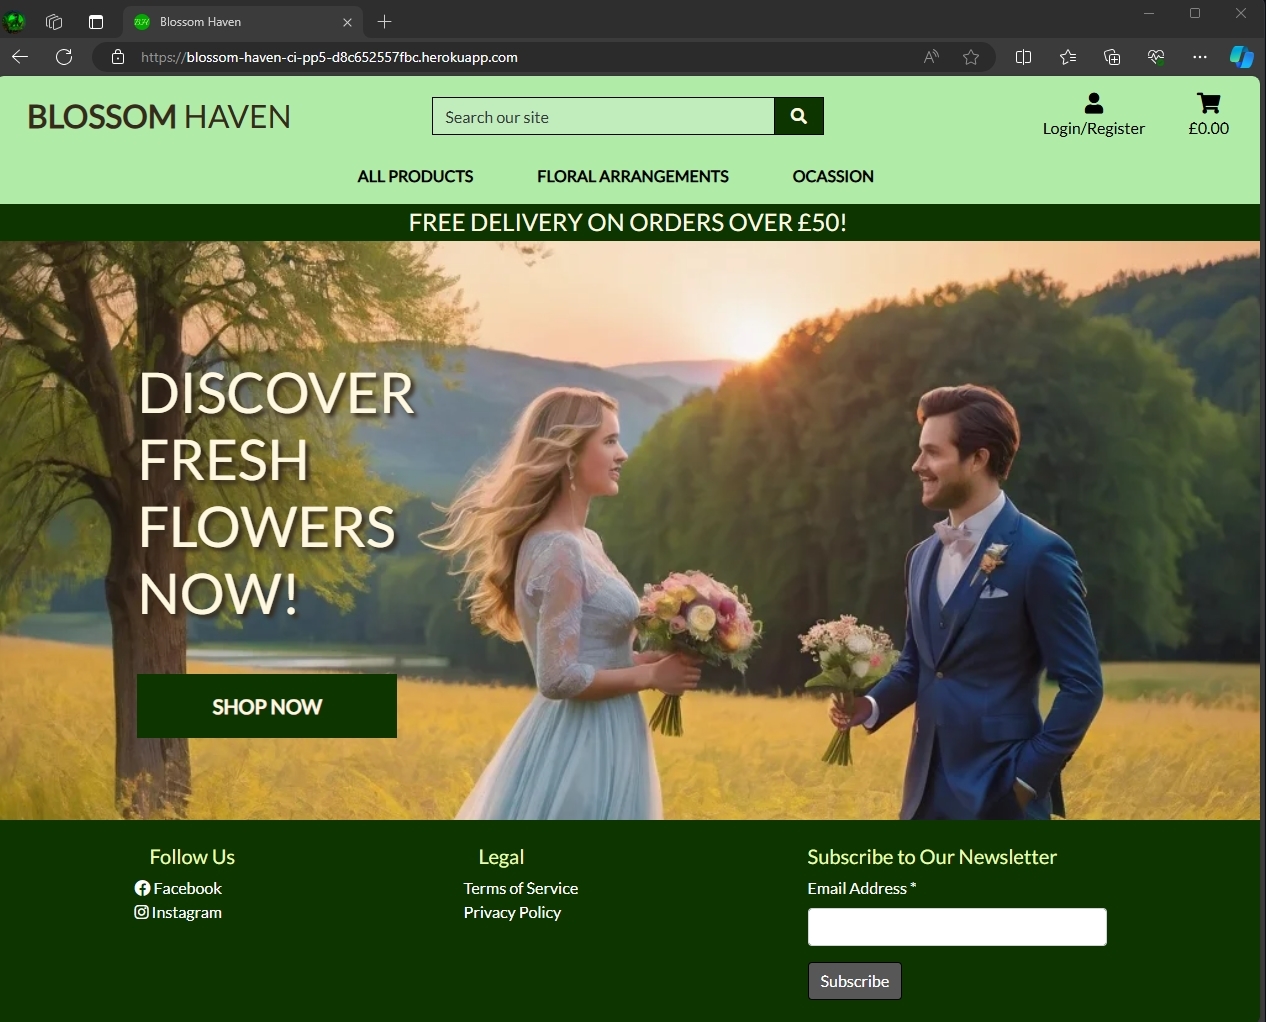
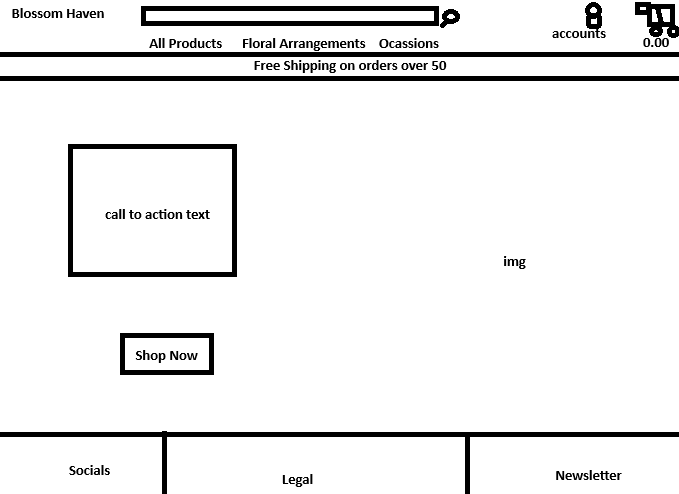
- The landing page with a call to action and a soothing floral backgorund image.
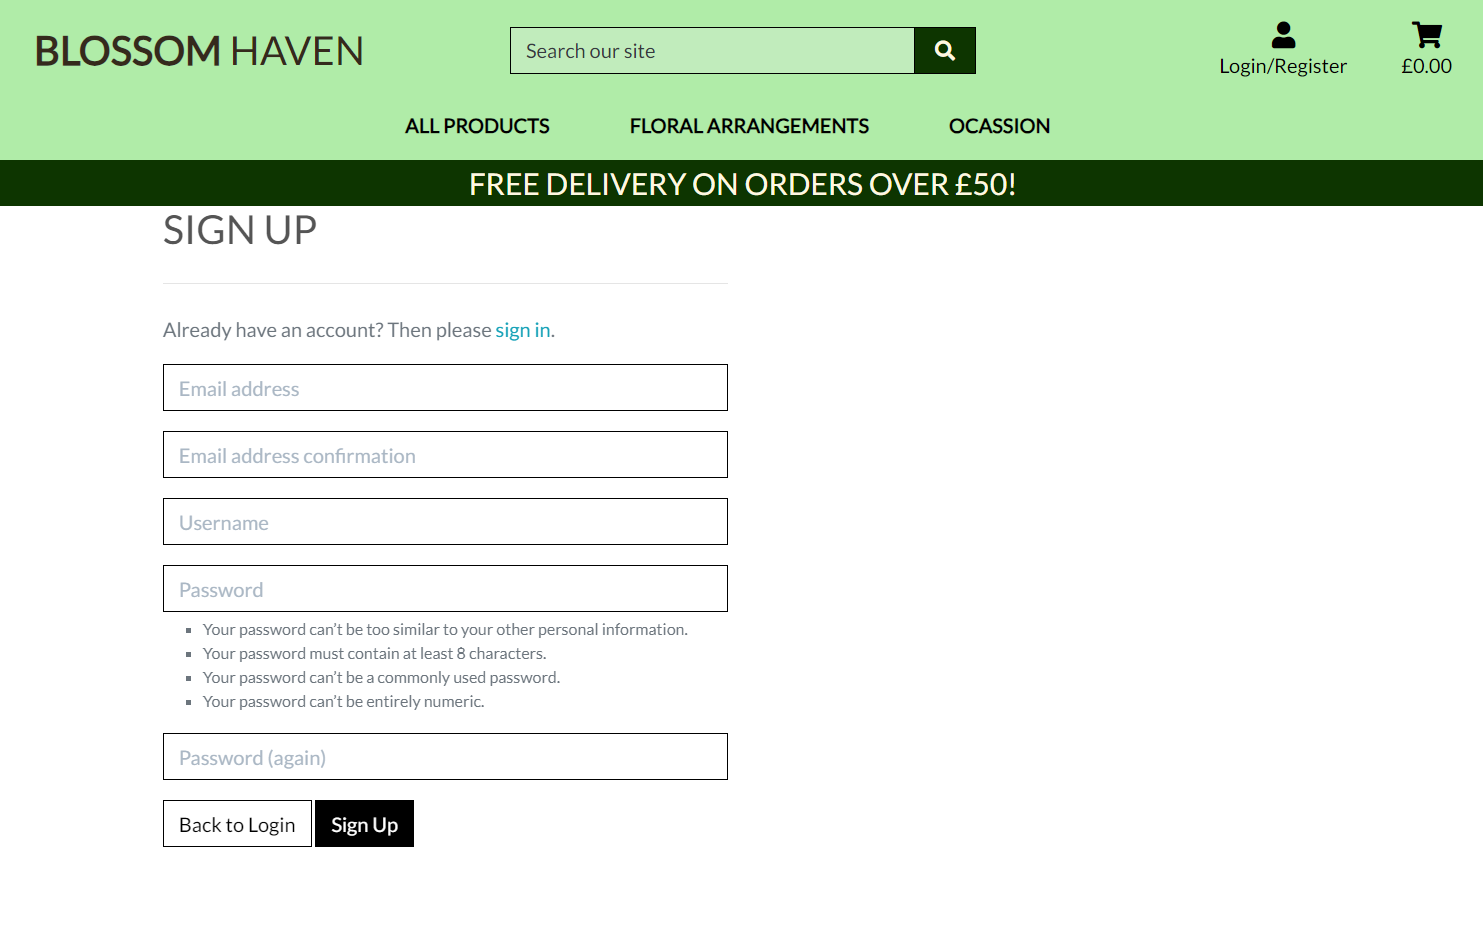
- Django Allauth register page, allows users to make an account.
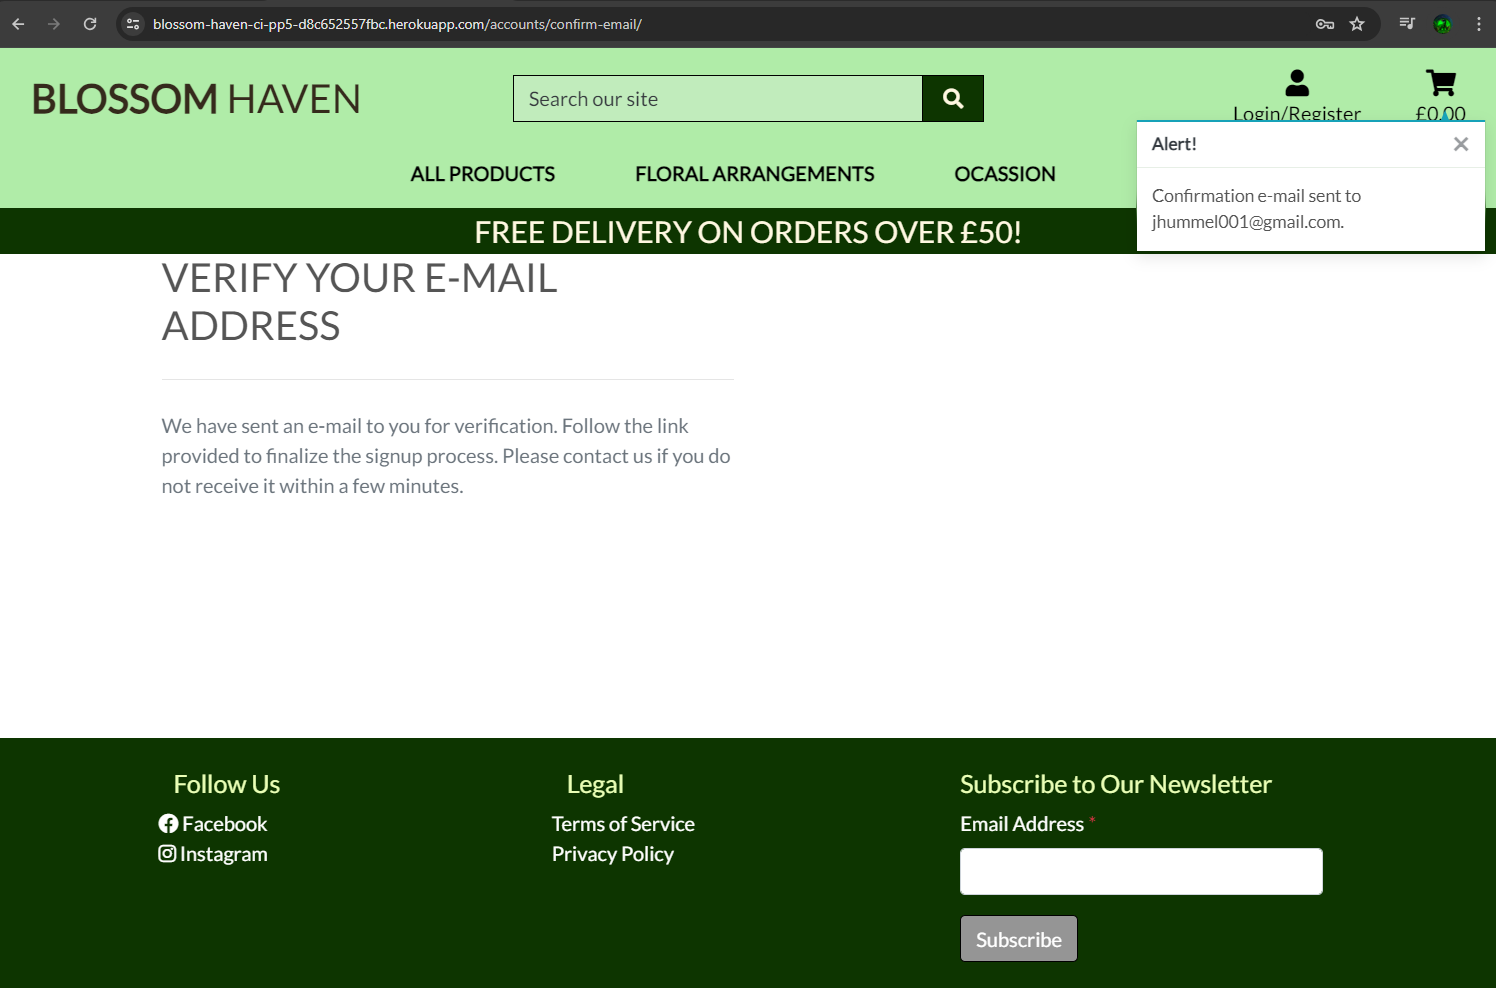
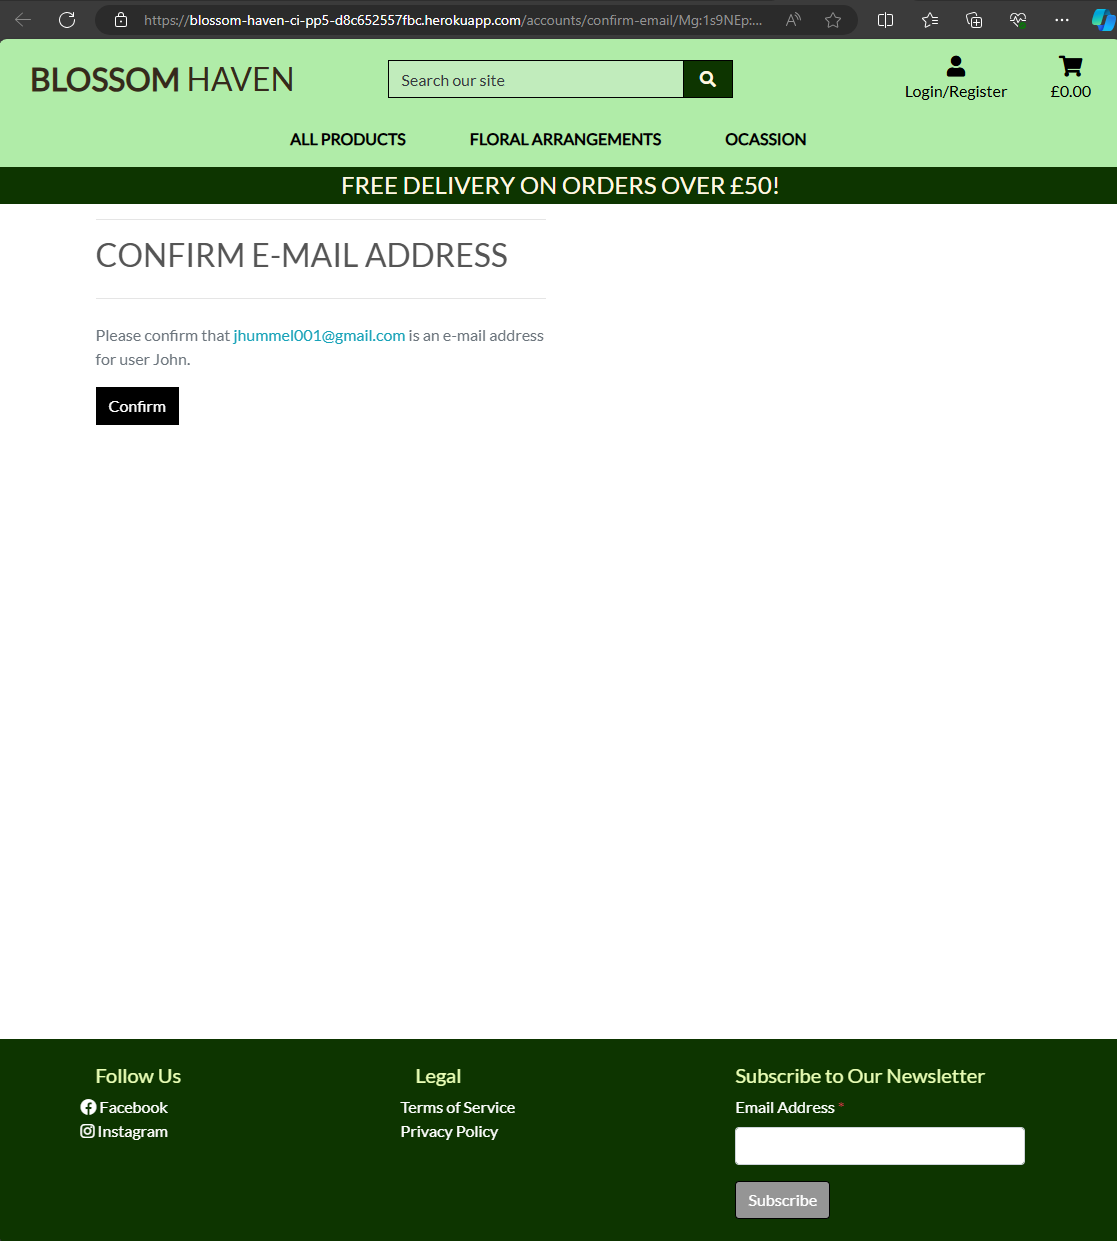
Email link to confirm account activation and page
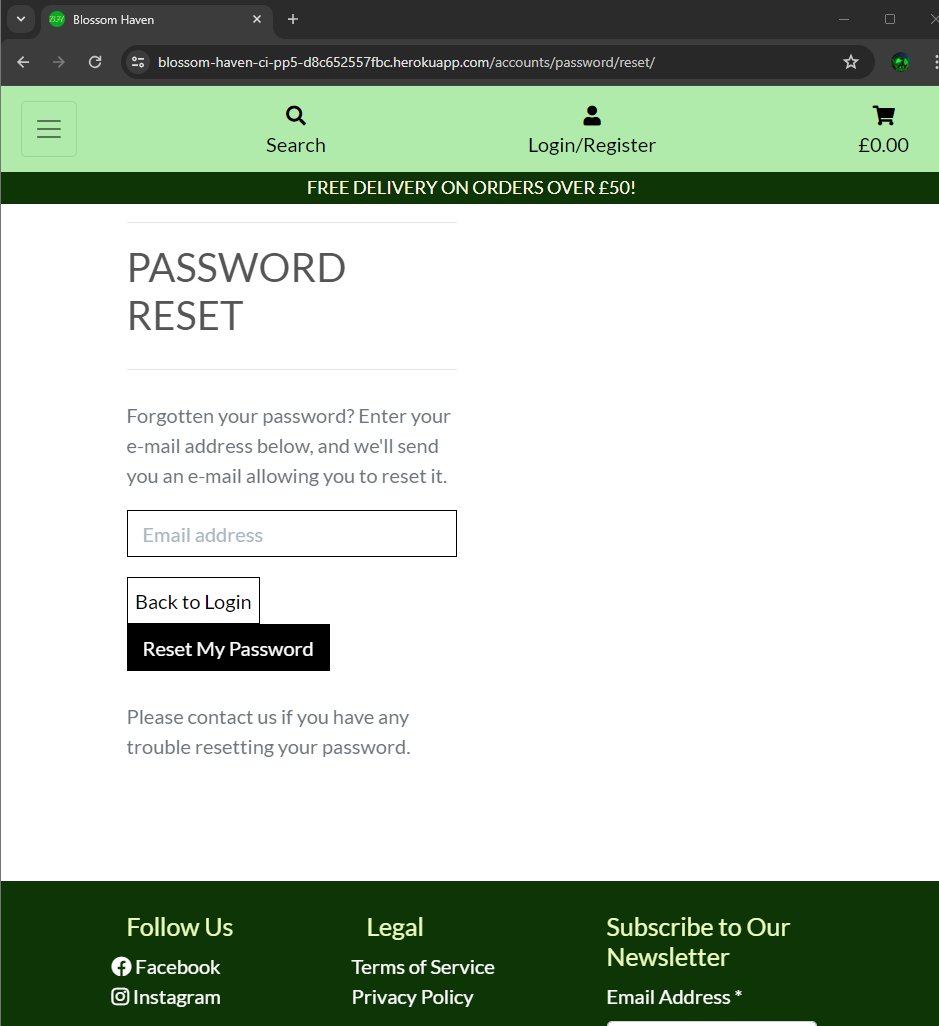
- Django allauth page for users who forgot password and want to reset it
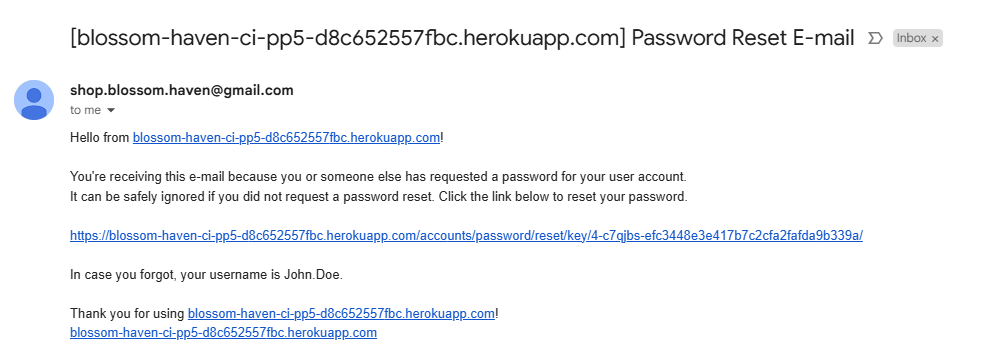
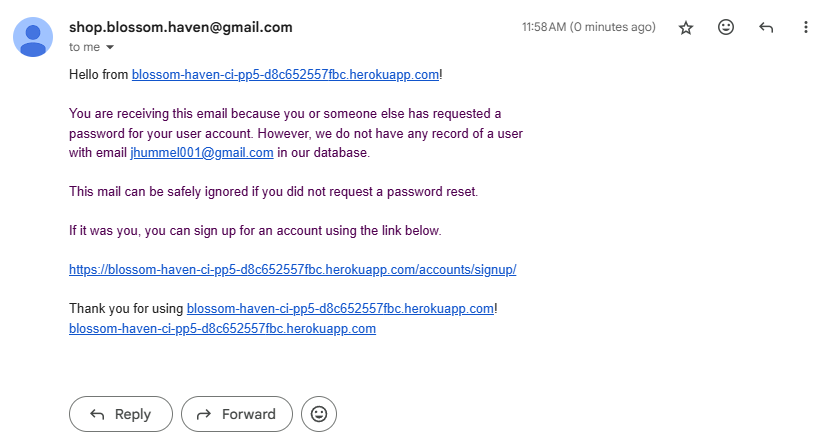
Forgot Password Emails
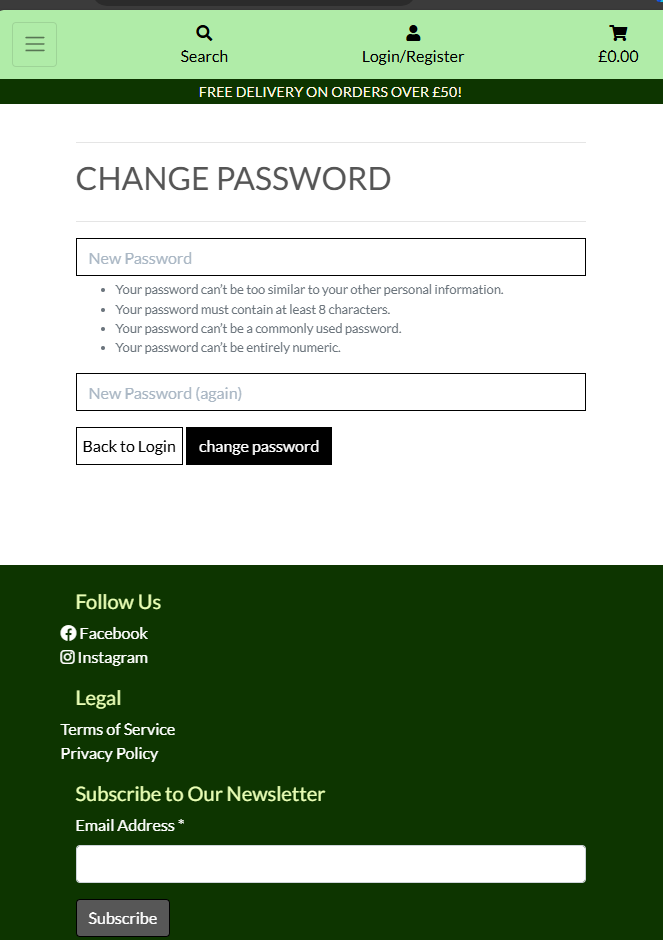
Forgot Pass Change Pass Page
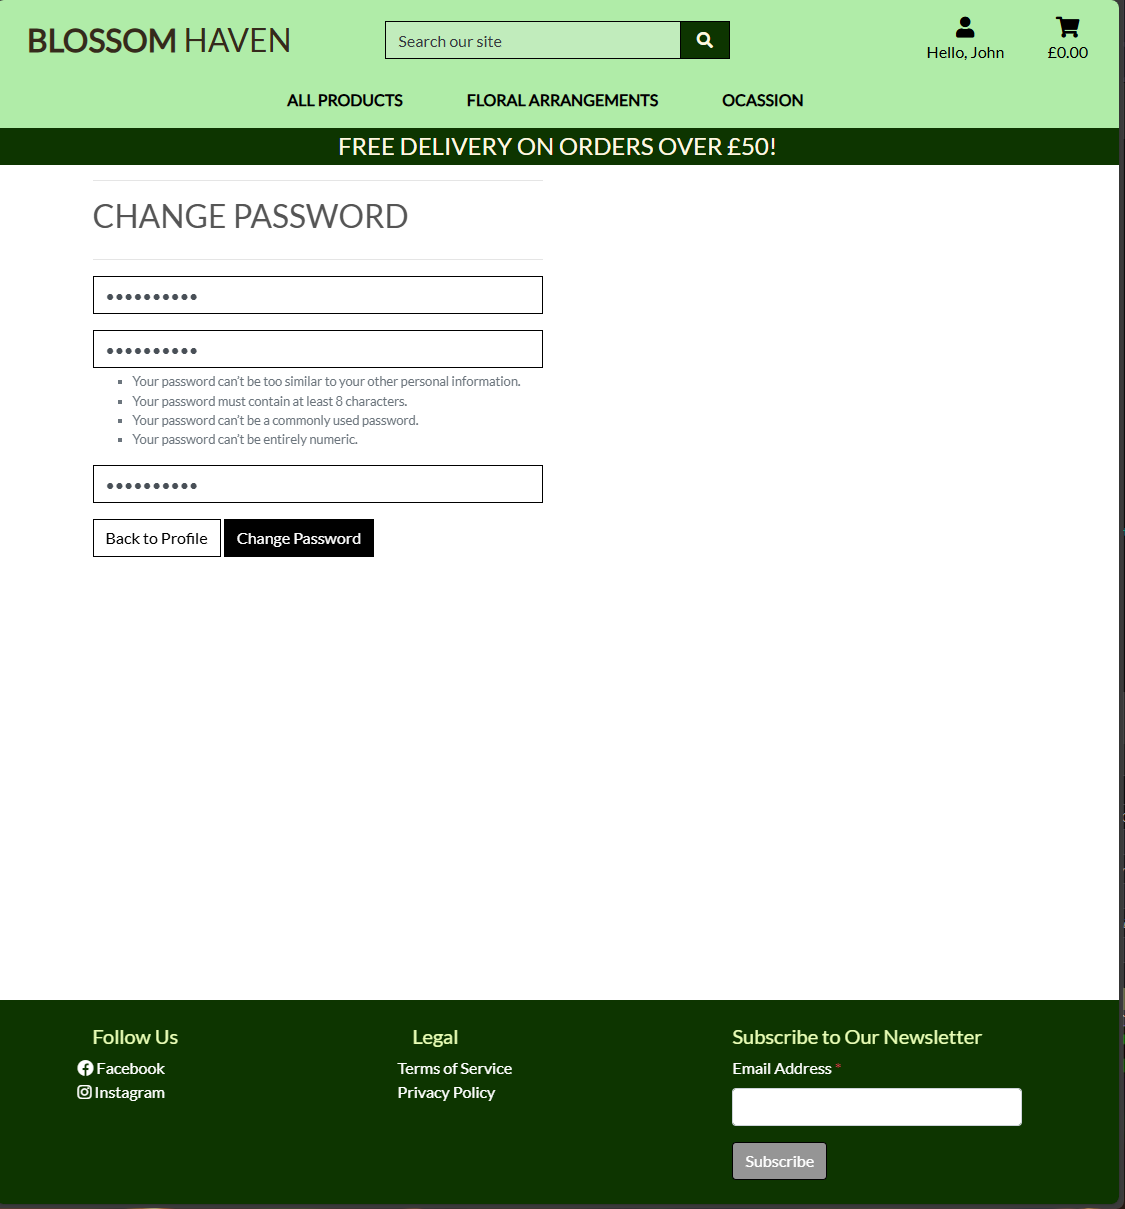
- Django Allauth change password page. Allows logged in users to change account password.
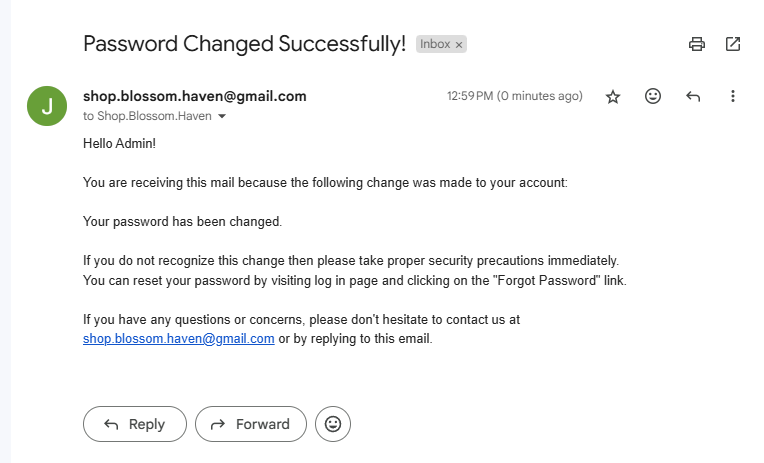
Change Password Email
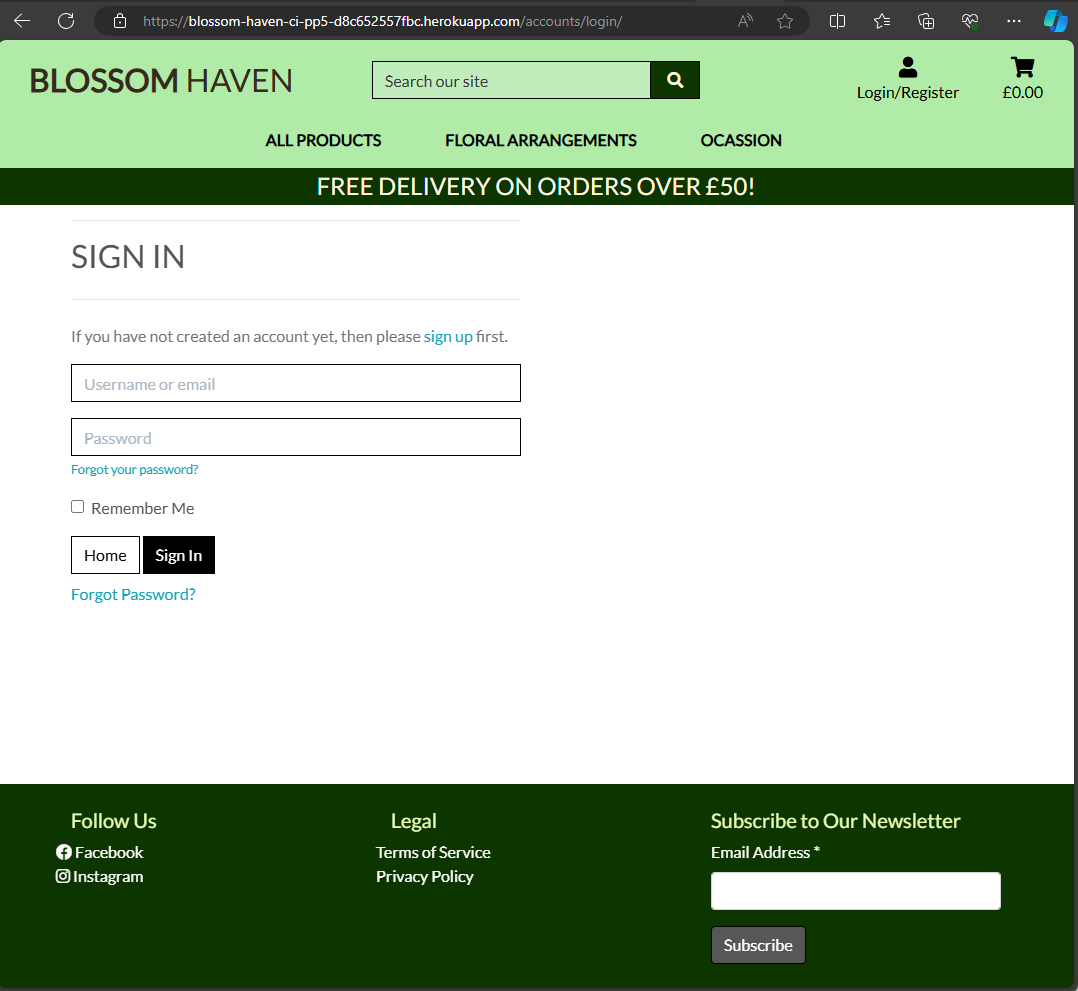
- Django allauth sign in page, allows Users to sign into their accounts using username/Email and password.
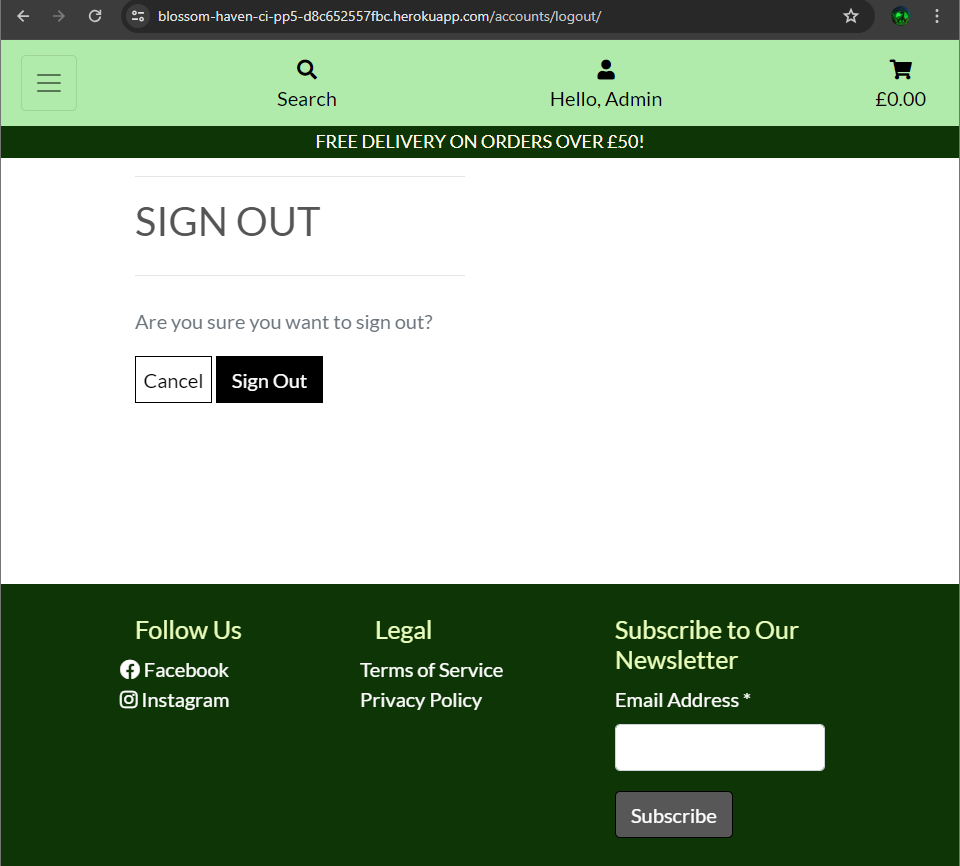
- Django allauth sign out page, allows Users to sign out of their accounts.
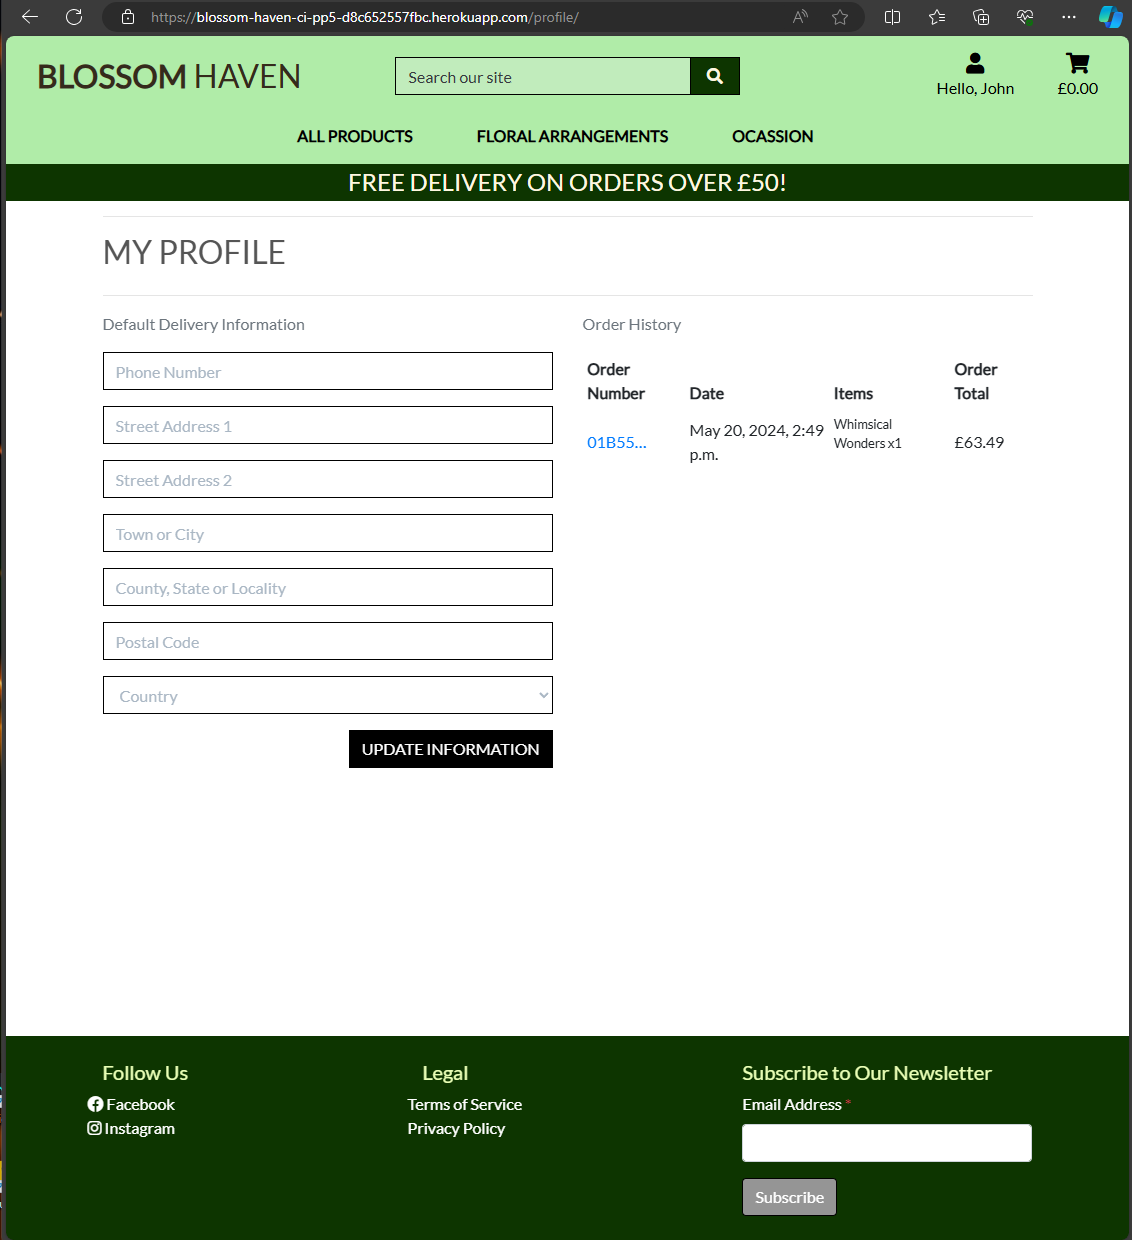
- Allows users to view past orders and their shipping information which can be updated here.
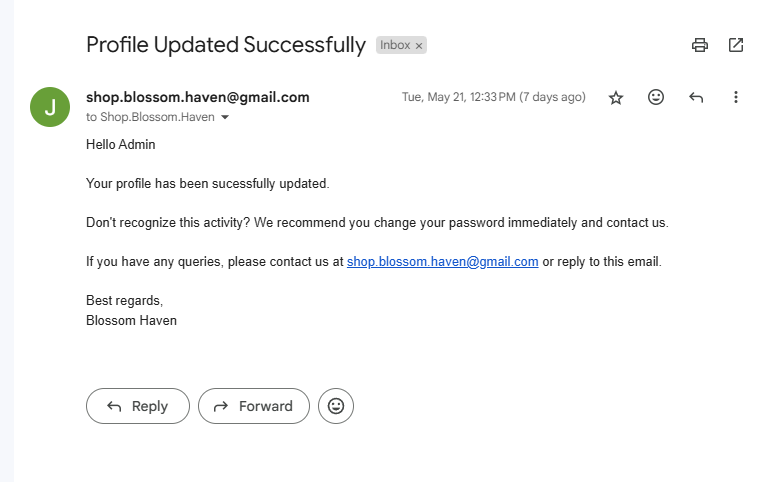
Change Shipping Details Email
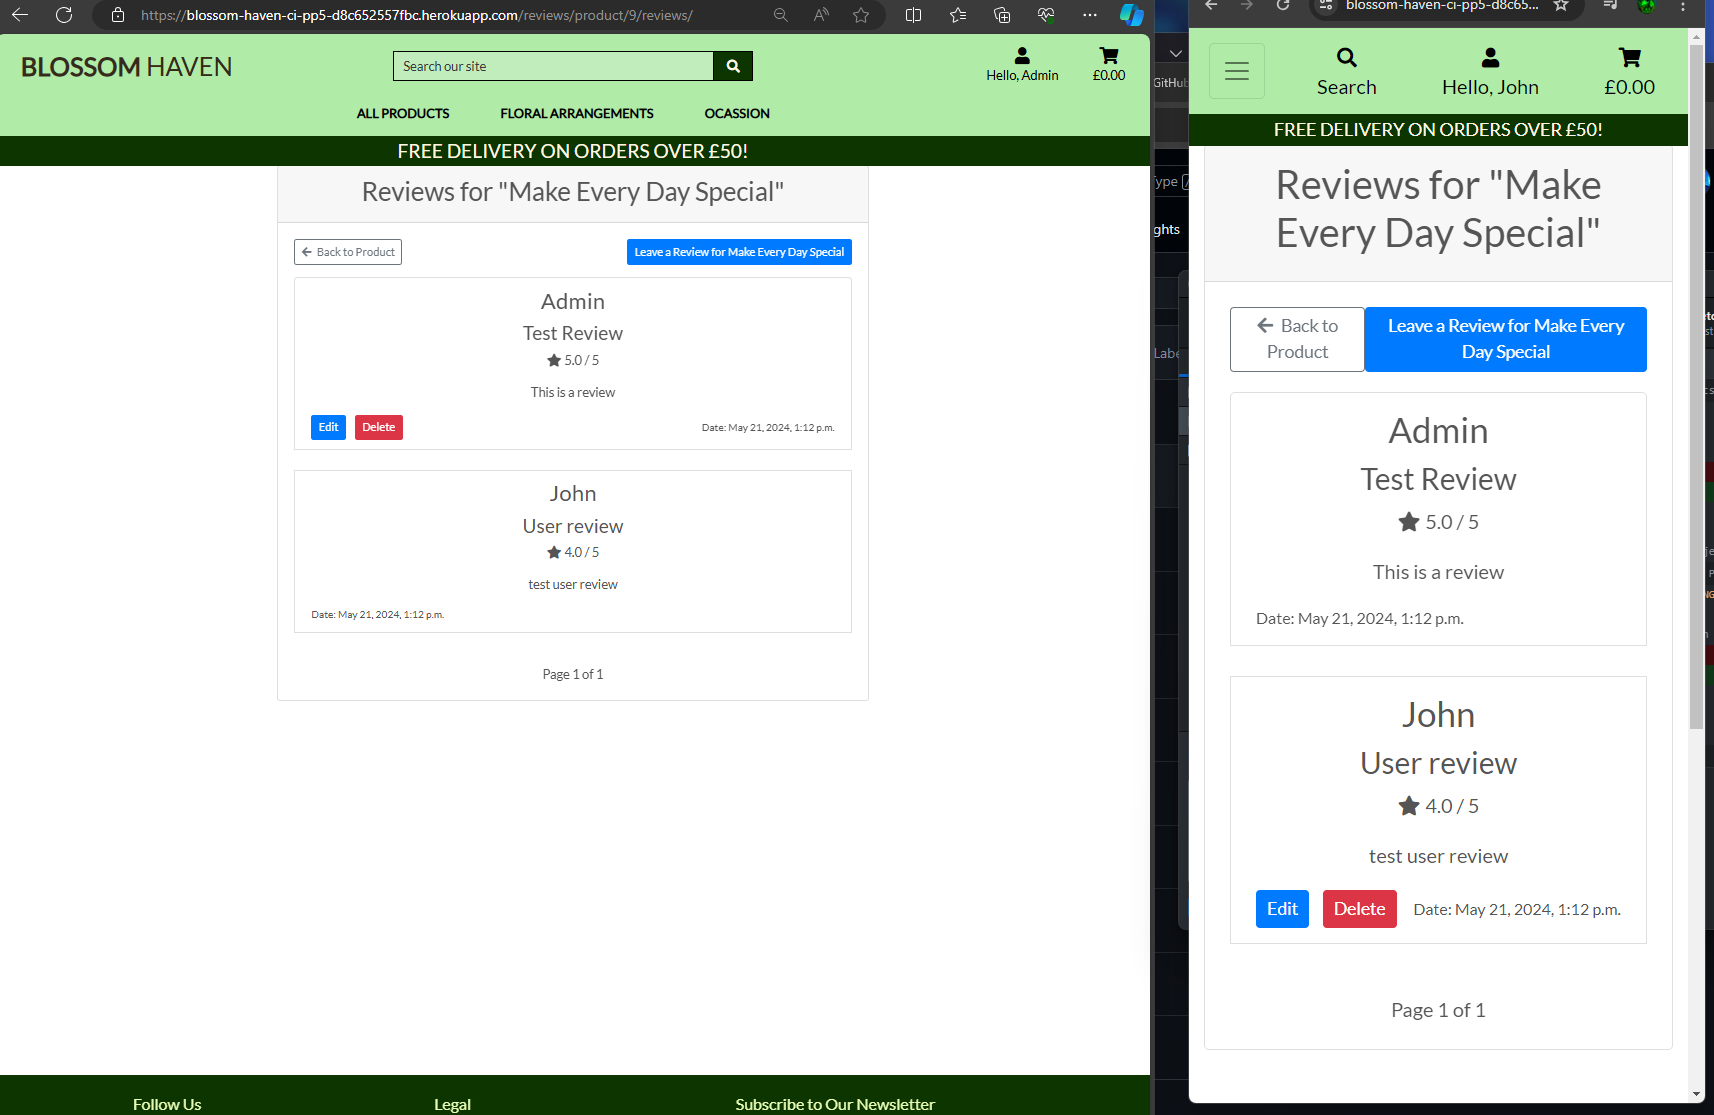
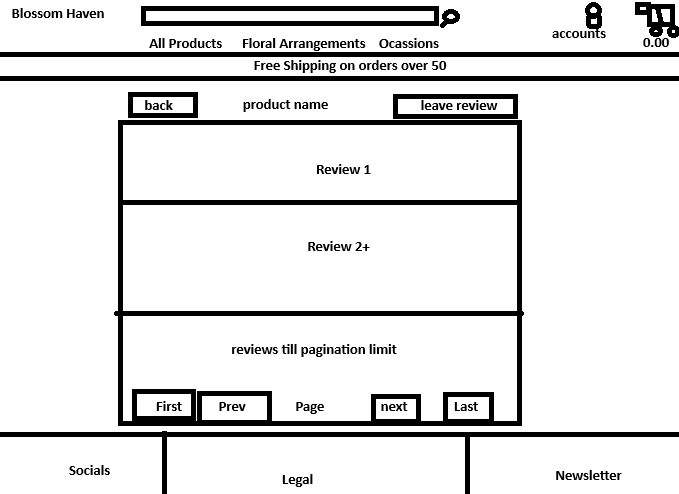
- Allows all visitors to view user left reviews, if logged in can create, edit, and delete their reviews
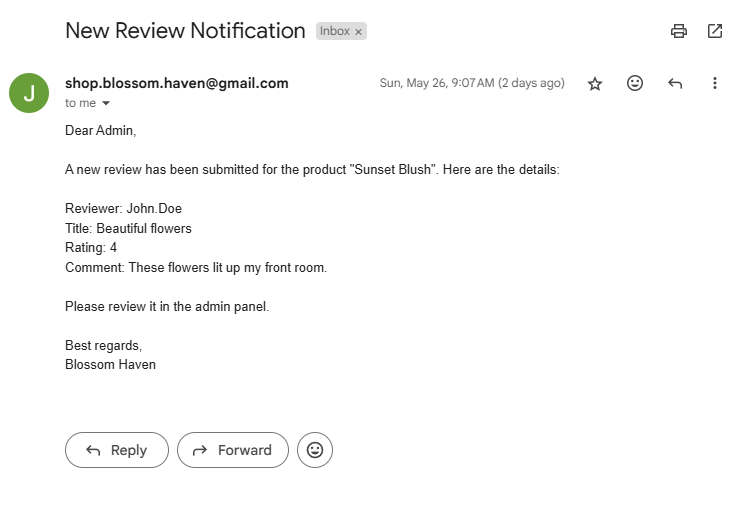
Review Confirmation Email
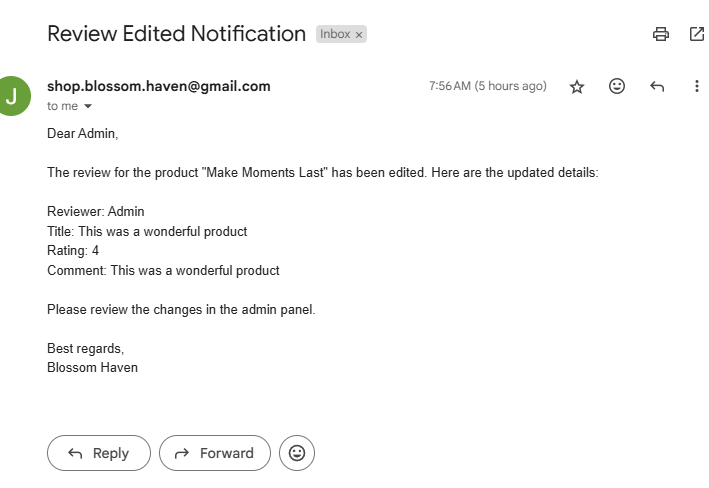
Review Edit Confirmation Email
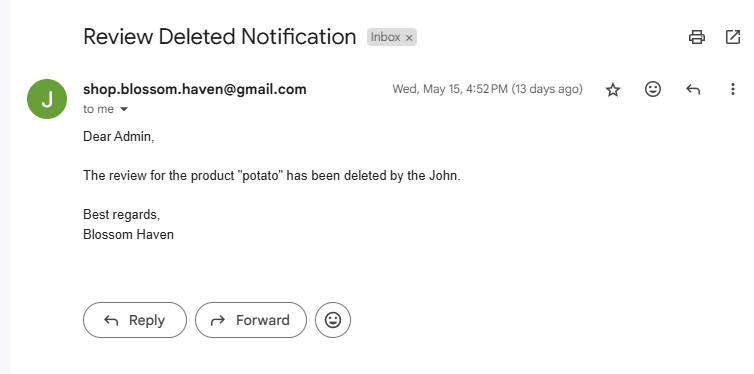
Review Delete Confirmation Email
- This page has many versions based on user search's and sort parameters. Users can see availble products sorted here with image, product name, price, and average rating.
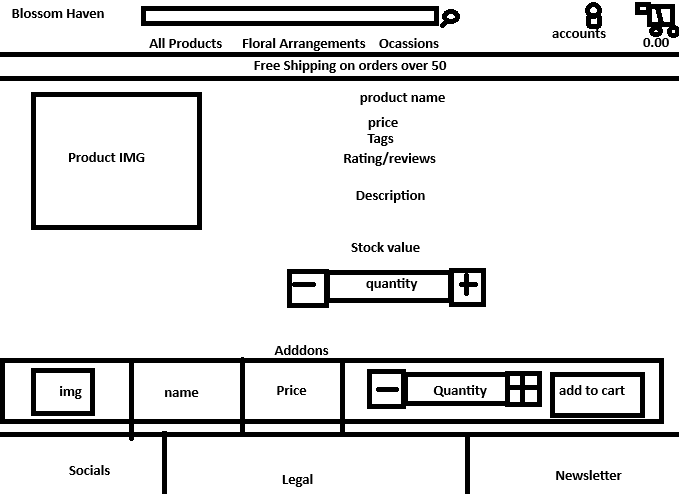
- This is where users can view a specific product as well as the addons available. This will give a full indepth view into the product including the name (product and addons), if its availble and how many are available (product and addons), product decription, a quanity selector (product and addons), Add to cart (product and addons), and even the price (product and addons).
Add Product
- Here staff and super users can add new products and set all elements of the products.
Edit Product
- Here staff and super users can edit products and set all elements of the products.
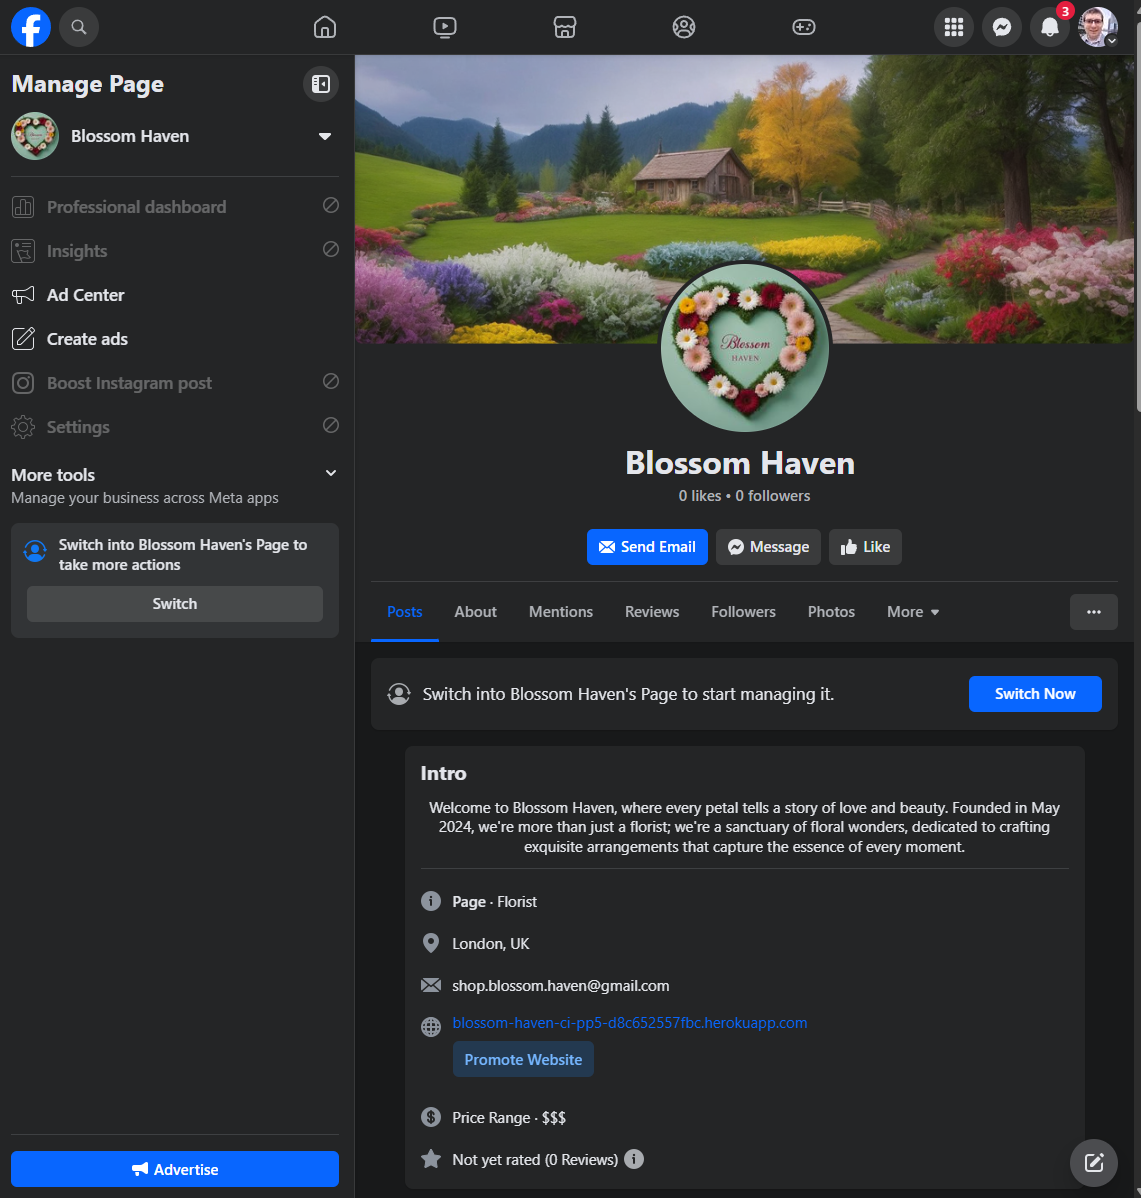
- The primary location for social marketing and escentially like a second storefront.
- The secondary more visual only social media marketing.
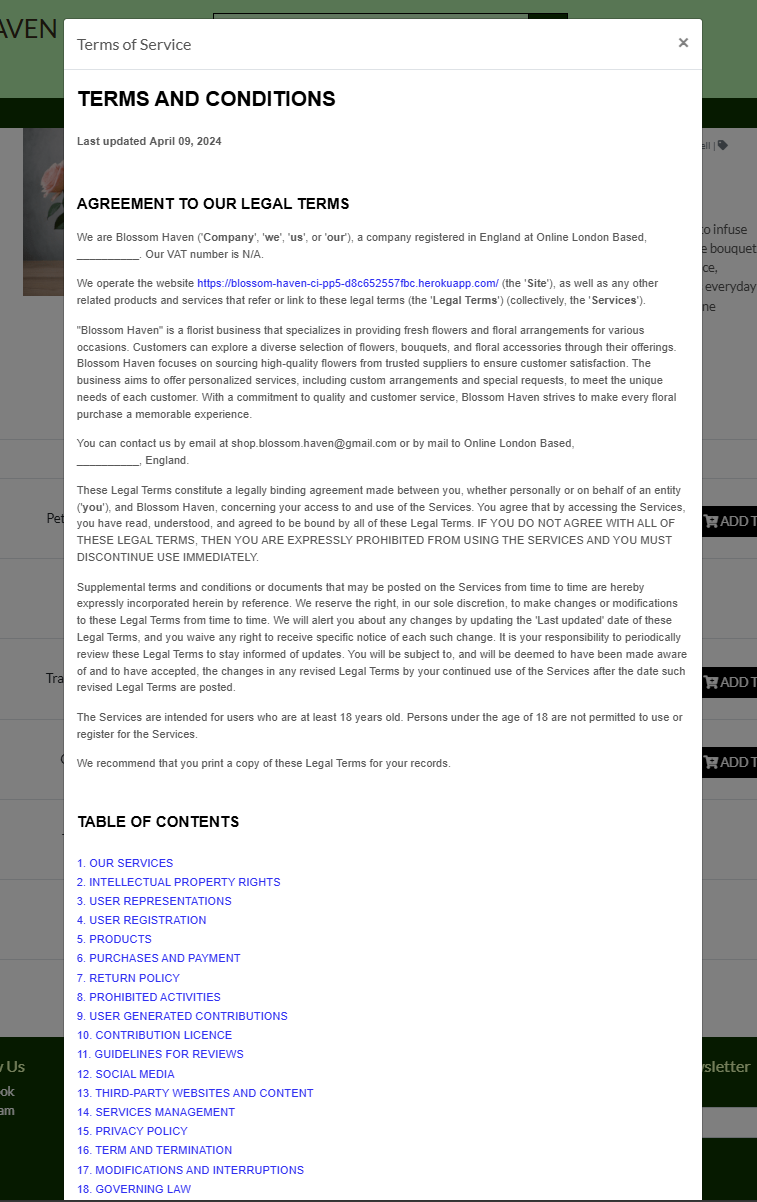
- Links to Social Sites, Legal, and Newsletter signup
400
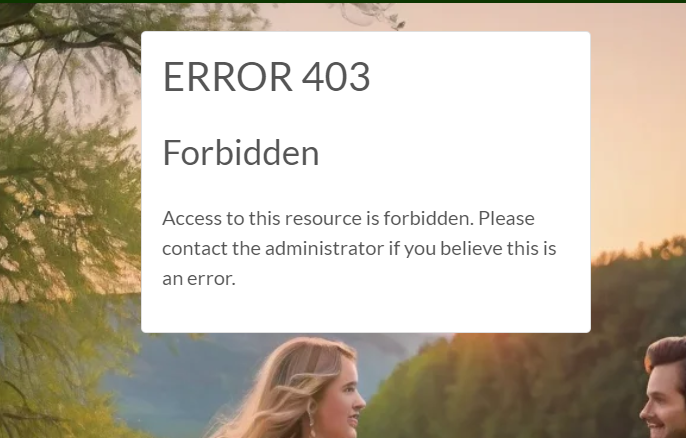
403
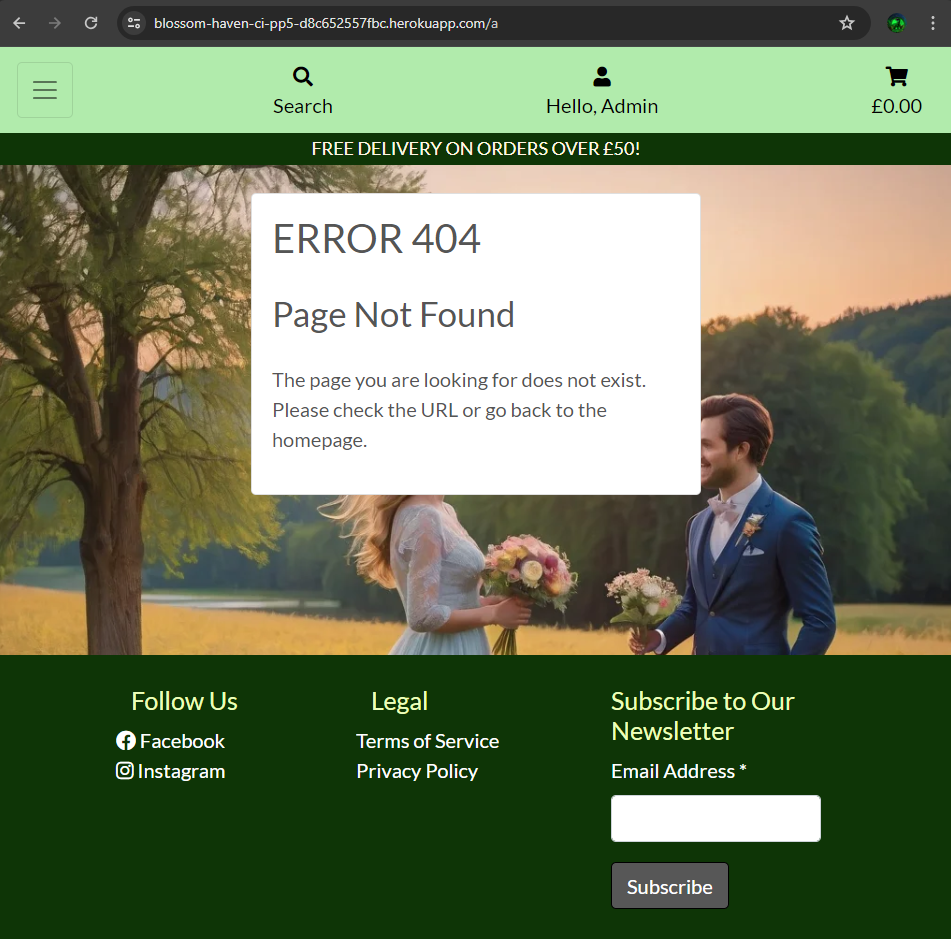
404
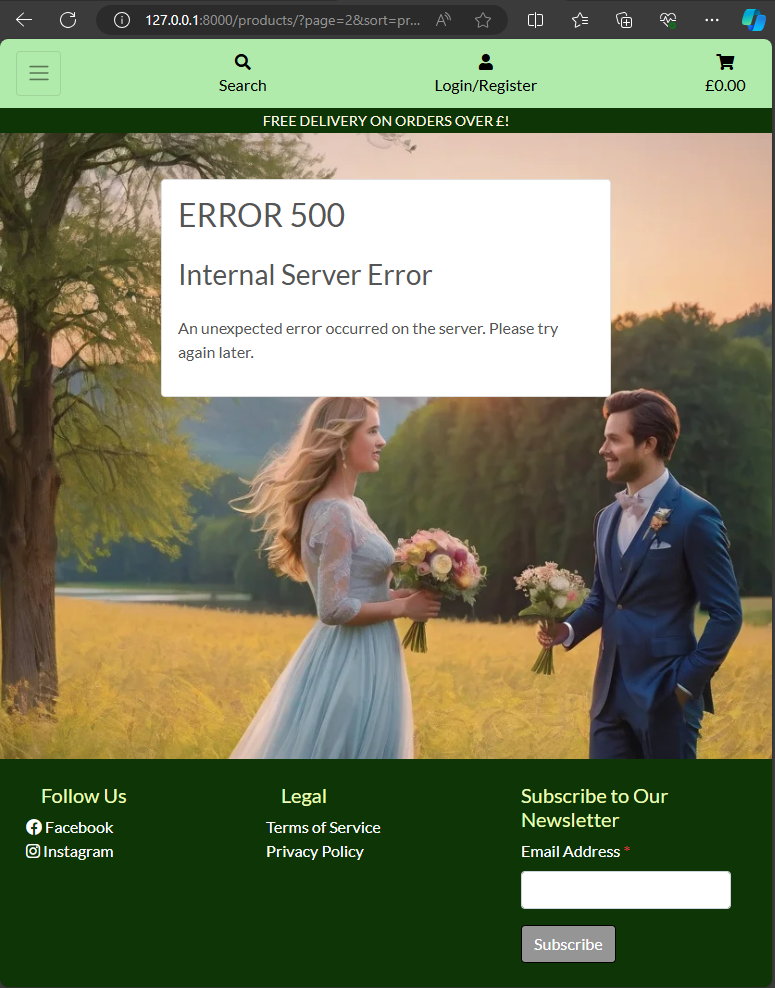
500
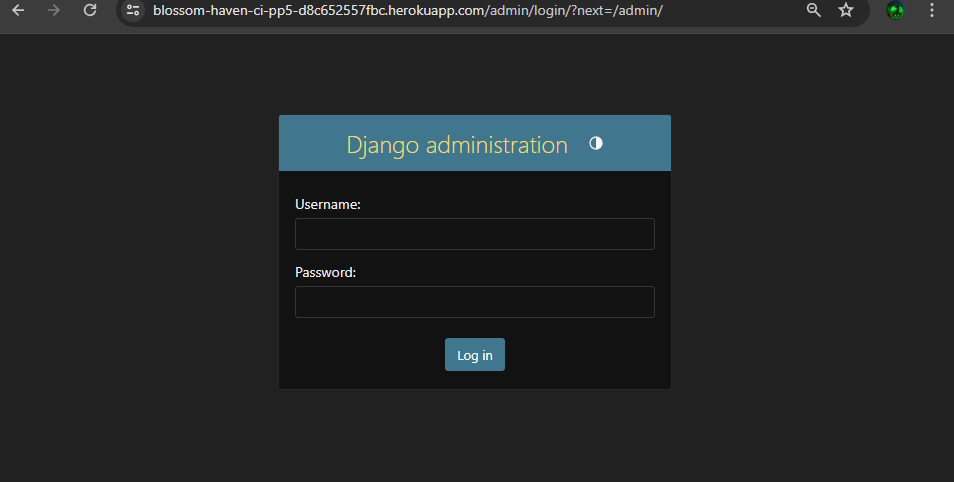
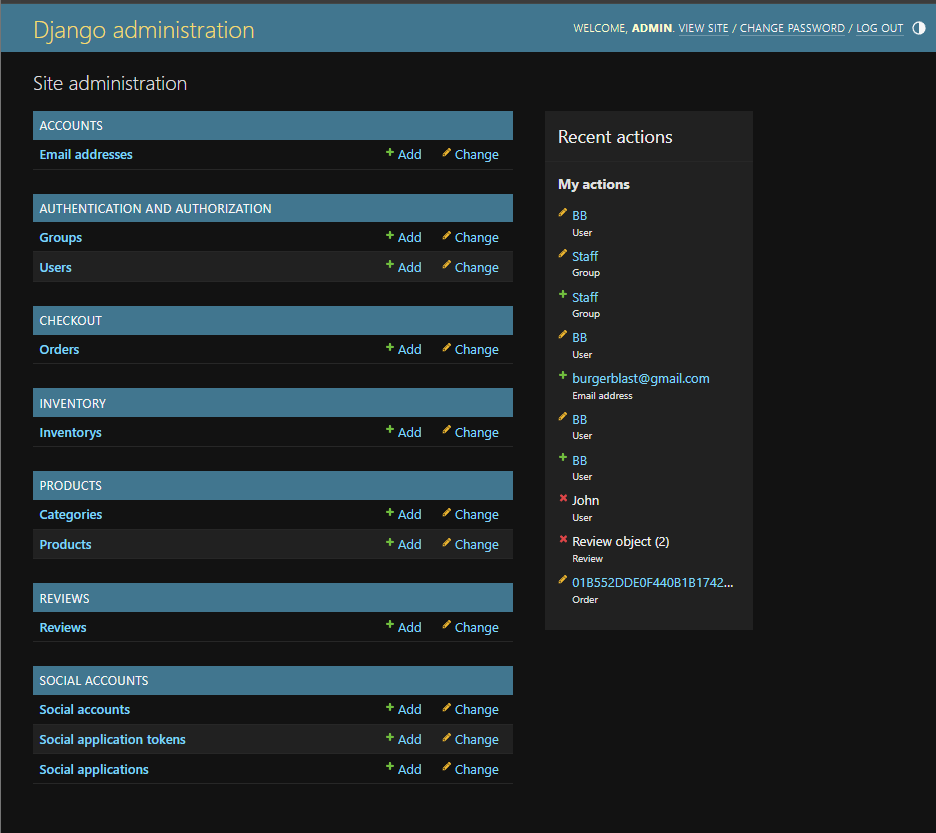
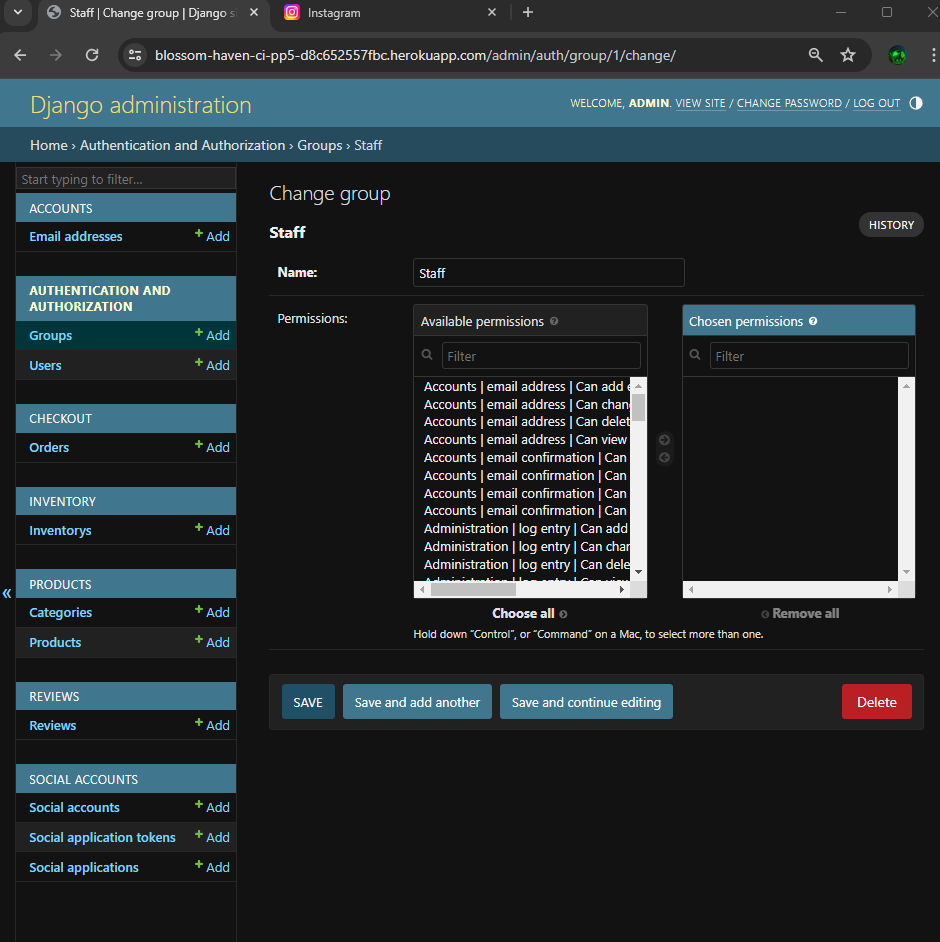
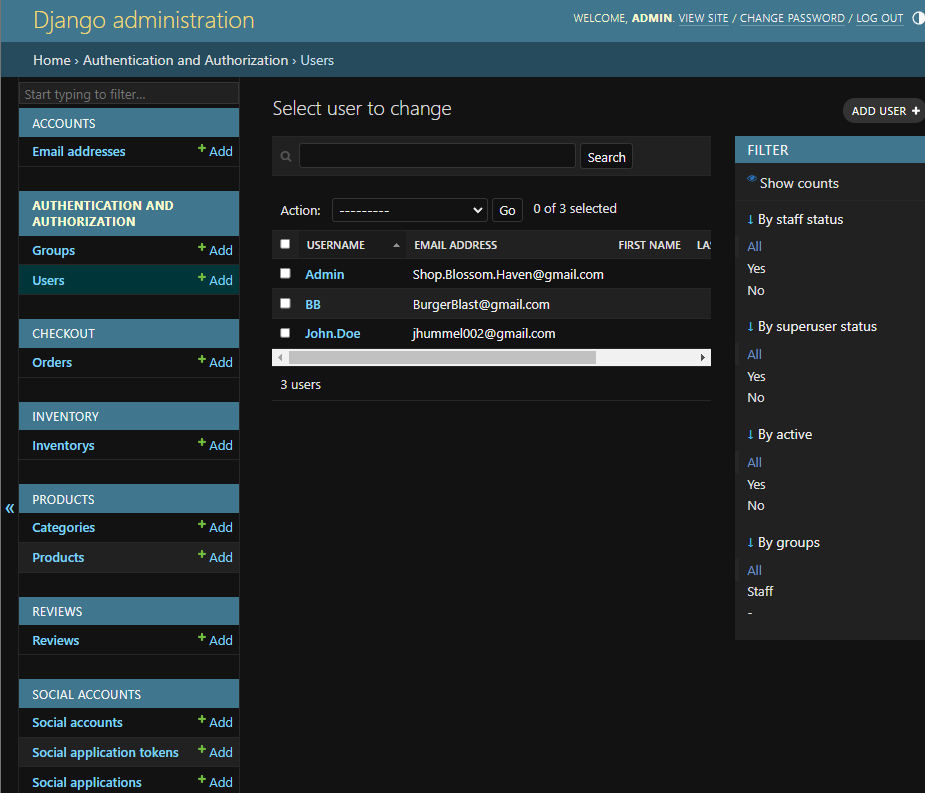
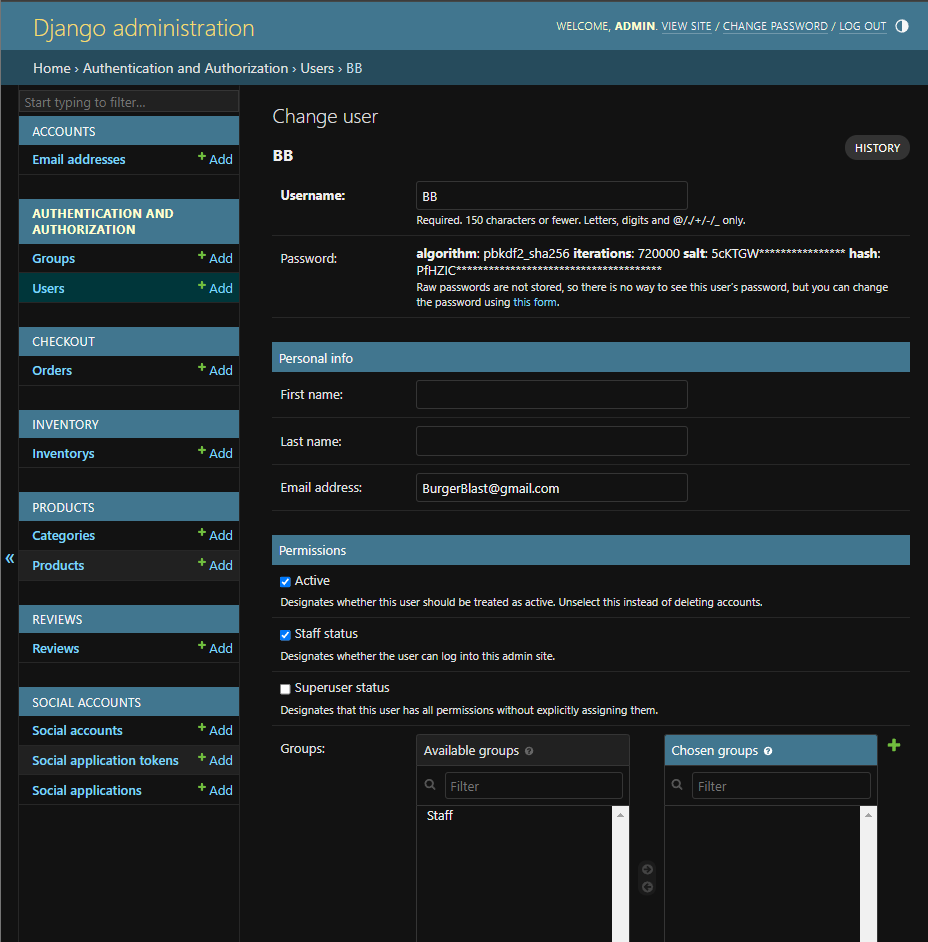
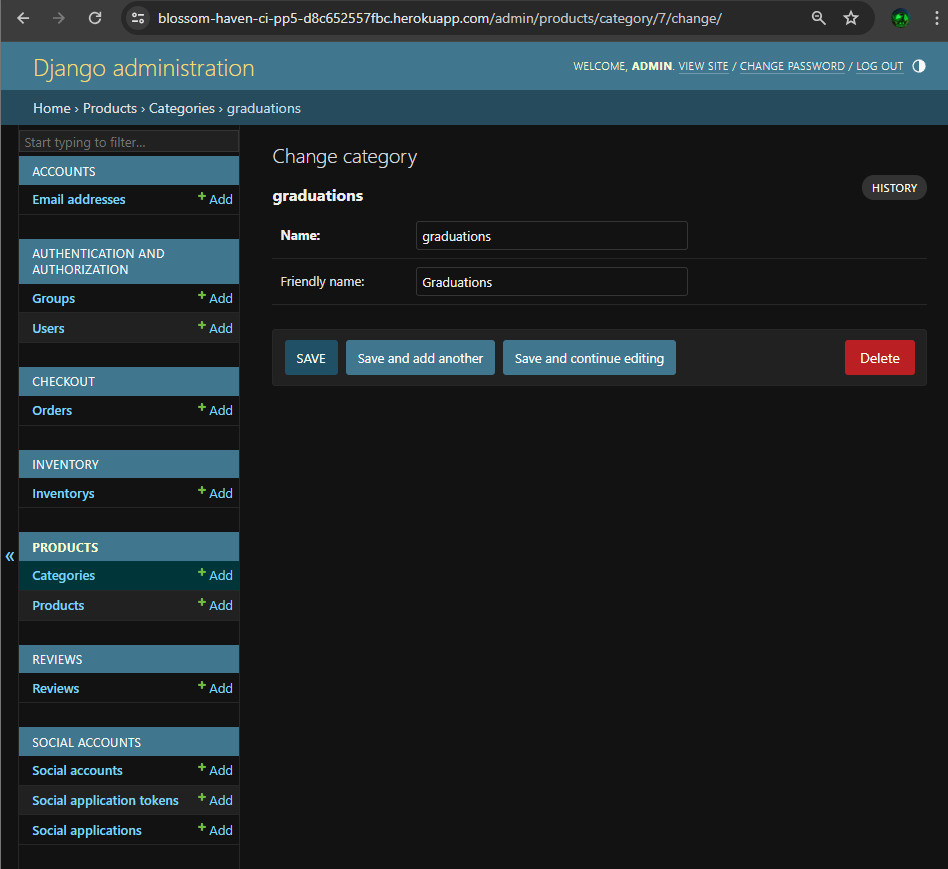
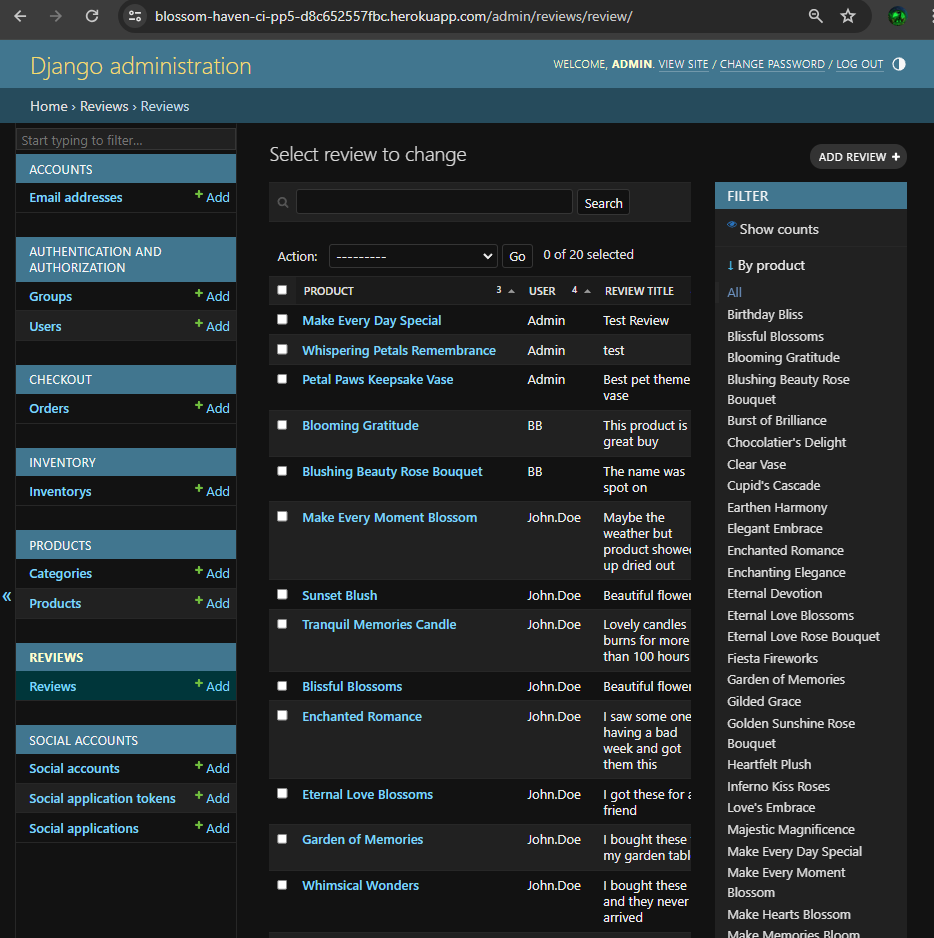
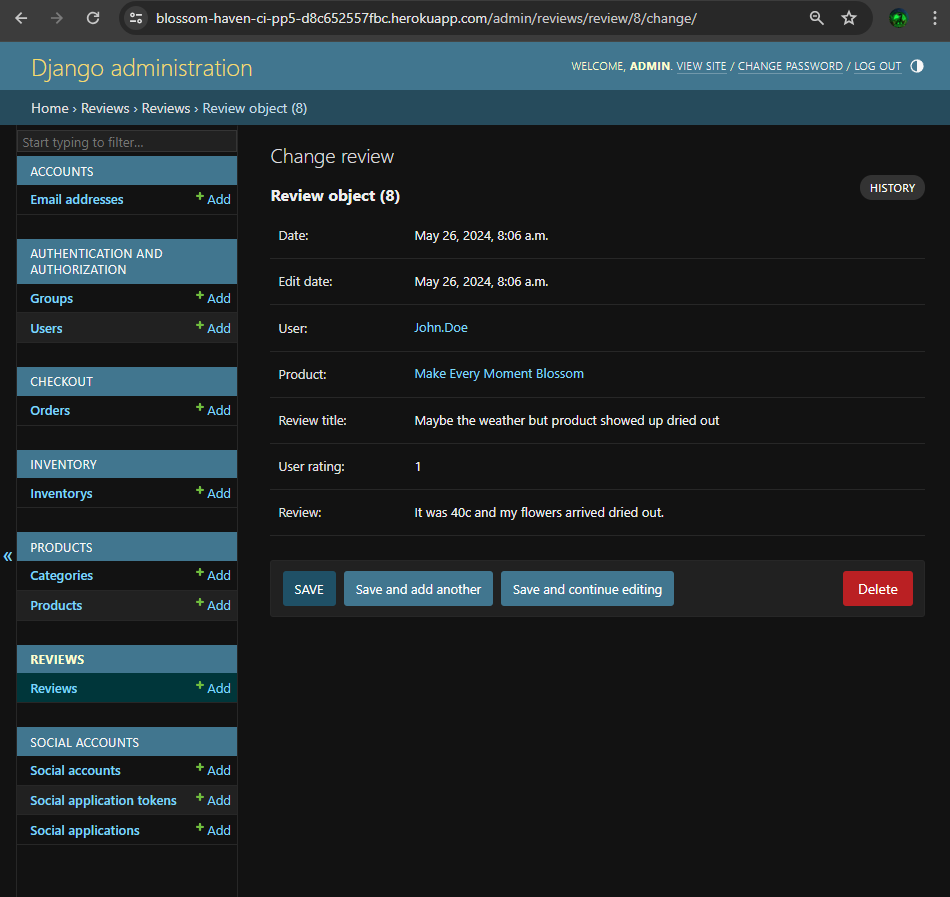
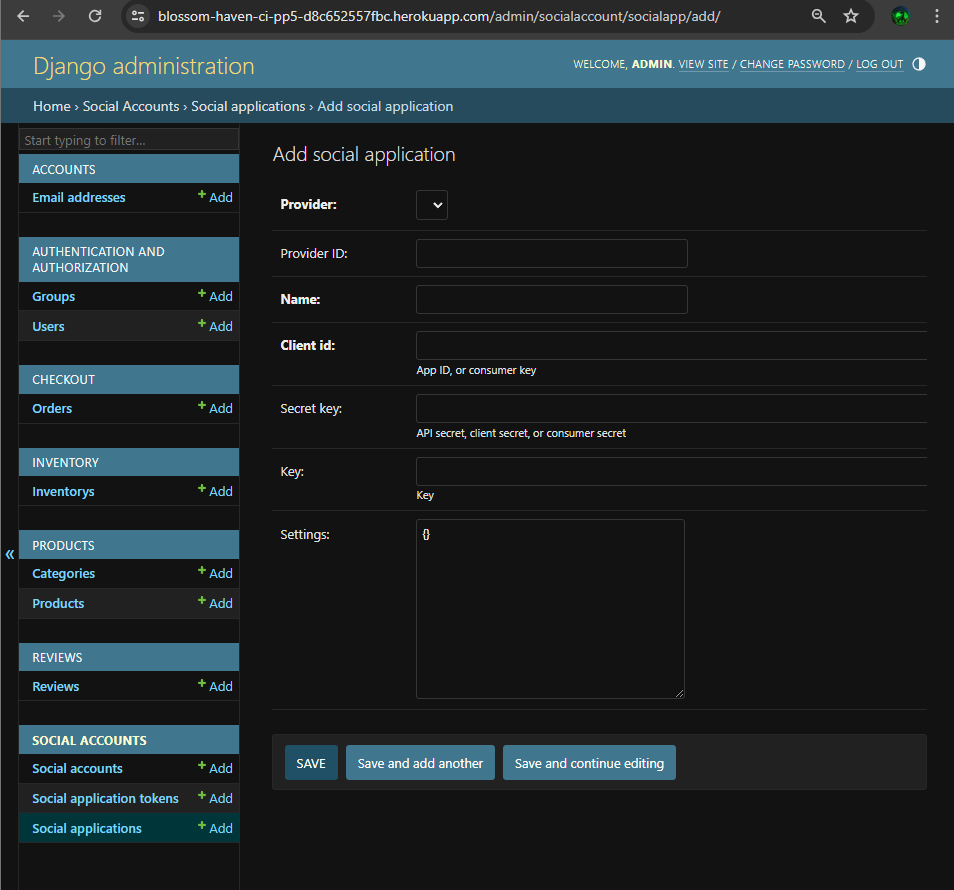
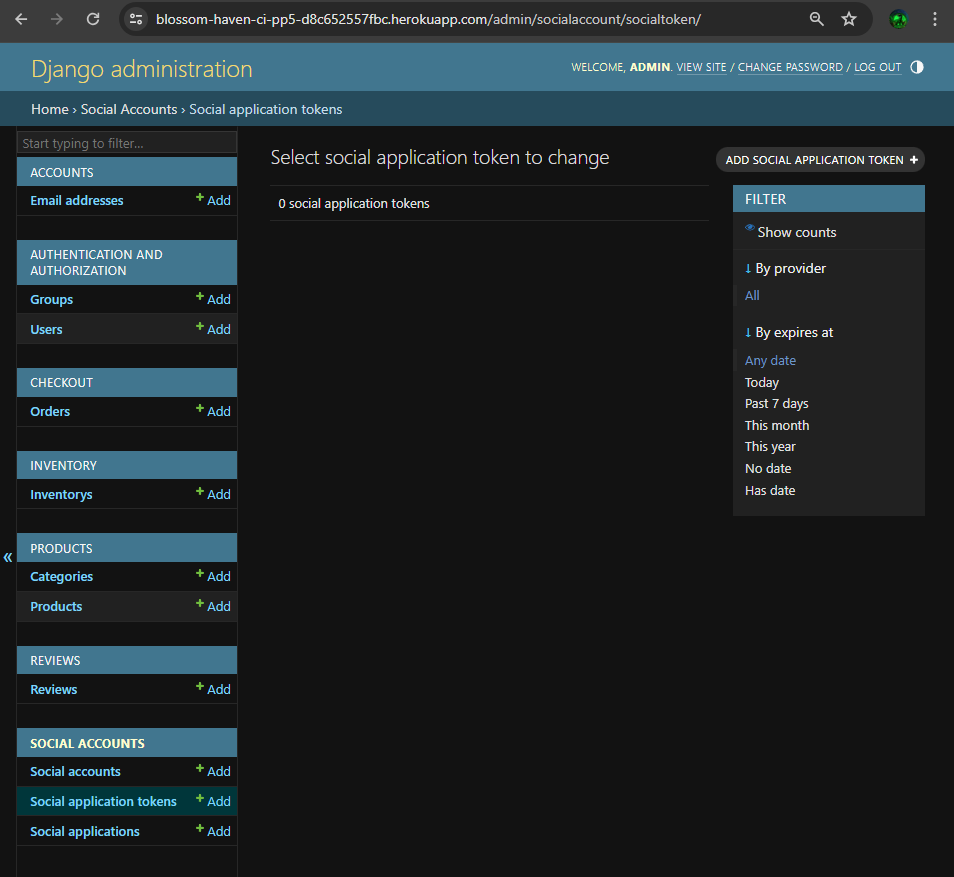
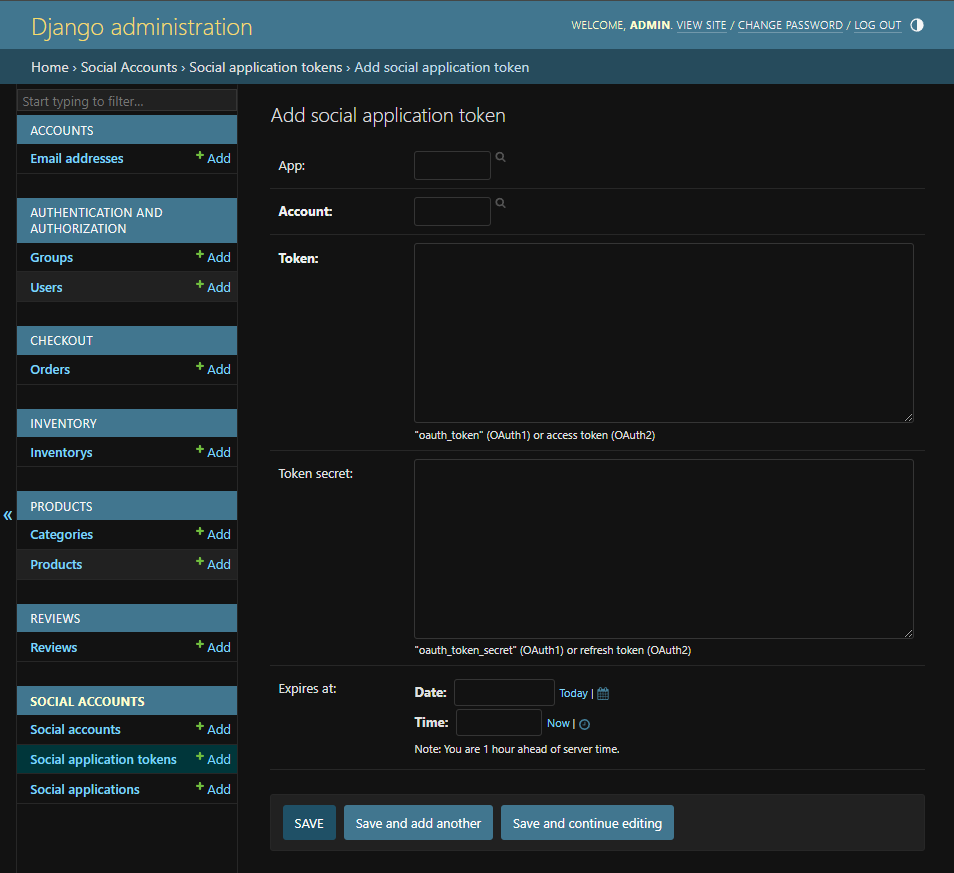
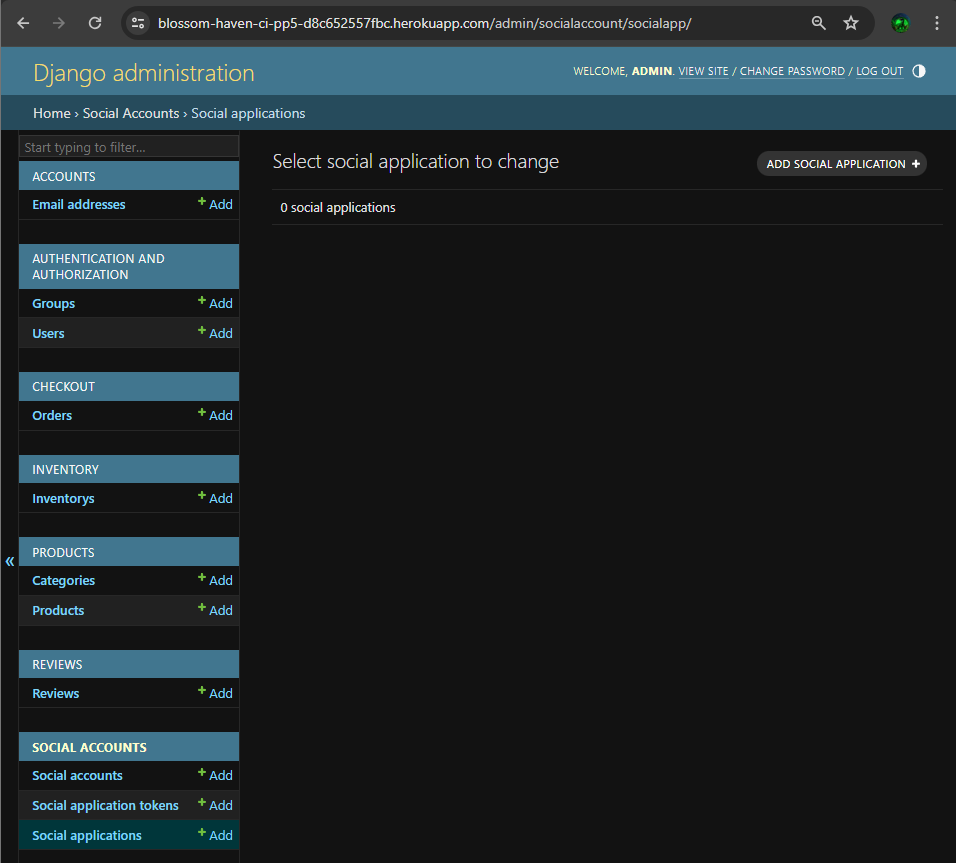
- This is the default django admin page for more granual control of site elements.
| Login | |
|---|---|
 |
 |
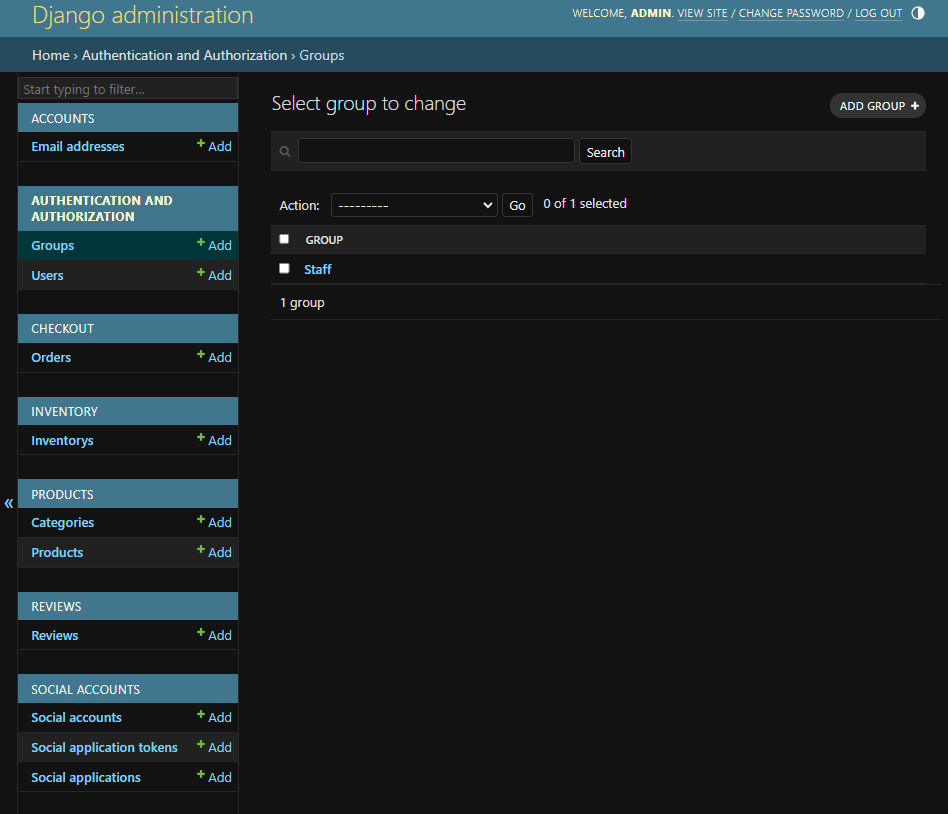
| Groups | |
|---|---|
 |
 |
| Users | |
|---|---|
 |
 |
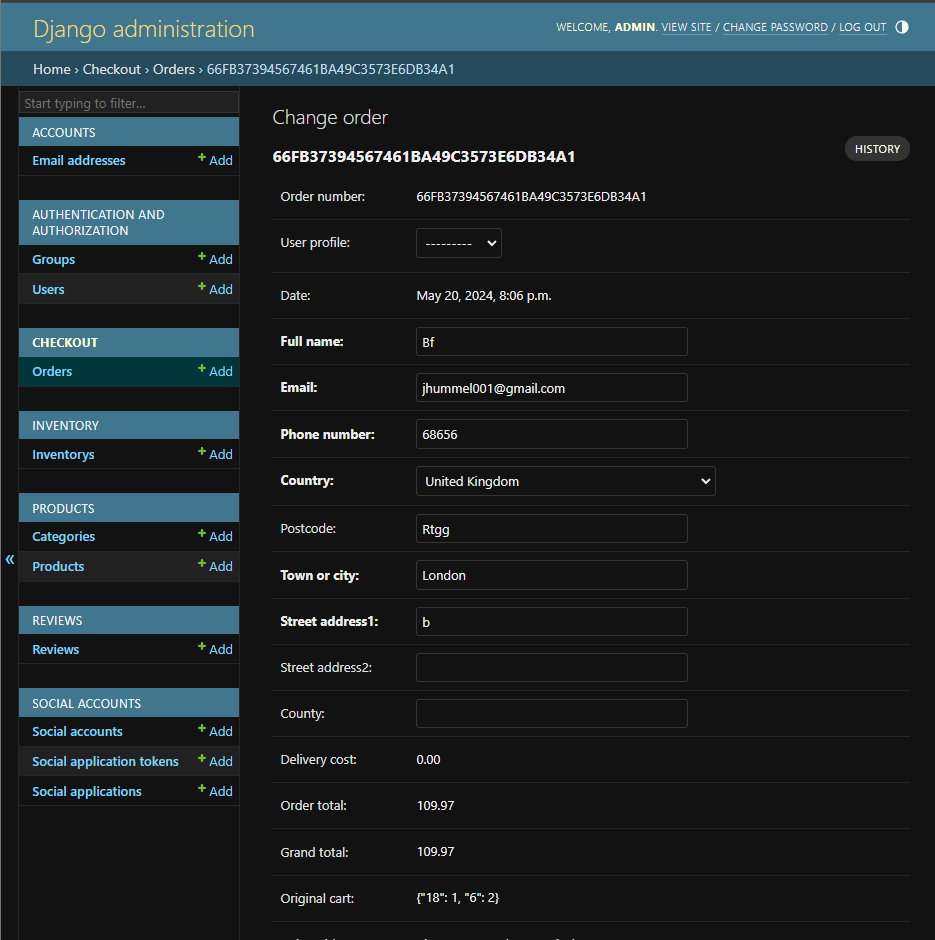
| Orders | |
|---|---|
 |
 |
| Inventory | |
|---|---|
 |
 |
| Categories | |
|---|---|
 |
 |
| Products | |
|---|---|
 |
 |
| Reviews | |
|---|---|
 |
 |
| Social accounts | |
|---|---|
 |
 |
| Social app tokens | |
|---|---|
 |
 |
| Social applications | |
|---|---|
 |
 |
Accounts/Profiles
| What test was completed | Passed? | Other information |
|---|---|---|
| Login to site as a superuser(Admin) | Yes | |
| Log out of site as a superuser | Yes | |
| Login to site as a staff (BB) | Yes | |
| Log out of site as a staff | Yes | |
| Sign up as a customer/user (John.Doe) | Yes | |
| Login to site as a customer/user | Yes | |
| Log out of site as a customer/user | Yes | |
| Email verification Email sent | Yes | |
| Can't progress with out verifying | Yes | |
| Forgot Password Email sent | Yes | |
| Link working and resets password | Yes | |
| Change password form | Yes | Changes the password after submission |
| Save details check box (checkout) updates | Yes | Changes the form after submission |
| Profile details page form loads | Yes | |
| Profile page orders made and links work | Yes | |
| Profile update information button works | Yes | Changes the form after submission |
Products
| What test was completed | Passed? | Other information |
|---|---|---|
| Can add products and get a prompt confirming add | Yes | Staff and superuser |
| Can edit products and get a prompt confirming edit | Yes | Staff and superuser |
| Can remove products and get a prompt confirming deletion | Yes | Staff and superuser |
| All products are avialable to be viewed by everyone | Yes | |
| Can designate products as addon and they appear in addons | Yes | |
| To top scroll arrow works | Yes | |
| Sort by A-Z | Yes | |
| Sort by Z-A | Yes | |
| Sort by rating low to high | Yes | |
| Sort by rating high to low | Yes | |
| Sort by price low to high | Yes | |
| Sort by price high to low | Yes | |
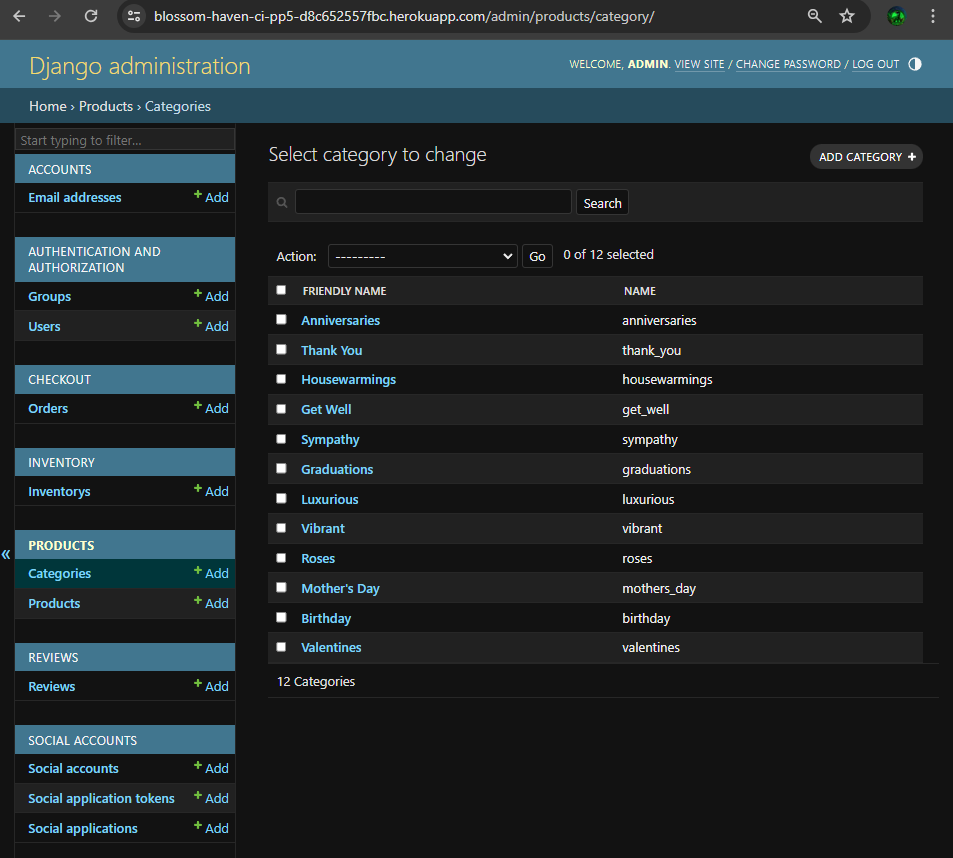
| View catigory nav roses | Yes | |
| View catigory nav vibrant | Yes | |
| View catigory nav Luxurious | Yes | |
| View catigory nav all arangements | Yes | |
| View catigory nav Valintines | Yes | |
| View catigory nav Birthday | Yes | |
| View catigory nav Mothers Day | Yes | |
| View catigory nav Houswarming | Yes | |
| View catigory nav Thank You | Yes | |
| View catigory nav Anniversaries | Yes | |
| View catigory nav Graduations | Yes | |
| View catigory nav Sympathy | Yes | |
| View catigory nav all ocassion's | Yes |
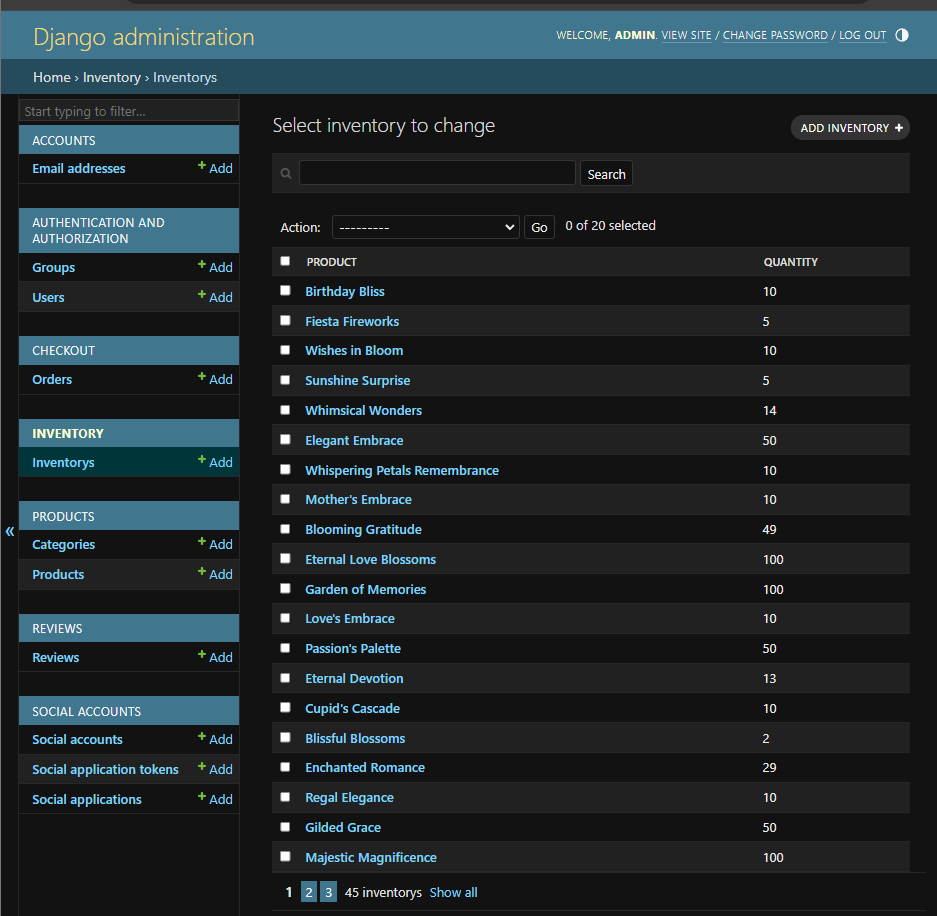
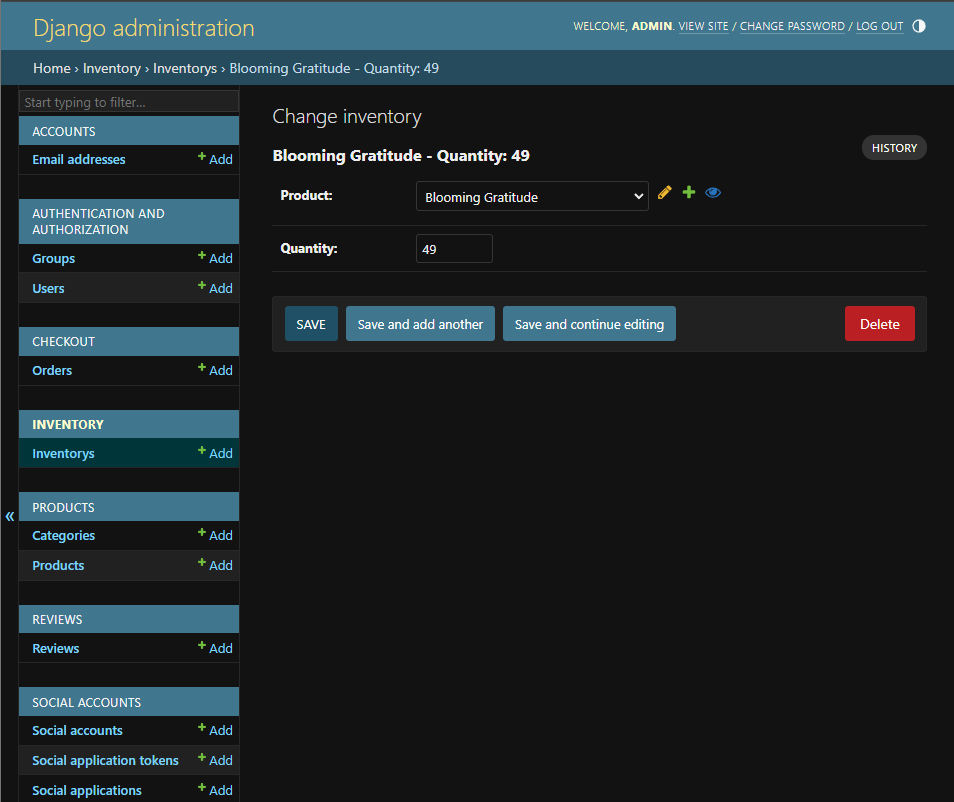
Inventory
| What test was completed | Passed? | Other information |
|---|---|---|
| Can add inventory | Yes | Staff and superuser |
| Can edit inventory | Yes | Staff and superuser |
| Can remove inventory | Yes | Staff and superuser |
| Inventory updates with purchases | Yes | Decrease as bought by correct ammount |
| Users can see the stock available | Yes | |
| Out of stock shows visibly | Yes | |
| Cant add more then availble to cart | Yes | |
| Cant checkout with more then available | Yes | |
| Out of stock items display visual messages | Yes |
Cart
| What test was completed | Passed? | Other information |
|---|---|---|
| Can set quantity of product to add to cart | Yes | |
| Can set quanity of addons to add to cart | Yes | |
| Cant add more then allowed to cart | Yes | |
| Get a prompt when adding to cart | Yes | |
| Can view cart as superuser | Yes | |
| Can view cart as staff | Yes | |
| Can view cart as customer | Yes | |
| Can update product quantity in cart | Yes | |
| Get prompt for new cart update | Yes | |
| Can remove product from cart | Yes | |
| Get prompt for new cart deletions update | Yes | |
| Cart carries over to checkout | Yes |
Checkout
| What test was completed | Passed? | Other information |
|---|---|---|
| Cart carries over to checkout | Yes | |
| Checkout shipping info form loads | Yes | |
| Checkout strip form loads | Yes | |
| Checkout form submits | Yes | |
| Checkout loaing blue and white arrows loads | Yes | |
| Checkout successful | Yes | |
| Checkout unsuccessful | Yes | |
| Checkout mssing needed information error | Yes | |
| Checkout success confirmation page | Yes | |
| Checkout success confirmation email | Yes | |
| Order shows on admin site | Yes |
Reviews
| What test was completed | Passed? | Other information |
|---|---|---|
| Make review as a customer/user | Yes | |
| Make review as a superuser | Yes | |
| Make review as staff | Yes | |
| Edit review as a customer/user | Yes | |
| Edit review as a superuser | Yes | |
| Edit review as staff | Yes | |
| Delete review as a customer/user | Yes | |
| Delete review as a superuser | Yes | |
| Delete review as staff | Yes | |
| Review creation email sends | Yes | |
| Review edited email sends | Yes | |
| Review deletion email sends | Yes |
Admin
| What test was completed | Passed? | Other information |
|---|---|---|
| Make a super user (Admin) | Yes | |
| make staff role and permissions | Yes | |
| Login to Django admin as customer/user | Yes | Only staff can log in successfully |
| Login to Django admin as superuser | Yes | Only staff can log in successfully |
| Login to Django admin as staff | Yes | Only staff can log in successfully |
| Log out of Django admin as superuser | Yes | |
| Log out of Django admin as staff | Yes | |
| Successfully change any users data on admin site | Yes | |
| Superuser can visit all links | Yes | |
| Staff can visit appropriate links only | Yes | |
| Accounts functionality working as intended | Yes | |
| Products functionality working as intended | Yes | |
| Checkout functionality working as intended | Yes | |
| Admin Action send order shiped email | Yes | Email Recieved |
| Admin Action send order delivered email | Yes | Email Recieved |
| Admin Action send order cancled | Yes | Email Recieved |
| Reviews functionality working as intended | Yes |
| Bugs/Issues Encountered link | More about the issue | Fixed? |
|---|---|---|
| Issues loading css from file | Ended up being a issue in settings.py | Yes |
| Stock going negative | added checks to any where stock can be effected | Yes |
| Ratings not showing | Users could set 0 rating leading to no ratings showing | Yes |
| Sort by ratings | Ratings had caused pages not to load | Yes |
| Sort by ratings | No Rating shows before ratings in high to low | No |
| Webhook Issue | Missing env varriable | Yes |
| Webhook payment_intent.succeeded Issue | Missing env varriable | Yes |
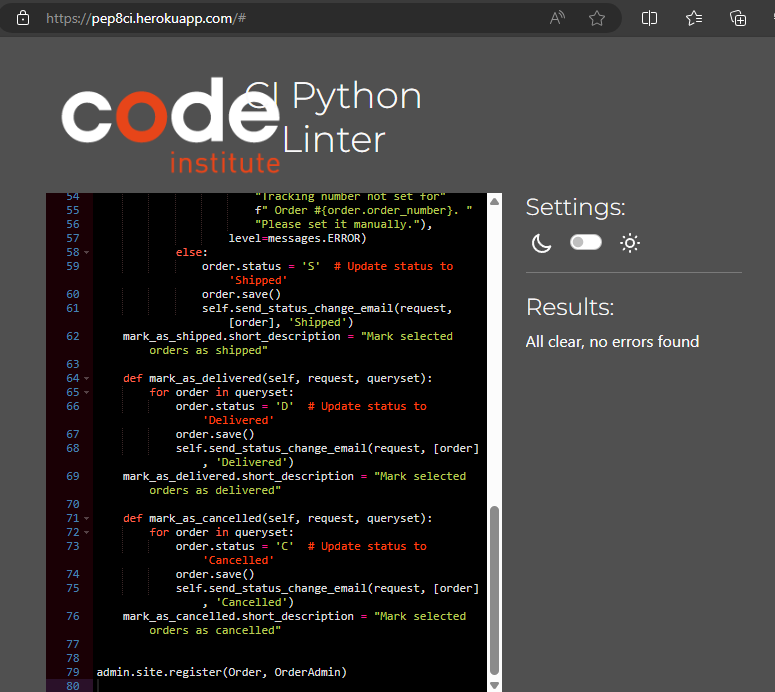
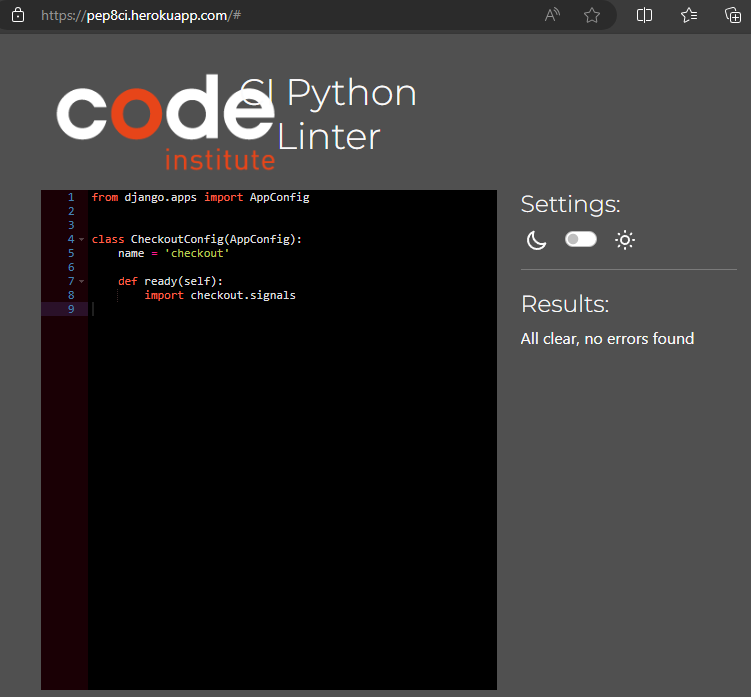
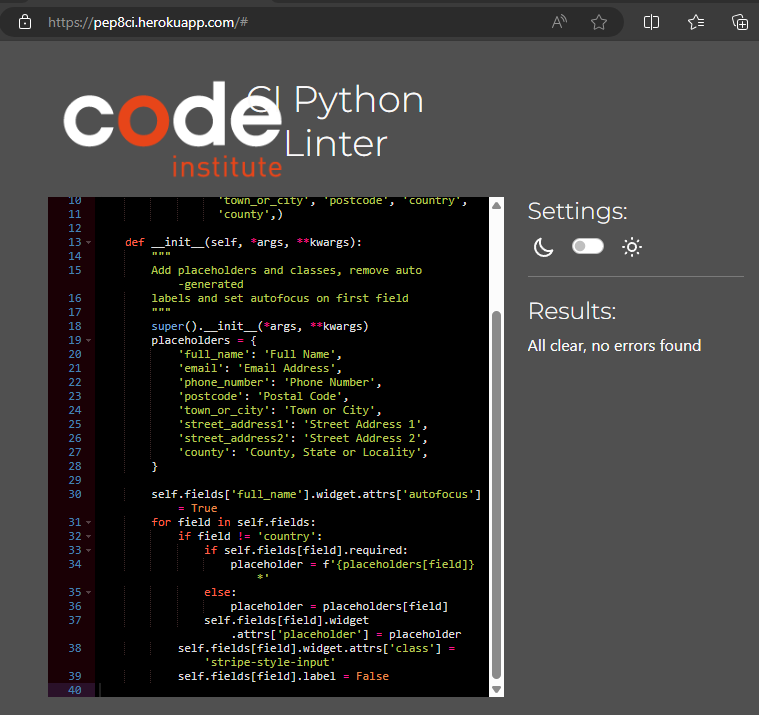
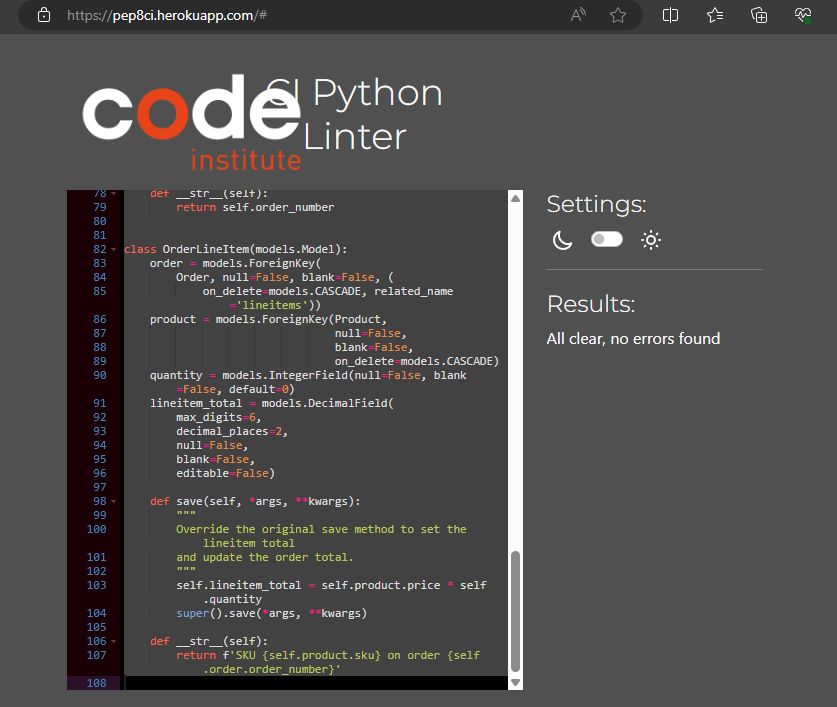
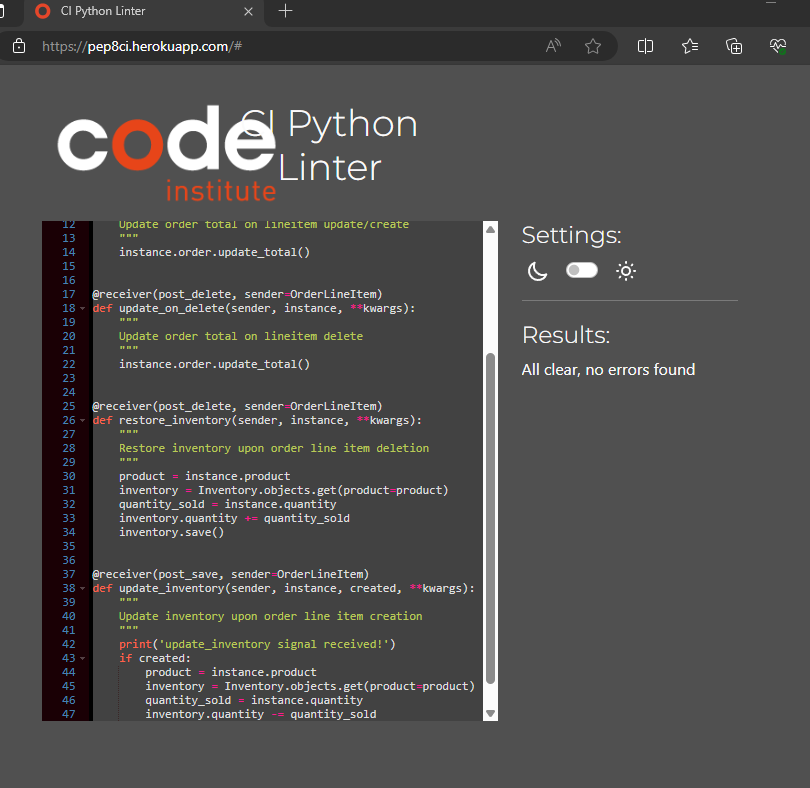
All Scripts checked with PEP8 Code institute
blossom_haven
| File | Line | Image |
|---|---|---|
| blossom_haven\settings.py | All | 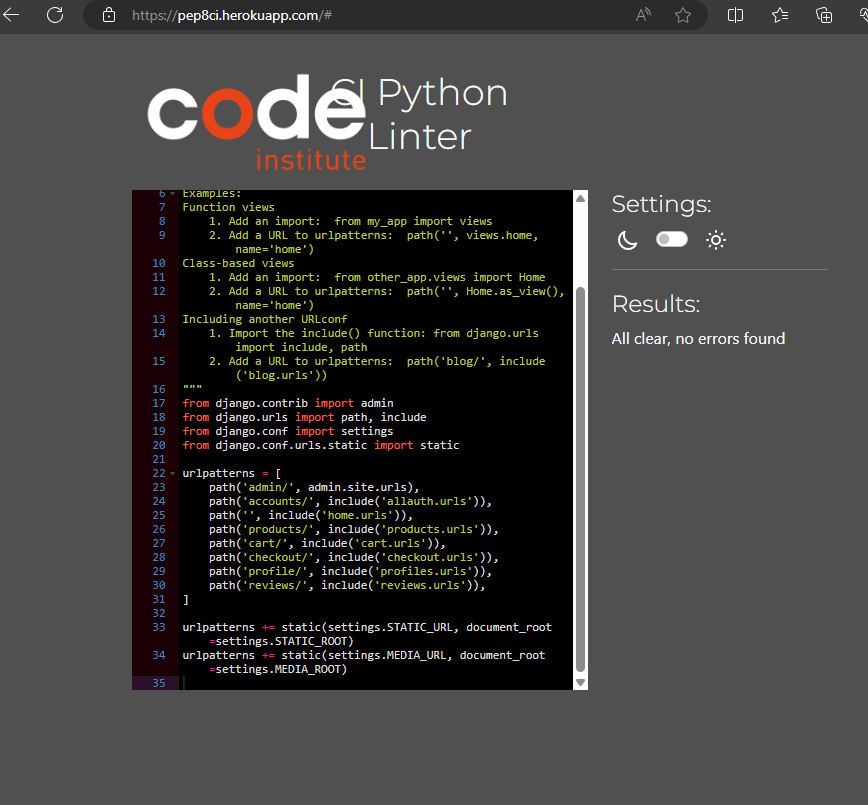 |
| blossom_haven\urls.py | All | 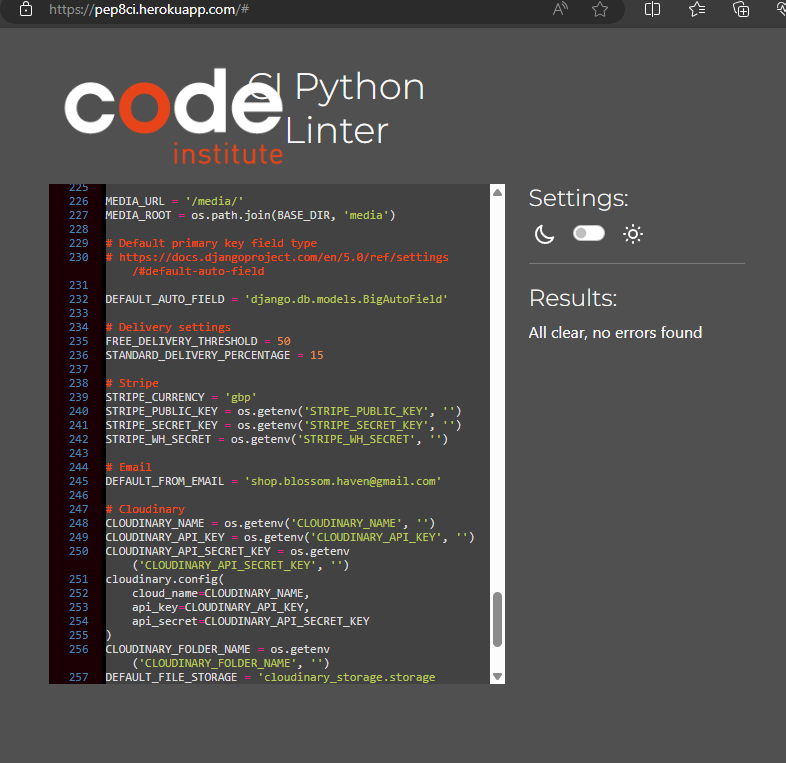 |
| blossom_haven\wsgi.py | All | 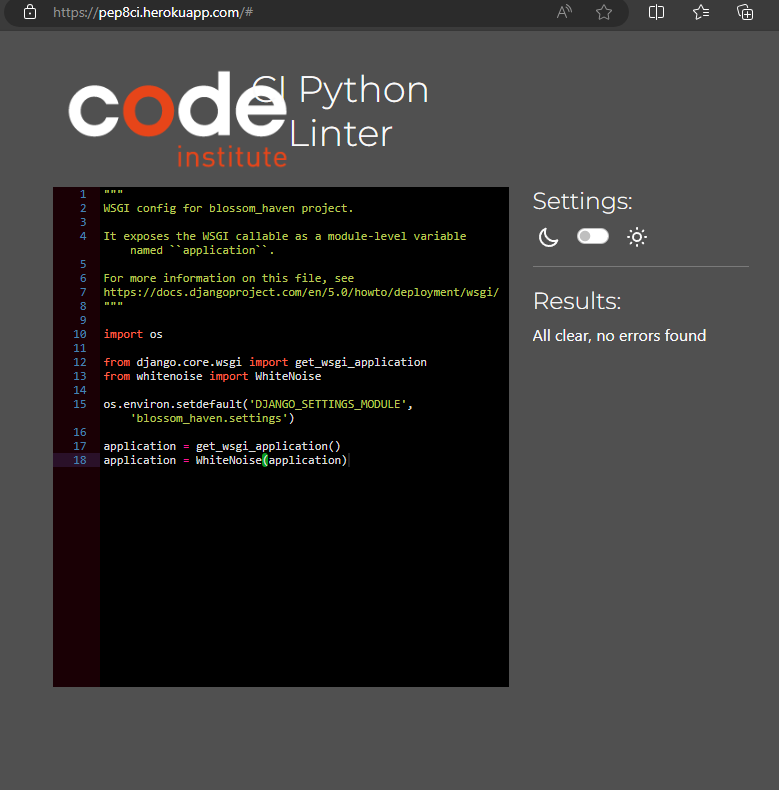 |
Cart
| File | Line | Image |
|---|---|---|
| cart\apps.py | All | 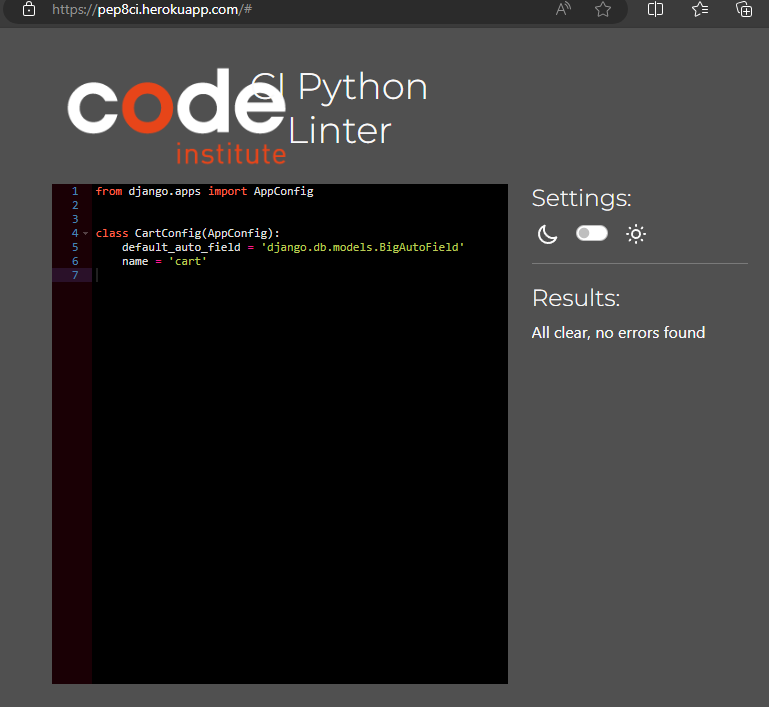 |
| cart\contexts.py | All | 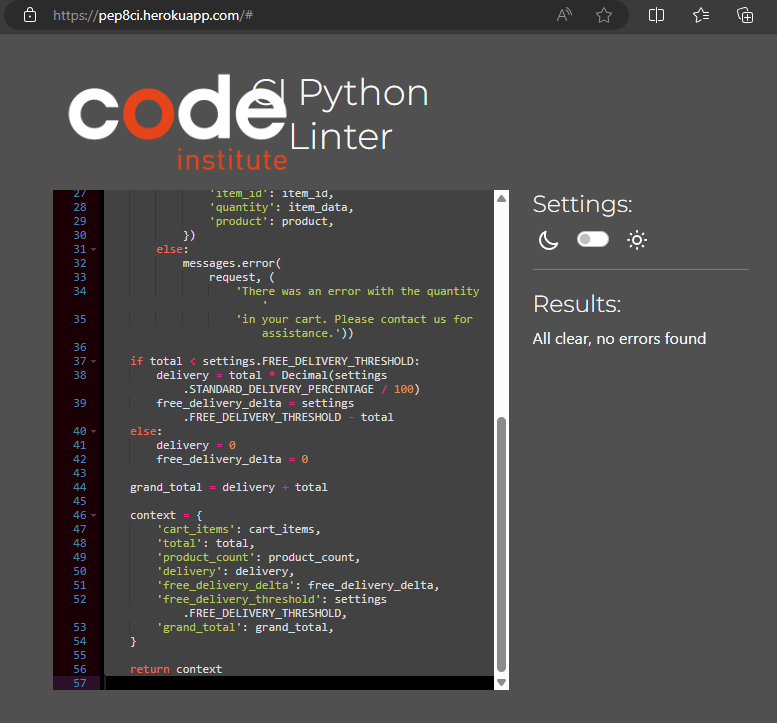 |
| cart\urls.py | All | 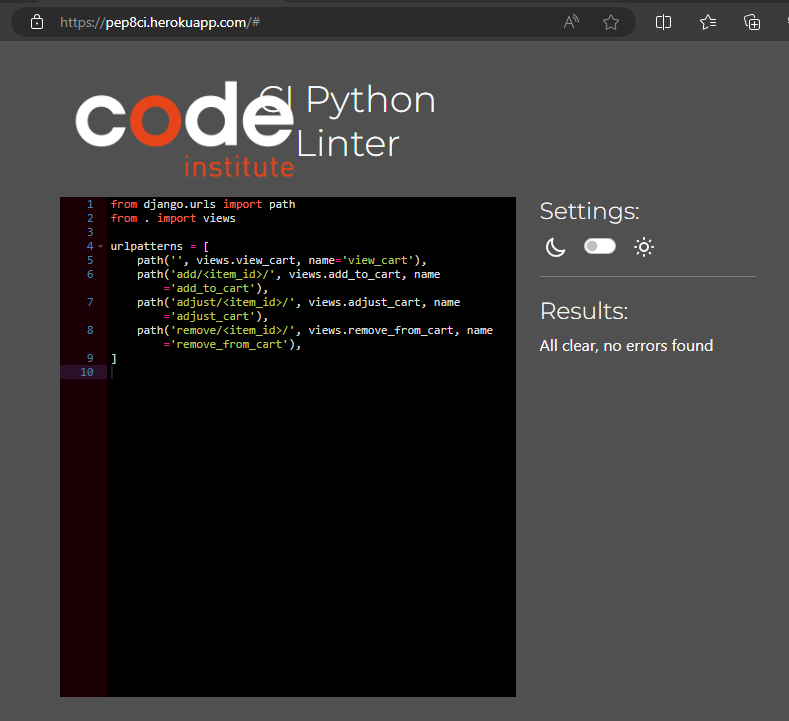 |
| cart\views.py | All | 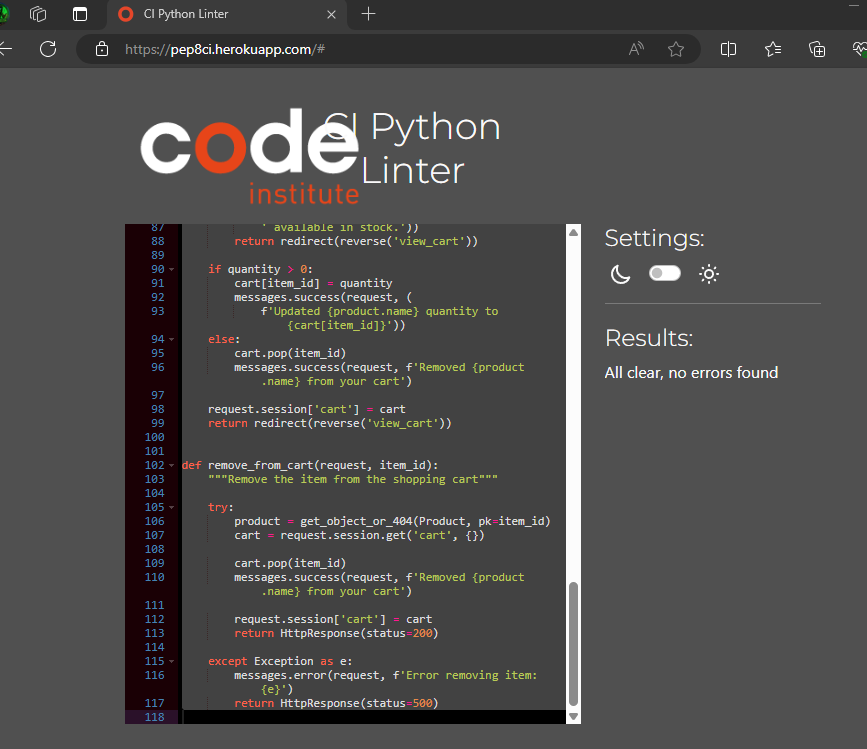 |
| cart\templatetags\cart_tools.py | All | 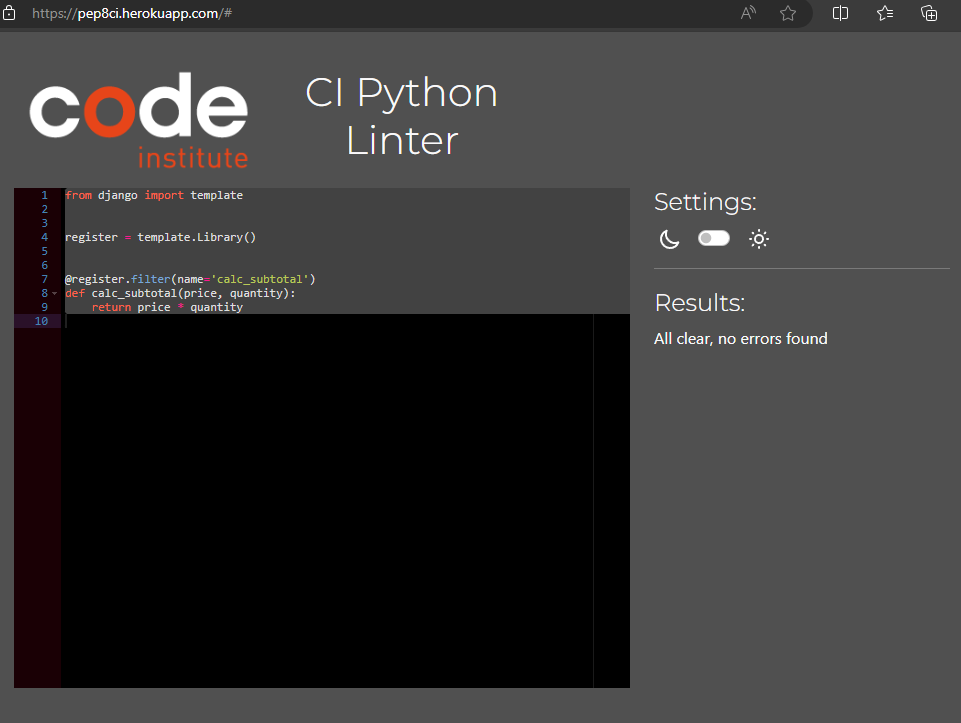 |
Checkout
Home
| File | Line | Image |
|---|---|---|
| home\apps.py | All | 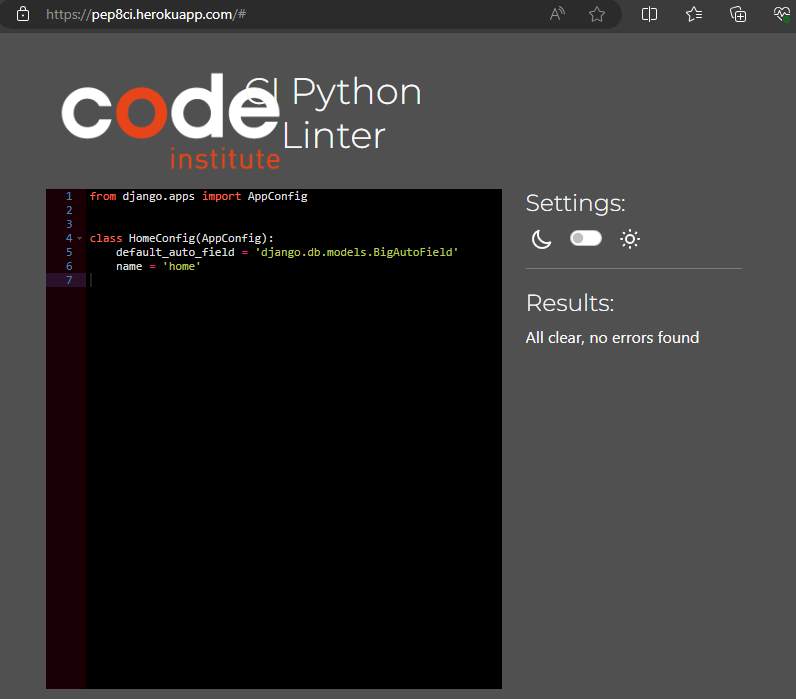 |
| home\urls.py | All | 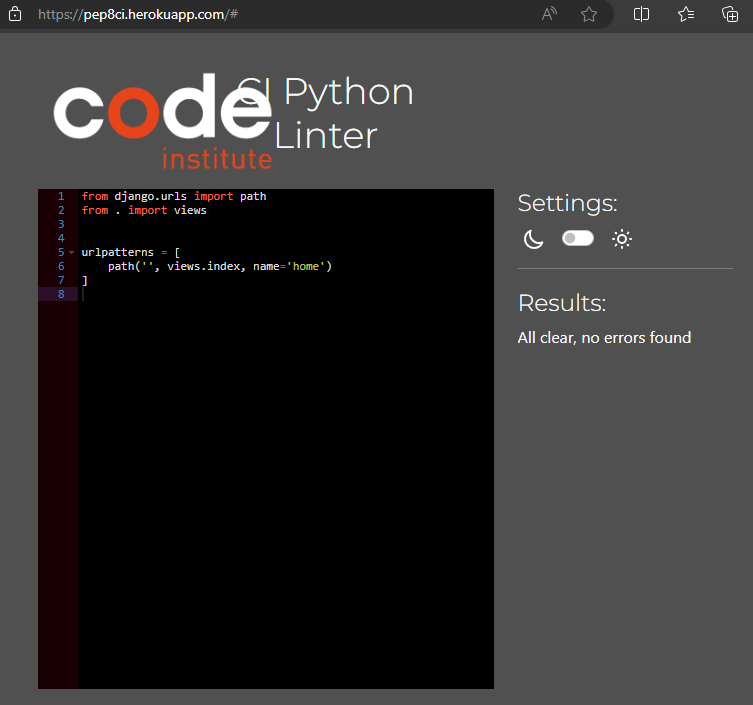 |
| home\views.py | All | 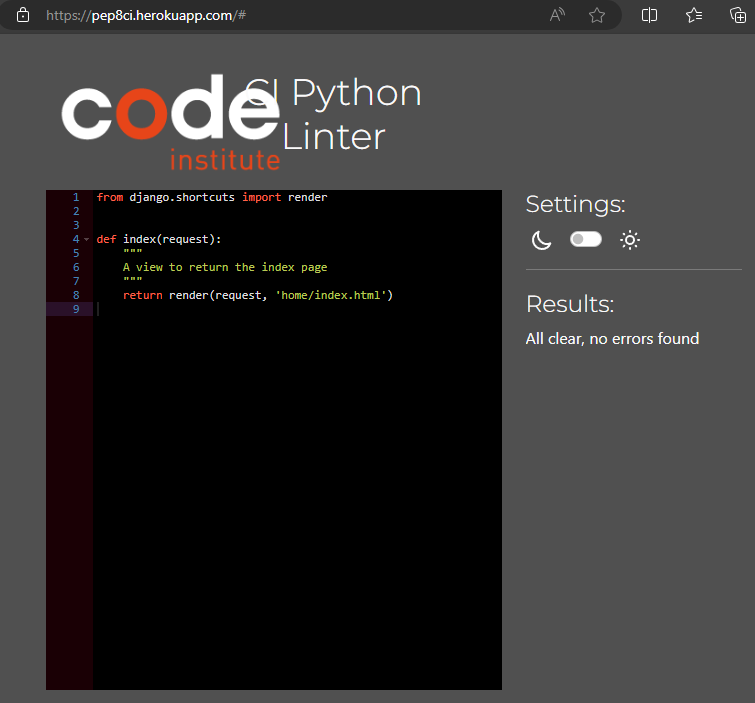 |
Inventory
| File | Line | Image |
|---|---|---|
| inventory\admin.py | All |  |
| inventory\apps.py | All |  |
| inventory\models.py | All |  |
| inventory\signals.py | All |  |
Products
| File | Line | Image |
|---|---|---|
| products\admin.py | All |  |
| products\apps.py | All |  |
| products\forms.py | All |  |
| products\models.py | All |  |
| products\urls.py | All |  |
| products\views.py | All |  |
| products\widgets.py | All |  |
Profiles
| File | Line | Image |
|---|---|---|
| profiles\apps.py | All |  |
| profiles\forms.py | All | 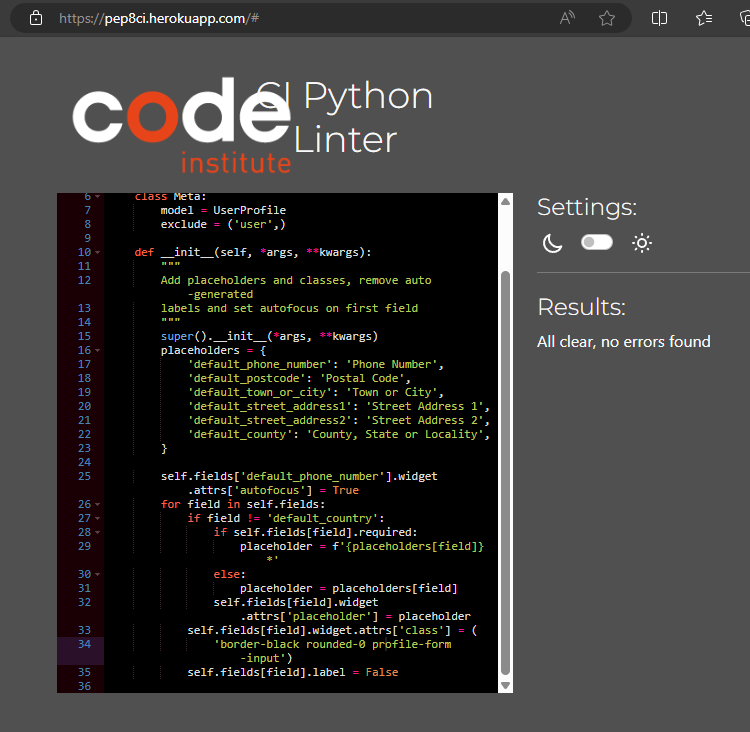 |
| profiles\models.py | All | 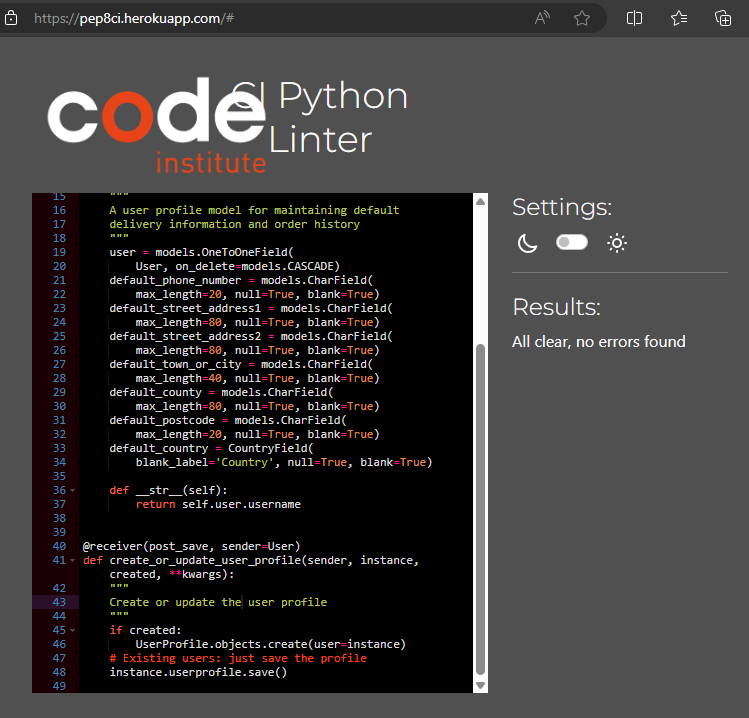 |
| profiles\signals.py | All | 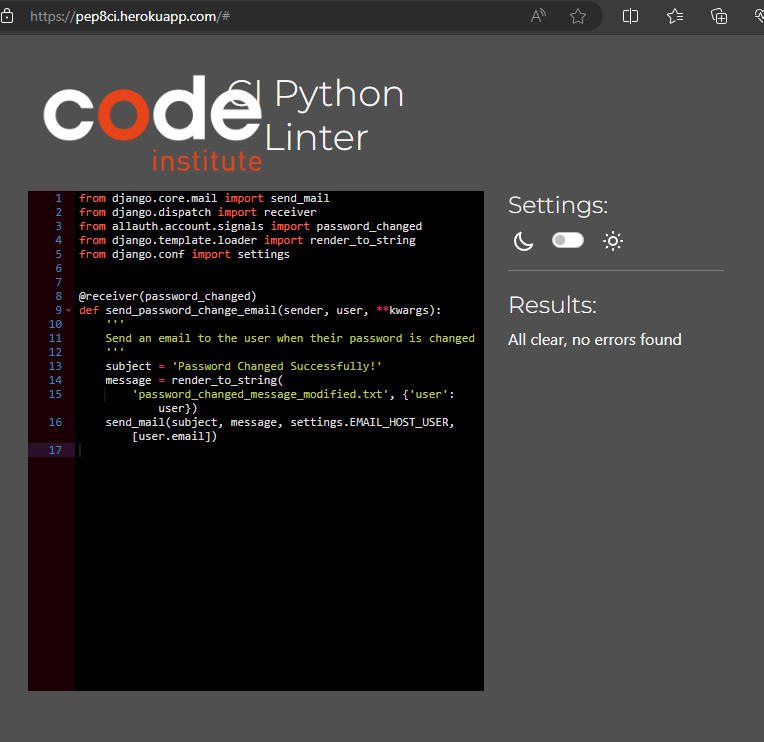 |
| profiles\urls.py | All |  |
| profiles\views.py | All | 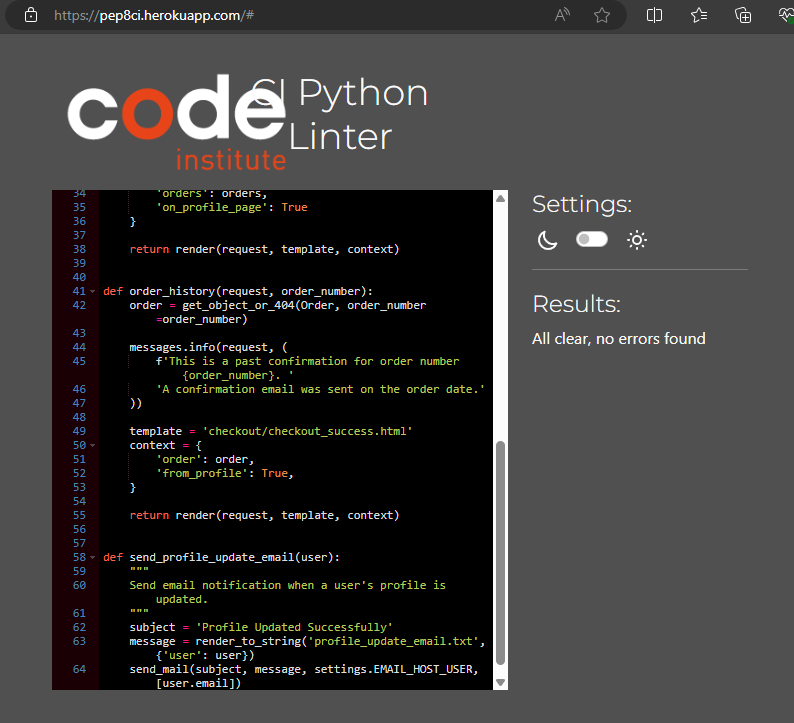 |
Reviews
| File | Line | Image |
|---|---|---|
| reviews\admin.py | All | 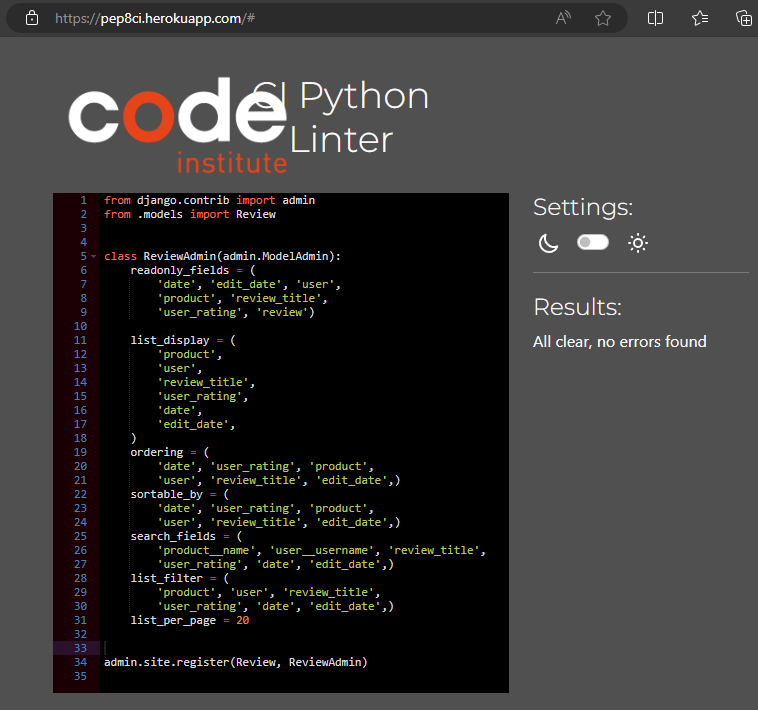 |
| reviews\apps.py | All |  |
| reviews\forms.py | All |  |
| reviews\models.py | All | 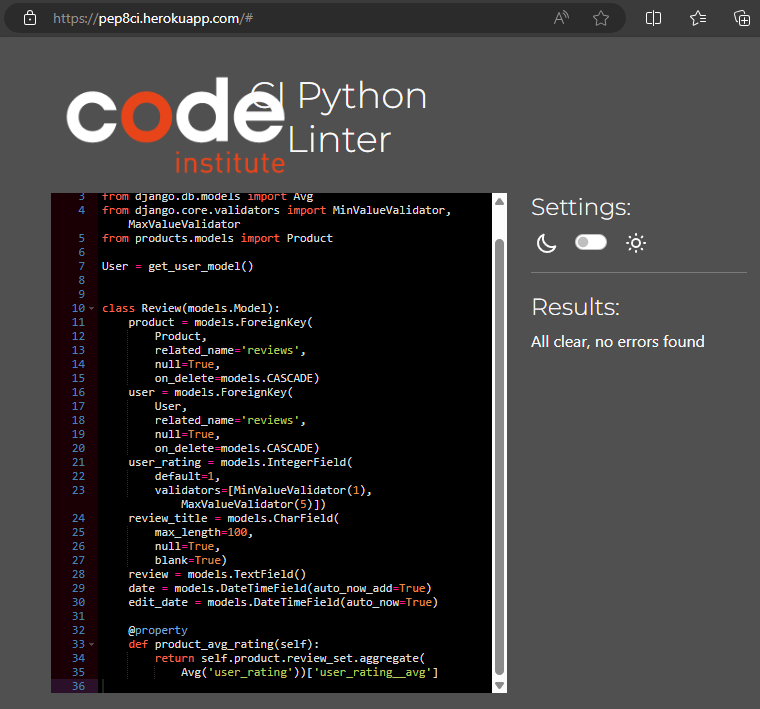 |
| reviews\urls.py | All | 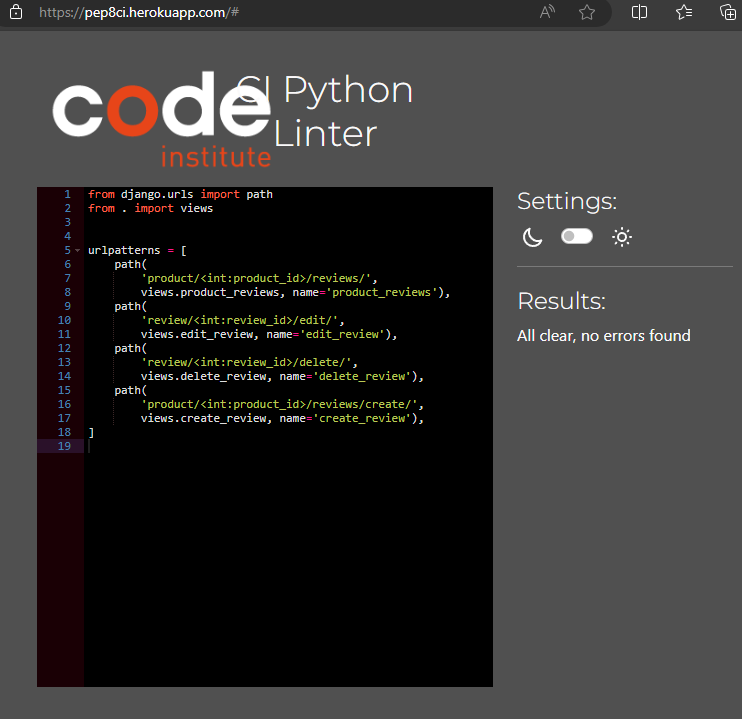 |
| reviews\views.py | All | 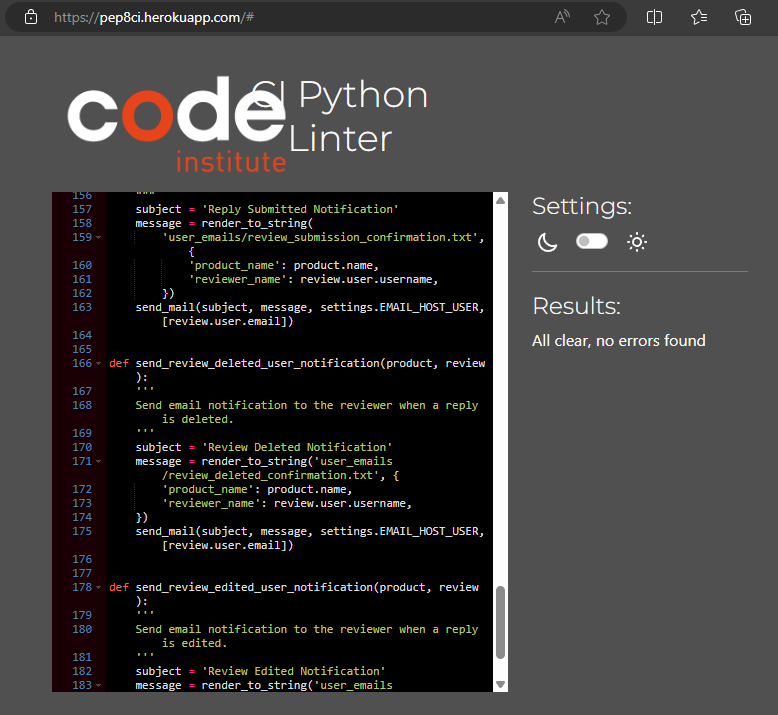 |
Others
| File | Line | Image |
|---|---|---|
| manage.py | All | 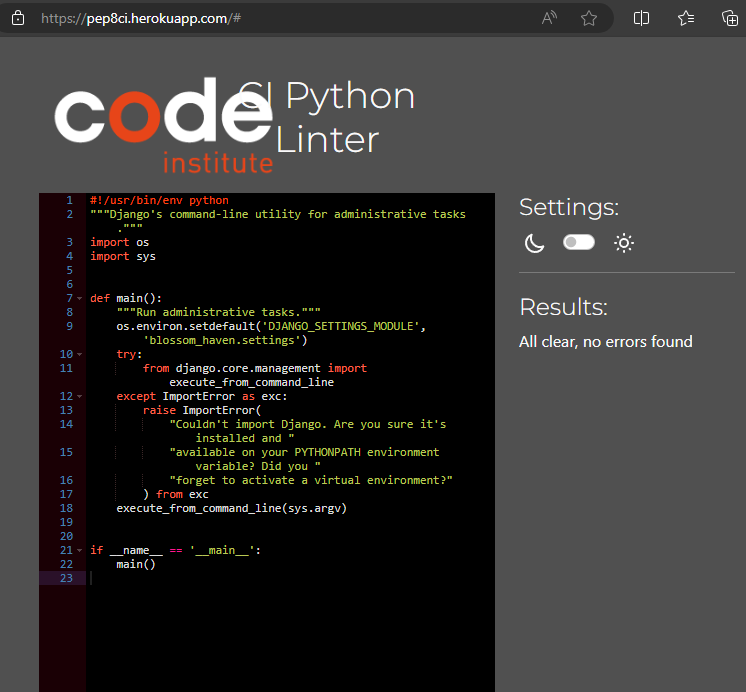 |
- All my custom js scripts were run though jshint.
| File | Line | Image |
|---|---|---|
| Cart HTML JS | All | 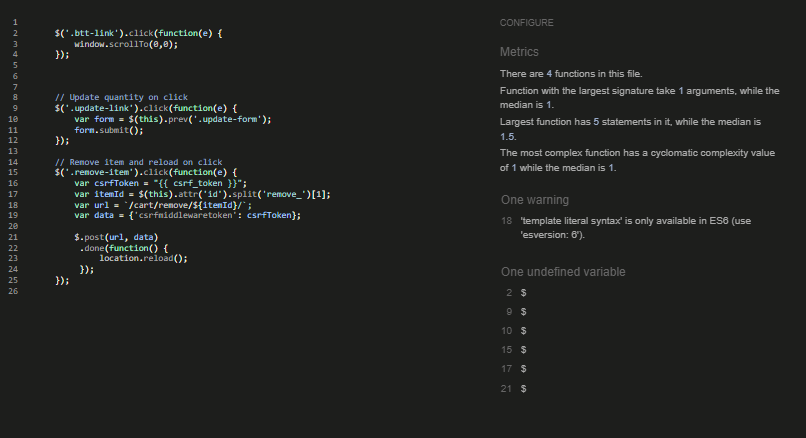 |
| Stripe js | All | 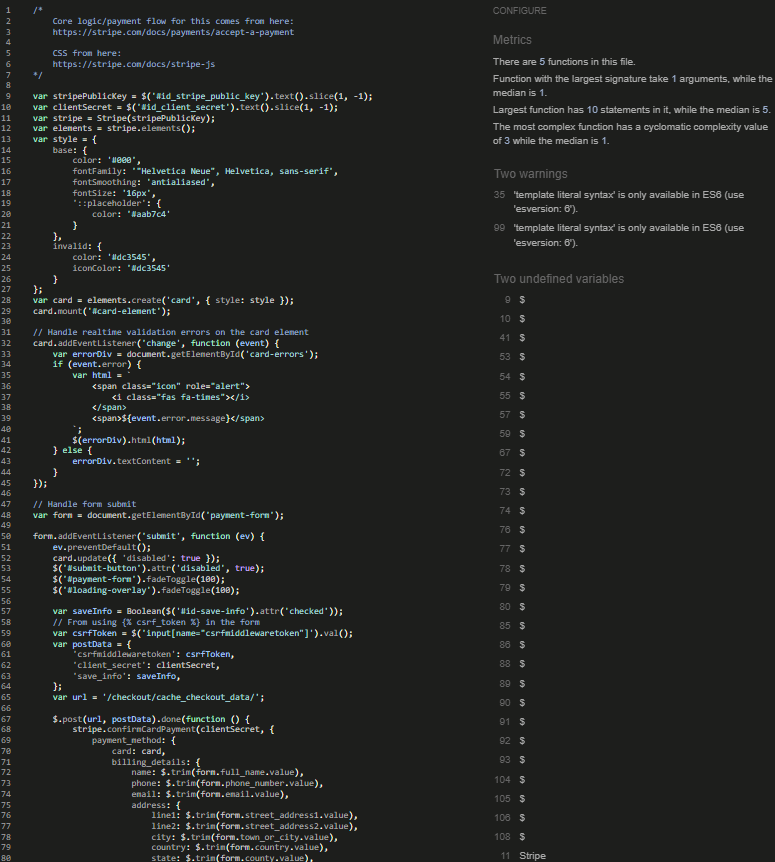 |
| Async loading product image | All |  |
| Scroll button | All |  |
| Add/Edit product html js | All |  |
| Sortby js | All |  |
| Country Field js | All | 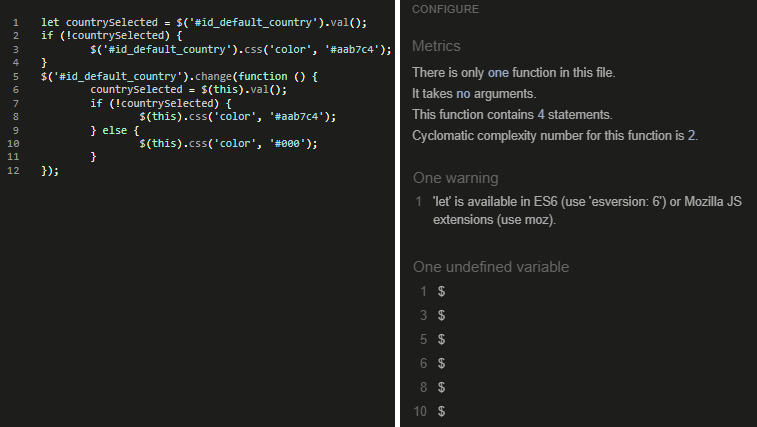 |
- checked my custom base.css with W3 CSS Validator direct input; completed with a few warnings.
static\css\base.css
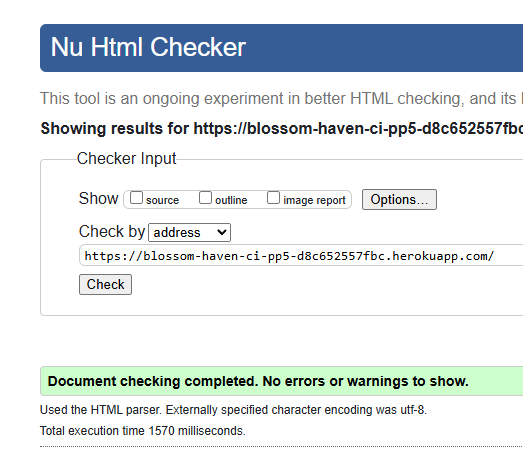
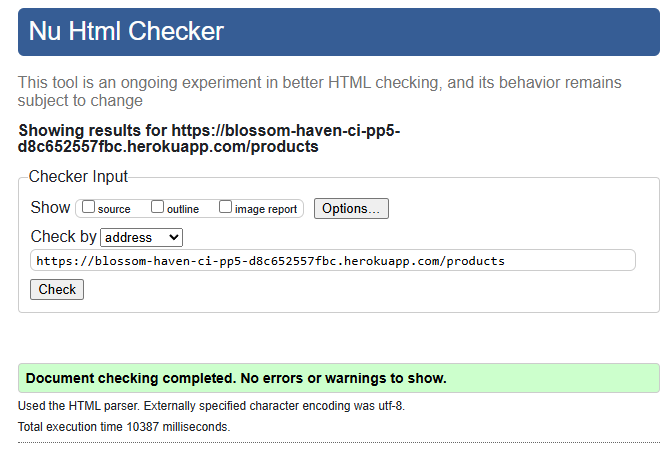
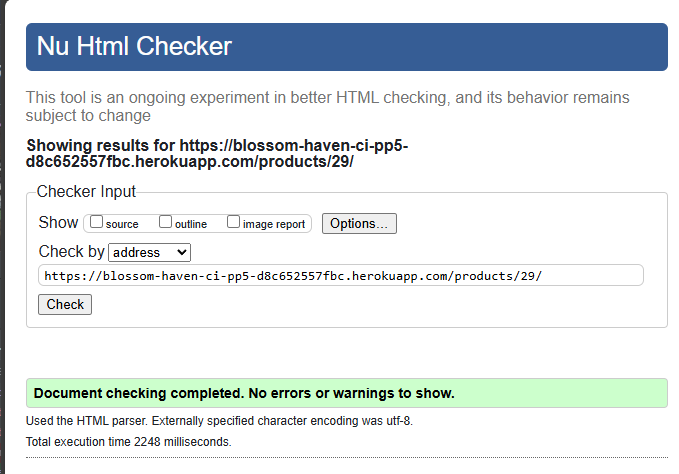
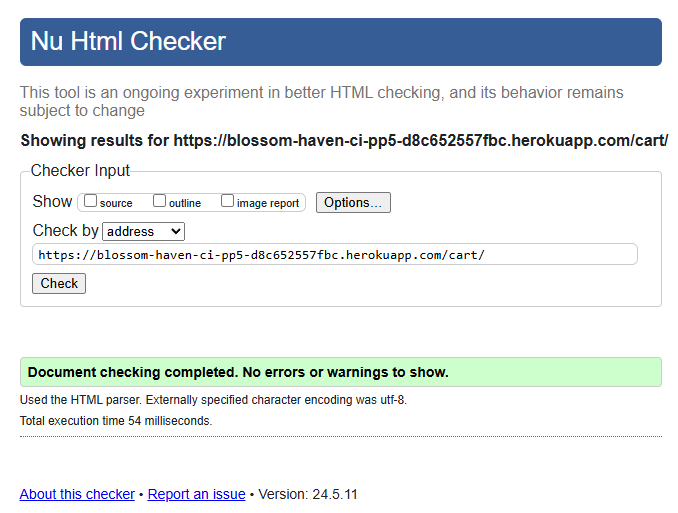
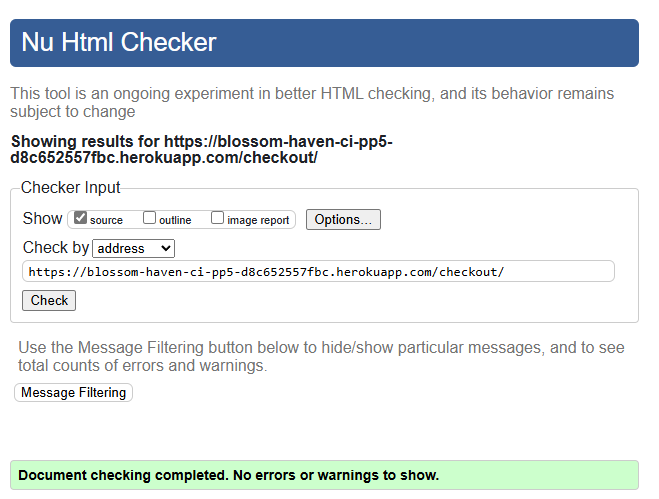
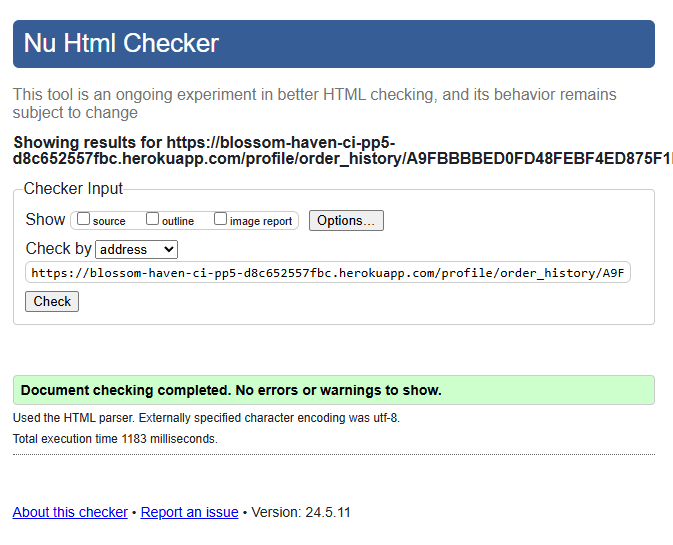
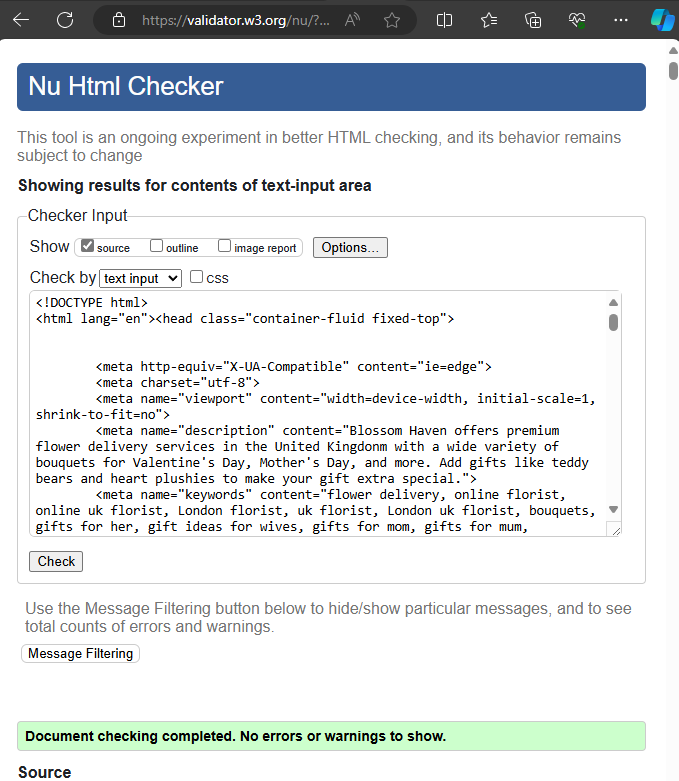
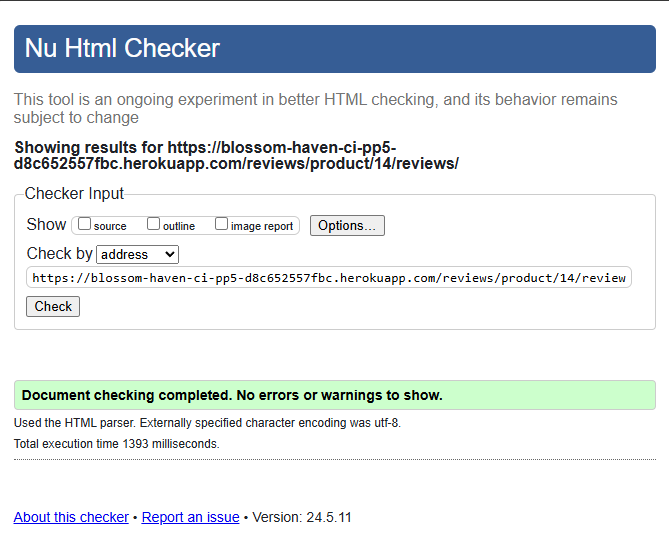
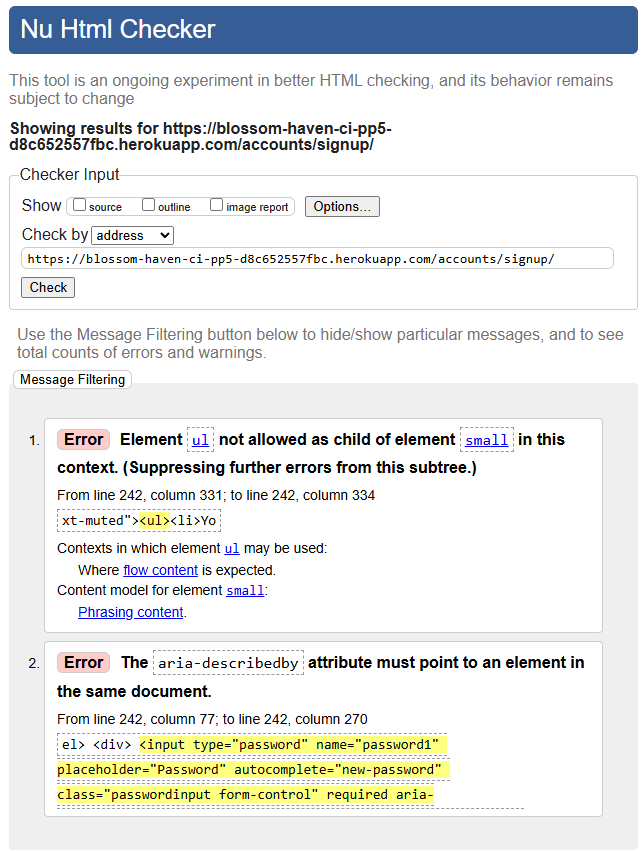
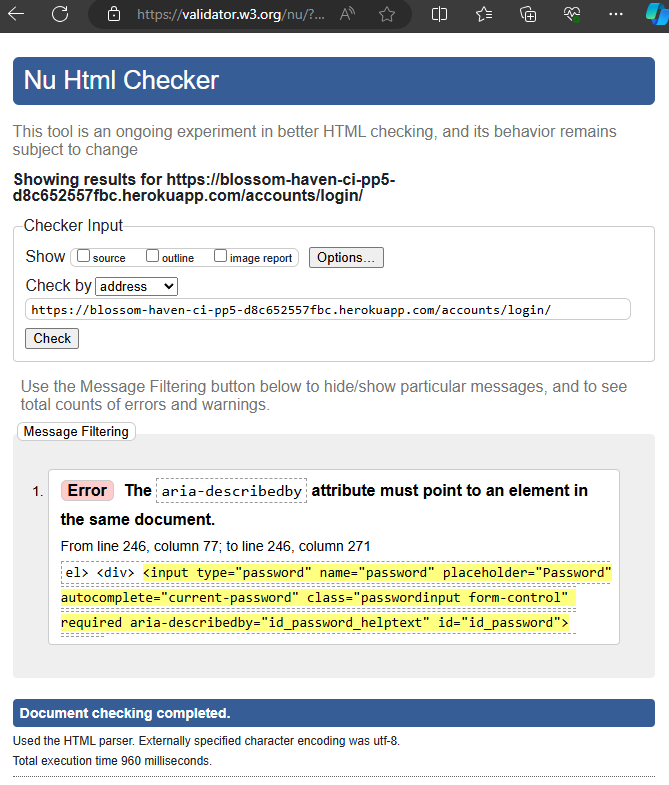
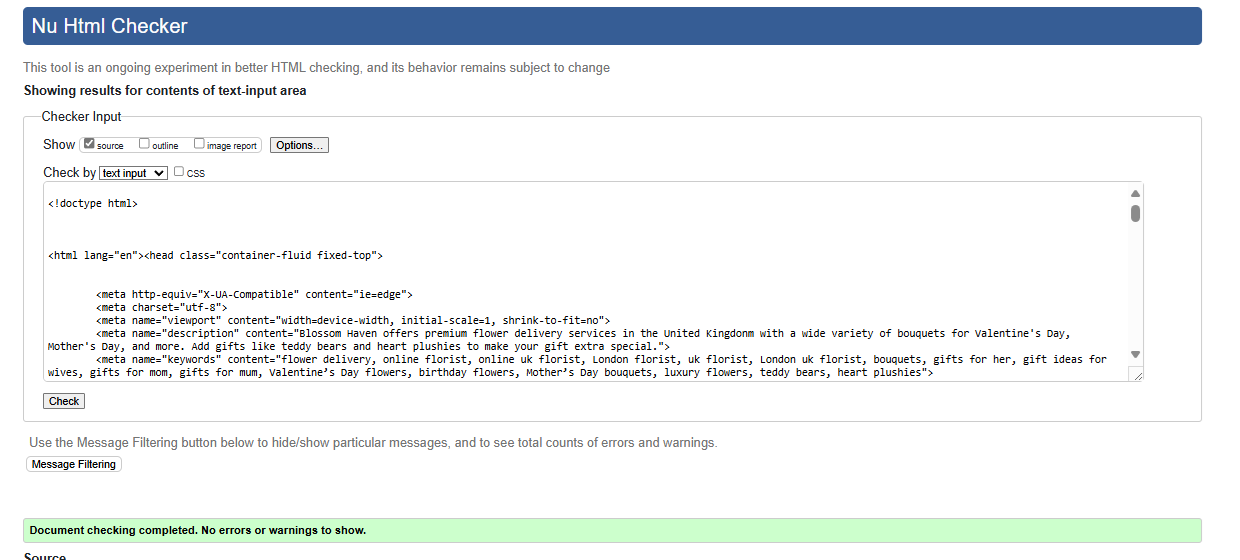
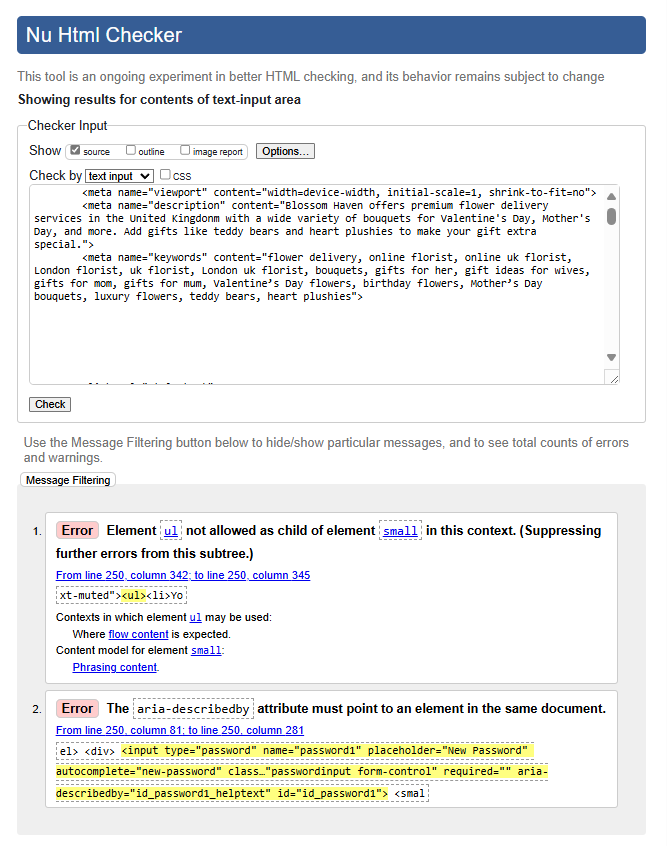
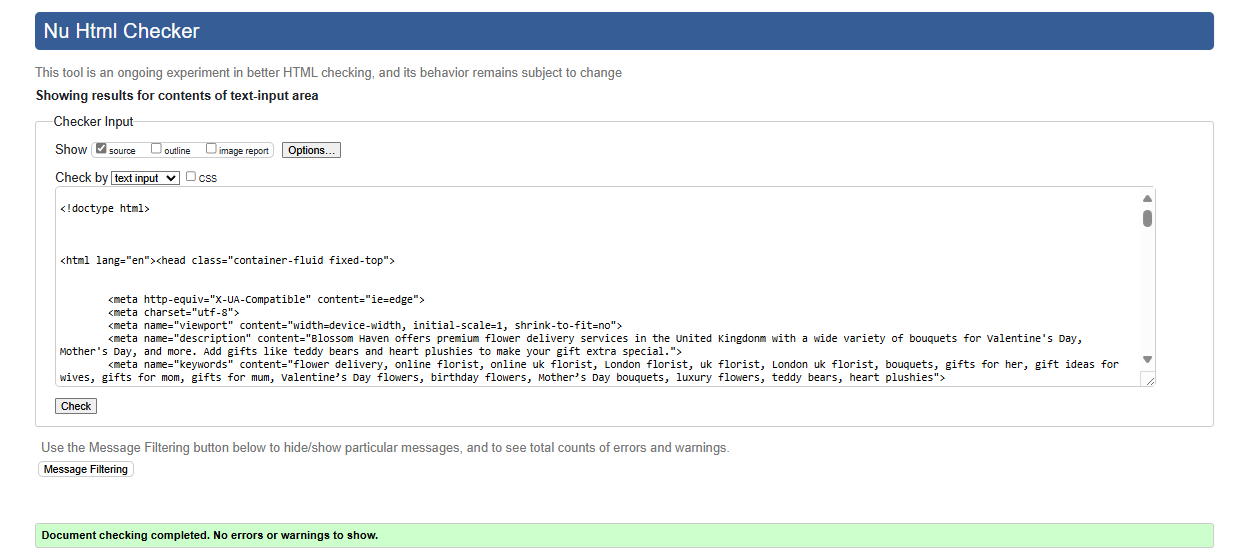
- checked all non logged in pages as html urls and logged in pages as raw html with W3 HTML Validator on all custom pages with no errors or warnings. Django allauth and a few cripsy forms have some errors.
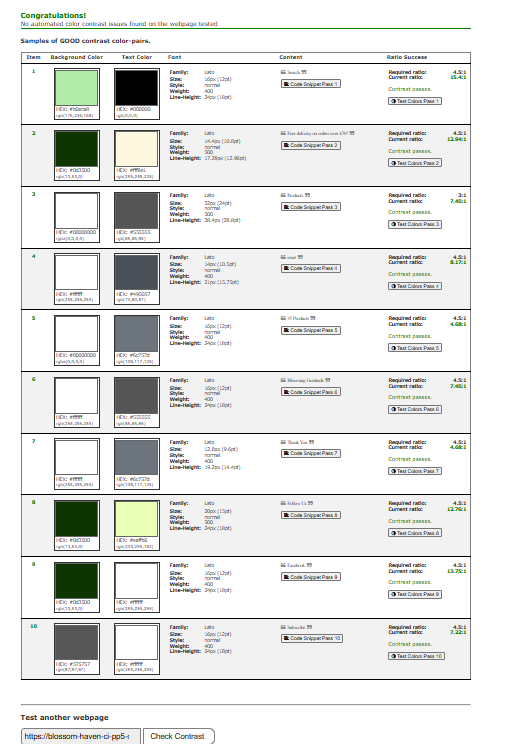
- Checked all non logged in pages with A11Y contrast checker Cameback with no issues.
| Chrome lighthouse desktop | Chrome mobile lighthouse |
|---|---|
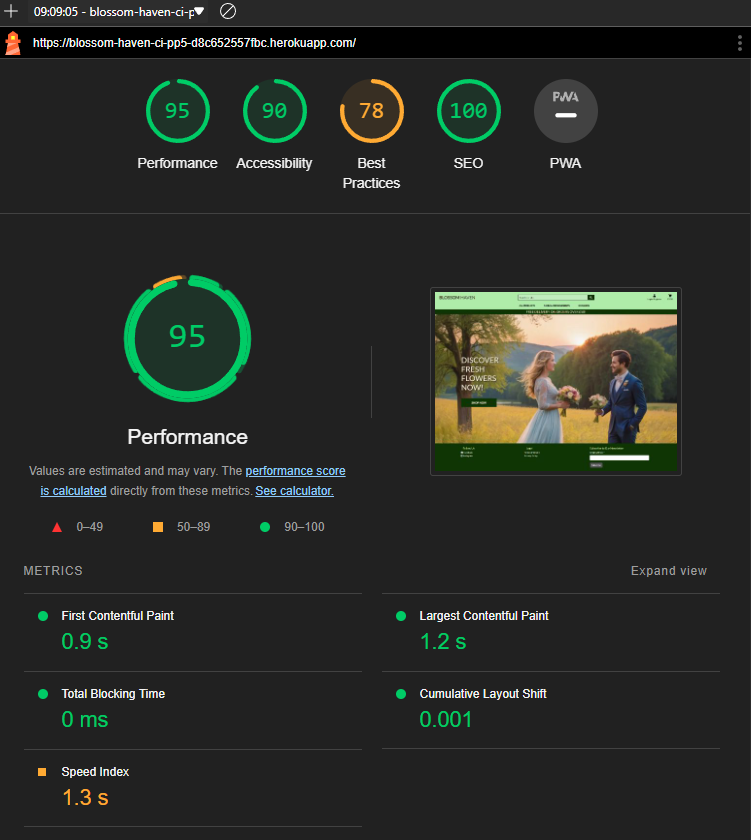 |
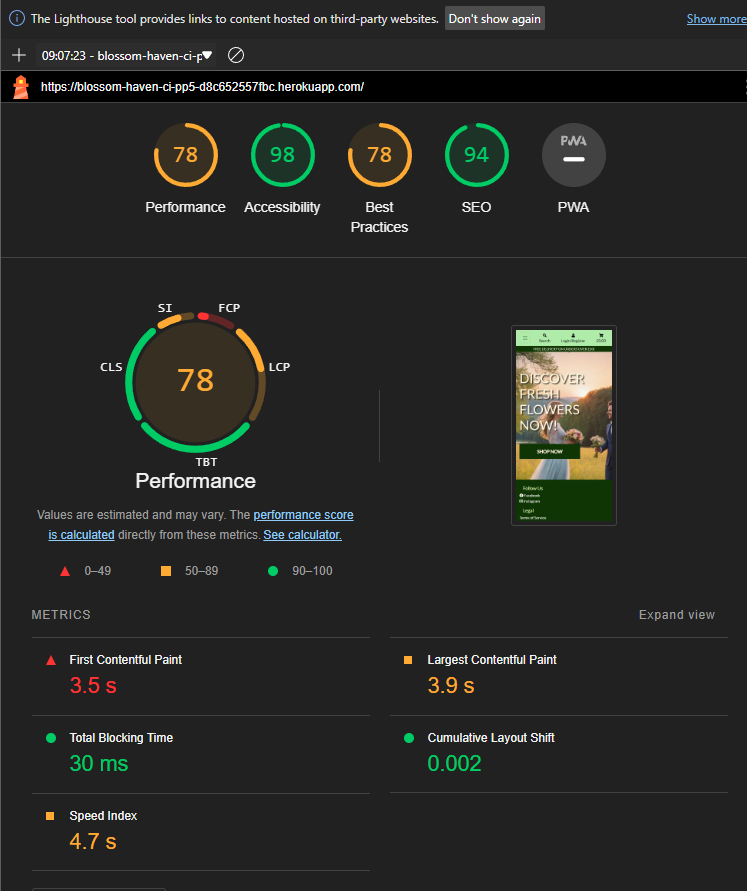 |
Product Add LH
| Chrome lighthouse desktop | Chrome mobile lighthouse |
|---|---|
 |
 |
Product Edit LH
| Chrome lighthouse desktop | Chrome mobile lighthouse |
|---|---|
 |
 |
Products List LH
| Chrome lighthouse desktop | Chrome mobile lighthouse |
|---|---|
 |
 |
Product Details LH
| Chrome lighthouse desktop | Chrome mobile lighthouse |
|---|---|
 |
 |
Product Reviews LH
| Chrome lighthouse desktop | Chrome mobile lighthouse |
|---|---|
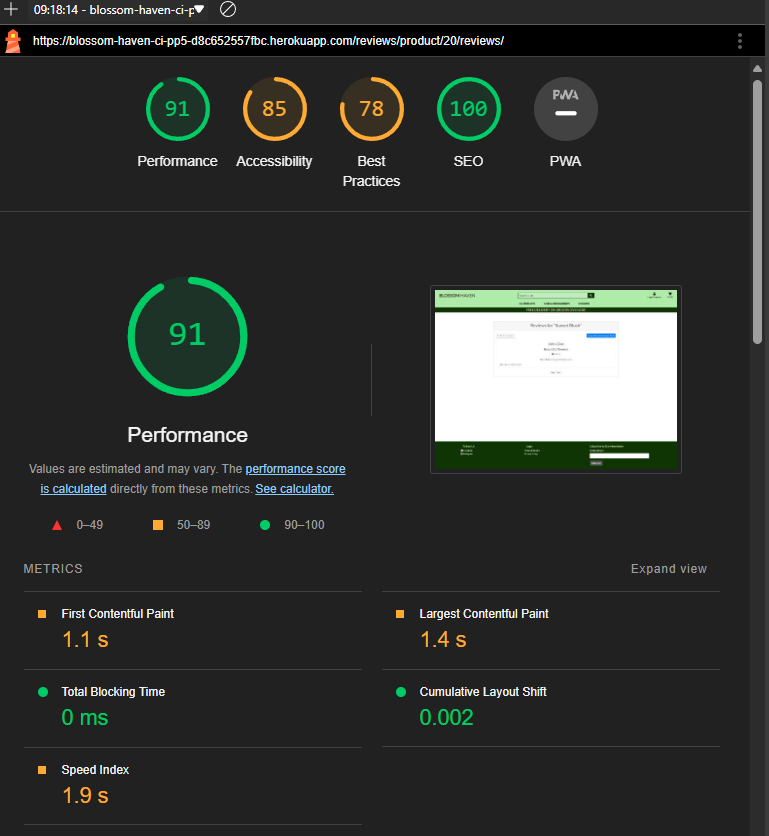 |
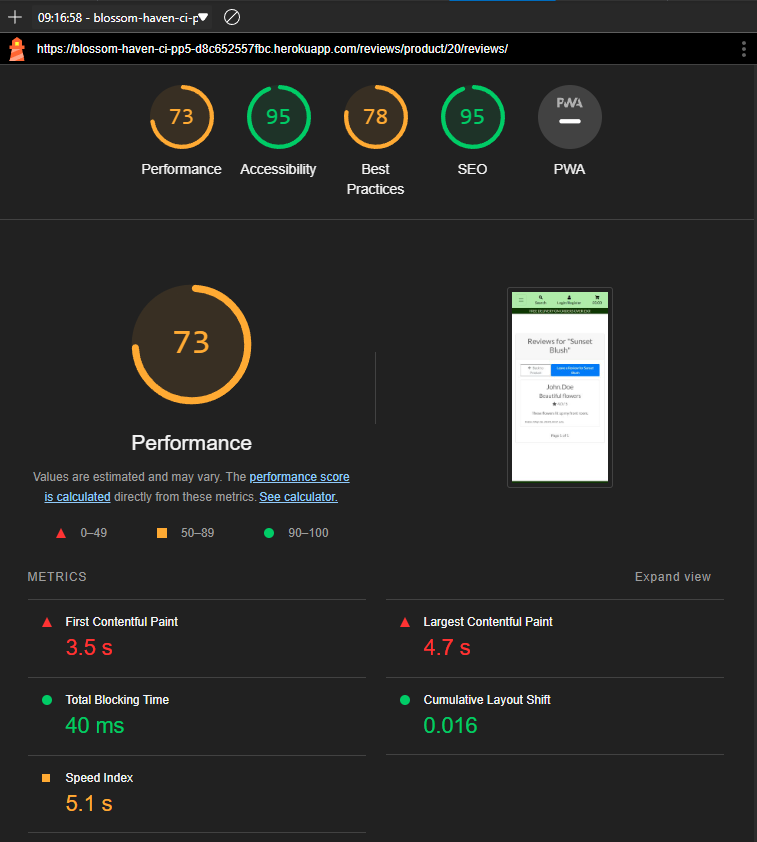 |
Product Reviews Add LH
| Chrome lighthouse desktop | Chrome mobile lighthouse |
|---|---|
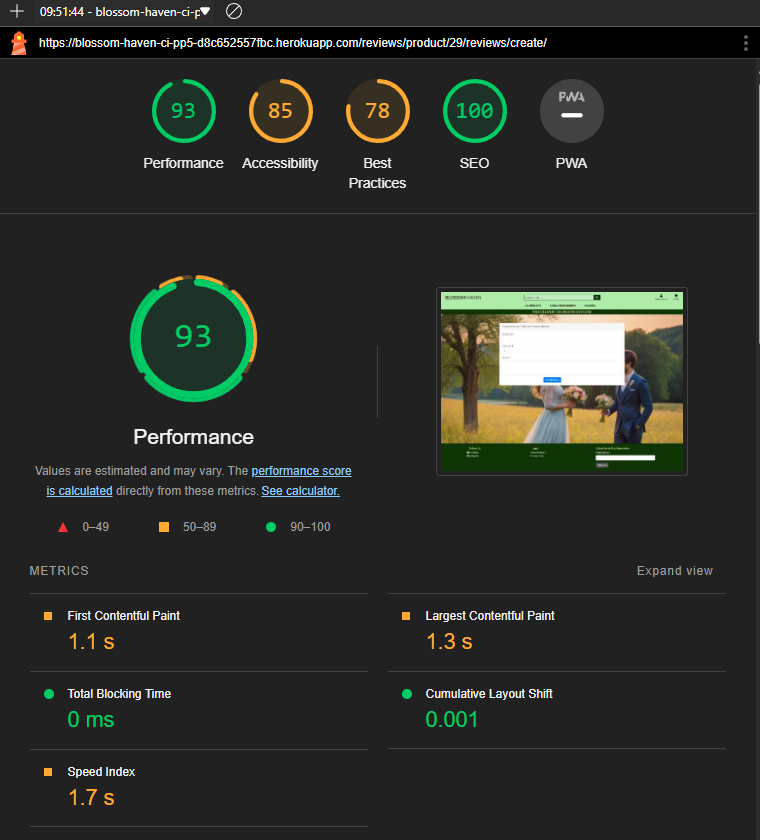 |
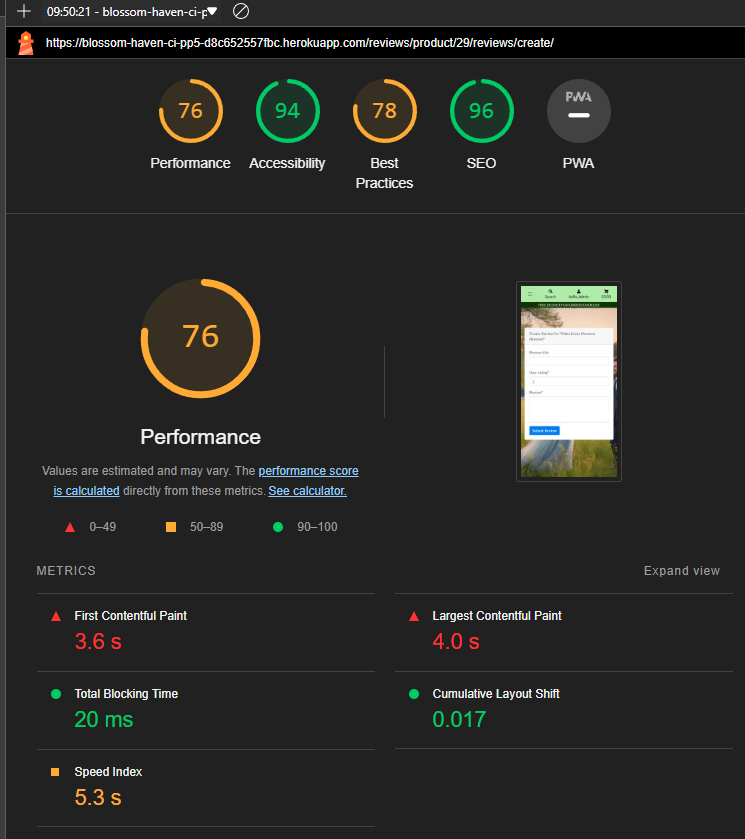 |
Product Reviews Edit LH
| Chrome lighthouse desktop | Chrome mobile lighthouse |
|---|---|
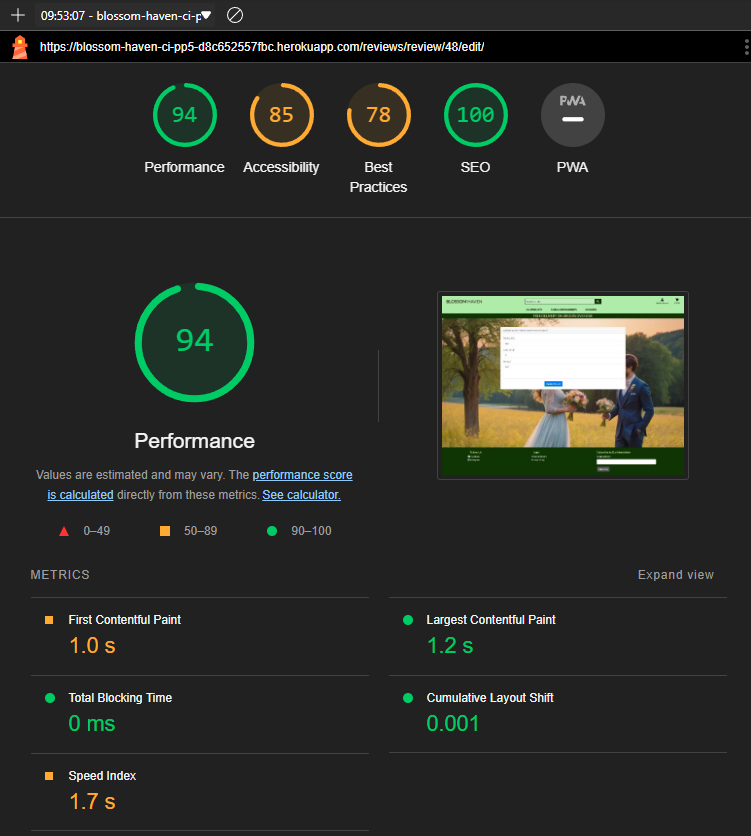 |
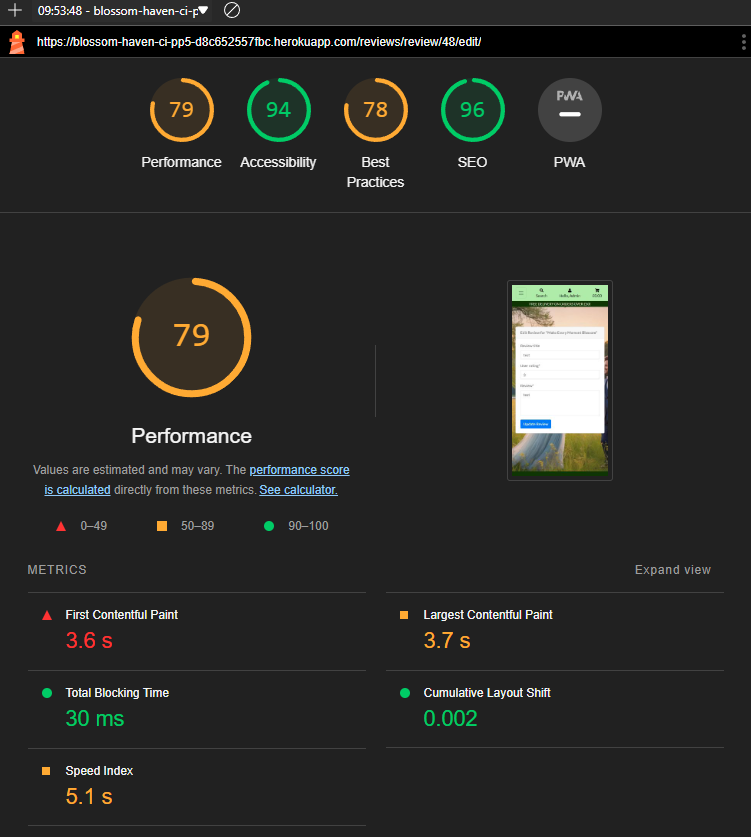 |
| Chrome lighthouse desktop | Chrome mobile lighthouse |
|---|---|
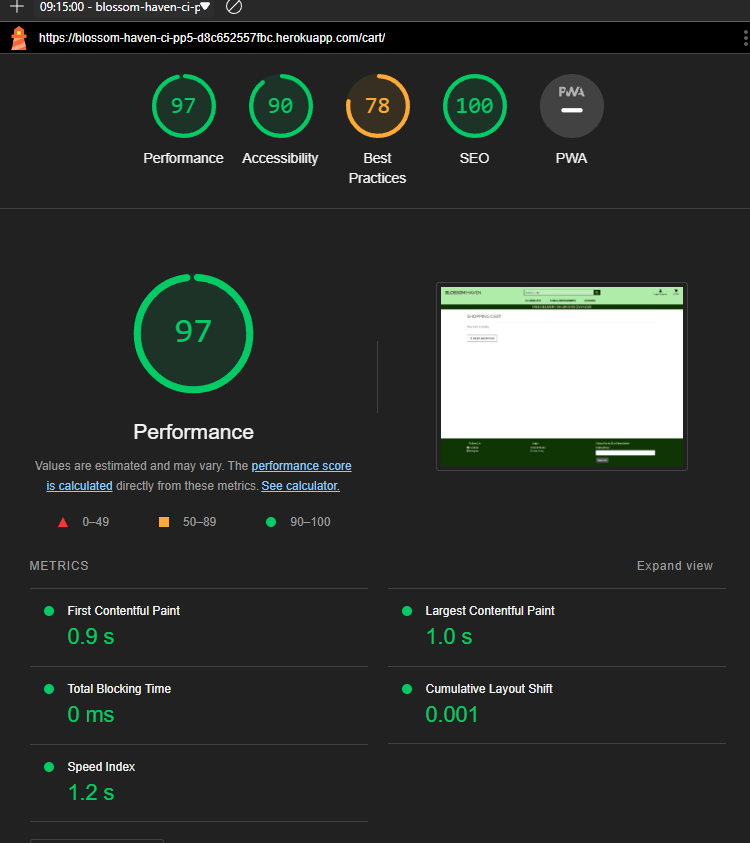 |
 |
| Chrome lighthouse desktop | Chrome mobile lighthouse |
|---|---|
 |
 |
| Chrome lighthouse desktop | Chrome mobile lighthouse |
|---|---|
 |
 |
Login
| Chrome lighthouse desktop | Chrome mobile lighthouse |
|---|---|
 |
 |
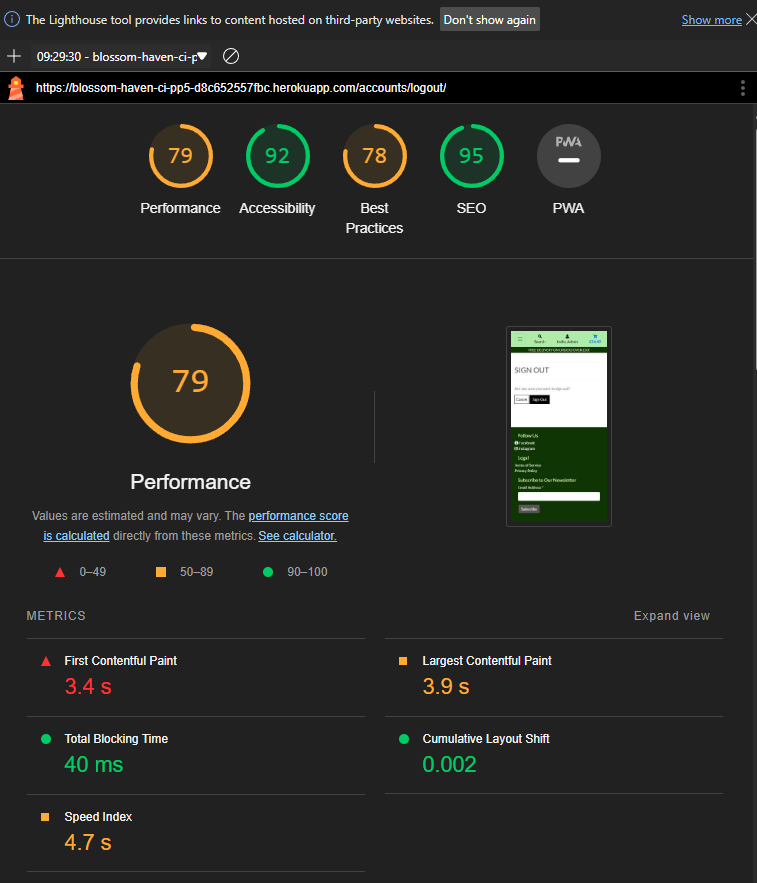
Logout
| Chrome lighthouse desktop | Chrome mobile lighthouse |
|---|---|
 |
 |
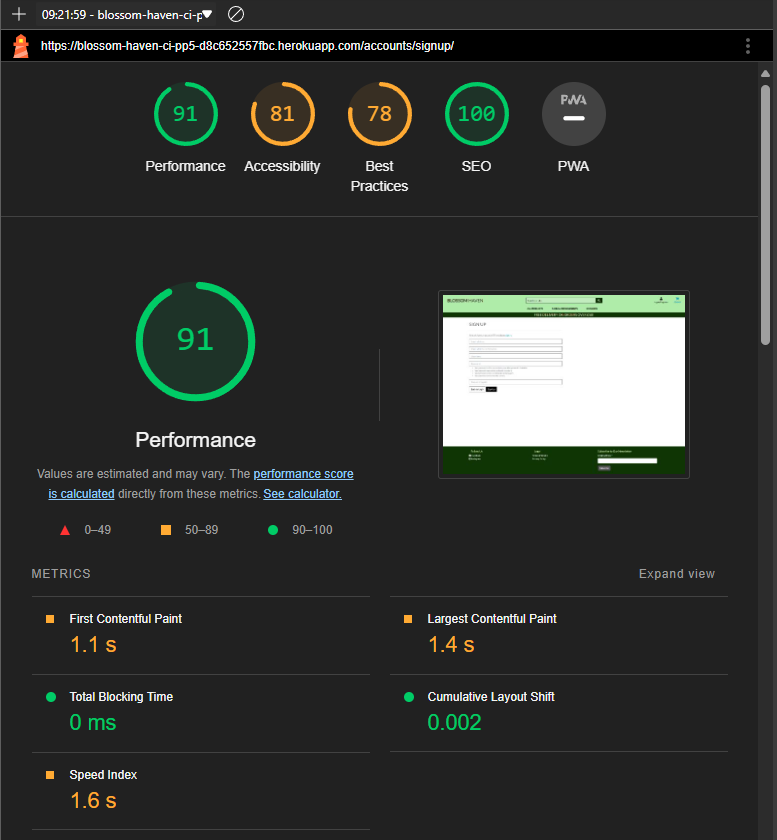
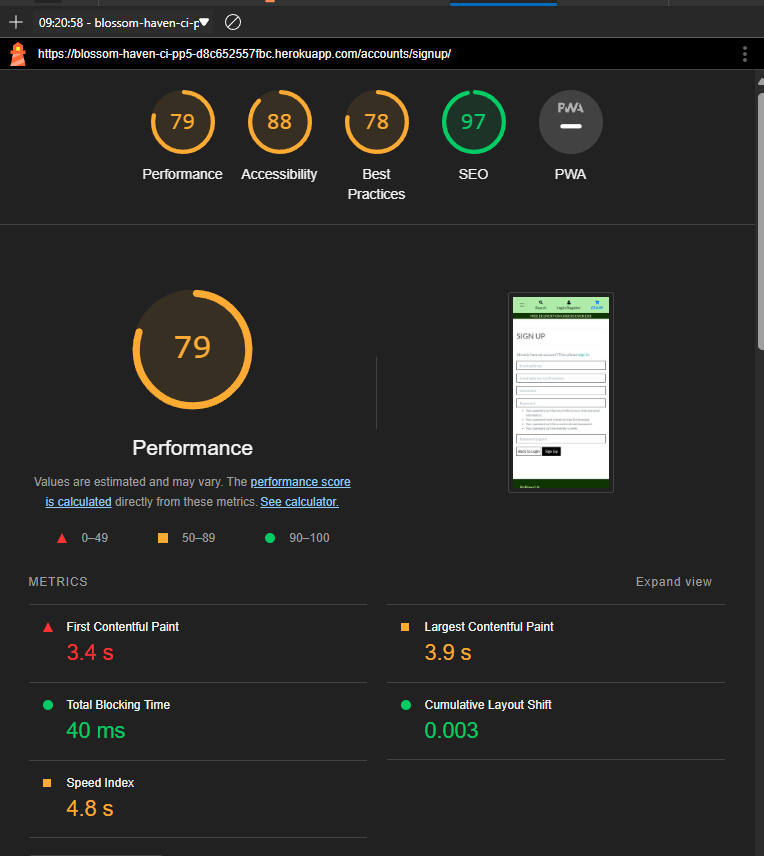
Register
| Chrome lighthouse desktop | Chrome mobile lighthouse |
|---|---|
 |
 |
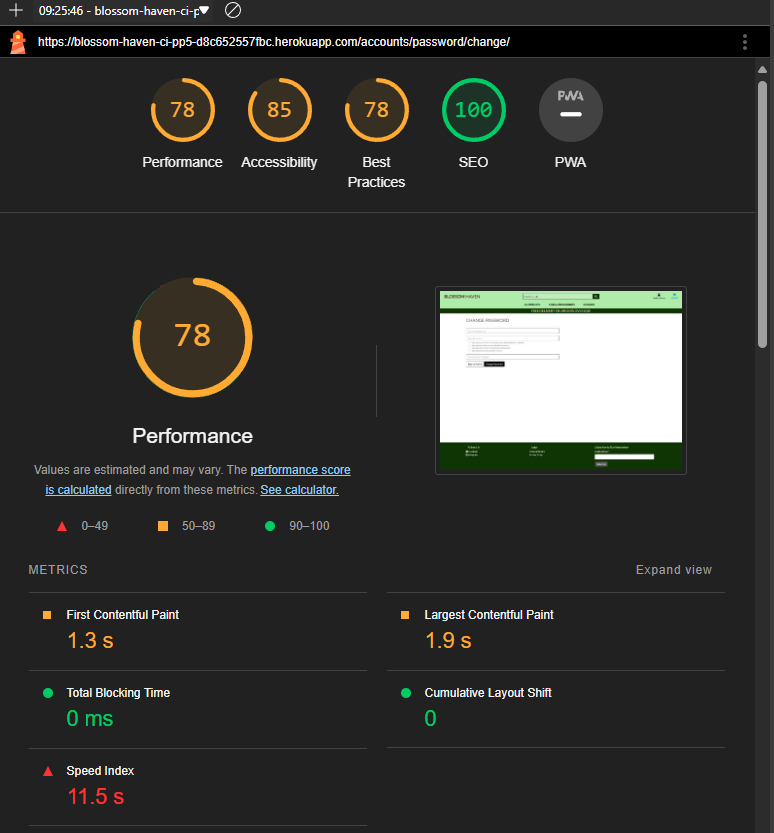
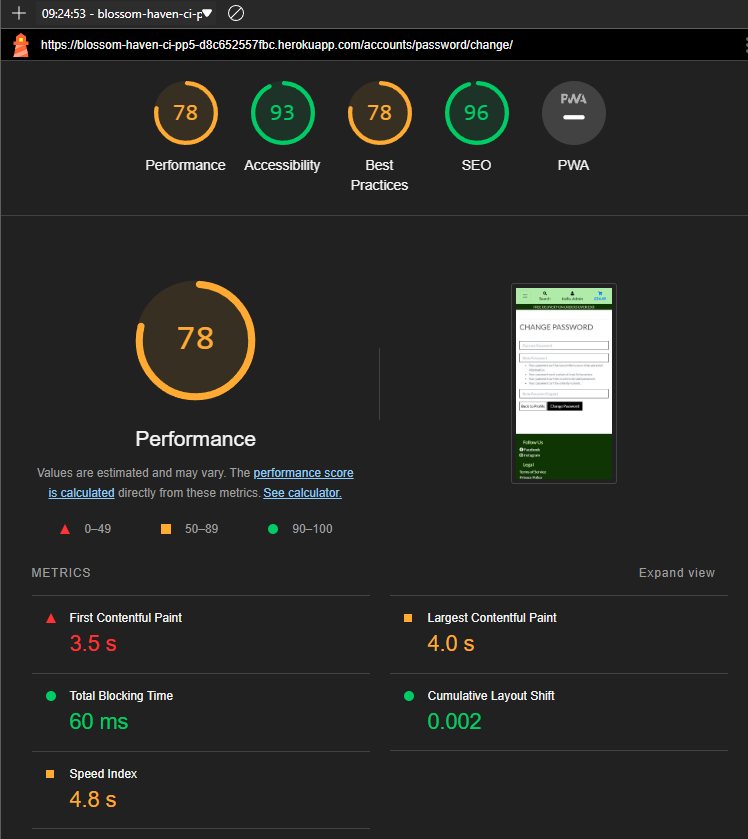
Change Password
| Chrome lighthouse desktop | Chrome mobile lighthouse |
|---|---|
 |
 |
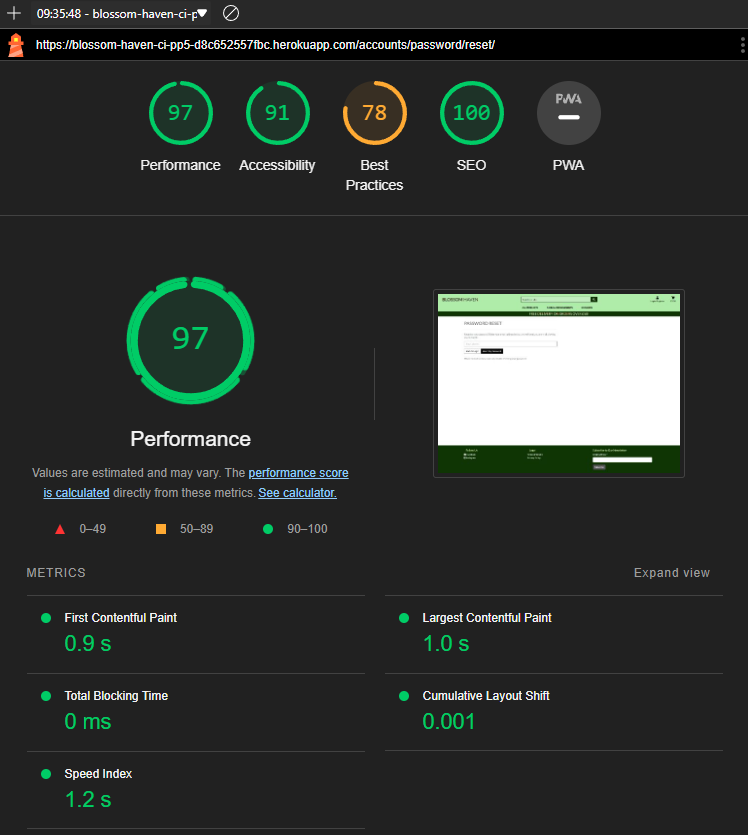
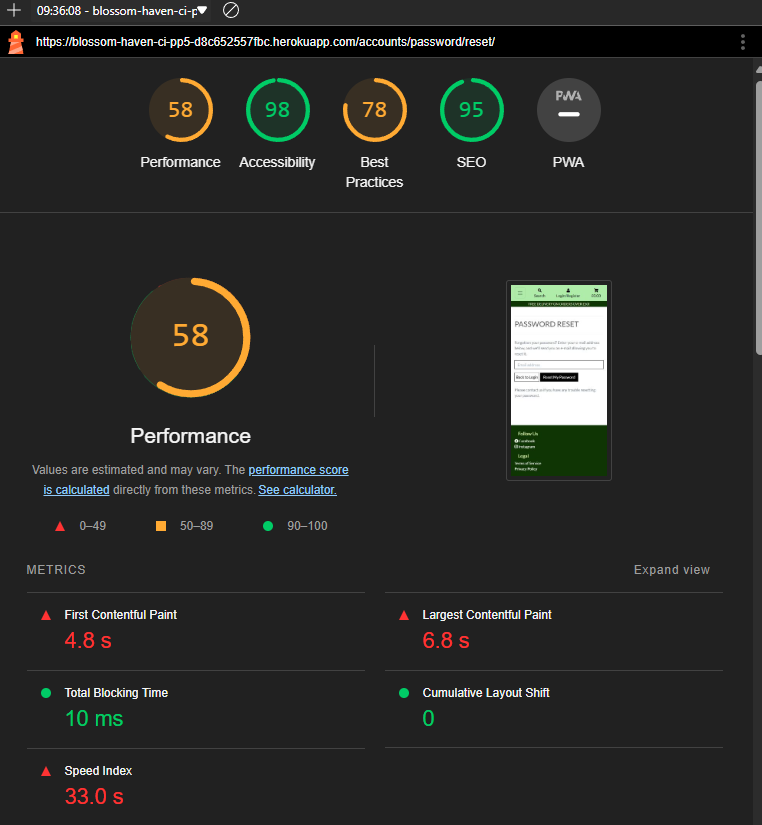
Forgot Password
| Chrome lighthouse desktop | Chrome mobile lighthouse |
|---|---|
 |
 |
Seting Up Database
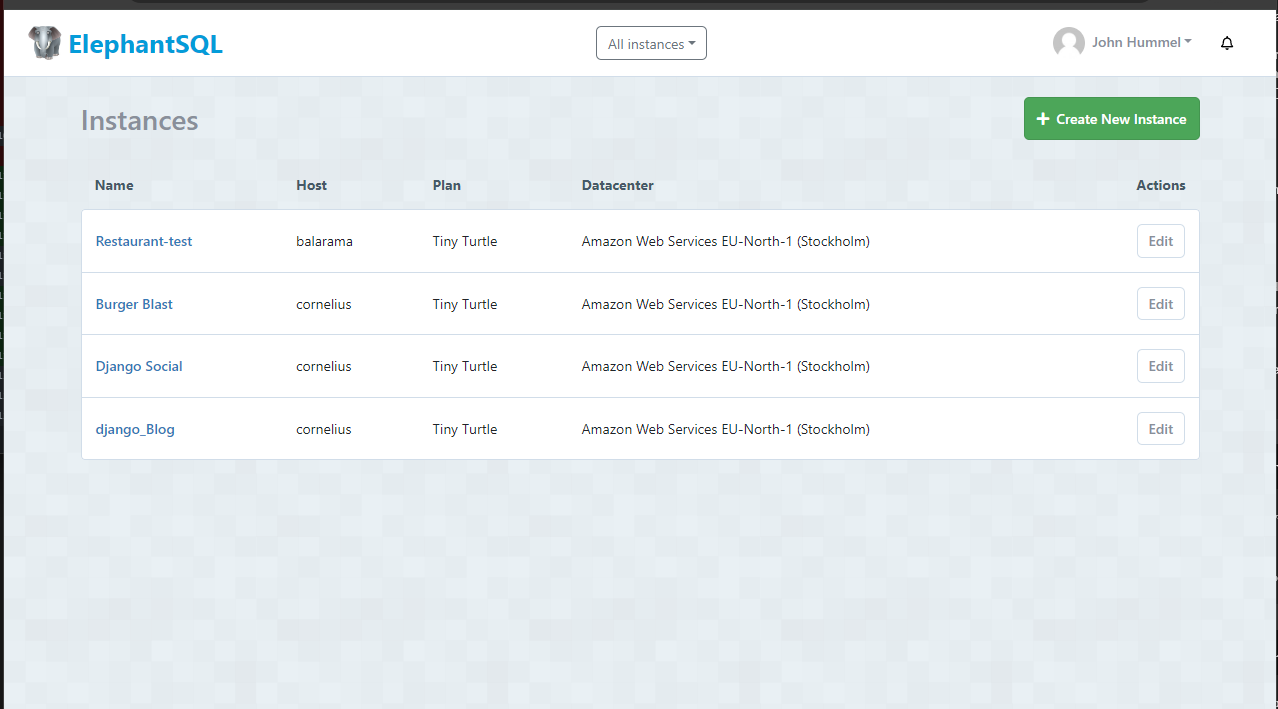
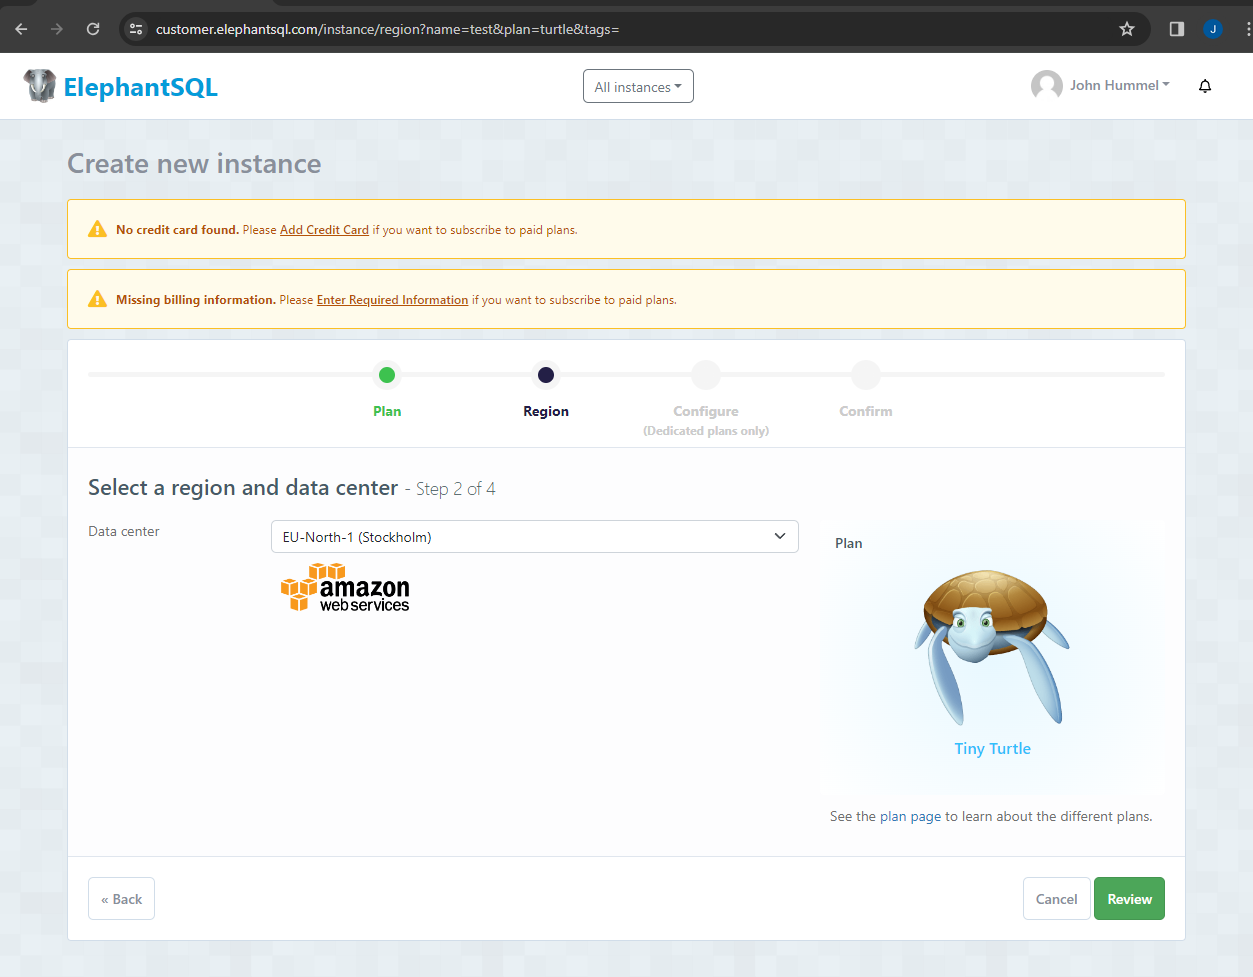
- Go to elephantsql
- Make an account or sign in (I used my GitHub account)
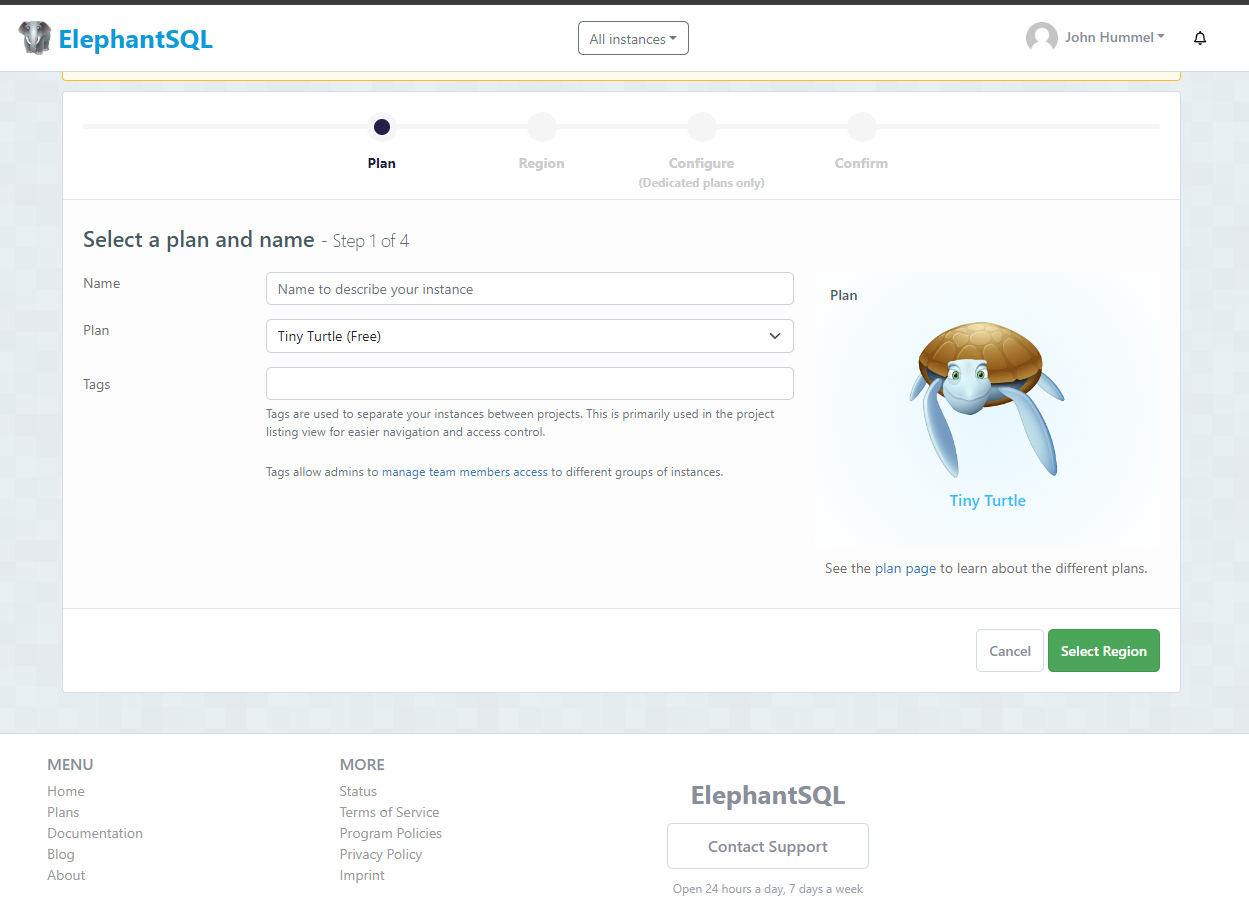
- Once logged in hit the "+ Create New Instance"
- Set up a name for the plan.
- Select version for the plan.
- Optional Add any tags if you wish
- Hit "select region" button
- Select a Data Center.
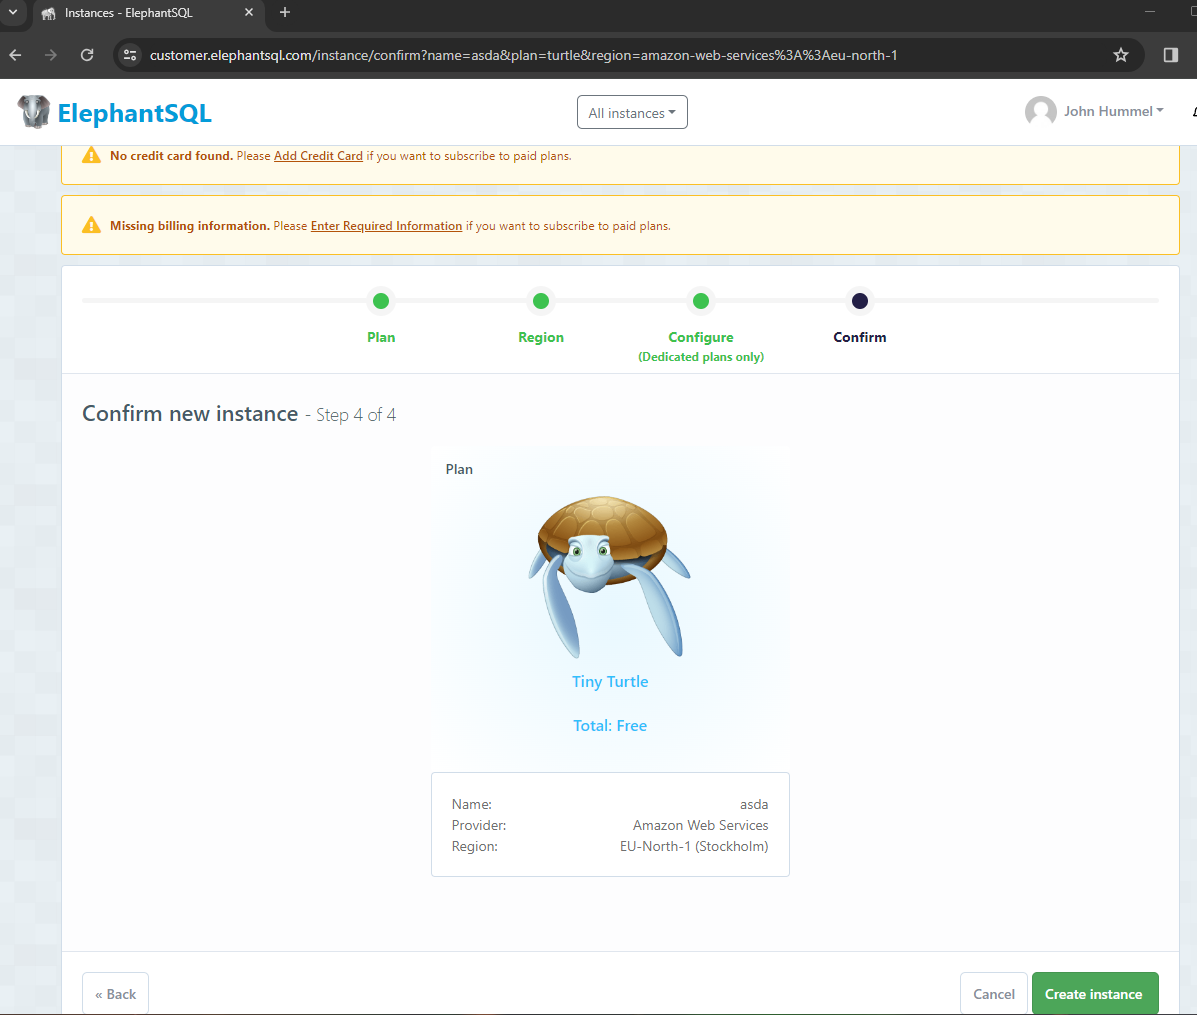
- Once chosen hit the "Review" button
- If all looks correct hit "Create Instance"
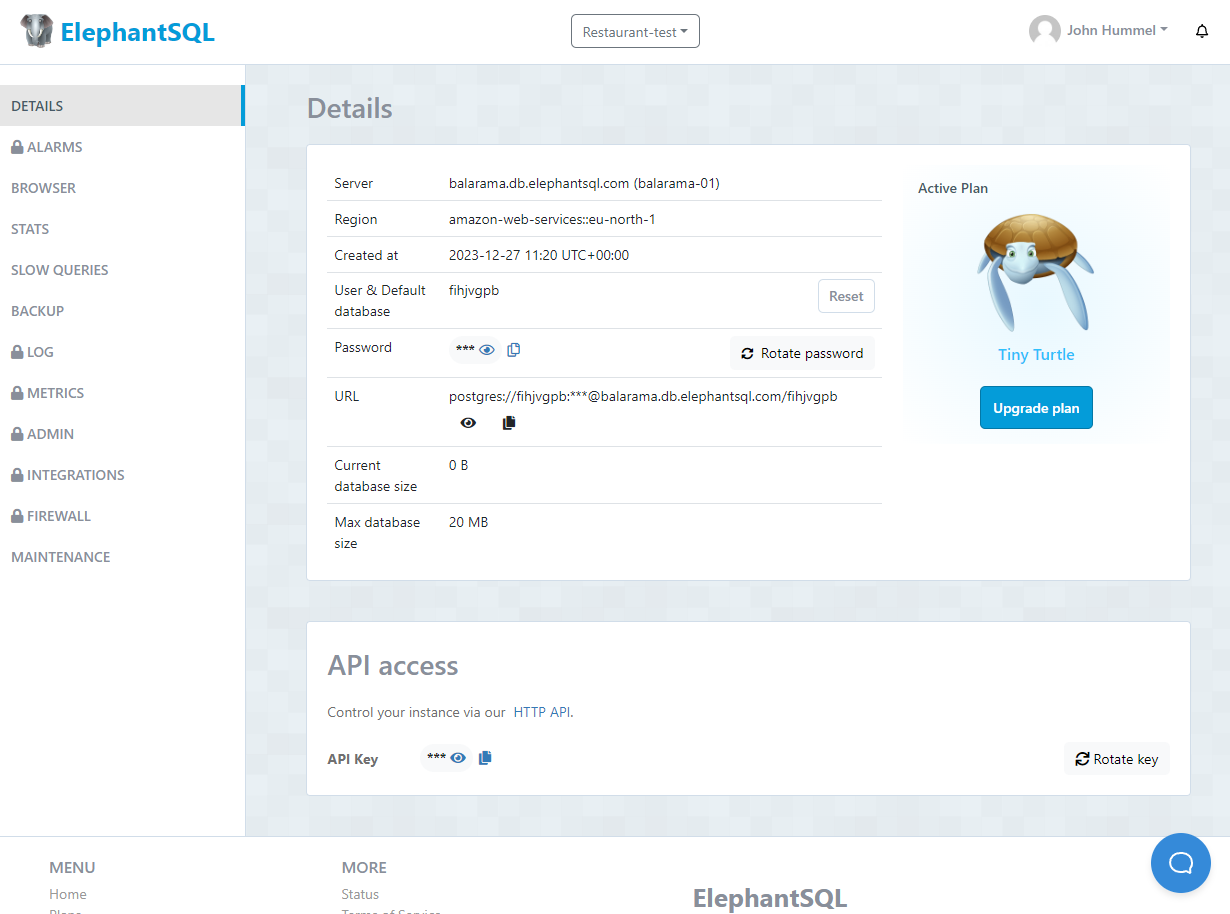
- Now you have your database set up all that is left is linking it to django project.
- URL has a copy button hit this to copy your URL
- Now you need to put this in your env file for the project or in your heroku config variables
Heroku Cofig Variables
| Key | Value |
|---|---|
| DATABASE_URL | postgres database url |
- In the .env put it as "DATABASE_URL=your.database.url.HERE"
- Now its linked to your project make sure to run the command to migrate all the models into your database as it is currently empty.
- Make migrations if you made any recent changes to the database models.
python manage.py makemigrations
- Migrate to move all the changes into your database.
python manage.py migrate
- There are more and other varriatons with diffrent useses Click here to learn more (Django 5.0)
- Now that migration is completed you are all set.
- If you recieved an error please sort this out and then try again.
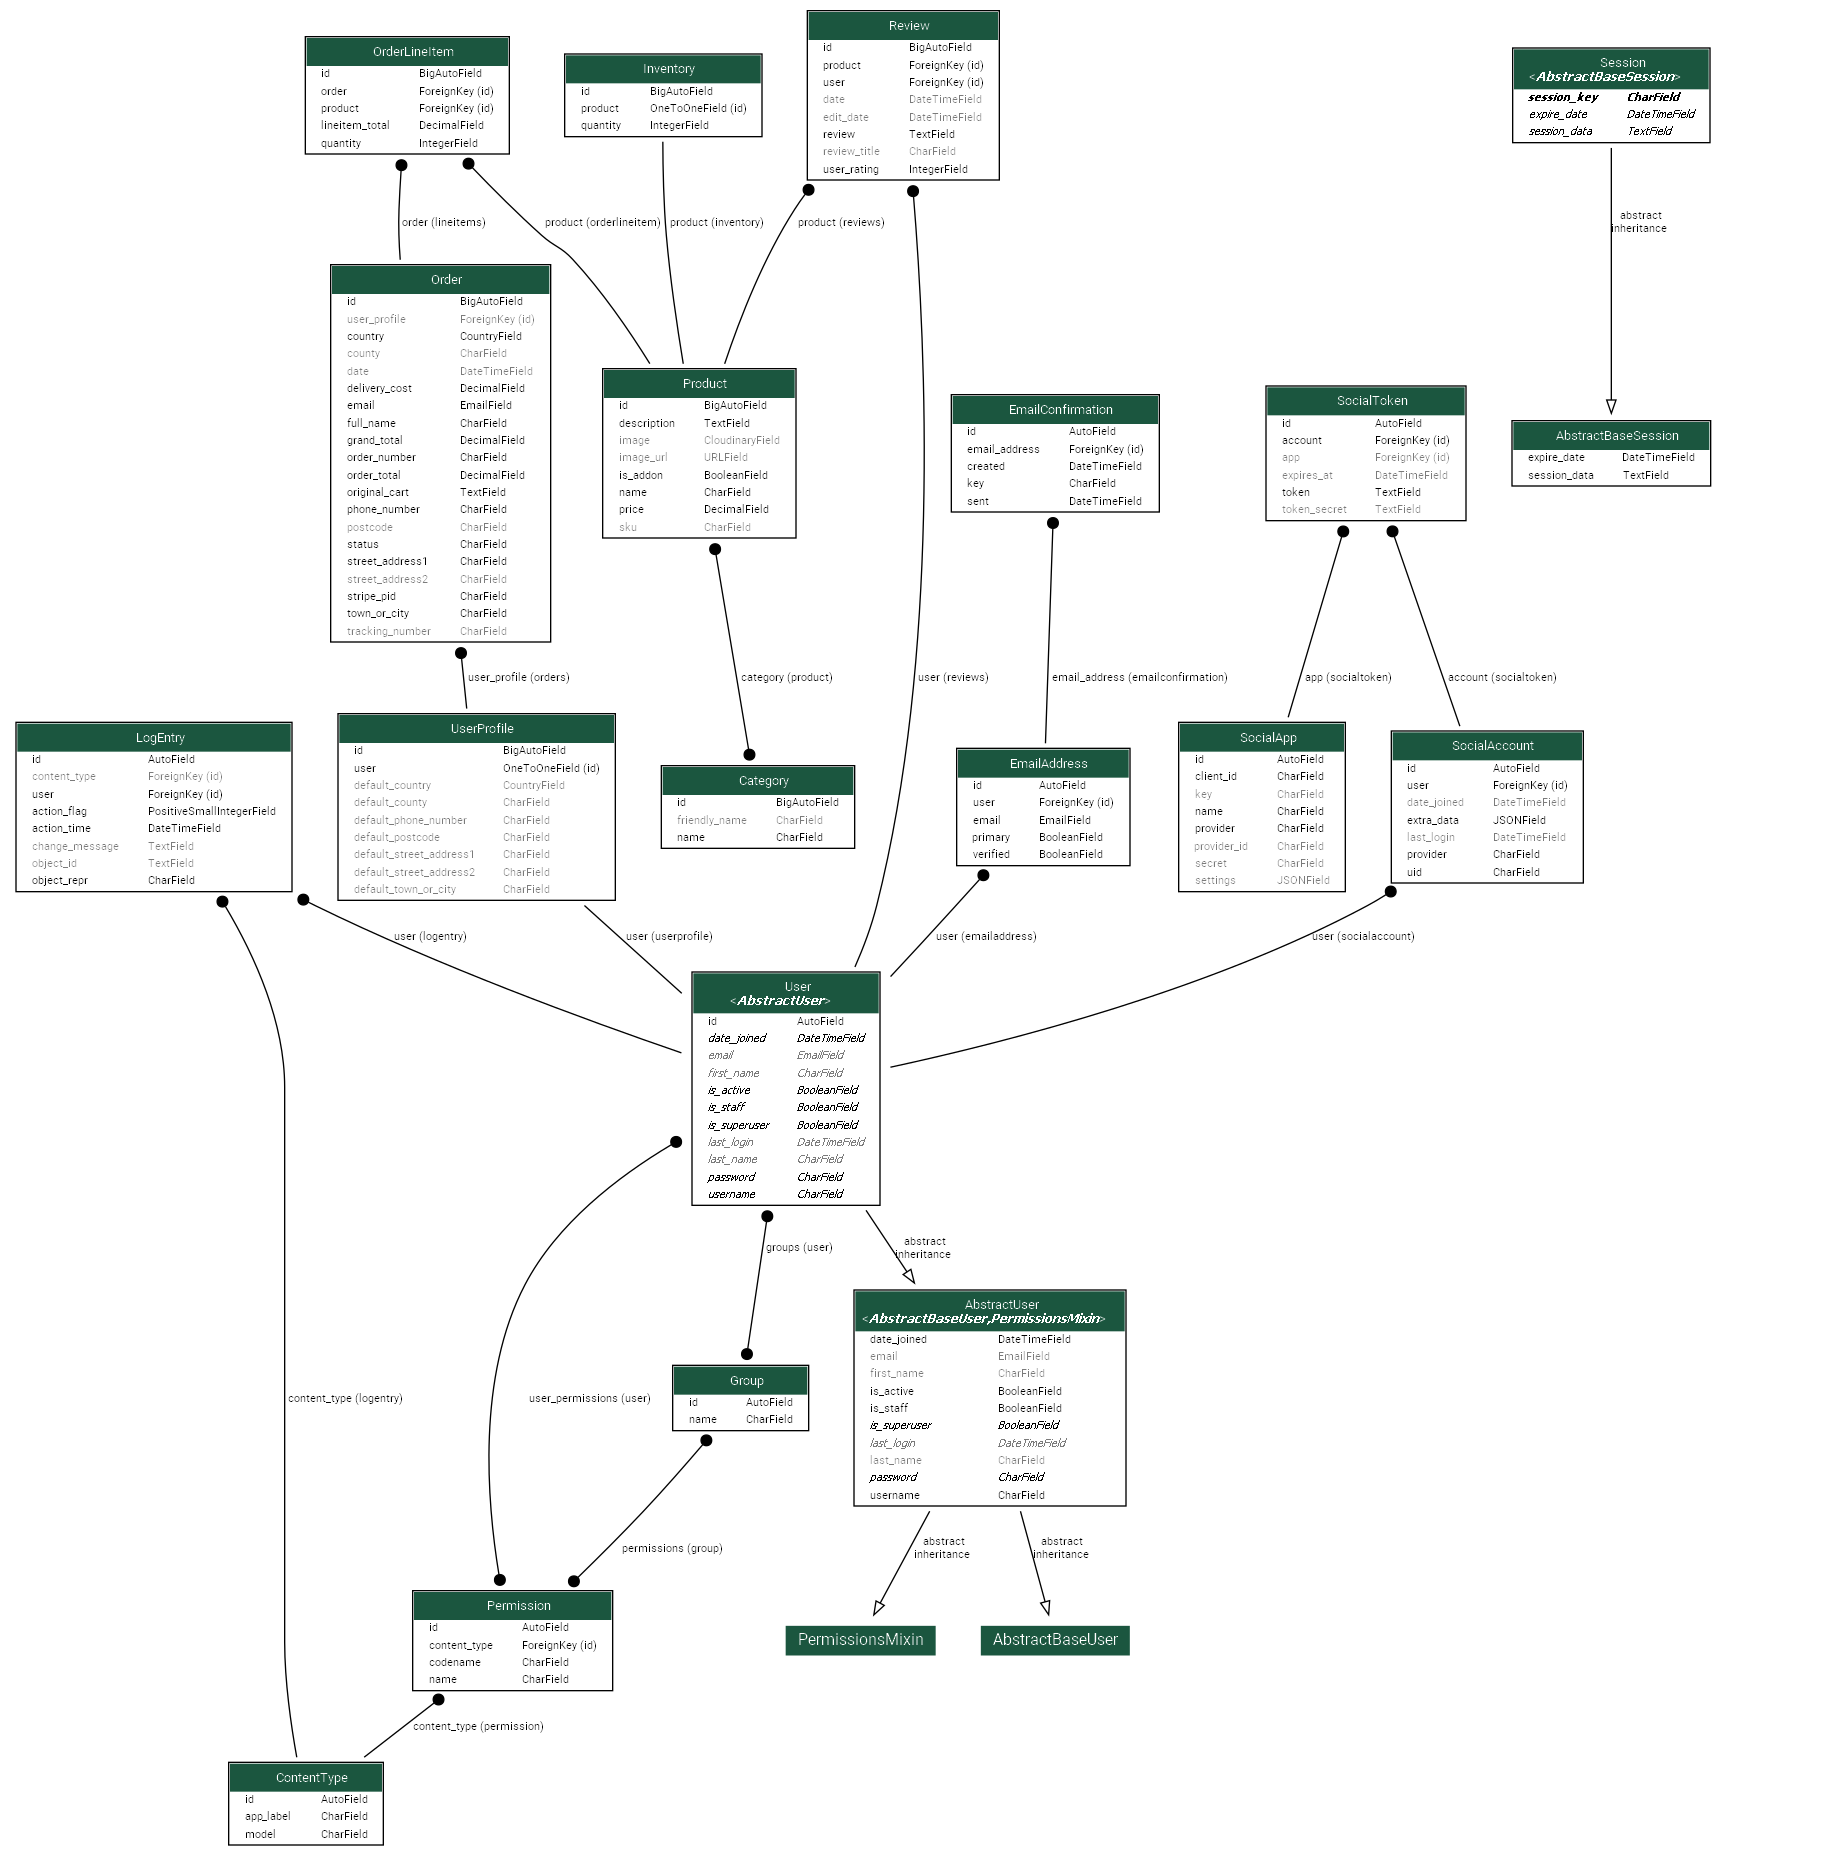
Visualization of Databae
- I was able to make this using django-extensions and pydotplus
Creating a Cloudinary Account
- Sign Up for Cloudinary: Go to Cloudinary's website and sign up for a new account.
- Verify Your Email: Follow the instructions in the email sent to you to verify your email address.
Integrating Cloudinary with Django
-
Install Cloudinary Library: Run the following command in your terminal to install the Cloudinary Python library:
run in terminal pip install cloudinary -
Configure Settings: In your Django project's settings.py file, add the following configurations:
.env env.py or equivilent follow correct stucture for local deployment
| Line to enter |
|---|
| CLOUDINARY_API_KEY = Api key value |
| CLOUDINARY_API_SECRET = Api secret value |
| CLOUDINARY_CLOUD_NAME = Cloudinary Name |
| CLOUDINARY_FOLDER_NAME = Cloudinary folder name |
(Replace all after "=" with your information)
Heroku Cofig Variables for live delpoyment
| Key | Value |
|---|---|
| CLOUDINARY_API_KEY | Api key value |
| CLOUDINARY_API_SECRET | Api secret value |
| CLOUDINARY_CLOUD_NAME | Cloudinary Name |
| CLOUDINARY_FOLDER_NAME | Cloudinary Folder Name |
(Replace all Values with your information)
- Set Up Cloudinary Storage Backend: Add the following line to settings.py to use Cloudinary as the storage backend for media files:
| Add to settings.py |
|---|
| DEFAULT_FILE_STORAGE = 'cloudinary_storage.storage.MediaCloudinaryStorage' |
-
Accessing Cloudinary URLs: Whenever you upload media files in your Django application, they will automatically be stored in Cloudinary. You can access the URLs of these files to display them in your application.
-
Optional: Resize and Manipulate Images: Cloudinary provides various transformation options for images. You can resize, crop, and apply filters to images using Cloudinary's URL-based transformations.
-
Testing Integration: Upload a sample media file through your Django application and verify that it gets stored in Cloudinary.
-
Further Customizations: Explore Cloudinary's documentation for more advanced features and customizations, such as video processing, secure URLs, and transformation options.
-
Congradulations you should be all set up
- Creat a Stripe account.
- Once created following Stripes steps click developer at the top.
- Click API Keys and coppy API keys (Public and Secret) into the env file or on heroku if deployed there:
| Key Name | Key Value |
|---|---|
| STRIPE_PUBLIC_KEY | API_Public_Key |
| STRIPE_SECRET_KEY | API_Secret_Key |
- Next set up a webhook on stripe and copy its secrect key (Signing secret) to do this Follow step 2 and then hit webhook this time. | Key Name | Key Value | | :---------------: | :------------: | | STRIPE_WH_SECRET | WH_Signing_Secret |
Used Heroku to deploy the website. You can Visit Live Site by clicking here
How to deploy to Heroku:
- Run Migrations: Once your project is deployed, you'll need to run any pending database migrations. You can do this using Heroku's web-based console or by running commands in your local terminal.
- Create a Superuser: If your project uses Django's admin interface, you may want to create a superuser account on Heroku. You can do this by accessing your app's shell through the Heroku dashboard and running the createsuperuser command.
- Create a Heroku Account: If you haven't already, sign up for a Heroku account at heroku.com.
- Prepare Your Django Project: Ensure your Django project is properly configured for deployment. This includes setting up a requirements.txt file listing all dependencies and a Procfile specifying the command to start your application.
- Install Gunicorn: Gunicorn is a WSGI HTTP server for Python. You'll need to install it via pip: "pip install gunicorn"
- Create a Procfile: In the root directory of your project, create a file named Procfile (without any file extension) and add the following line: web: "web: gunicorn burger_blast.wsgi:application"
- Update Django Settings: Ensure your Django settings.py file is configured to work in a production environment. This includes setting DEBUG = False and adding Heroku's domain to the ALLOWED_HOSTS list.
- Create a requirements.txt File: Generate a requirements.txt file listing all Python dependencies your project needs. You can create it by running: "pip freeze > requirements.txt"
- Create a Heroku App: Go to the Heroku dashboard and create a new app. Choose a unique name for your app.
- Link GitHub Repo: Under deploy tab in the settings link your GitHub repository.
- Set Up Environment Variables: Now under settings tab set any necessary environment variables for this django project. See chart below for needed key and values.
Heroku Cofig Variables
| Key | Value |
|---|---|
| DISABLE_COLLECTSTATIC | 1 |
| DATABASE_URL | postgres database url |
| DJANGO_SECRET_KEY | Django secret key for the project |
| SENDGRID_API_KEY | sendgrid api key |
| CLOUDINARY_API_KEY | Api key value |
| CLOUDINARY_API_SECRET | Api secret value |
| CLOUDINARY_CLOUD_NAME | Cloudinary Name |
(Replace all Values with your information)
- Deploy Your Project: Back under deploy tab on Heroku scroll down to manual deploy and choose the branch you wish to deploy and hit button "Deploy Branch" wait for the success and trouble shoot if needed.
Using Gmail for this site others may varry slightly
- Go to Gmail:
- If you already have a Gmail account, you can skip this step
- If not, click on "Create account" and follow the instructions to set up a new Gmail account.
- Sign in to your Gmail account:
- Visit Gmail and log in with your email and password.
- if you dont see app passwords click the link
- Set Up the settings.py File in Django
Add to your settings.py
| Line to enter |
|---|
| import os (if not already imported) |
| EMAIL_BACKEND = 'django.core.mail.backends.smtp.EmailBackend' |
| EMAIL_USE_TLS = True |
| EMAIL_PORT = 587 |
| EMAIL_HOST = 'smtp.gmail.com' |
| EMAIL_HOST_USER = os.getenv('EMAIL_HOST_USER', '') |
| EMAIL_HOST_PASSWORD = os.getenv('EMAIL_HOST_PASS', '') |
| DEFAULT_FROM_EMAIL = EMAIL_HOST_USER |
-
Set Up Configuration Variables for Email Credentials
.env env.py or equivilent follow correct stucture for local development
| Line to enter in settings.py |
|---|
| EMAIL_HOST_USER = your_email@gmail.com |
| EMAIL_HOST_PASS = your_app_password |
(Replace all after "=" with your information)
Heroku Cofig Variables for live deployments
| Key | Value |
|---|---|
| EMAIL_HOST_USER | Your gamil email |
| EMAIL_HOST_PASS | your_app_password |
- HTML
- CSS
- JavaScript
- Fontawesome
- Python 3.12
- Django 5.2
- Django-allauth
- Visual Studios Code (VSCode)
- Github
- Git
- Github Desktop App
- Cloudinary
- fooocus
- Microsoft Paint
- Gyazo
- Microsoft Snipping tool
Landing Page
Product Page
Product detail Page
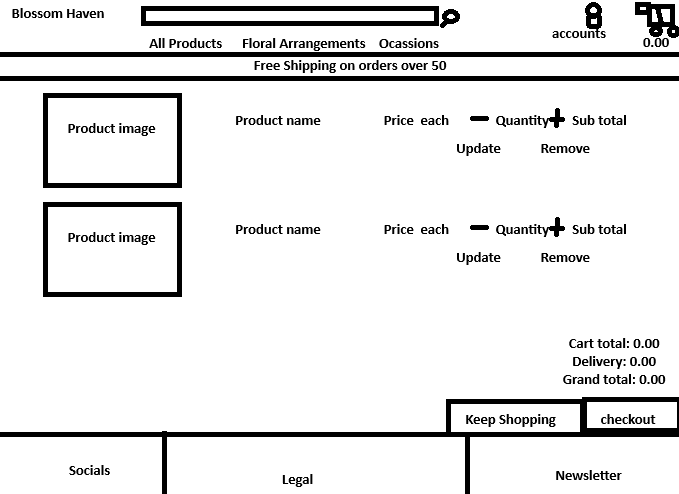
Cart Page
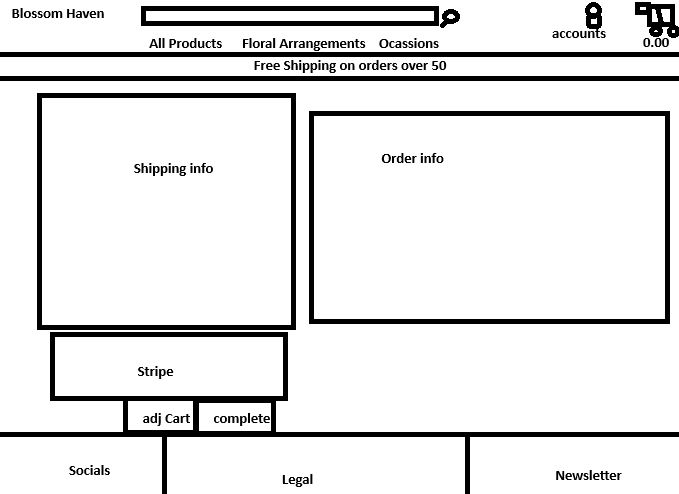
Checkout Page
Reviews Page
Images
- All images use on the website are made by fooocus which at time of writting this is a completely free AI image generator that uses your own hardware to generate images.
More Credits
-
My wife who’s been super supportive of this change in career for me and just being out right amazing we will get her into this one way or another I am sure.
-
Code Institute for providing an excellent accelerated learning platform worth every penny.
-
Botique Ado walk through from code instiute as this was the basis of the project. I originally was going to expand on that but I had a spur of the moment idea for a floarist site and I think I have nailed my version of a MVP and even tweaked it some more.
-
My farmers market food stall Bokit'la they helped insprie the project unknowingly as I told them I had this project coming up and I will possibly be helping them soon impliment shopify to their website. As a side project I want to remake their site in Django and they said do it and send it so next up is theirs. I would have done it for this but they are specifically looking for shoppify and thats possibly out side the grading for this. They got my brain thinking of ideas and Blossom Haven came out of the wood works from that.
| Feature Ideas | Why Not Implimented |
|---|---|
| Cuppons/voucher | Time and it wasn't needed for MVP |
| Blog page | Decided at time of writing marketing plan |
| Further bug squashing | Time left till project is due |
| Better product rendering | Time to complete and needs to be re thought also couldn't find a good CDN free |
| Custom Domain | Cost |
| Rebranding | Noticed it to late but many Blossom Havens Exist |
| Figure out webhook issue | Was unable to debug it in time for submission alternative email method provided leaving webhook in submission as its still mostly working just payment_intent.succeeded keeps giving 500 code all others are working correctly with 200 code |


