


RESTexpress is a highly customizable REST backend and API generator.
Explore the docs »
·
Report Bug
·
Request Feature
- About the Project
- Getting Started
- Usage
- Deployment
- Roadmap
- Contributing
- License
- Contact
- Acknowledgements
RESTexpress is a highly customizable REST backend and API generator.
Here's why this is some cool shit:
- Your time should be focused on creating amazing features, not thinking about authentication, user management and project structure.
- You shouldn't have to implement simple CRUD operations over and over again.
Of course, no template will serve all projects since your needs may be different. So we made it easy to add your own mongoose plugins, services and middleware.
This is an example of how you may give instructions on setting up your project locally. To get a local copy up and running follow these simple example steps.
This is an example of how to list things you need to use the software and how to install them.
The easiest way to install mongoDB is with docker. A simple docker-compose file would look like this:
version: "3.8"
services:
    mongo:
        image: mongo:4.2.5
        ports:
- "27017:27017"- Clone the repo
git clone git@github.com:tguelcan/restexpress.git- Install dependencies
yarn- Enter your variables in
.env.exampleand rename the file to.env
Start the server with:
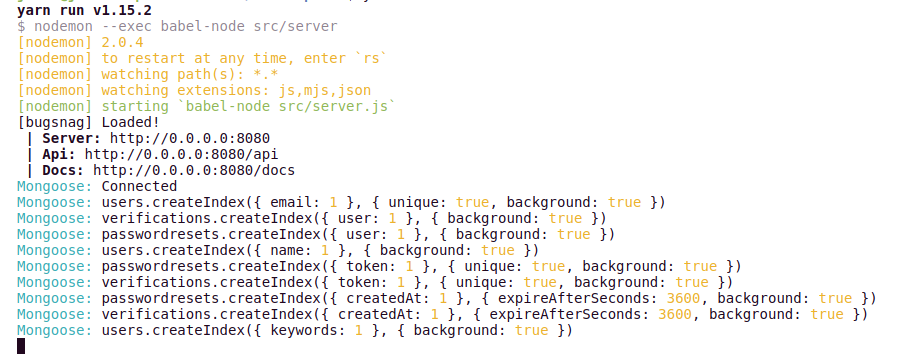
yarn run devIf it succesfully started, the output should look like this:
You should now be able to see the Documentation
You can run tests with:
yarn run testor
yarn run test:coverageto check the code coverage
- Read about Mongoose Plugins
- Create your new plugin in
src/services/mongoose/plugins - Make sure to export it in
src/services/mongoose/index.js - Access the plugin in your model like this:
import { yourPlugin } from 's/mongoose'yarn run generateEnter your resource name
=> All required files should now be generated and you can start writing code!
- Define ACL in /api/resource-name/acl.js
- Define model in /api/resource-name/model.js
- Write tests in /tests/api/resoure-name.test.js
- Add middleware in /api/resource-name/index.js
- Implement controllers in /api/resource-name/controller.js
- Create your new service in a separate folder in
src/services - Import it when necessary with
s/yourservice
- Create a new heroku app
- Enter the needed environment variables:
MASTER_KEY=
JWT_SECRET=
MONGODB_URI=
SENDGRID_KEY=
You can get a free mongoDB database from MongoDB Atlas and a free SendGrid account for testing
heroku git:remote -a <your-app-name>git push heroku master- Your API should now be online and accessible under: https://<your-app-name>.herokuapp.com/ 🥳
// TODO:
See the open issues for a list of proposed features (and known issues)
Or take a look at the currently empty project board
Contributions are what make the open source community such an amazing place to be learn, inspire, and create. Any contributions you make are greatly appreciated.
- Fork the Project
- Create your Feature Branch (
git checkout -b feature/AmazingFeature) - Commit your Changes (
git commit -m 'Add some AmazingFeature') - Push to the Branch (
git push origin feature/AmazingFeature) - Open a Pull Request
Distributed under the MIT License. See LICENSE for more information.
Jonas Scholz - @jscholz42
Tayfun Gülcan - @Tayfuuu