IRMA offers a privacy-friendly, flexible and secure solution to many authentication problems, putting the user in full control over his/her data.
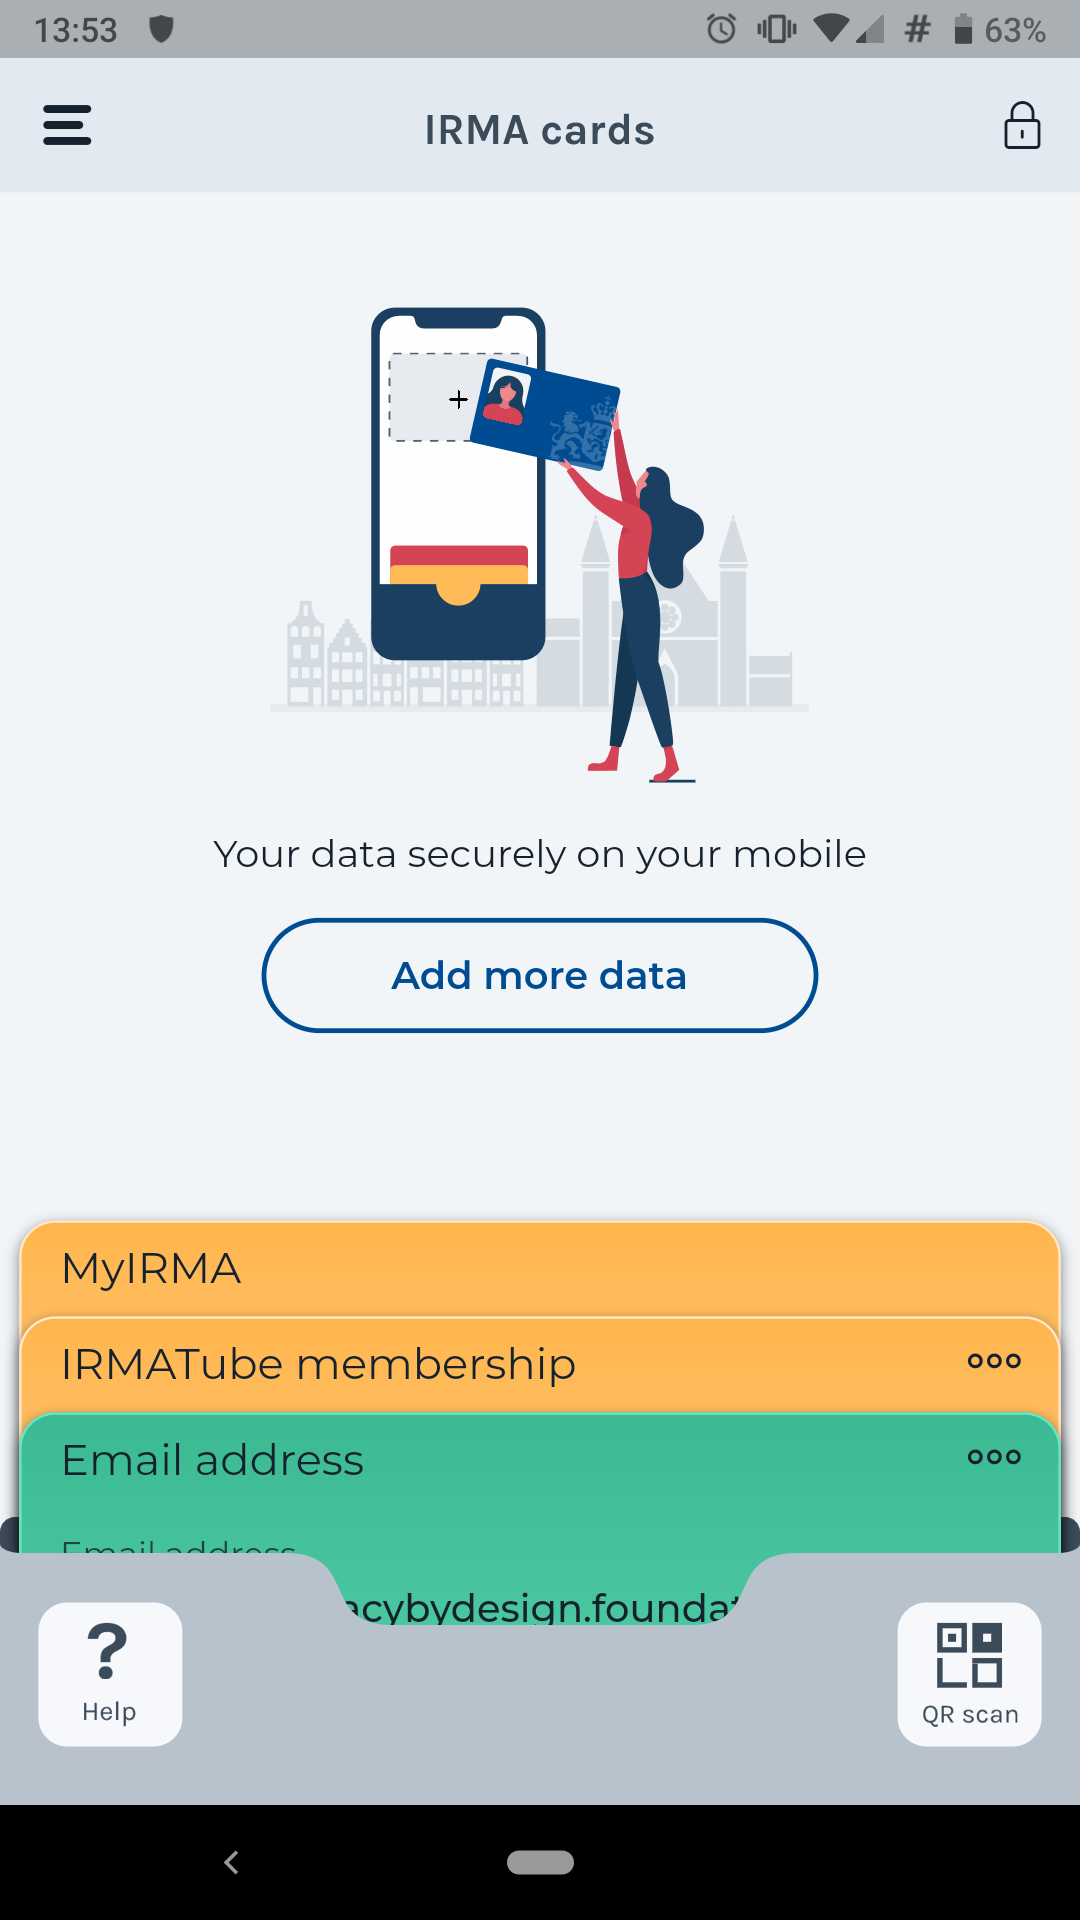
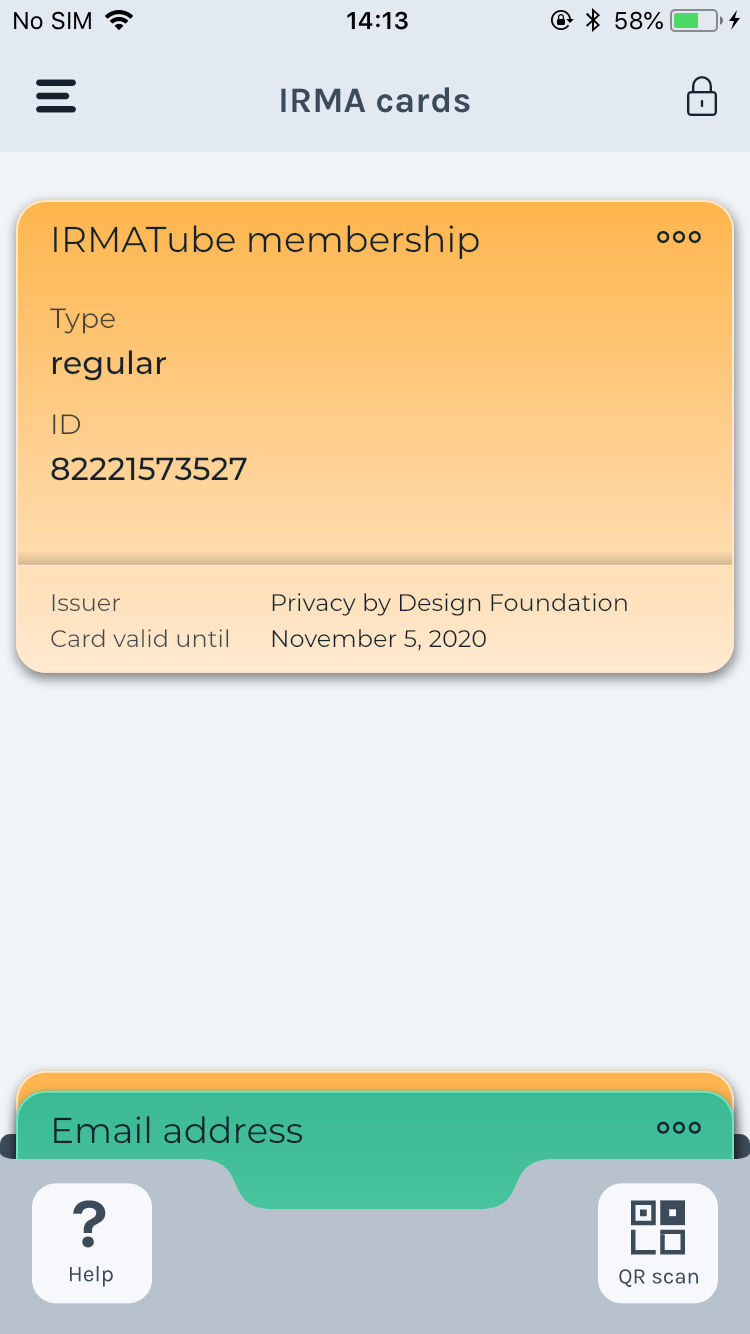
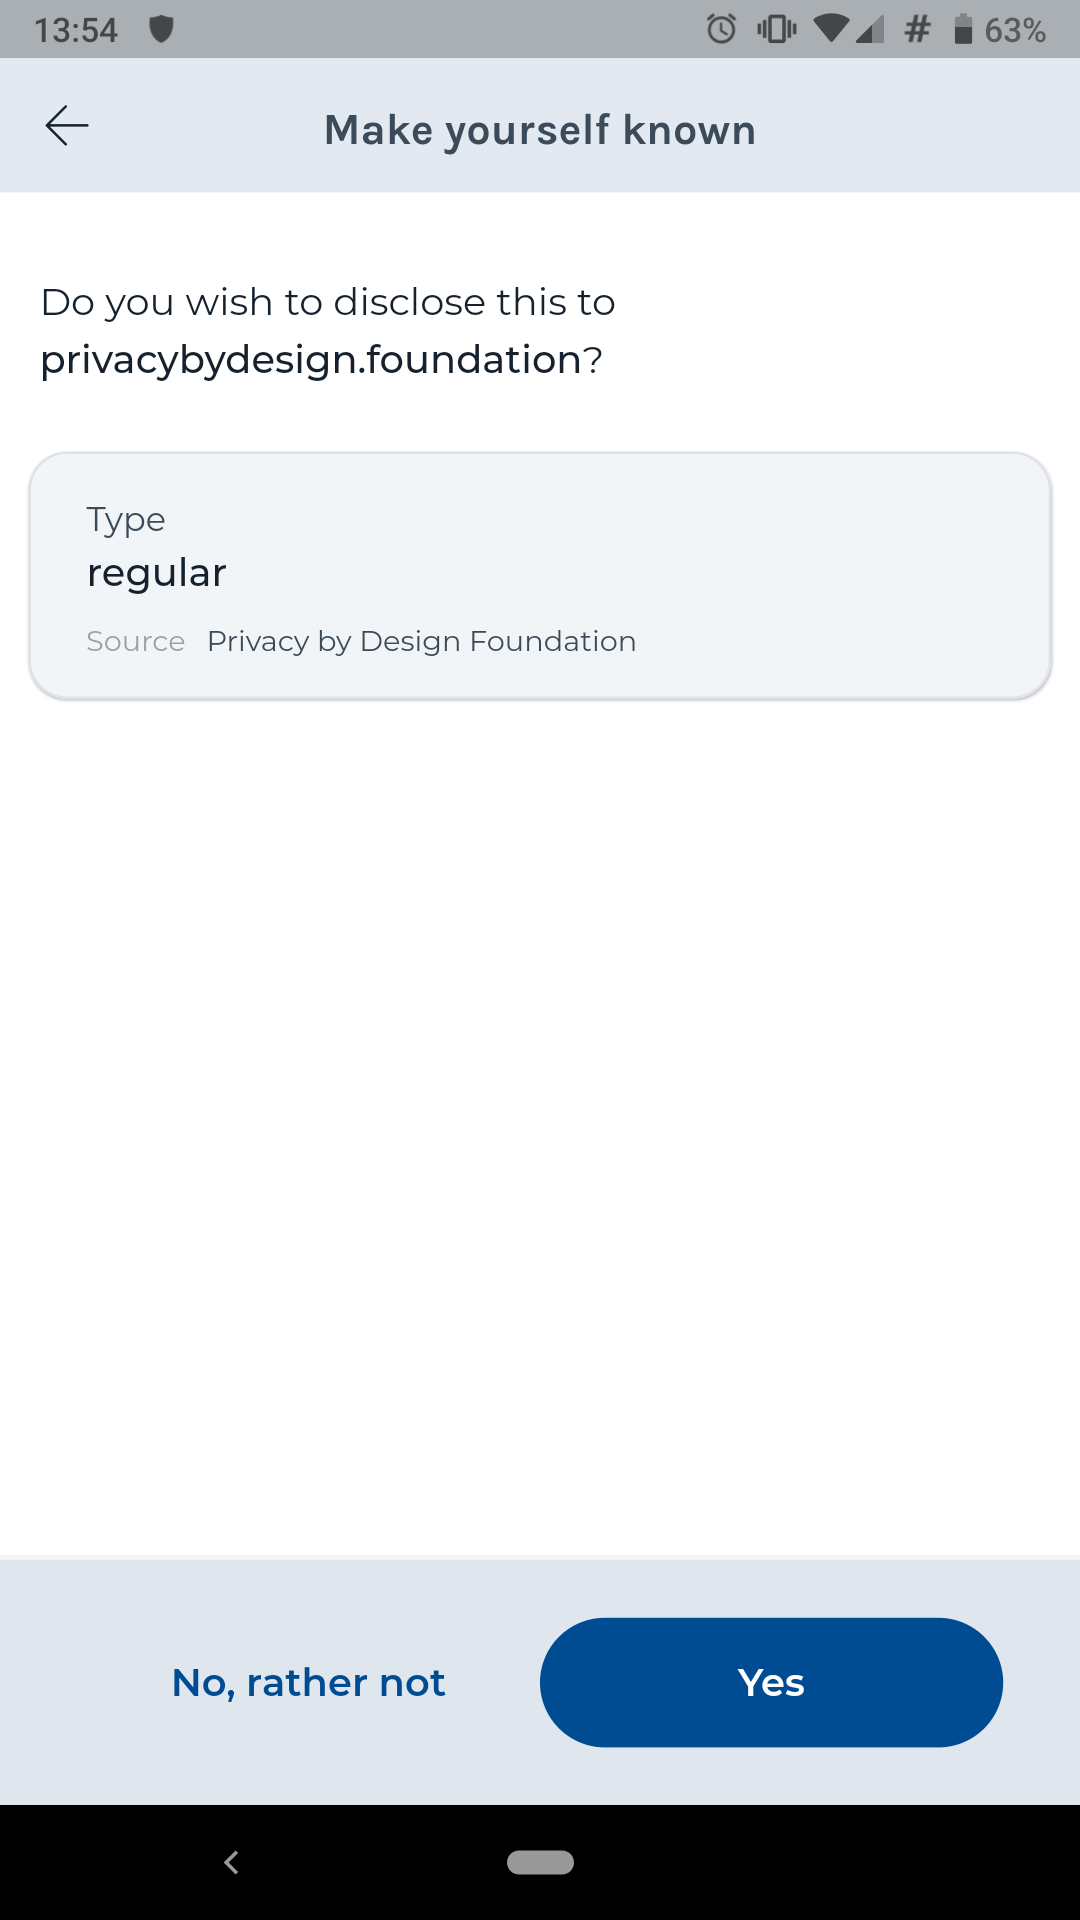
The IRMA app manages the user's IRMA cards containing personal data. It can receive new cards, selectively disclose data contained in the user's cards to others, and attaching data to signed statements. These data can be relevant properties, such as: "I am over 18", "my name is ..." and "I am entitled to access ....". They are only stored on the user's device and nowhere else.
-
Clone the project
git clone --recursive git@github.com:privacybydesign/irmamobile.git -
If your forgot to include
--recursivein yourgit clone, make sure to init and update the submodules:cd irmamobile git submodule init git submodule update -
Install Java development kit. Java 11 should work, but if your Android development environment is too old, you might need to fall back to Java 8. See troubleshooting on how to install Java 8 under Debian/Ubuntu or MacOS.
# On Debian / Ubuntu apt install openjdk-11-jdk # On MacOS # TODO: Install via `brew install openjdk@11`, but how to replace system Java? -
Install the Android SDK tools by going to the Android developer download page. You may just want to install the Command line tools only if you are not going to use Android Studio. If you are going to use it, you can use the initial setup process of Android Studio to setup the SDK. Make sure to install the build-tools and platform for Android >= 28. In addition to the SDK platform, the following SDK tools need to be installed:
- Android SDK Build-Tools
- Android SDK Platform-Tools
- NDK version 21.x (version 22.x is not supported by
gomobileyet) - CMake
If you're using the SDK Manager of Android Studio: you can find specific versions for Build-Tools by enabling the option
Show Package Details. -
Update your environment. You installed the Android SDK in the previous step, but you will still need to update your
PATHto make sure you can access the utilities provided and to make sure that flutter keeps working, you will need to export anANDROID_HOMEenvironment variable:echo 'export ANDROID_HOME="/YOUR/PATH/TO/android-sdk"' >> "$HOME/.bashrc" echo 'export PATH="$ANDROID_HOME/tools:$ANDROID_HOME/platform-tools:$PATH"' >> "$HOME/.bashrc" -
Download Flutter from the download page and follow their installation steps. Make sure to update your $PATH again.
-
Run
flutter doctorto see what steps remain to get a fully operational development environment for flutter (this may include accepting the android licenses). At this point you could also download your development environment. -
Install Go from the Go download page or by using your OS package manager.
-
Run (somewhere outside of your
irmamobilecheckout)go get golang.org/x/mobile/cmd/gomobileto install gomobile and then rungomobile initto initialize gomobile. -
Create the irmagobridge:
./bind_go.sh. -
Start an emulator or connect a device via USB and run the flutter project:
flutter run. You can also use Android Studio or Visual Studio Code for this step. On Android, sometimes the build flavor is not picked up automatically. This can be identified when the flutter tool cannot find the generated apk after building. In this case runflutter run --flavor alpha. In case you run the flutter project via Android Studio, you can specify the build flavor in the run configuration. On iOS, no custom flavor should be specified. -
You can use
flutter run -tto run different app configurations, for example runflutter run -t lib/main_prototypes.dartto start the app in the prototypes menu.
This project uses json_serializer. To re-generate serialization code, run ./codegen.sh
- Have you checked out the two submodules of this repository? If
find ./irma_configurationis empty, this is the case. - If something has changed in the
irmagobridgeor inirmagothen rerunning./build_go.shis required. - In case you get the warning that the
ndk-bundlecannot be found, please set theANDROID_NDK_HOMEenvironment variable to the right ndk version directory. These version directories can be found in$ANDROID_HOME/ndk. For example, you have to specifyexport ANDROID_NDK_HOME=$ANDROID_HOME/ndk/21.1.6352462. You can also make a symlink inANDROID_HOMEby doingln -s $ANDROID_HOME/ndk/<NDK_VERSION> $ANDROID_HOME/ndk-bundle. In here<NDK_VERSION>should be replaced with the NDK version you want to use.
-
Install Java JDK 8, using a package manager or by manually downloading one. Once installed, you will also have to set the
JAVA_HOMEenvironment variable. For a Debian based OS you can use:sudo apt install openjdk-8-jdk export JAVA_HOME=/usr/lib/jvm/java-8-openjdk-amd64 echo 'export JAVA_HOME=/usr/lib/jvm/java-8-openjdk-amd64' >> "$HOME/.bashrc"Starting from Debian Buster OpenJDK version 8 is no longer available, but it is currently the only version of Java fully supported by the Android SDK. You can use the AdoptOpenJDK community apt repository:
 wget -qO - https://adoptopenjdk.jfrog.io/adoptopenjdk/api/gpg/key/public | sudo apt-key add -
 sudo add-apt-repository --yes https://adoptopenjdk.jfrog.io/adoptopenjdk/deb/
 sudo apt update
 sudo apt install adoptopenjdk-8-hotspot
For MacOS, you can use homebrew to install java 8:
brew cask install adoptopenjdk/openjdk/adoptopenjdk8
export JAVA_HOME=`/usr/libexec/java_home -v 1.8`
echo 'export JAVA_HOME=`/usr/libexec/java_home -v 1.8`' >> "$HOME/.bashrc"


