


Midi Sandbox (MS) is a free collection of midi responsive widgets made for musicians, teachers, and students. The original idea for this project was to experiment with the many ways that midi can be used in combination with other web technologies to enhance music education. MS is structured to scale to support as many widgets as possible while allowing users to completely customize their own templates by choosing which widgets they want to use and how to arrange them. Consequently, there is no right or wrong way to use Midi Sandbox, but if you want to get some ideas you can check out the tutorials on our home page or Youtube channel.
This public repo (MIT license) contains the core of Midi Sandbox with some missing features that you might find on midisandbox.com, such as the audio player for the Sheet Music widget. However, this code still functions as a standalone web app and all updates to it will be merged into the full-featured web app that you see on our website.
If you just want to help out in general you can give us a ⭐ on Github.
Have an idea about how to improve Midi Sandbox, or a topic you want to discuss? Create a post on our Discussions page, and if it fits into our roadmap we will add it to our list of Issues.
Found an existing bug? You can go ahead to the Issues page directly and create a post there.
Feel free to fork this repo and experiment all you want, but if you have a specific idea you want to contribute, please create a new post in the Discussions page mentioned above. This way we can make sure it's something we'd like to add to this repo before you spend the time to work on the pull request, and we can give you some pointers on what sections of the code to modify.
Alternatively, take a look at our Issues page and find something that you'd like to work on, but make sure to comment and check if someone has already started on it.
Please follow this workflow for forking the repo, working on your own branch, and submitting a pull request.
If you want to contribute code and potentially add your own widgets to MS, then you should have a solid understanding of Typescript and React. It is also helpful to have a basic understanding of Redux since you will likely be using existing redux selectors to get the state of midi notes (demonstrated in the ExampleWidget below). MUI is used for our component library, so if you plan to contribute code to MS please make sure you are using MUI components to keep the style consistent.
In this video I go over how to setup your development environment and implement your own widget.

- Install the amplify cli and create a user to use for midisandbox development. This is necessary to automatically generate the api, storage, and auth resources in AWS which will be used for your personal development environment. Visit this link if you want to learn more about the below amplify commands, and check backend-config.json to see exactly what resources will be created in your AWS account.
- clone the MidiSandbox repo
cd MidiSandboxamplify initamplify statusamplify push -ynpm installnpm start- visit http://localhost:3000/ in your browser
Once you have the code running in your local environment, the best way to get started is to select your midi device in the global settings (or use a Midi File Player illustrated here) and then select the Example Widget. All of the code for this widget can be found in ExampleWidget.tsx, which demonstrates the redux selectors and utility functions that you can use to easily build your own midi responsive widget.
Every file in the src/components/widgets folder whose name ends with "Widget.tsx" and exports an object with the WidgetModule type will automatically be imported in other MS components and rendered as an option in the Widget selector in the UI.
interface WidgetModule {
  // the name of the option that will appear in the Widget selector
  name: string;
  // the widget component that will be rendered in the block
  Component: React.ComponentType<any>;
  // an optional component for handling settings specifically related to this widget
  SettingComponent: React.ComponentType<any> | null;
  // the default settings for the widget (if using SettingComponent)
  defaultSettings: {};
  // an optional component for rendering buttons that appear when hovering the widget
  ButtonsComponent: React.ComponentType<any> | null;
  // a list of additional settings to include in the side panel for the widget (such as Midi Input)
  includeBlockSettings: BlockSettingComponent[];
  // used to determine the sorting of the widget names in the Widget selector
  orderWeight?: number;
}
So, all you have to do to start implementing your own widget is create a copy of the ExampleWidget folder, rename the folder and the files in it to whatever you want (like MyWidget), and change the 'name' prop of the default export in MyWidget.tsx. Now you are able to select your new widget in the UI and you can use the example redux selectors and utility functions provided to implement whatever you want.
TonalJS - This library provides a lot of Typescript functions for manipulating tonal elements, and mapping midi to music theory concepts such as intervals, chords, scales, modes, and keys.
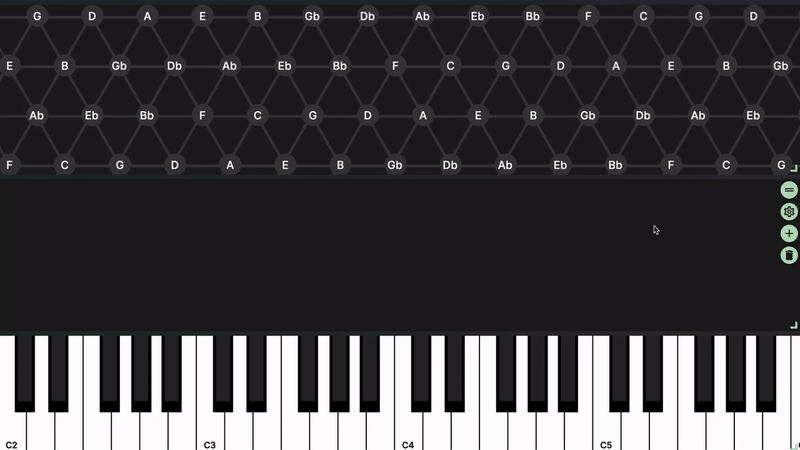
PixiJS - This is used to render the Tonnetz and Piano widgets so far, and it can pretty much render anything if you know how to use PixiJS well. Lots of potential to animate different widgets based on things like note velocity and bpm.
WEBMIDI.js - This is pretty much the backbone of Midi Sandbox when it comes to sending I/O to midi devices. If you want to change something about the midi events sent between a midi device and MS then you will want to dig into this library.