TODO: Link to introduction to GitHub OAuth article with an overview of the OAuth process, motivations behind using GitHub OAuth vs GitHub Apps, and links to this and other guides.
This is a quickstart guide to GitHub OAuth authentication using:
- Ruby
- The Sinatra web framework
- Octokit - a Ruby client for the GitHub REST API (makes interacting with GitHub data easier)
To demonstrate the OAuth process, we're going to:
- Set up a basic web server with Sinatra
- Register a new OAuth Application on GitHub.com
- Authenticate a user into our Sinatra app using GitHub's OAuth API
- Use Octokit to retrieve this user's information from GitHub
First, go ahead and clone the starter code from the OAuth Ruby Quickstart Guide repository.
This repository contains 3 files that we'll be working with:
server.rb - Our Sinatra webserver
views/index.erb - The webpage users will see before 'Signing in with GitHub'
views/profile.erb - The webpage users will see after authenticating with GitHub OAuth. This page will display their profile photo, along with other user information
P.S.(erb is a Ruby templating language which allows us to build HTML pages and pass in application data to be displayed on the page)
To fire up our webapp, open a terminal and run the following command from the project directory.
$ ruby server.rb
You should see a message that 'Sinatra has taken the stage'

We can now visit http://localhost:4567 to see our webpage.
You should see something like this:
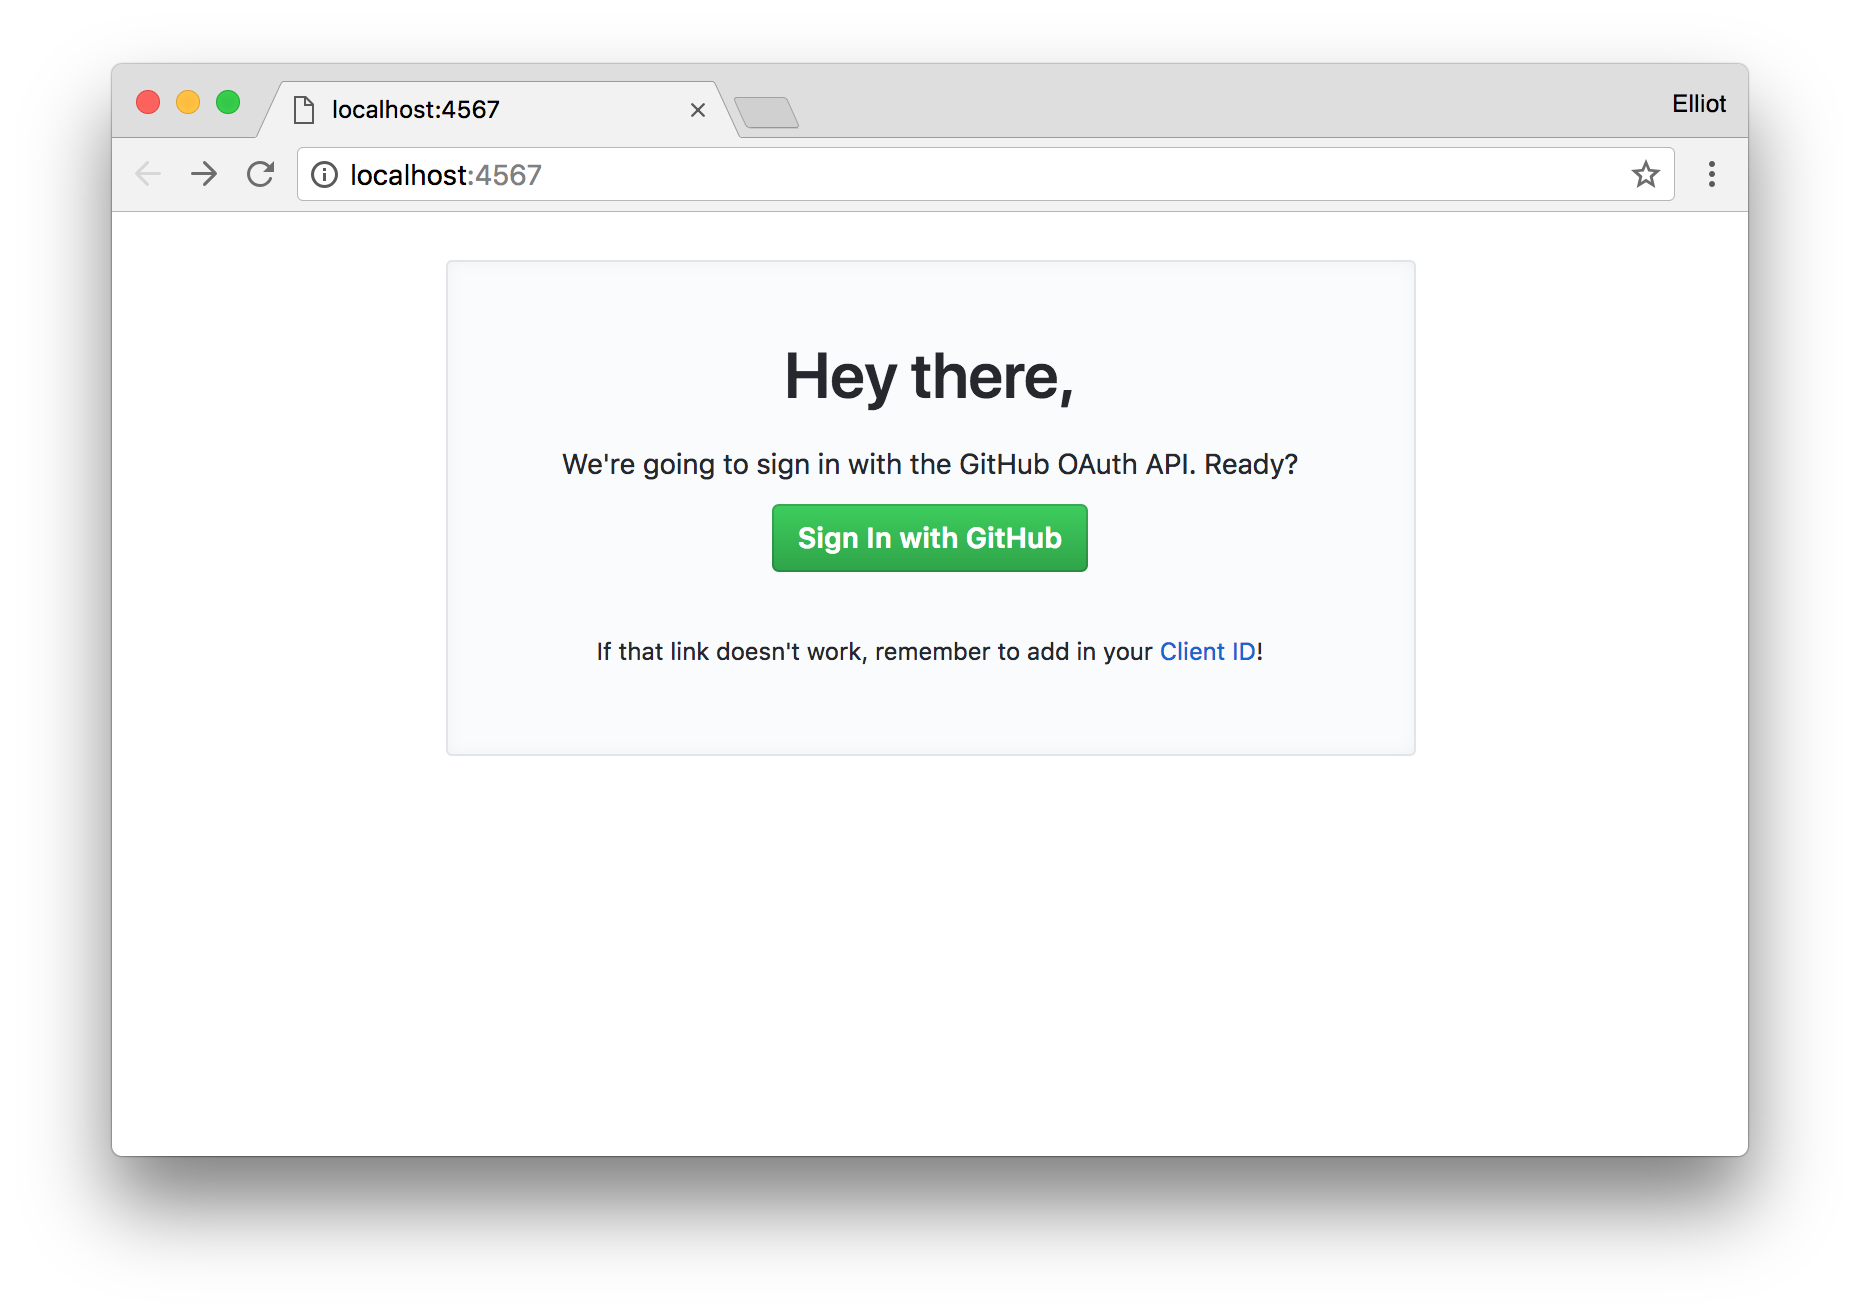
Our Sinatra app is up and running, but clicking that green Sign In button won't work yet. First, we need to register a new GitHub OAuth Application.
Head on over to your Developer Settings and register a new OAuth Application.

You'll find the following fields:
Application name - This must be unique among all GitHub OAuth Applications.
Homepage URL - If you don't have a homepage for your application yet, just use your GitHub profile: https://github.com/<YOUR_USER_NAME> (don't forget the https://).
Application description - Explain to future users what this OAuth Application is used for.
Authorization callback URL - GitHub needs to know where to redirect users after a successful OAuth authorization. For this app, the user should be redirected to the /profile view in our server.rb file. Since we're still working locally, we can actually use the localhost url from step #1: http://localhost:4567/profile.
Now for the fun stuff.
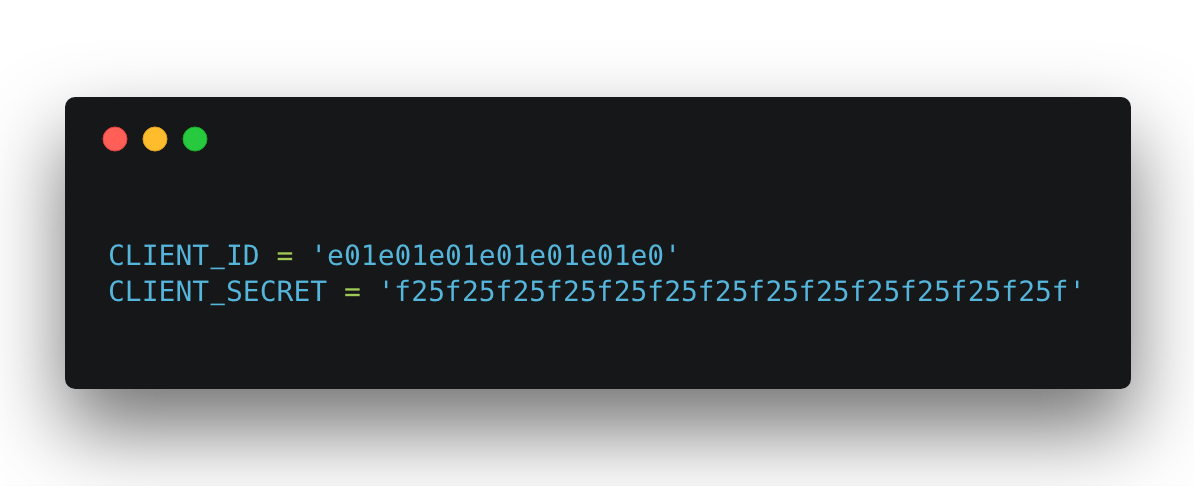
After registering your OAuth Application, you should see your Client ID and Client Secret. They'll look something like this:

Copy the Client ID and Client Secret into their respective places in the server.rb file.
Given the example above, the code would look like this:
With that set up, we're ready to authenticate a user with GitHub's OAuth API.
With the Sinatra app running, go ahead and visit localhost:4567 again. This time, clicking the Sign In with GitHub button should take you to an authorization page:
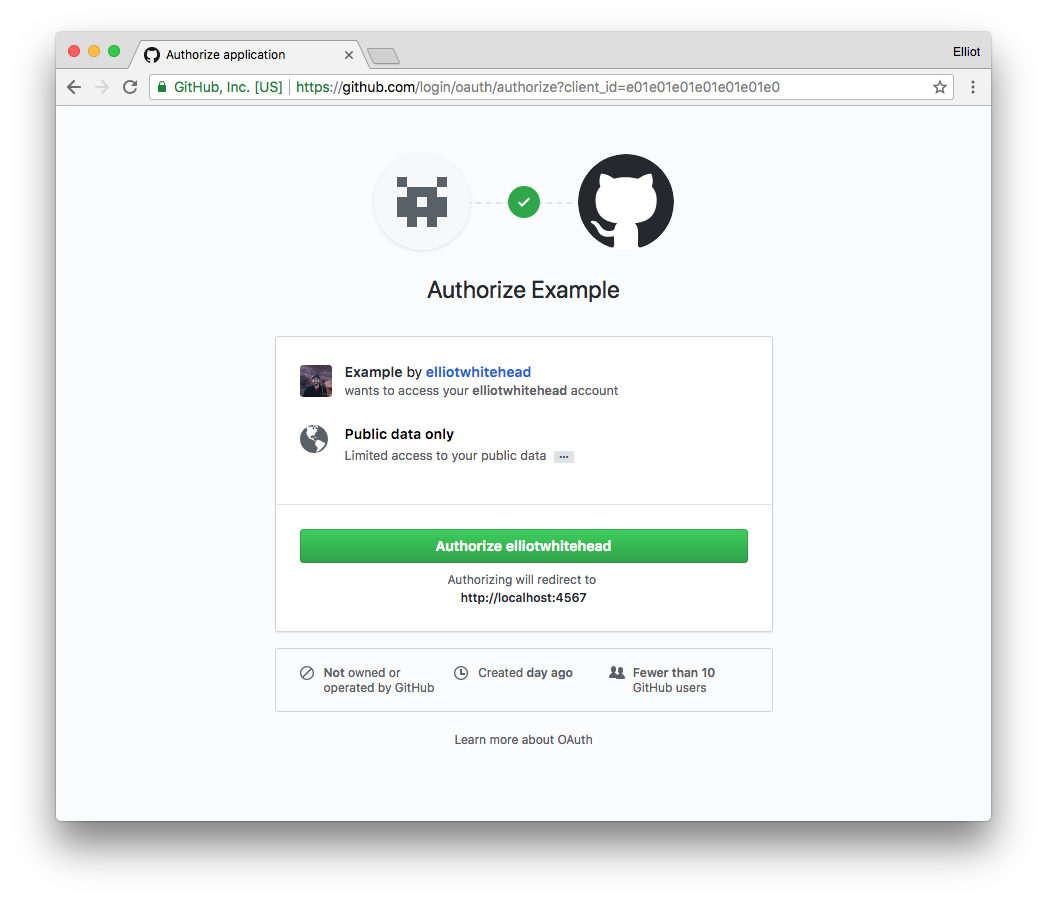
This is where users grant your OAuth Application permission to access their data. As you can see, we're only requesting public data right now.
If you look at the URL in the address bar, you'll see your Client ID. On the previous page, the Sign In with GitHub button was in fact a link to an OAuth Authorization page, with your Client ID as a parameter. Sinatra built this link for us when we passed the CLIENT_ID into the index.erb template on line 24 of server.rb. Sinatra then interpolated our Client ID into the OAuth API link on line 15 of index.erb.
Go ahead and Authorize the Application access to your GitHub account data, and you should be redirected to your callback page: /profile.

After a successful Application authorization, GitHub provides us with a temporary authorization grant code (see it in the URL up there?). We need to POST this code to the's /login/oauth/access_token endpoint to recieve an access_token The access token is what grants us access to the account data that we want to display.
To simplify the process of POSTing the authorization grant code back to GitHub, we'll use the rest-client Ruby gem.
First, let's update our /profile view to retrieve the temporary authorization grant code. We'll use Sinatra's built in webserver interface, Rack to grab the code from the session data.
get '/profile' do
    # Retrieve temporary authorization grant code
    session_code = request.env['rack.request.query_hash']['code']

    erb :profile
end
Now that we have the authorization grant code, let's use rest-client to POST it back to GitHub along with our CLIENT_ID and CLIENT_SECRET in exchange for our access_token.
The https://github.com/login/oauth/access_token endpoint expects the following parameters:
| Name | Type | Description |
|---|---|---|
client_id |
string |
Required. Your GitHub OAuth Application Client ID |
client_secret |
string |
Required. Your GitHub OAuth Application Client Secret |
code |
string |
Required. The authorization grant code returned after Application authorization |
Let's also use the request header :accept to let the API know that we'd like a JSON formatted response.
get '/profile' do
    # Retrieve temporary authorization grant code
    session_code = request.env['rack.request.query_hash']['code']

    # POST Auth Grant Code + CLIENT_ID/SECRECT in exchange for our access_token
    response = RestClient.post('https://github.com/login/oauth/access_token',
                    # POST payload
                    {:client_id => CLIENT_ID
                    :client_secret => CLIENT_SECRET
                    :code => session_code},
                    # Request header for JSON response
                    :accept => :json)

    erb :profile
end
The API's response to our POST request will include the access token in a field called access_token in the response variable. Now we just need to parse out the access token.
    #Parse access_token from JSON response
access_token = JSON.parse(response)['access_token']Now that we finally have our access token, we can start acessing user data via the GitHub API. Instead of manually calling / handling our own REST request / responses to the API, we can save some time and effort by using GitHub's official Ruby library, Octokit.
First, we need initialize the Octokit client by passing it our access token Octokit::Client.new(:access_token => access_token). After that, the user data associated with our access_token is available as client.user. We can now access any of the user data properties available from the v3 REST API.
Here is the entire function, with the call to Octokit:
get '/profile' do
    # Retrieve temporary authorization grant code
    session_code = request.env['rack.request.query_hash']['code']

    # POST Auth Grant Code + CLIENT_ID/SECRECT in exchange for our access_token
    response = RestClient.post('https://github.com/login/oauth/access_token',
                    # POST payload
                    {:client_id => CLIENT_ID,
                    :client_secret => CLIENT_SECRET,
                    :code => session_code},
                    # Request header for JSON response
                    :accept => :json)

    # Parse access_token from JSON response
    access_token = JSON.parse(response)['access_token']

    # Initialize Octokit client with user access_token
    client = Octokit::Client.new(:access_token => access_token)

    # Create user object for less typing
    user = client.user

    # Access user data
    profile_data = {:user_photo_url => user.avatar_url,
                    :user_login => user.login,
                    :user_name => user.name,
                    :user_id => user.id }

    # Render profile page, passing in user profile data to be displayed
    erb :profile, :locals => profile_data
end
All of the template locals we'd like to use are packaged up in profile_data and will be availble on the profile.erb page.
Now we just need to add in the erb partials in profile.erb to display the data.
<body>
    <div class="p-5">
        <div class="blankslate blankslate-narrow p-9">
            <img src="<%= user_photo_url %>" />
            <h3>
                Hey, <a href="<%= user_url %>">@<%= user_login %></a>!
            </h3>
            <p>
                You are GitHub user #<%= user_id %>
            </p>
            <p class="text-gray alt-text-small">
                Click <a href="https://api.github.com/users/<%= user_login %>">here</a> to see all of
                <br>your public profile data
            </p>
        </div>
    </div>
</body>
The final result should look something like this:

TODO: Discuss challenges in working with scopes and token persistence, and how using GitHub Apps may be a better solution