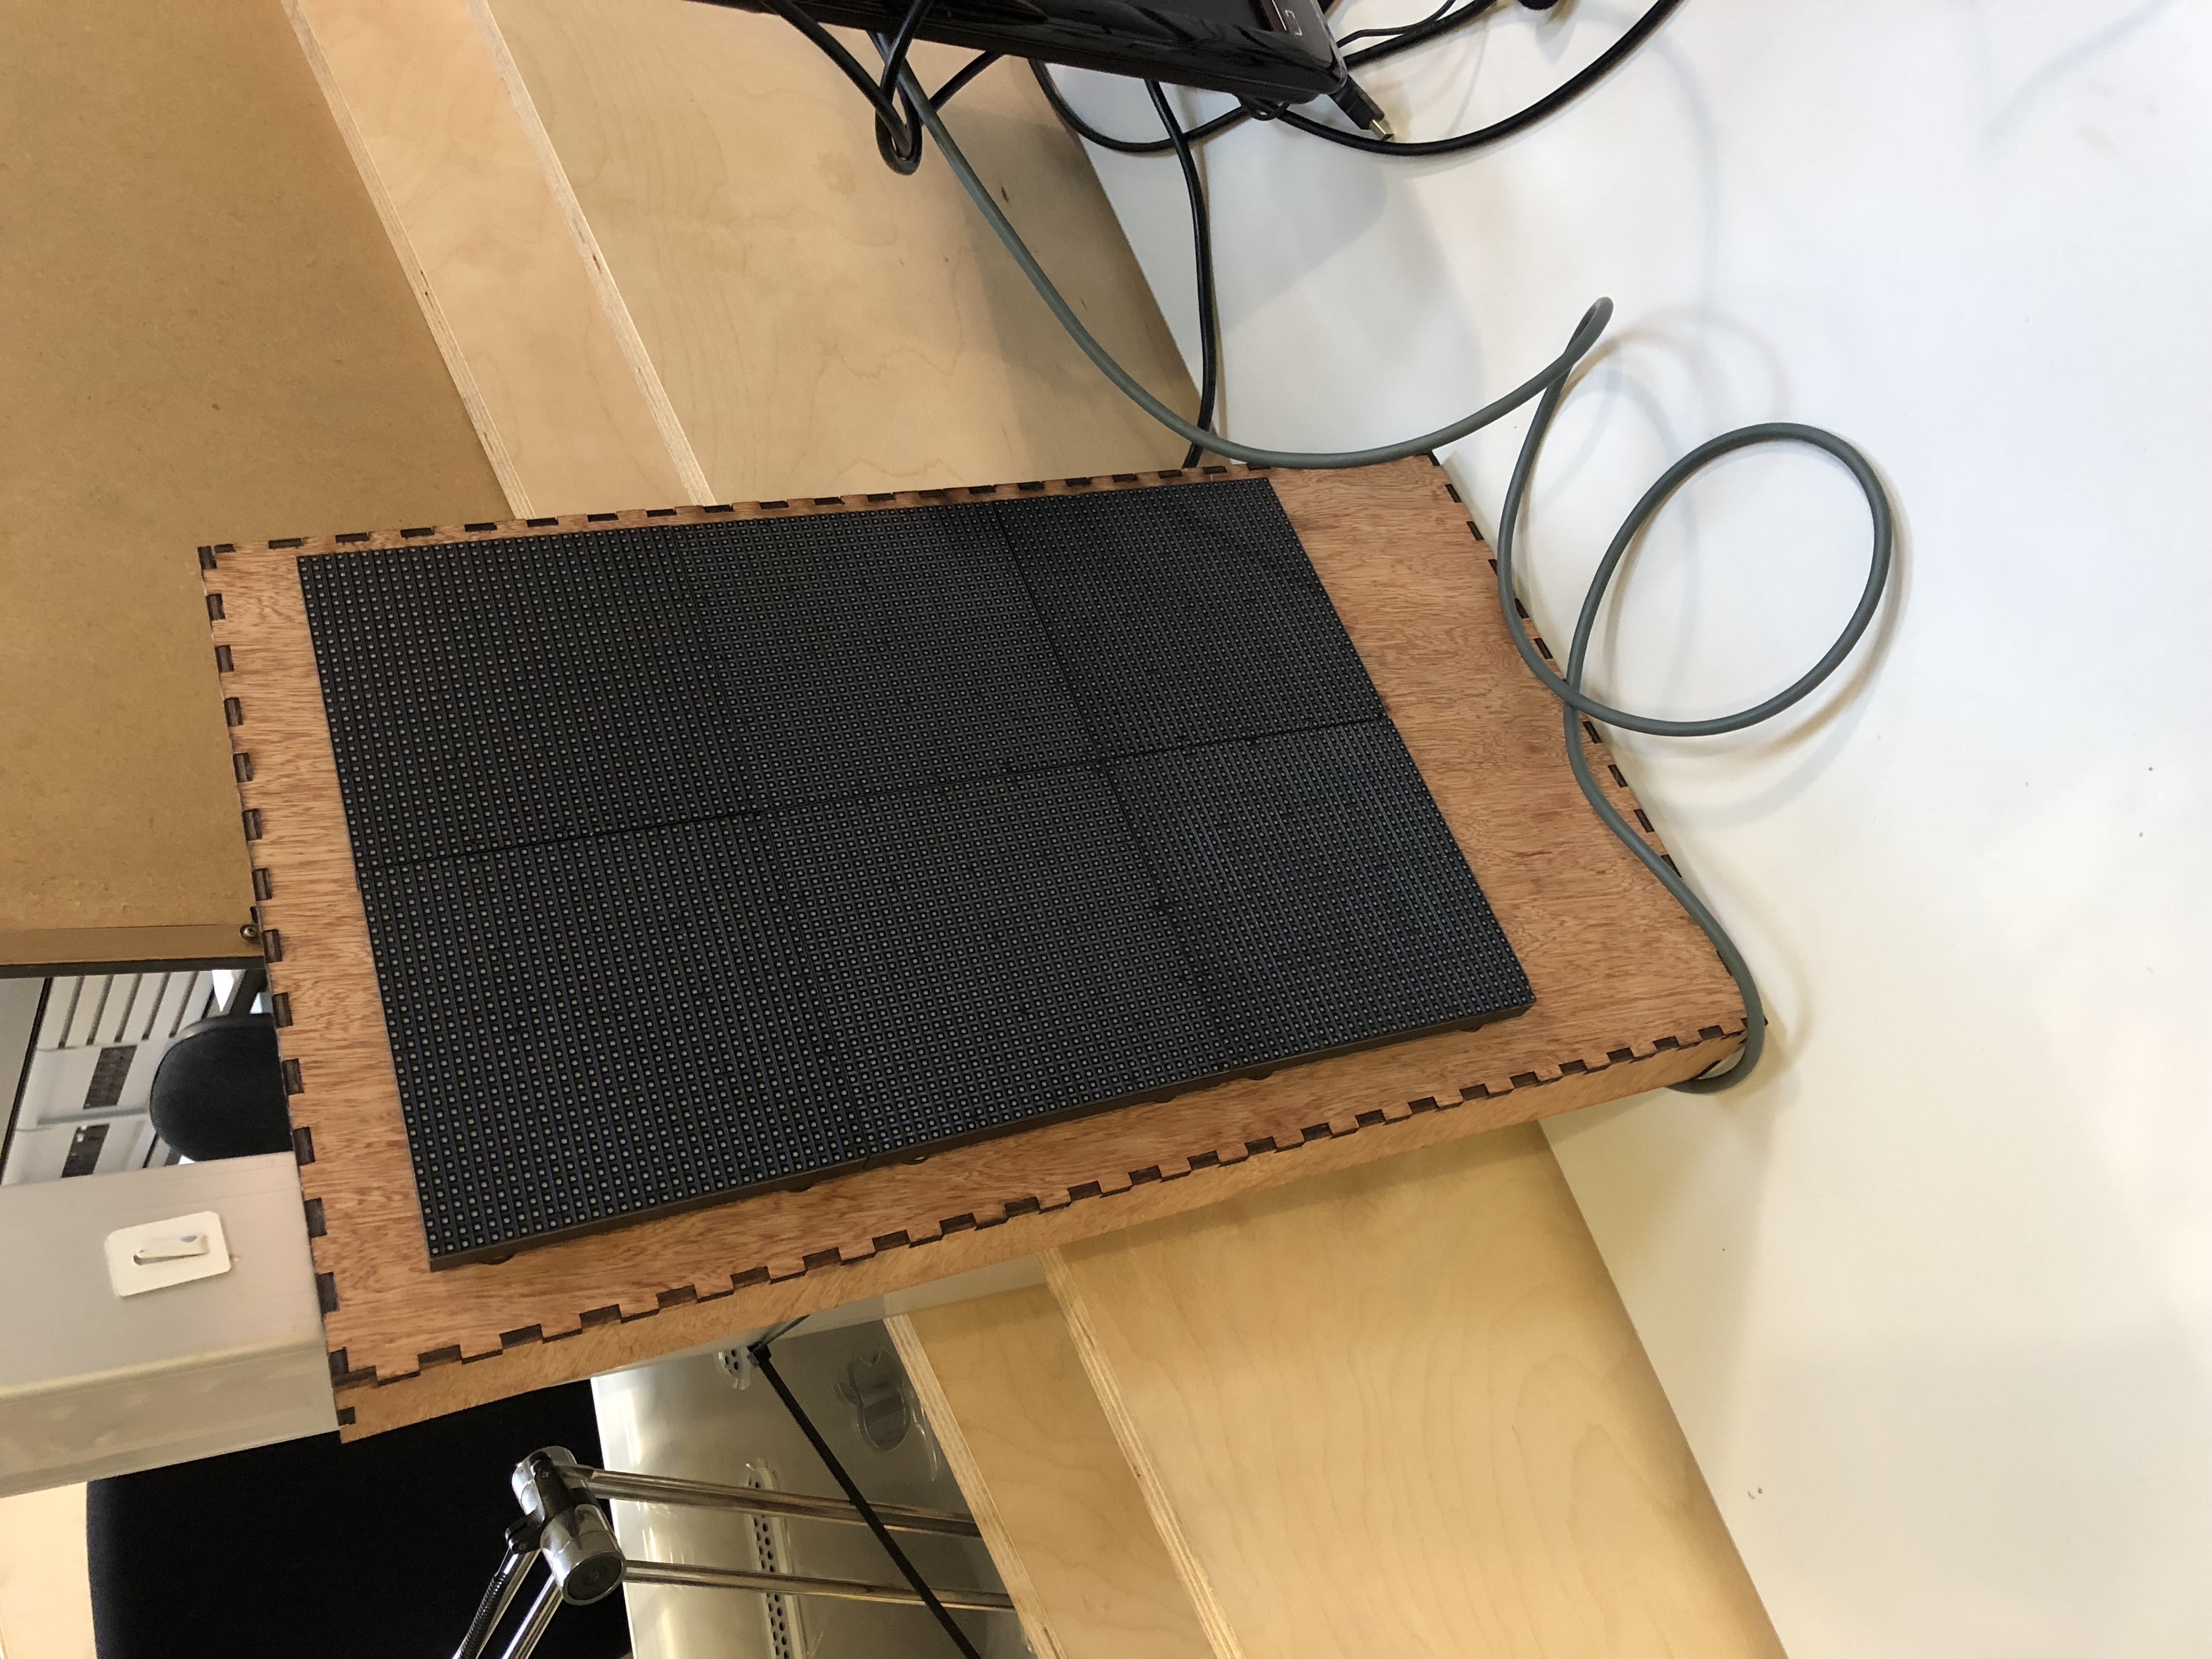
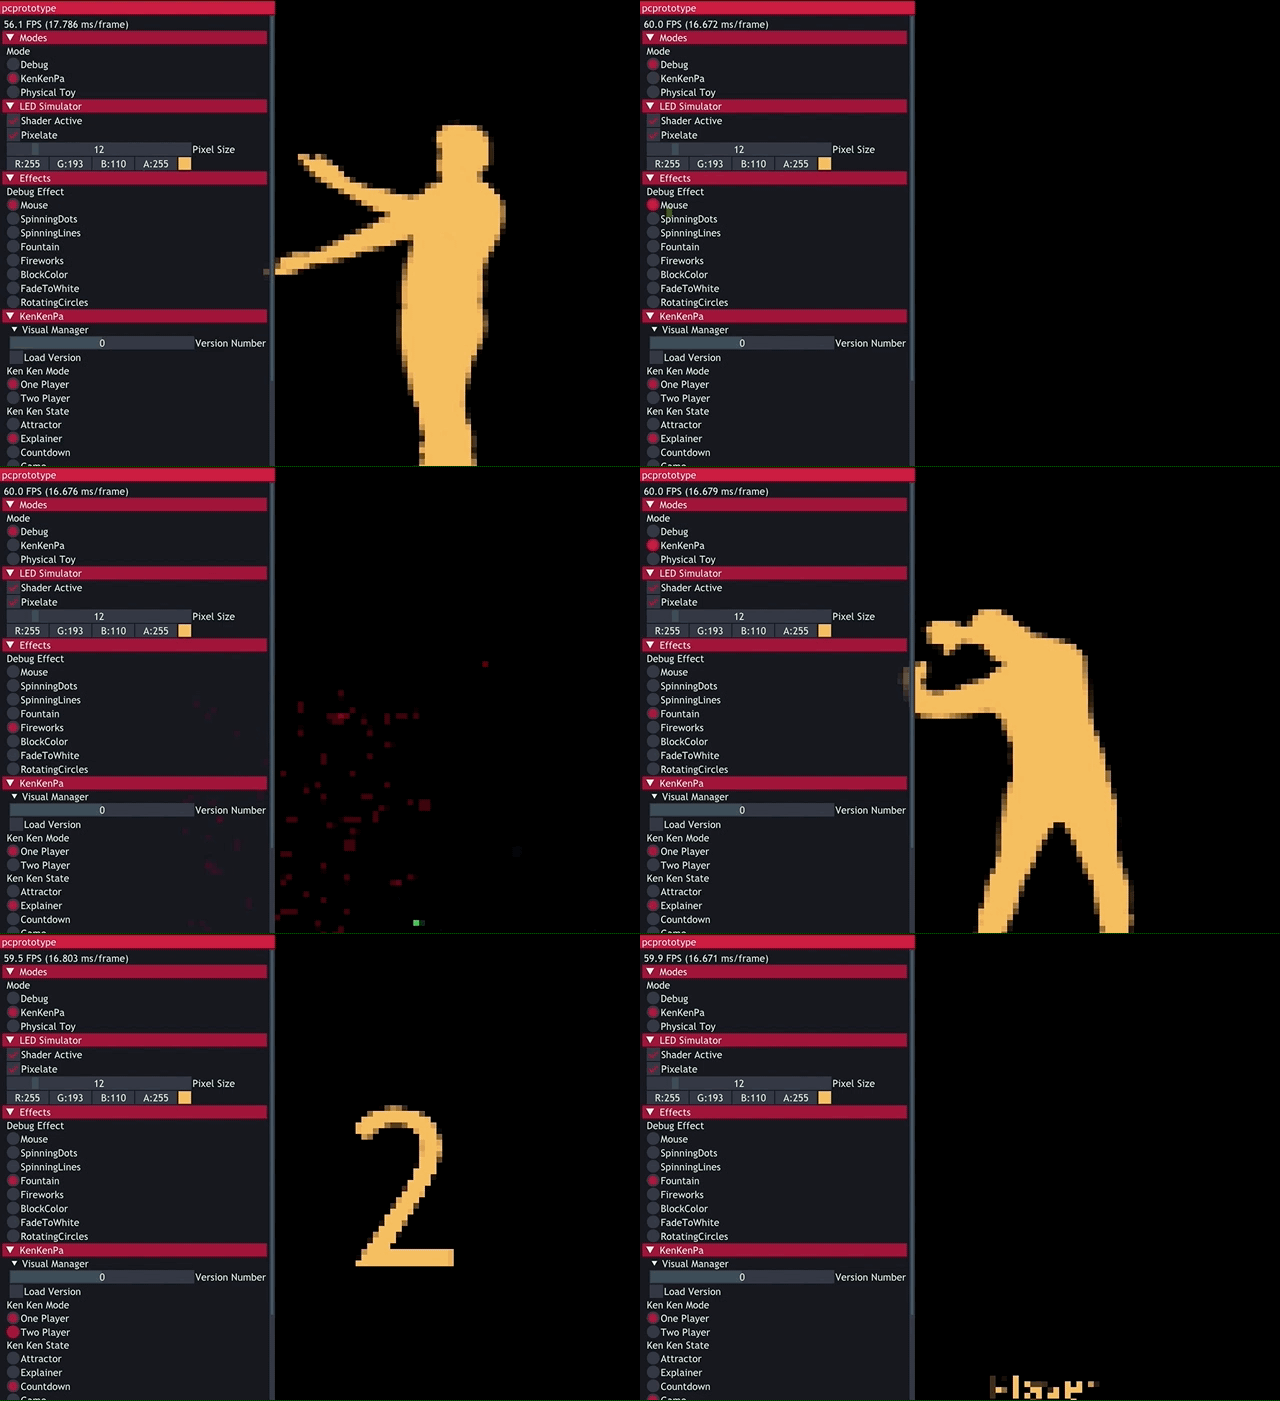
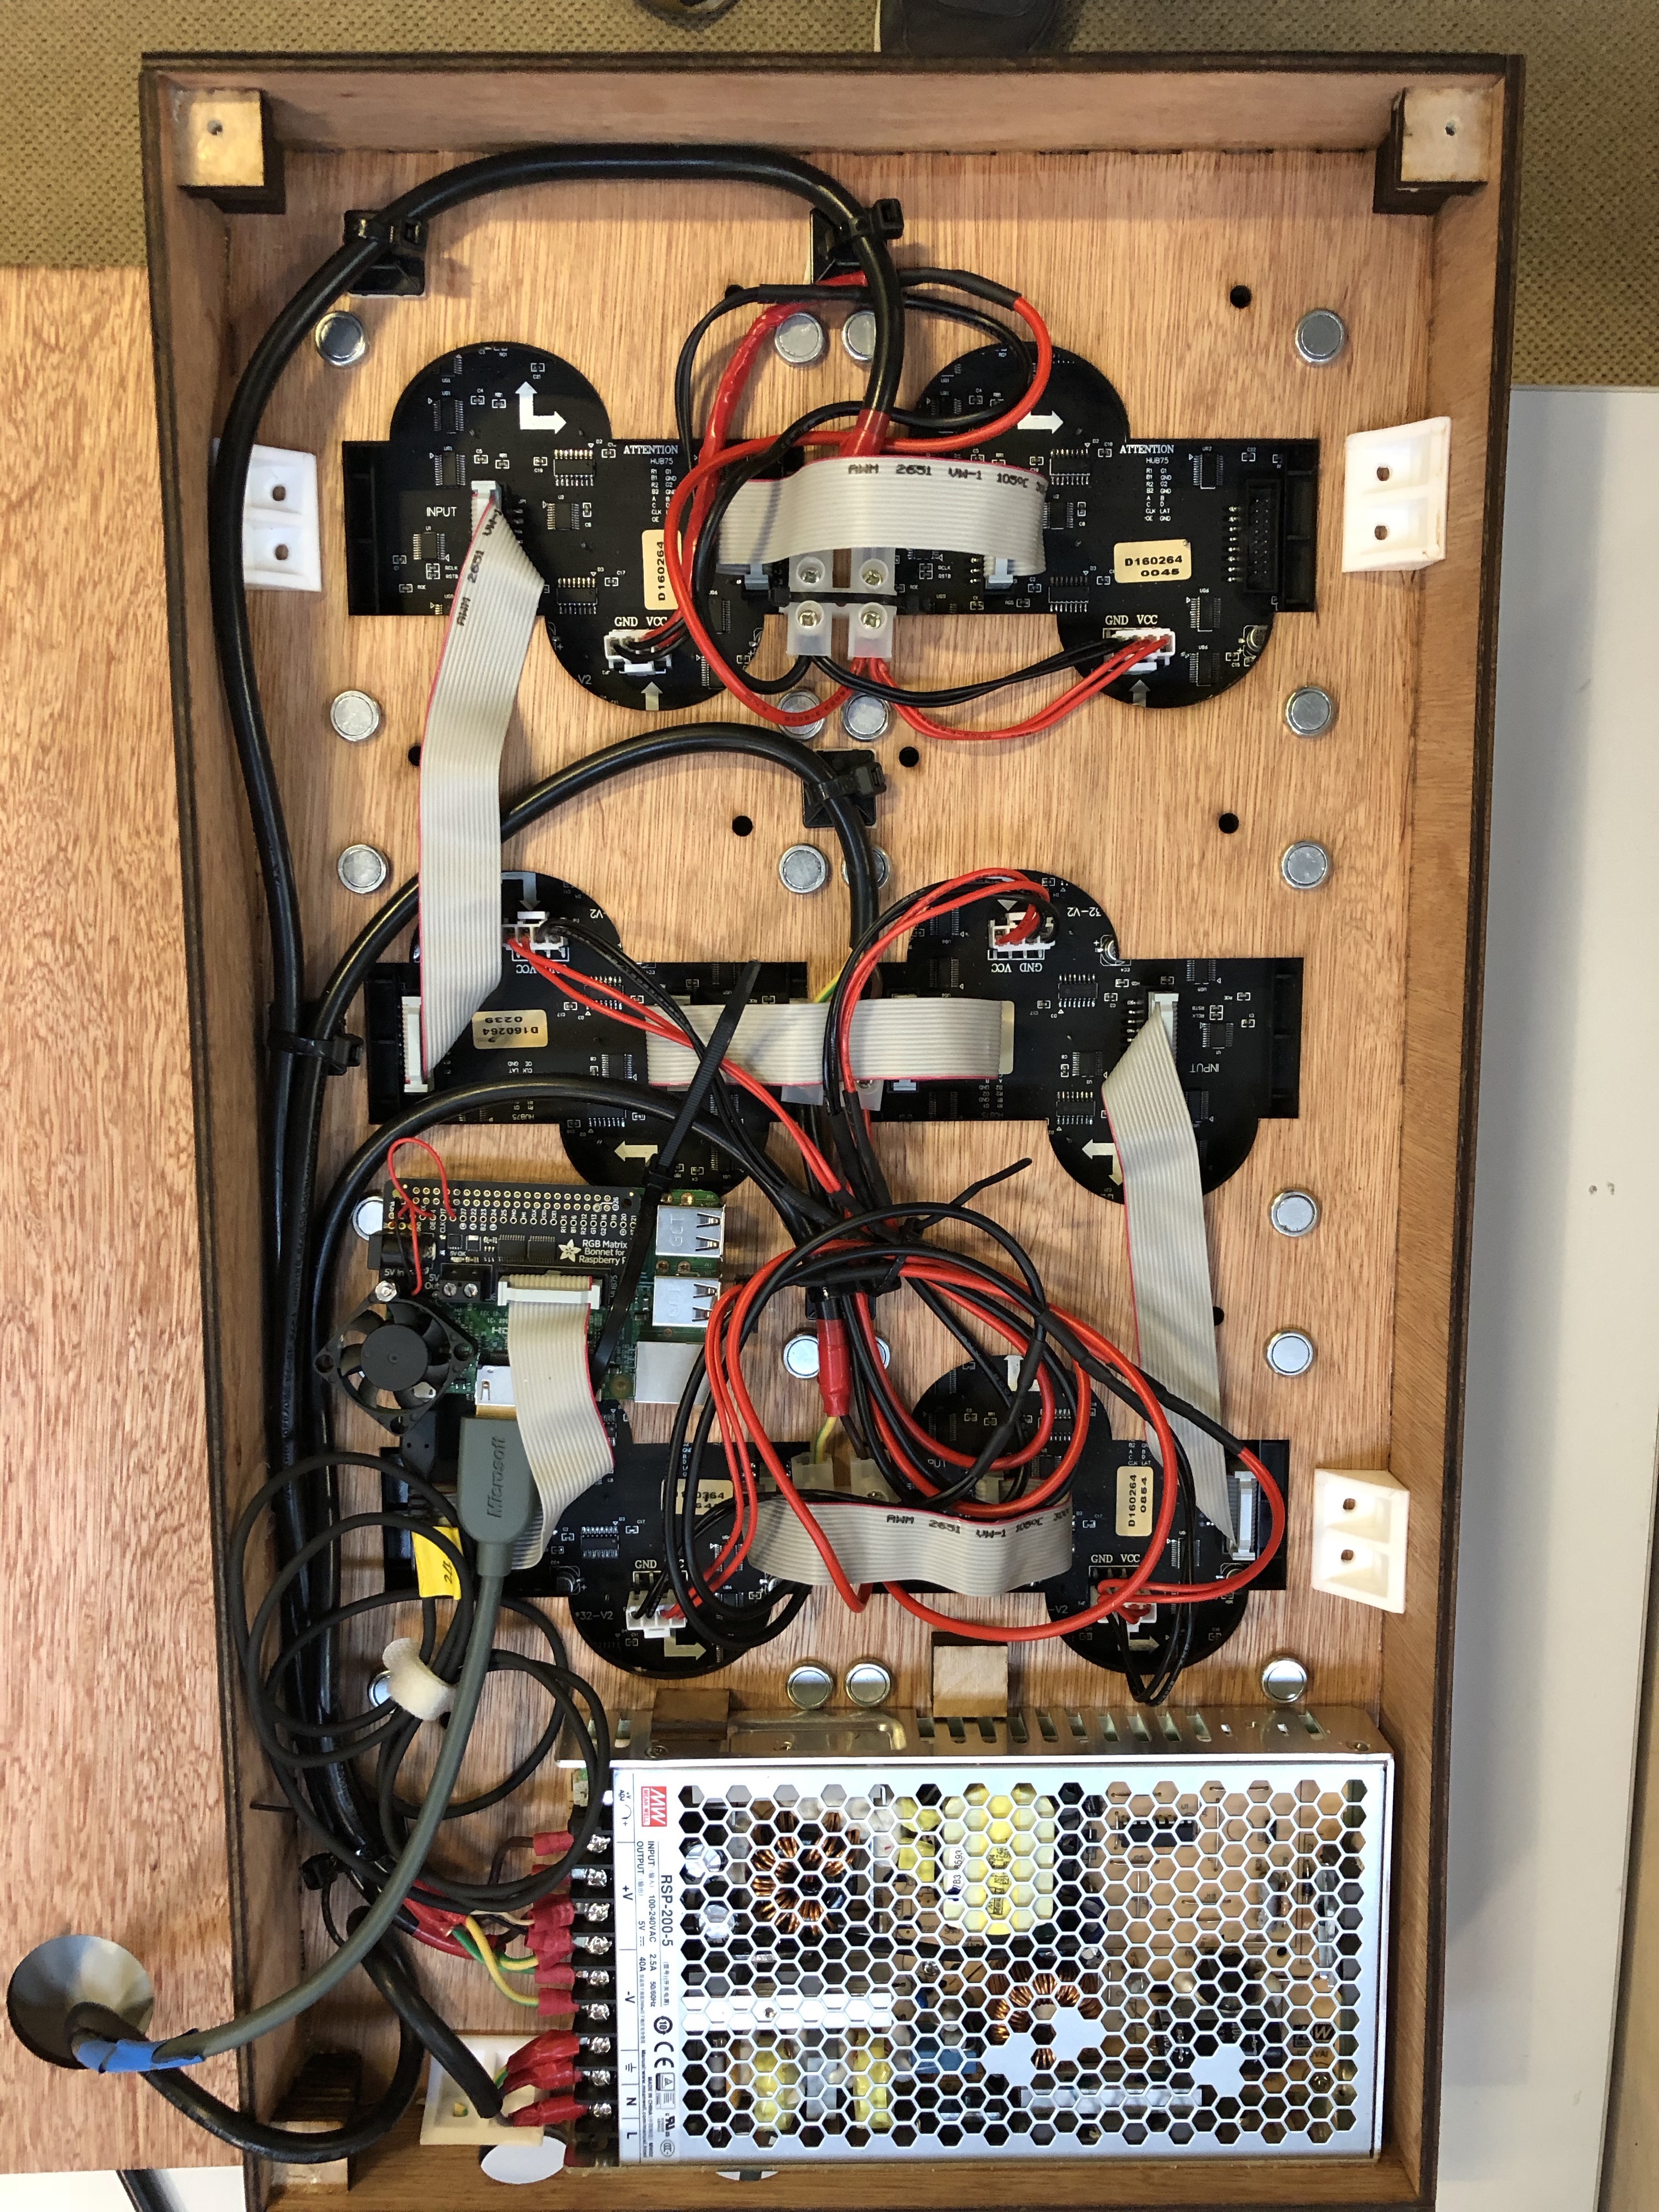
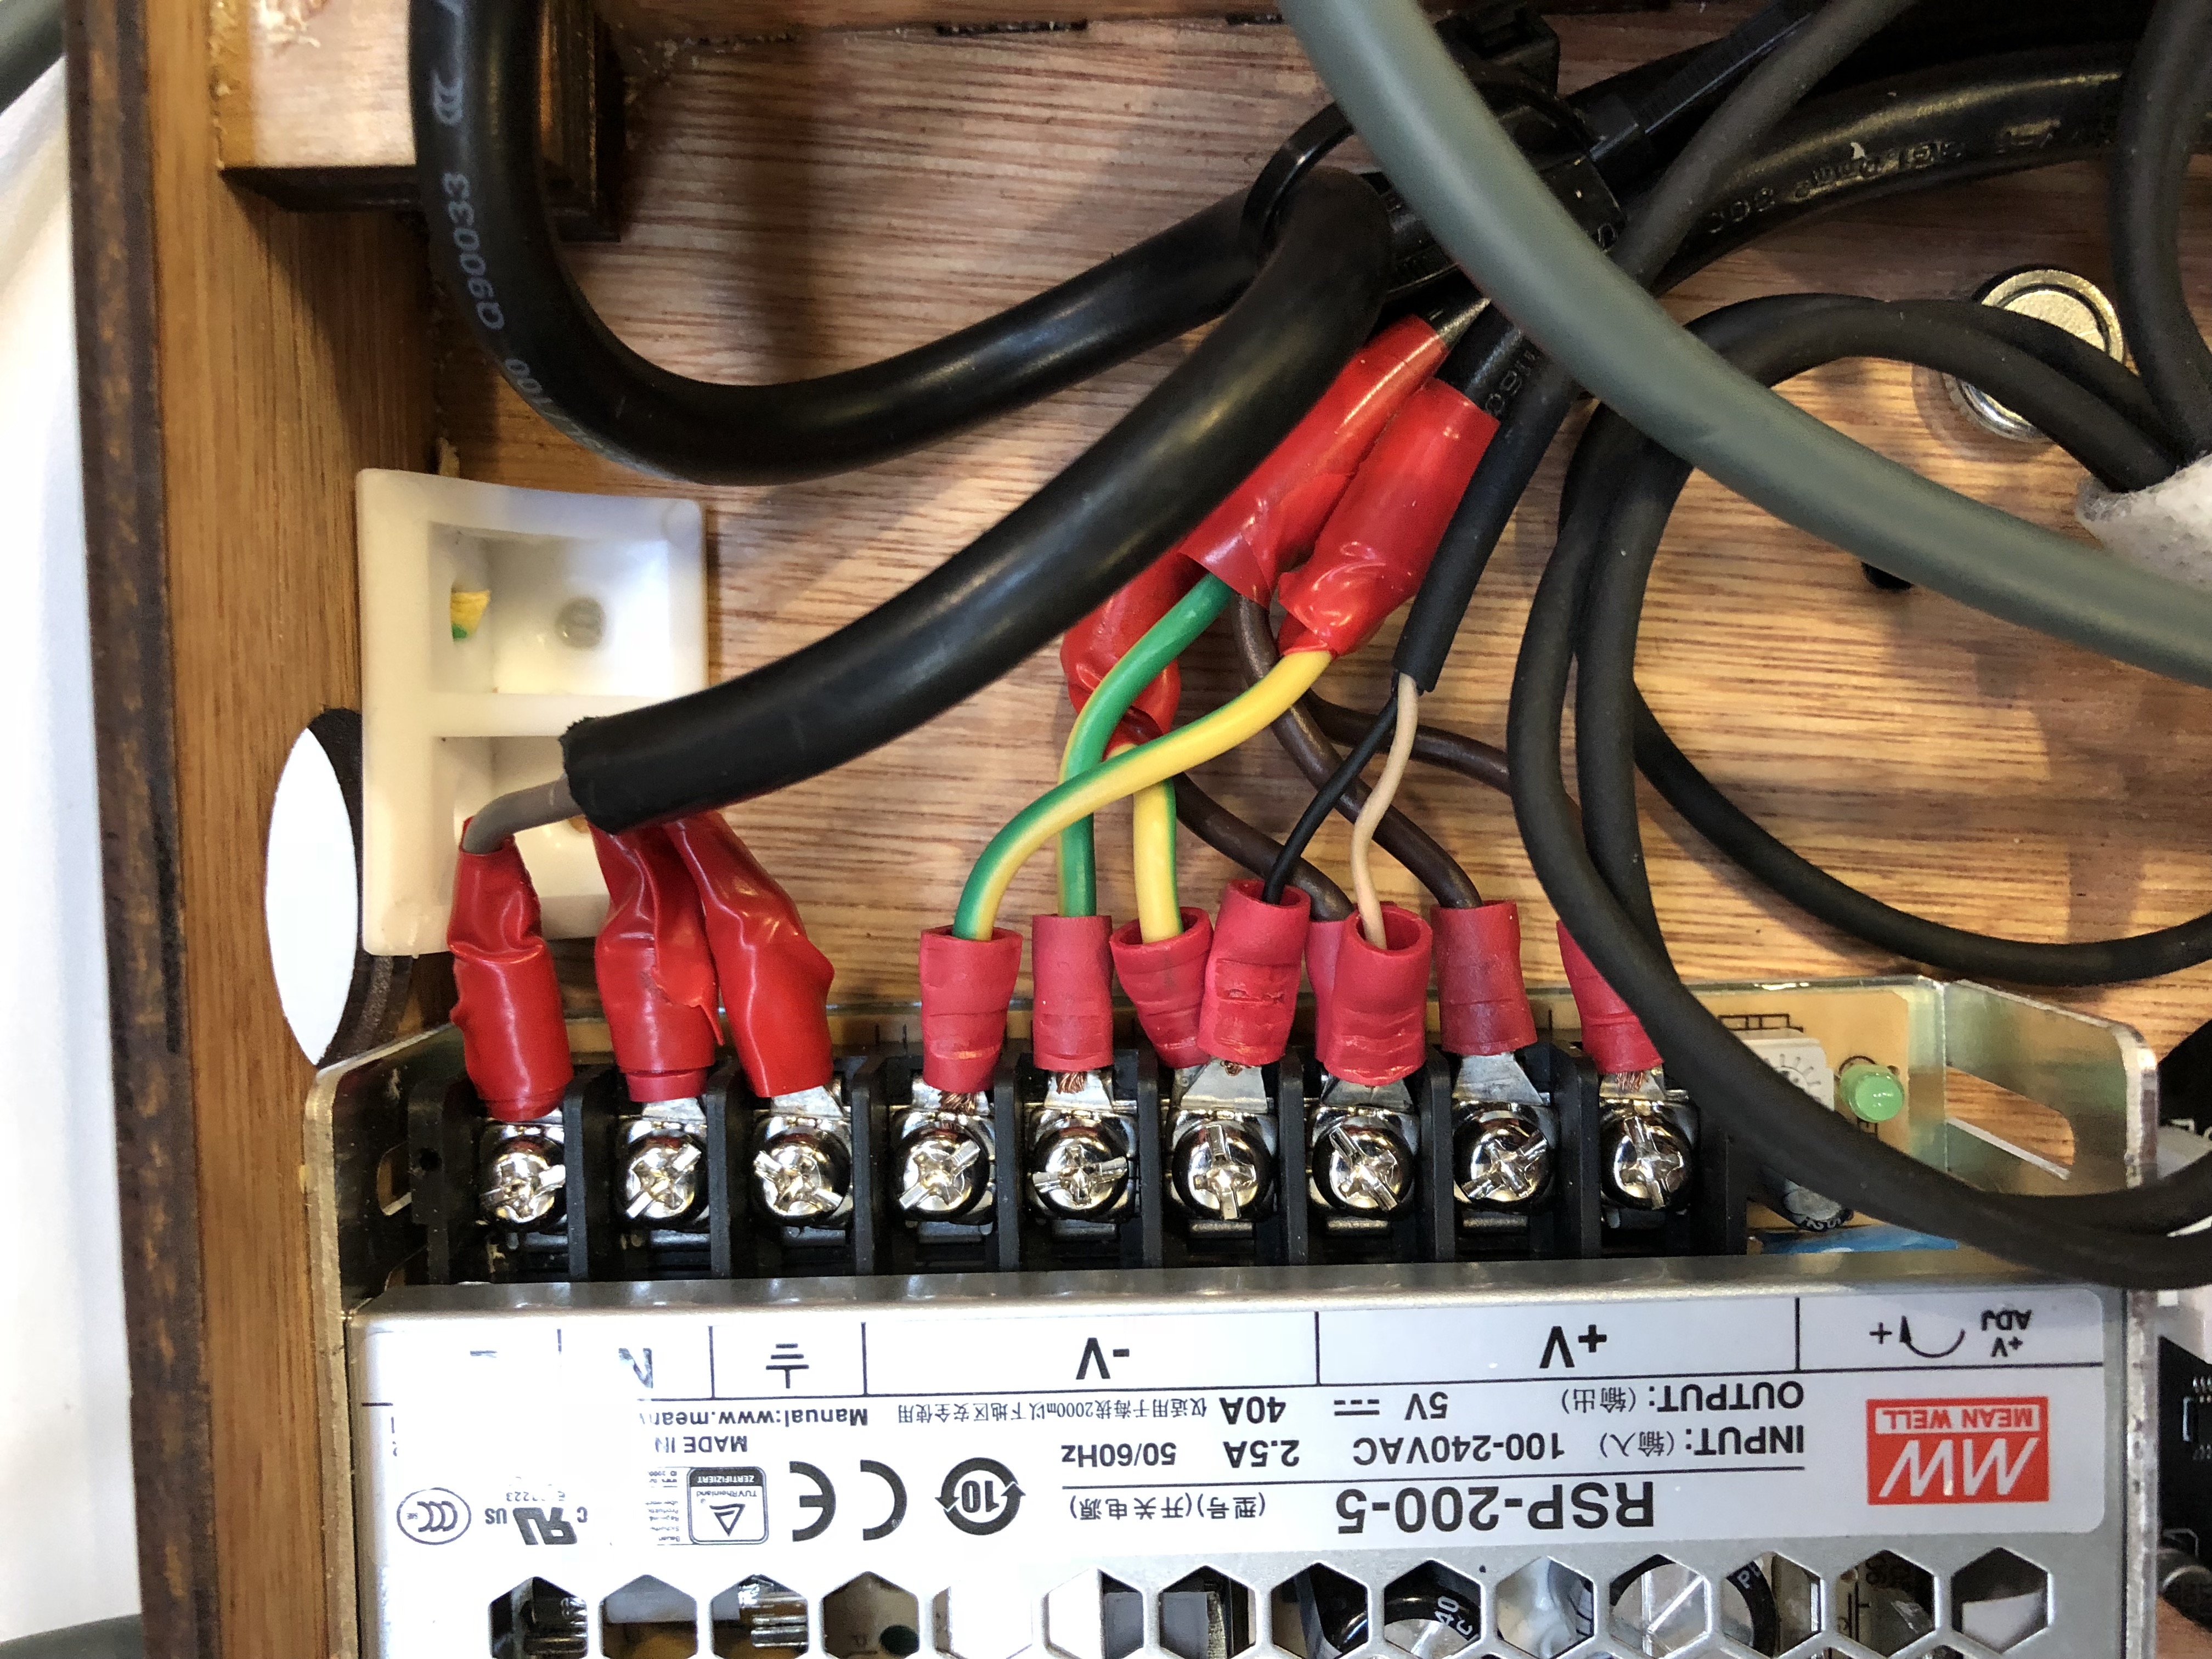
This is the repository for the Playable city prototype for Sophie Samsom. The system takes the screen data and converts it into pixel data which is then displayed onto LED panels.
The Current Key Map for actions.
All other actions handled by the gui.
| Key | ASCII | Purpose |
|---|---|---|
| ESC | 13 | Kills the Application |
| q | 113 | All Stop |
| 1 | 49 | Attractor Mode |
| 2 | 50 | Explainer Mode |
| 3 | 51 | Countdown Mode |
| 4 | 52 | Game Mode |
| 5 | 53 | Reward Mode |
| 7 | 55 | Boost Video 1 |
| 8 | 56 | Boost Video 2 |
| 9 | 57 | Boost Video 3 |
| 0 | 48 | Boost Video 4 |
| l | DNA | Kill Boost Video |
| r | 114 | Start Player One Timer |
| u | 117 | Start Player Two Timer |
| f | 102 | End Player One Timer |
| u | 117 | End Player Two Timer |
| t | 116 | Start Dual Player |
| y | 121 | End Dual Player |
Follow these instructions to setup the raspberry pi for the first time.
- Download and extract a Raspbian Image from the Raspberry Pi Foundation. We are using Stretch 18/04/2018.
- Put a Blank SD Card into your computer.
- Using Etcher or Terminal burn the raspbian image to the SD card. (Etcher handles this for you)
- When this has finished. Open Terminal.
- Do the following commands.
cd Desktoptouch ssh
- Drag and Drop the ssh file onto SD card image. ( This enables ssh for the raspberry pi )
- Plug the Raspberry Pi into a router or add wifi credentials.
- Power on the Raspberry Pi.
- Once booted find its IP address.
- SSH into the Pi.
There are two methods to setting up the RGB Matrix Bonnet.
1./ Simplest
curl https://raw.githubusercontent.com/adafruit/Raspberry-Pi-Installer-Scripts/master/rgb-matrix.sh >rgb-matrix.sh
sudo bash rgb-matrix.sh
2./ Simple
This is copied from the Adafruit tutorial.
- Do a update and upgrade.
$ sudo apt-get update
$ sudo apt-get upgrade
$ sudo apt-get install -y build-essential git libconfig++-dev
- Go to the root directory
cd ~
- Get the source code from Adafruit
$ git clone --recursive https://github.com/adafruit/rpi-fb-matrix.git
$ cd rpi-fb-matrix
$ make clean all
- Go into the matrix configuration file.
nano matrix.cfg
- This is the configuration you will need alter the following lines.
// LED Matrix Display Configuration

// Define the entire width and height of the display in pixels.
// This is the _total_ width and height of the rectangle defined by all the
// chained panels.  The width should be a multiple of the panel pixel width (32),
// and the height should be a multiple of the panel pixel height (8, 16, or 32).

display_width = 64;
display_height = 96;

// Define the width of each panel in pixels.  This should always be 32 (but can
// in theory be changed).

panel_width = 32;

// Define the height of each panel in pixels.  This is typically 8, 16, or 32.
// NOTE: Each panel in the display _must_ be the same height!  You cannot mix
// 16 and 32 pixel high panels for example.

panel_height = 32;

// Define the total number of panels in each chain.  Count up however many
// panels are connected together and put that value here.  If you're using
// multiple parallel chains count each one up separately and pick the largest
// value for this configuration.

chain_length = 6;

// Define the total number of parallel chains.  If using the Adafruit HAT you
// can only have one chain so stick with the value 1.  The Pi 2 can support up
// to 3 parallel chains, see the rpi-rgb-led-matrix library for more information:
//   https://github.com/hzeller/rpi-rgb-led-matrix#chaining-parallel-chains-and-coordinate-system

parallel_count = 1;

// Configure each LED matrix panel.
// This is a two-dimensional array with an entry for each panel.  The array
// defines the grid that will subdivide the display, so for example a 64x64 size
// display with 32x32 pixel panels would be a 2x2 array of panel configurations.
//
// For each panel you must set the order that it is within its chain, i.e. the
// first panel in a chain is order = 0, the next one is order = 1, etc.  You can
// also set a rotation for each panel to account for changes in panel orientation
// (like when 'snaking' a series of panels end to end for shorter wire runs).
//
// For example the configuration below defines this grid display of panels and
// their wiring (starting from the upper right panel and snaking left, down, and
// right to the bottom right panel):
//       ______________    ______________
//      |    Panel     |  |    Panel     |
//      | order  = 5   |<=| order  = 4   |<=\
//      | rotate = 0   |  | rotate = 0   |  |
//      |______________|  |______________|  |
//       ______________    ______________   |
//      |    Panel     |  |    Panel     |  |
//   /=>| order  = 2   |=>| order  = 3   |==/
//   |  | rotate = 180 |  | rotate = 180 |
//   |  |______________|  |______________|
//   |   ______________    ______________
//   |  |    Panel     |  |    Panel     |
//   \==| order = 1    |<=| order = 0    |<= Chain start (from Pi)
//      | rotate = 0   |  | rotate = 0   |
//      |______________|  |______________|
//
// Not shown but if you're using parallel chains you can specify for each entry
// in the panels list a 'parallel = x;' option where x is the ID of a parallel
// chain (0, 1, or 2).

panels = (
  ( { order = 5; rotate =   0; }, { order = 4; rotate =   0; } ),
  ( { order = 2; rotate = 180; }, { order = 3; rotate = 180; } ),
  ( { order = 1; rotate = 0; }, { order = 0; rotate = 0; } )
)

// By default the rpi-fb-matrix tool will resize and scale down the screen
// to fit the resolution of the display panels.  However you can instead grab
// a specific pixel-perfect copy of a region of the screen by setting the x, y
// screen pixel coordinates below.  A rectangle of the exact size of the display
// (i.e. display_width x display_height pixels) will be copied from the screen
// starting at the provided x, y coordinates.  Comment this out to disable
// this crop behavior and instead resize the screen down to the matrix display.
//crop_origin = (0, 0)
- Test the configuration
$ sudo ./display-test matrix.cfg
- The numbers should match the Panel from the config
- We'll need to alter the
/boot/config.txtbefore we carry on.
$ sudo nano /boot/config.txt
- This forces the HDMI to activate regardless or not if the screen is actually connected.
hdmi_force_hotplug=1
hdmi_group=2
hdmi_mode=1
hdmi_mode=87
hdmi_cvt 640 960 60 6 0 0 0
- Now try running the matrix program
$ sudo ./rpi-fb-matrix matrix.cfg
- The screen should appear on the LED Panels.
- To make the programs run on boot, alter the rc.local file
$ sudo nano /etc/rc.local
- Add the following Lines
cd /home/pi/rpi-fb-matrix
./rpi-fb-matrix matrix.cfg &
cd ~
cd openFrameworks/apps/myApps/PCPrototype/bin
./PCPrototype &
- Save and Exit
- Reboot
Alternatively
You can launch the application yourself. On the Desktop there should be a symbolic link to the Application folder.
Double Click the PCPrototype Executable file and chose execute.
These are the instructions for compiling openFrameworks
# Get the Pi ready
sudo apt-get clean
sudo apt-get update
sudo apt-get upgrade

# Download oF
cd /home/pi
curl -k -O https://openframeworks.cc/versions/v0.10.0/of_v0.10.0_linuxarmv6l_release.tar.gz
mkdir openFrameworks
tar vxfz of_v0.10.0_linuxarmv6l_release.tar.gz -C openFrameworks --strip-components 1

# Install Dependancies
cd /home/pi/openFrameworks/scripts/linux/debian
sudo ./install_dependencies.sh

# Compile!
make Release -C /home/pi/openFrameworks/libs/openFrameworksCompiled/project
You'll need some additional libraries to compile and use the software.
git clone https://github.com/kashimAstro/ofxGPIO.git
git clone https://github.com/andreasmuller/ofxAutoReloadedShader.git
git clone https://github.com/jeffcrouse/ofxJSON.git
git clone https://github.com/arturoc/ofxEasing.git
git clone https://github.com/jvcleave/ofxImGui.git
There are numerous config options in the software. This guide will show you how to customize for your needs.
We are using a JSON config file and the options are divided up into chunks.
Configures the shader parameters, these are alterable in software but give you the option to hardcode when you have found the correct configuration.
- active: is the shader currently active.
- amount: how much to pixelate the images by.
- colour: what color would you like to tint the images with. This also does alpha values so if you want to reduce the brightness of the screen.
"shader": {
    "active": true,
    "amount": 10,
    "colour": {
      "r": 255,
      "g": 255,
      "b": 255,
      "a": 255
    }
  },
Configures the KenKenPa State. Essentially you can load multiple videos into the system this allows you to try different configurations. So for instance you might want video Attractor 1, Kiosk 1 and Reward 1 for one configuration, but may want Attractor 6, Kiosk 2 and Reward 1 in another.
- player1startkey: the ascii code for the the key press
- player1endkey: the ascii code for the the key press
- player2startkey: the ascii code for the the key press
- player2endkey: the ascii code for the the key press
- versions: array of the different configurations
- id: id of the version
- waitouttimer: how long we should wait before starting the count down
- attractortimer: how long we wait after last action to restart the attractor video
- name: name of the version
- attractor: video file of the attractor
- kiosk: video file of the kiosk
- reward: video file of the reward
"kenkenpa": {
    "triggerkeys": {
      "allstop": 113,
      "attractormode": 49,
      "explainermode": 50,
      "countdownmode": 51,
      "gamemode": 52,
      "winmode": 53
    },
    "playertriggerkeys": {
      "player1startkey": 114,
      "player1endkey": 102,
      "player2startkey": 117,
      "player2endkey": 106,
      "dualplayerstartkey": 116,
      "dualplayerendkey": 121
    },
    "boost": {
      "boost1startkey": 55,
      "boost2startkey": 56,
      "boost3startkey": 57,
      "boost4startkey": 48,
      "boost1": "Videos/boost/arrows_colourtest_2.mov",
      "boost2": "Videos/boost/2.mov",
      "boost3": "Videos/boost/3.mov",
      "boost4": "Videos/boost/4.mov"
    },
    "versions": [
      {
        "id": 0,
        "waitouttimer": 1500,
        "attractortimer": 2000,
        "name": "Default",
        "attractor": "Videos/attractors/1.mov",
        "kiosk": "Videos/kiosks/1.mov",
        "reward": "Videos/rewards/1.mov"
      },
      {
        "id": 1,
        "waitouttimer": 1500,
        "attractortimer": 2000,
        "name": "Default 2",
        "attractor": "Videos/attractors/spots_attractor_1.mov",
        "kiosk": "Videos/kiosks/spots_explainer_2.mov",
        "reward": "Videos/rewards/spots_p1_wins.mov"
      }
    ]
  }
Thanks to Oliver Humpage
- Has holes in the wrong place, so needs editing before reusing
- Box design from https://boxdesigner.connectionlab.org/
- B&Q “5mm” plywood is 5.5mm thick
- Cut width should be 0.2mm


