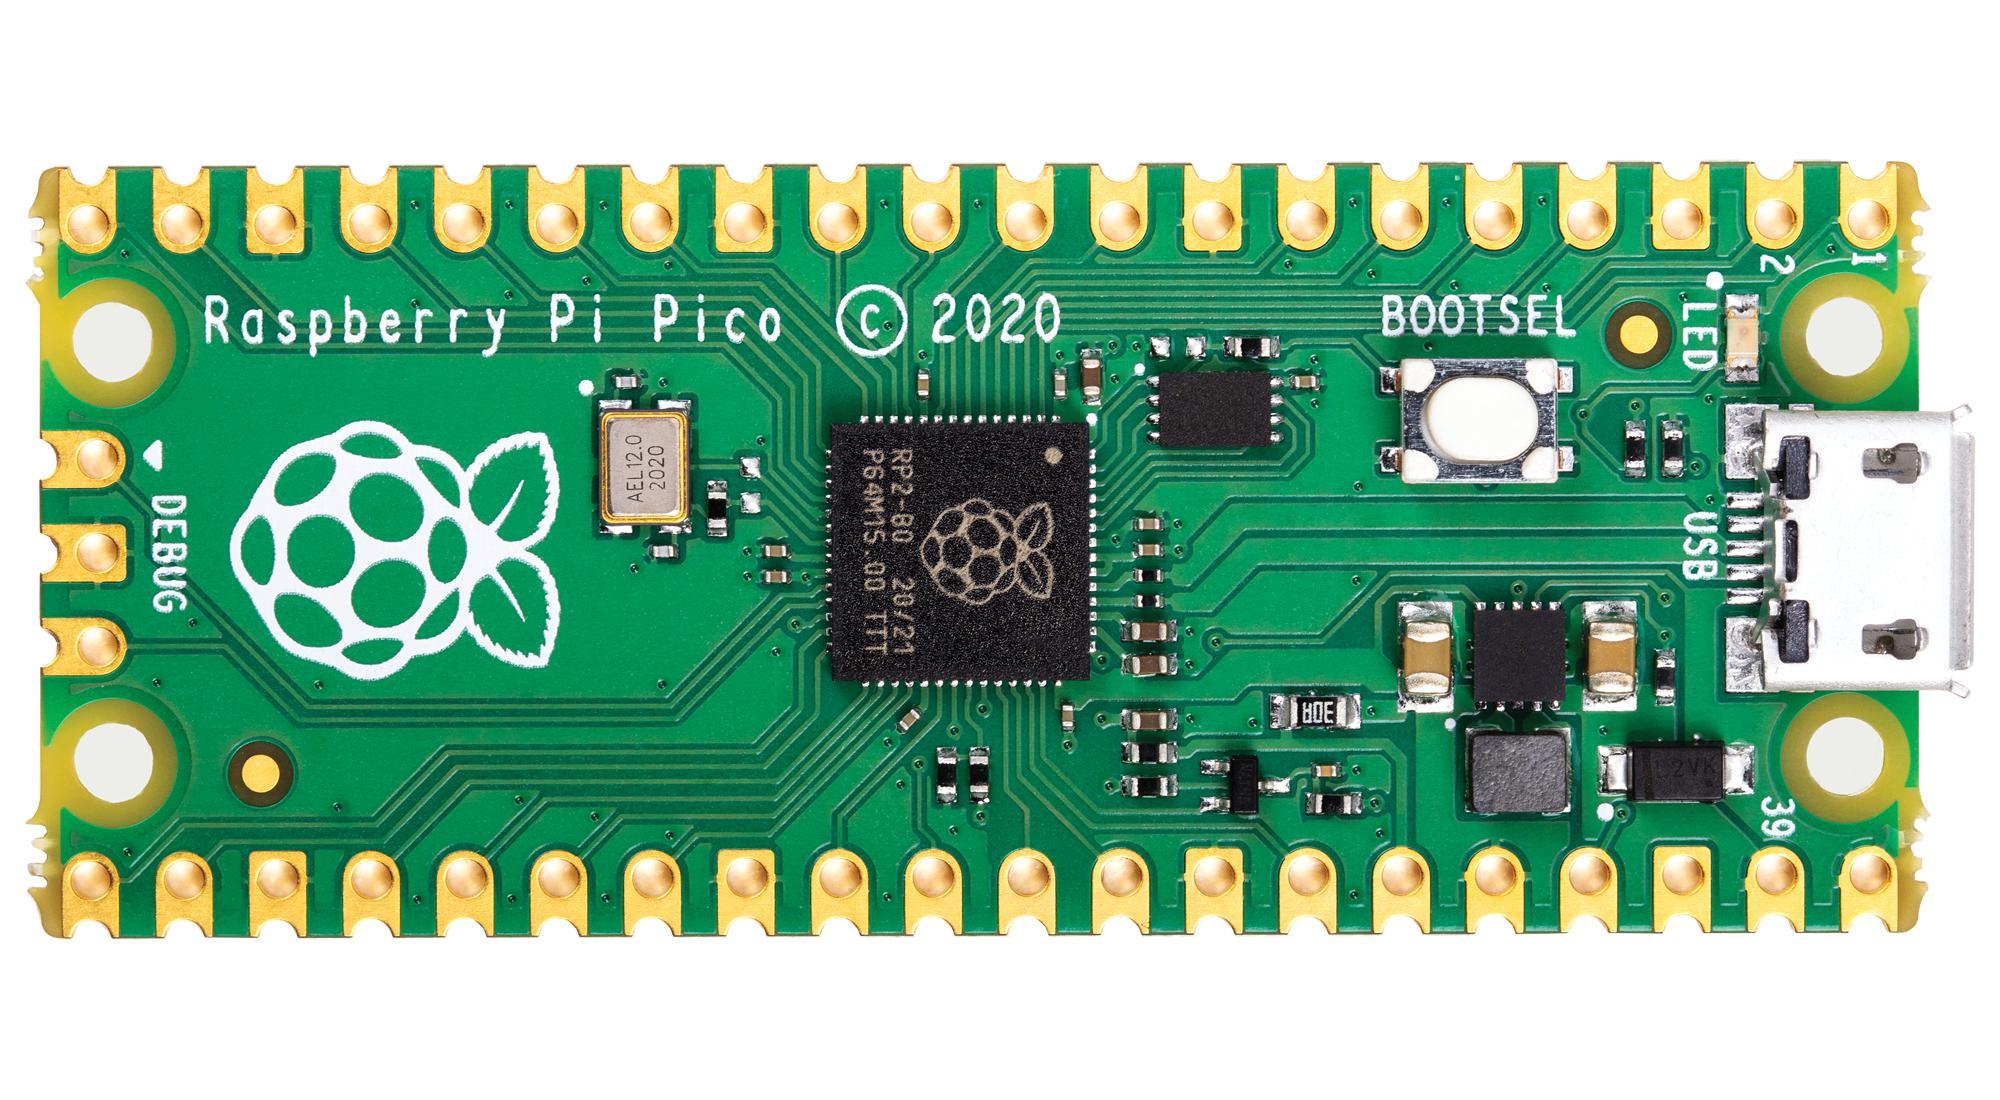
Messing around with the RPI pico.
- Download the Micropython UF2 file for the board here
- Push and hold the BOOTSEL button and plug your Pico into the USB port of your Raspberry Pi or other computer. Release the BOOTSEL button after your Pico is connected.
- It will mount as a Mass Storage Device called RPI-RP2.
- Drag and drop the MicroPython UF2 file onto the RPI-RP2 volume. Your Pico will reboot. You are now running MicroPython
- You can access the REPL via USB Serial
The MicroPython firmware is equipped with a virtual USB serial port which is accessed through the micro USB
connector on Raspberry Pi Pico. Your computer should notice this serial port and list it as a character device, most likely
/dev/ttyACM0.
I use picocom:
$ sudo apt install picocomOpen the serial port as:
$ picocom /dev/ttyACM0Quit the program with C-a-q(Ctrl+a+q) assuming that C-a is the escape character.
Utility to interact with a CircuitPython or MicroPython board over a serial connection.
$ pip install adafruit-ampy- List the files on the board
$ ampy --port /dev/ttyACM0 ls- Put a file on the board
$ ampy --port /dev/ttyACM0 put main.py- Remove a file from the board.
$ ampy --port /dev/ttyACM0 rm main.py- Run a script on the board
$ ampy --port /dev/ttyACM0 run main.pyFor convenience you can set AMPY_PORT and AMPY_BAUD environment variables which will be used f the port parameter is not specified.
To set these variables automatically each time you run ampy, copy them into a file named .ampy:
AMPY_PORT=/dev/ttyACM0
AMPY_BAUD=115200
Put this .ampy file to your project's directory and you can now run ampy within this directory without having to specify this parameters
$ ampy run main.py- Create the
hello_world.pyfile and add whatever:
while 1:
print("Hello world!")- Put the file on the RPI Pico
We put our
hello_world.pyfile to the board asmain.pyso that it autoruns. Think ofmain.pyas theentrypoint modulerun by the Pico on reset/reboot:
$ ampy put hello_world.py main.py- List the files on the pico
$ ampy ls
/main.py- Open up the boards serial port and do a soft reset/reboot with
C-d(Ctrl+d) and the code will autorun!:
$ picocom /dev/ttyACM0
picocom v2.2

port is        : /dev/ttyACM0
flowcontrol    : none
baudrate is    : 9600
parity is      : none
databits are   : 8
stopbits are   : 1
escape is      : C-a
local echo is  : no
noinit is      : no
noreset is     : no
nolock is      : no
send_cmd is    : sz -vv
receive_cmd is : rz -vv -E
imap is        :
omap is        :
emap is        : crcrlf,delbs,

Type [C-a] [C-h] to see available commands

Terminal ready

>>>
Hello Micropython!
Hello Micropython!
Hello Micropython!
Hello Micropython!
Hello Micropython!
Hello Micropython!
Hello Micropython!
Hello Micropython!
Hello Micropython!
Traceback (most recent call last):
  File "main.py", line 2, in <module>
KeyboardInterrupt:
MicroPython v1.19.1 on 2022-06-18; Raspberry Pi Pico with RP2040
Type "help()" for more information.
>>>
Quit picocom with C-a-q(Ctrl+a+q)
- Africa open hardware community
- Raspberry pi foundation for the free Pico :)
Copyright 2022 Daniel Chege Nduati

