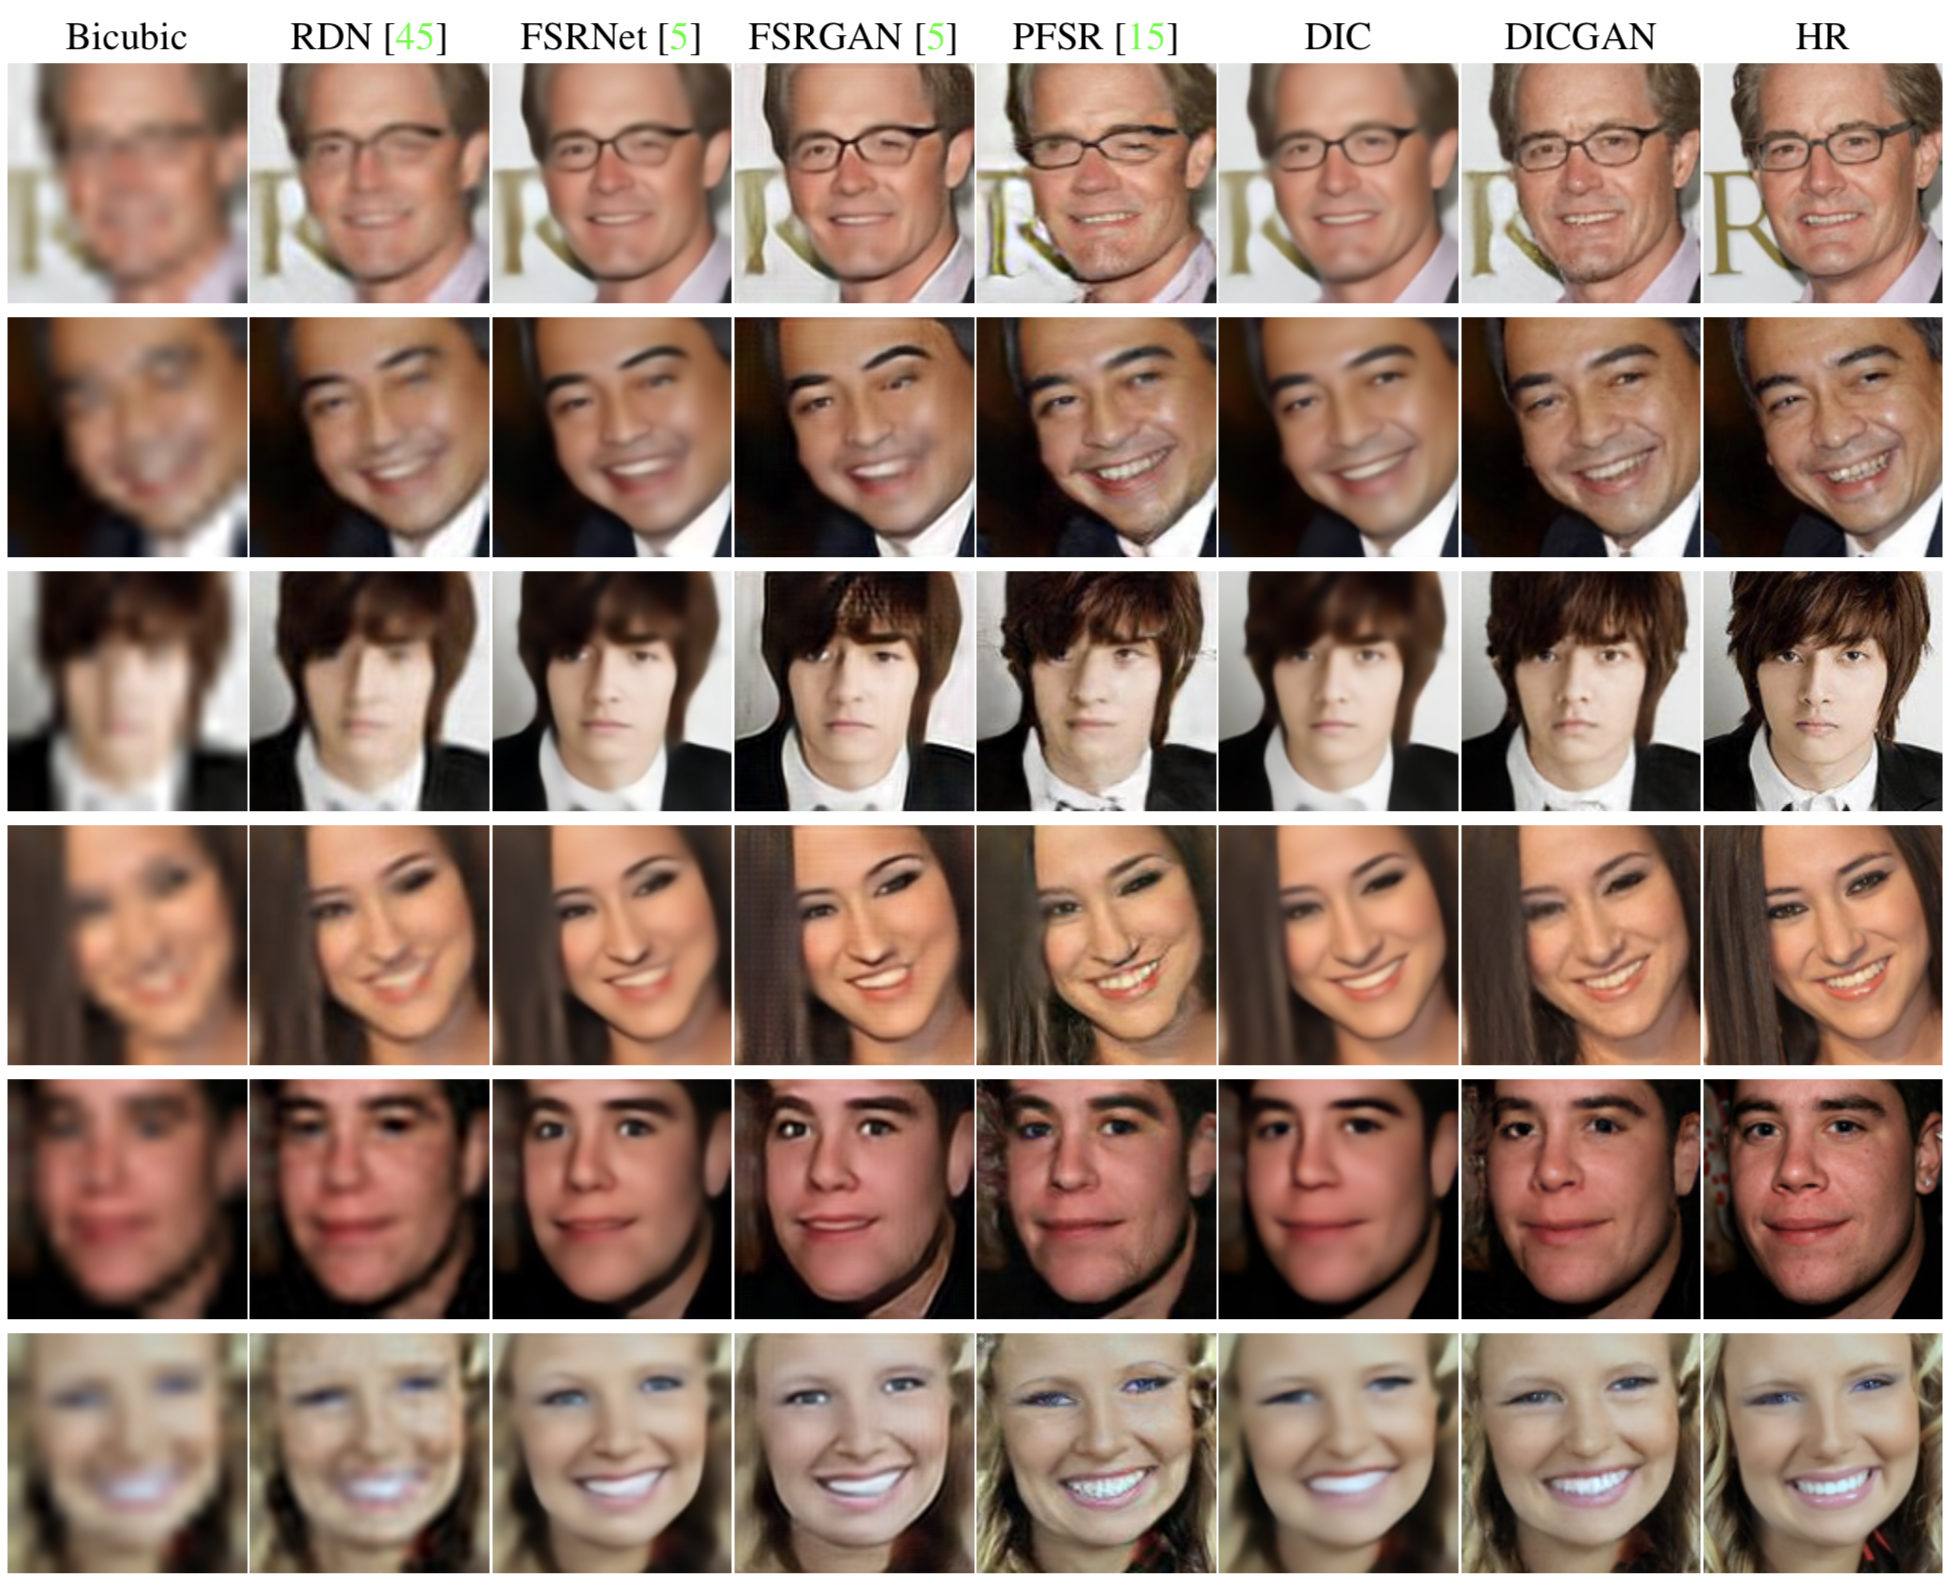
Pytorch implementation of Deep Face Super-Resolution with Iterative Collaboration between Attentive Recovery and Landmark Estimation (CVPR 2020) [arXiv]
If you find our work useful in your research, please consider citing:
@inproceedings{ma2020deep,
  title={Deep Face Super-Resolution with Iterative Collaboration between Attentive Recovery and Landmark Estimation},
  author={Ma, Cheng and Jiang, Zhenyu and Rao, Yongming and Lu, Jiwen and Zhou, Jie},
  booktitle={Proceedings of the IEEE Conference on Computer Vision and Pattern Recognition (CVPR)},
  year={2020}
}
- Python 3 (Recommend to use Anaconda)
- PyTorch >= 1.0
- NVIDIA GPU + CUDA
- Python packages:
pip install numpy opencv-python tqdm imageio pandas matplotlib tensorboardX
CelebA dataset can be downloaded here. Please download and unzip the img_celeba.7z file.
Helen dataset can be downloaded here. Please download and unzip the 5 parts of All images.
Landmark annotations for CelebA and Helen can be downloaded in the annotations folder from Google Drive or Baidu Drive (extraction code: y364).
The pretrained models can also be downloaded from the models folder in the above links. Then please place them in ./models.
To train a model:
cd code
python train.py -opt options/train/train_(DIC|DICGAN)_(CelebA|Helen).json-
The json file will be processed by
options/options.py. Please refer to this for more details. -
Before running this code, please modify option files to your own configurations including:
- proper
dataroot_HRanddataroot_LRpaths for the data loader - proper
info_pathfor the annotations - whether to use a pretrained model and the path of the model
- the path of the pretrained Feedback HourGlass model (for face landmark detection) if not using a pretrained model
- the path of the feature extraction model (
LightCNN_feature.pth) if training a GAN model - whether to resume training
- saving frequency for models and states
- other hyperparameters
- loss function, etc.
- proper
-
During training, you can use Tesorboard to monitor the losses with
tensorboard --logdir tb_logger/NAME_OF_YOUR_EXPERIMENT
To generate SR images by a model:
cd code
python test.py -opt options/test/test_(DIC|DICGAN)_(CelebA|Helen).json- Similar to training, the configurations can be modified in the json file. Please refer to this for more details.
- You can find your results in
results/{test_name}/{dataset_name}. The PSNR and SSIM values will be stored inresult.jsonwhile the average results will be recorded inaverage_result.txt - We provide our DIC and DICGAN models used in our paper that can be downloaded in the
modelsfolder from Google Drive or Baidu Drive (extraction code: y364). Then you can modify the directory of pretrained model in option files and runtest.pyfor a quick test.
To evaluate the SR results by landmark detection:
python eval_landmark.py --info_path /path/to/landmark/annotations --data_root /path/to/result/images
- First you need to download the
HG_68_CelebA.pthfrom the from Google Drive or Baidu Drive (extraction code: y364) and put it into the./modelsdirectory. - Results will be in
/path/to/result/images/landmark_result.jsonand the averaged results will be inlandmark_average_result.txt.
The code is based on SRFBN and hourglass-facekeypoints-detection
