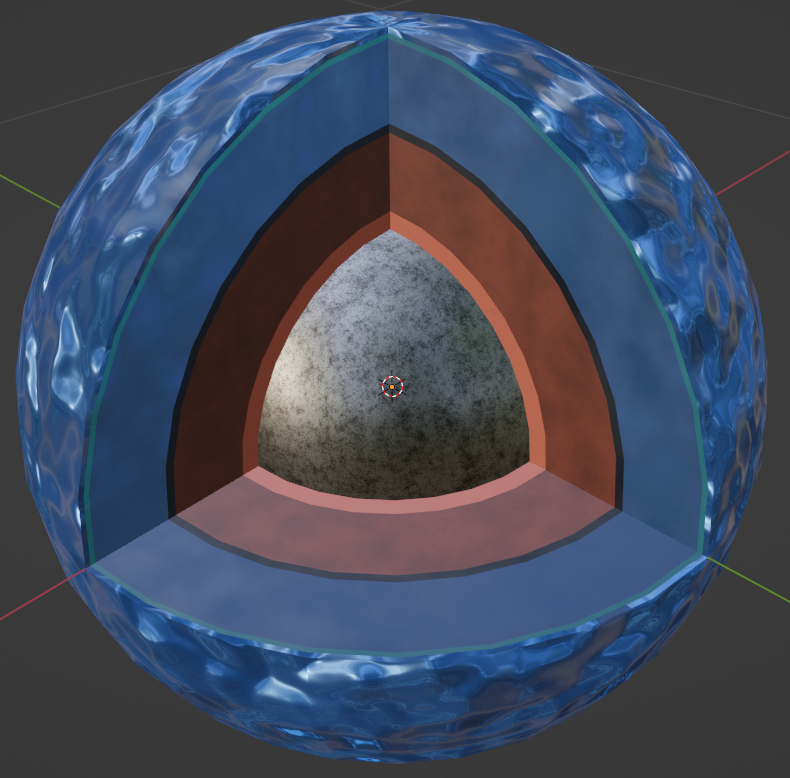
Blender 3D planet builder: Takes in Magrathea outputs and automatically builds realistic and appealing 3-D interior models
Must use Blender 3.4 https://ftp.halifax.rwth-aachen.de/blender/release/Blender3.4/
Step-by-Step Instruction:
- Donwload Blender: https://www.blender.org/download/
- Once Open - under New File press General
- In top bar select Scripting
- At the top of the new pop up window select New - this will create a new Text window
- Copy and paste code from Blender_Code.py into this new text window
- Grab file path of Magrathea output file. Instructions to do that are here: https://www.sony.com/electronics/support/articles/00015251
- On line 17 Replace text inside of the file_name variable (only replace the text in between the quotation marks) with the file path of desired Magrathea output file
- Press the Run Script button at top right of Text/Code window
- In the top bar press "Layout"
- In the top right (Viewport Shading options) select the 3rd sphere which should look like a sphere that is partially shaded in
- Interior of planet should be complete now!
How to change the way a material looks: If you dont like the way a layer looks then select it in the "Layout" tab. Click on the sphere that you want to change and it will get outlined in yellow. Alternatively, you can select a sphere via the 'Scene Collecction" section in the top right. Once a sphere is selected, click on the "Shading" tab in the top toolbar. On the bottom window ensure that "Use Nodes" is checked. Now you should see the Node Setup (bottom window) for the selected material (top window). Each box represents a node and they each code for an aspect of the material.
If you want to alter the way the material looks you can simply click on a factor in one of the nodes such as Roughness, Sheen, Scale, etc, and entering in a new number. It will get updated in the top window. To make more drastic changes you can also add new nodes via the "Add" button in the top left of the bottom window. This video provides a good introduction to nodes and how to alter materials using them: https://www.youtube.com/watch?v=moKFSMJwpmE&ab_channel=GrantAbbitt. This link gives an overview on what each node does: https://docs.blender.org/manual/en/latest/render/shader_nodes/index.html.
The above steps will show you how to change nodes manually (it will not save if you run the program again). If you would like to change a material programmatically (permanent) then press the "Scripting" tab in the top toolbar. Scroll down to lines 144 - 428. Each block of code here is coding for a different material in the "Shading" tab. To alter a specfic material, scroll down till you find the block of code with the title of the desired material. Altering the nodes now varies a lot with what your trying to do but the existing code should give some sort of direction. To create new nodes use the nodes.new(Node Name) function. The Node Name can be found by searching up "Desired Node Blender Python name". To make more changes, reference Stack Overflow and Blender Artists, which both are very helpful for altering nodes.
If you have any questions or problems with the code please feel free to reach out via email at Srivishal123@gmail.com or david.rice@unlv.edu!
